
I love how French curl braids instantly lift any look — they’re sleek, a little dramatic, and totally main-character worthy. I’ll walk you through the tools, prep, and a simple step-by-step so your curls sit perfectly and last, plus quick fixes for common slip-ups.
Stick around and I’ll show you how to make them feel effortless for day-to-night wear.
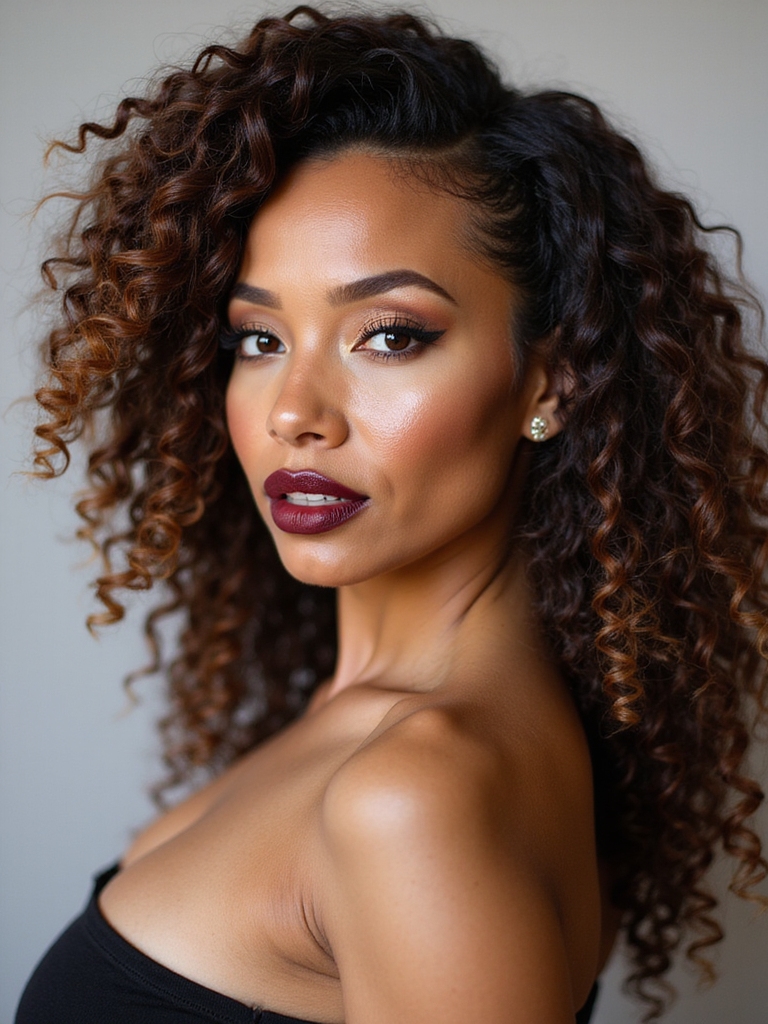
What Are French Curl Braids and Why They Work

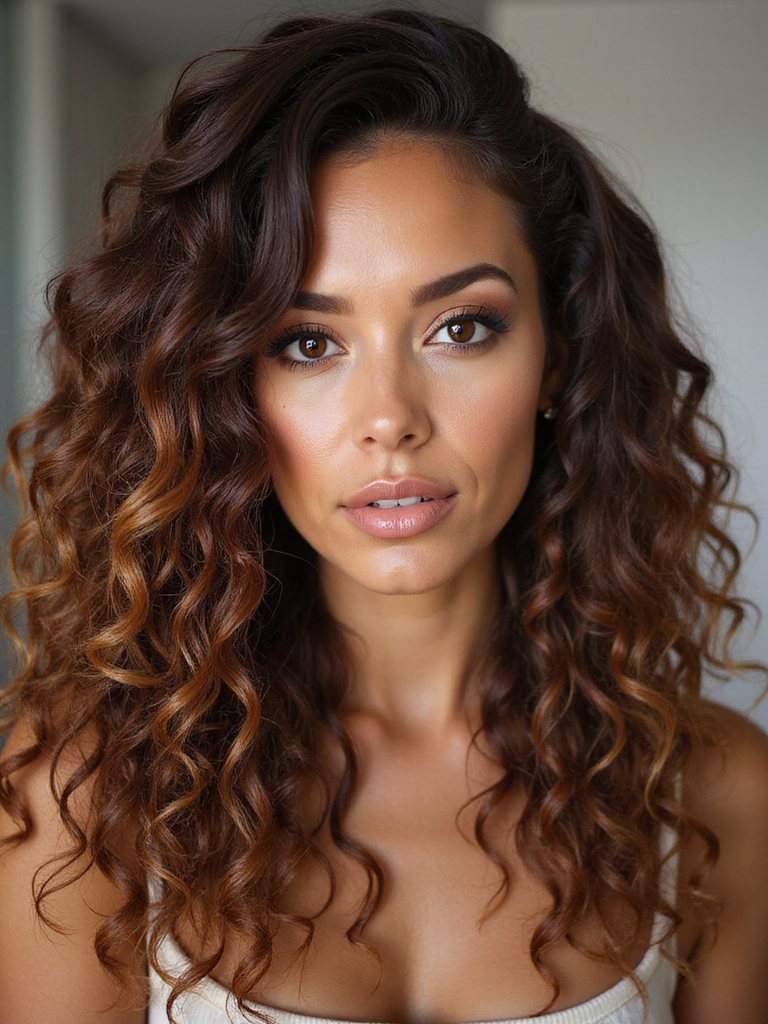
When I first tried French curl braids, I was hooked — they blend the sleek structure of a French braid with those soft, spiral tendrils that frame your face, giving you a look that’s polished but playful.
I love how structure meets whimsy: controlled sections keep hair tidy while curls soften edges, flattering faces and adding movement. They’re versatile, low-fuss, and instantly chic. I also find they pair beautifully with braided cornrow foundations for added longevity and style.
Essential Tools and Products for Picture-Perfect Braids
Because great braids start with the right kit, I always keep a handful of go-to tools and products within arm’s reach before I even part my hair.
I’m picky but practical — these essentials make my French curl braids look crisp, smooth, and camera-ready.
- Wide-tooth comb
- Rat-tail comb
- Lightweight hold gel
- Satin scrunchies and pins
French braids are a timeless style that can be adapted for any look, from casual to elegant, and are a foundational technique in many French Braids tutorials.
Choosing the Right Curl Type for Your Hair Length

I keep my tools within reach, but picking the right curl pattern for your hair length is what really makes French curl braids pop.
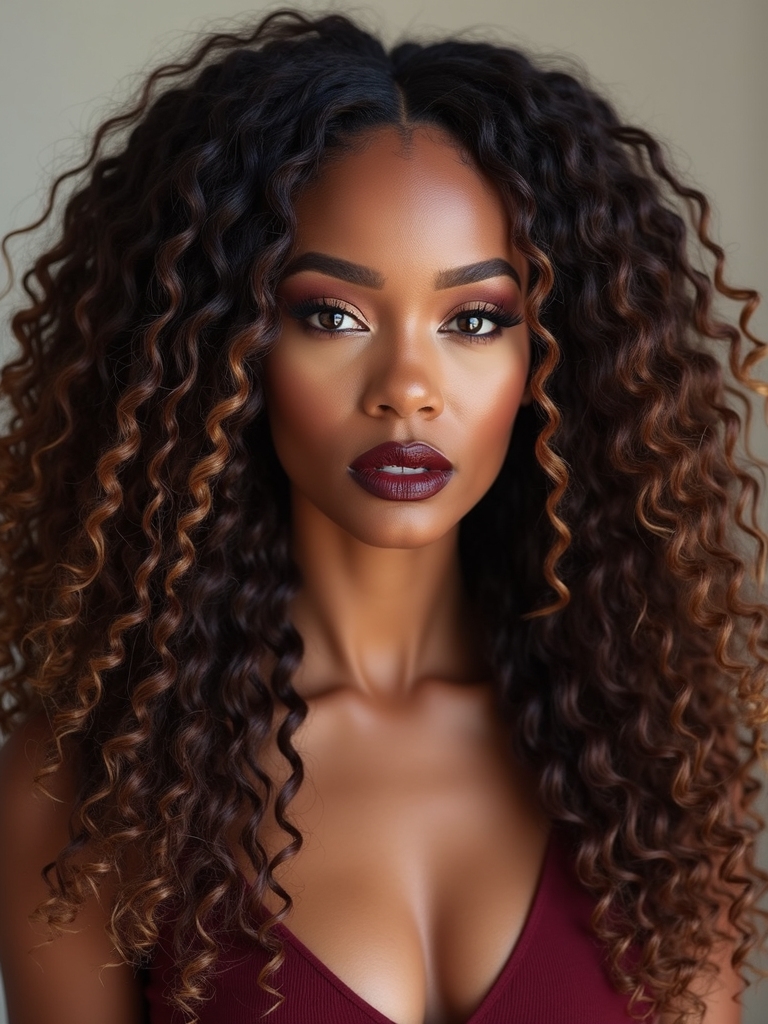
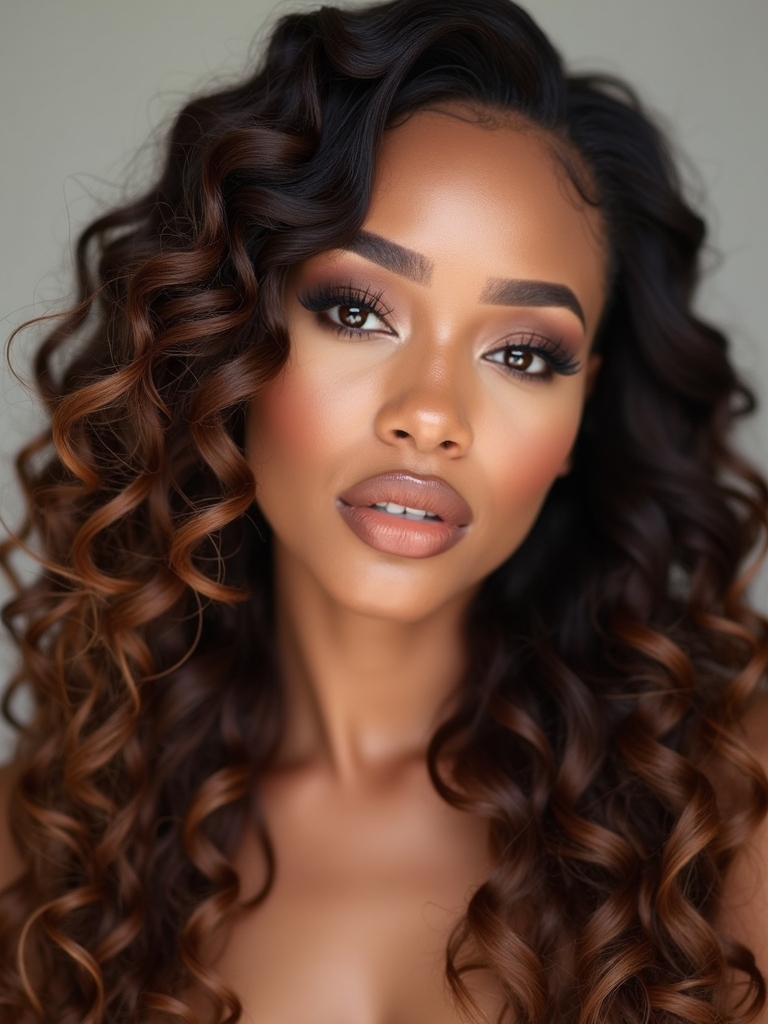
For short hair, I choose tighter, smaller curls to add texture without overwhelming. Mid-length? I go for bouncy medium curls for movement. For long hair, loose waves give drama and flow. Match curl size to length for balanced, main-character results.
I also recommend experimenting with curl hairstyles to find what feels most professional and flattering.
Prep Steps for Smooth, Long-Lasting Styles
Before I start braiding, I always make sure my hair is squeaky-clean and fully detangled so the curls sit smoothly.
Then I lock in lightweight moisture and seal the ends to prevent frizz and breakage.
A little heat or a protective product goes on last so the style lasts longer and looks fresh.
I often choose Small Knotless sections to reduce tension and promote longer-lasting, more natural-looking curls.
Clean, Detangled Base
Getting your hair clean and knot-free sets the whole French curl braid up for success, so I always start with a quick, focused prep routine.
- Shampoo gently, rinse thoroughly.
- Condition mid-lengths, detangle with fingers.
- Towel-blot, then wide-tooth comb from ends up.
- Air-dry until slightly damp, smooth with a light brush.
This keeps sections neat and braids sleek.
I also follow techniques tailored for 4C curl patterns to preserve moisture and reduce breakage while styling.
Moisture and Protection
Sealing in moisture and protecting strands is what really makes my French curl braids last and look polished, so I always treat this step like non-negotiable haircare.
I spritz a lightweight leave-in, rake in a creamy moisturizer, then seal with a thin oil to lock hydration.
I protect edges with a silk scarf overnight and refresh lightly to keep curls defined and frizz-free.
I also use proper technique when creating feed-in braids to ensure even tension and a seamless, natural finish.
Step-by-Step: Classic French Curl Braid Tutorial

If you follow the steps closely, you’ll be surprised how quickly a classic French curl braid becomes second nature.
I walk you through neat sections, smooth edges, and gentle curling motions so your braid pops with that main character vibe.
Ready? Let’s do it:
- Section hair and secure.
- Begin three-strand braid, adding small pieces.
- Curl strands inward as you braid.
- Finish and loosen for shape.
Goddess braids are a timeless protective style that can add dimension and longevity to your look when done with care, especially if you focus on neat sections.
Quick Version: French Curl Braids for Busy Mornings

I’ve got a speedy version of the French curl braid that’s perfect for rushed mornings, and I’ll show you fast sectioning tips to get going in under five minutes.
I’ll also share simple tricks for a durable hold so your braid lasts all day without constant touch-ups.
Stick with me and we’ll make this morning routine both quick and foolproof.
This quick method is inspired by Simple Braided Hairstyles that make daily styling effortless.
Fast Sectioning Tips
Mornings fly by, so I keep my sectioning simple and speedy for French curl braids. I grab clips, a comb, and focus on clear parts—no fuss, just confidence.
Try these quick tricks:
- Divide into three even panels.
- Use a center guide for symmetry.
- Clip extras tight to avoid slipping.
- Work top-down for fast, neat results.
Medium knotless braids offer a lightweight, low-tension option that protects your edges and adds longevity to the style knotless braids.
Durable Hold Tricks
Usually I reach for a few failproof tricks that keep my French curl braids intact all day, even on rushed mornings. I mist lightweight texturizing spray, braid with slightly damp hair, and secure ends with snag-free elastics.
A few strategically placed bobby pins and a quick blast of flexible-hold hairspray lock everything without stiffness. These steps save time and keep my look effortlessly polished. I also sometimes opt for quick braided hairstyles when I need a speedy, polished finish.
Braiding Techniques to Add Volume and Texture

I often reach for a few simple braiding tricks when I want my French curl braids to pop with volume and texture.
I’ll tell you quick, fun moves that lift and define without fuss.
- Pancake each braid gently for instant width.
- Add tiny backcombing at roots.
- Use a texturizing spray while braiding.
- Tug sections strategically for airy shape.
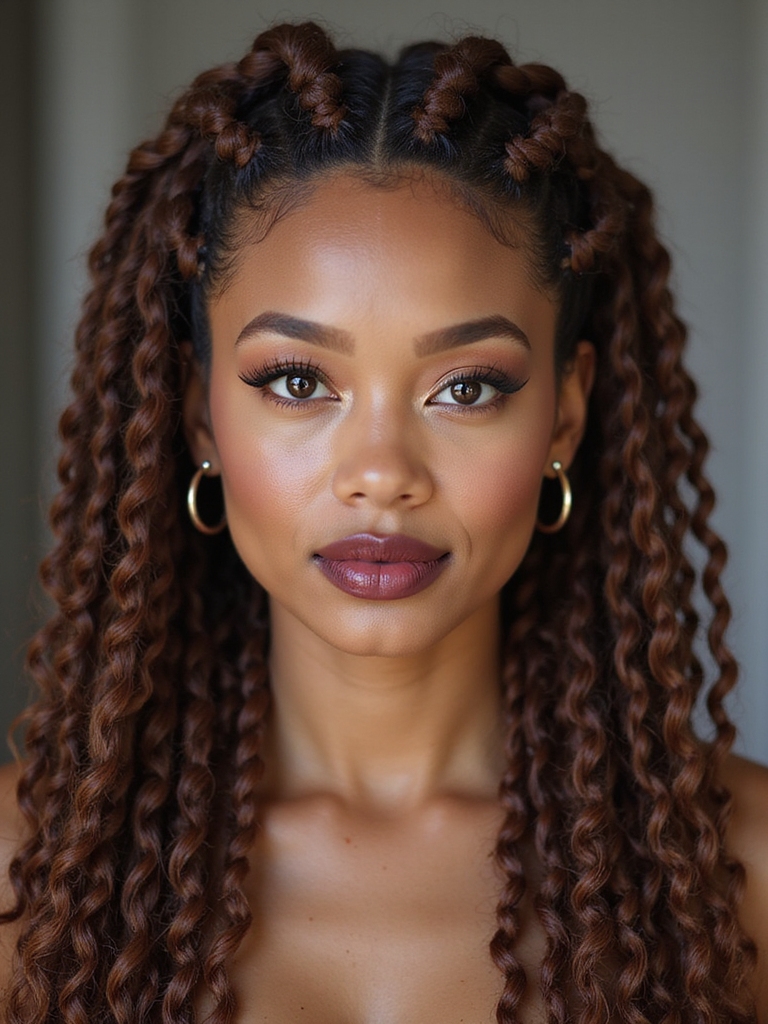
How to Create Face-Framing Loops and Tendrils
I’ll show you how simple sectioning and the right tension make those soft face-framing loops sit perfectly without pulling.
With a few quick tips on styling and finishing, you’ll get playful tendrils that hold shape but still move.
Stick with me and you’ll have effortless, polished pieces that elevate your French curl braids.
Sectioning and Tension
While you’re parting the hair, think about how those little loops and tendrils will frame the face—those tiny decisions make a big difference.
I work in clean sections and adjust tension so loops stay soft yet secure.
Follow these quick steps:
- Partition small, even sections.
- Keep consistent, gentle tension.
- Pull loops slightly before securing.
- Mirror both sides for balance.
Styling and Finishing
Once you’ve secured the braids, I focus on the face-framing loops and tendrils that give the style its personality—think soft, intentional pieces that echo the bone structure.
I gently tug small sections, curling them around a finger for natural loops, misting light-hold spray, and smoothing flyaways with balm.
The goal’s effortless polish: playful, framed face, and braid edges that feel deliberately undone, not messy.
Styling Options: From Casual to Red-Carpet Ready
Because French curl braids are so versatile, I love showing you how to take them from laid-back weekends to full-on red-carpet glam without breaking a sweat.
I’ll walk you through quick looks that suit brunch to gala nights—easy, polished, and confident.
- Loose side braid for coffee runs.
- Sleek low bun for work.
- Voluminous half-up for date night.
- Polished Hollywood waves for events.
Accessorizing Your Braids With Pins, Ribbons, and Clips

If you want to elevate your French curl braids in seconds, adding pins, ribbons, or clips is my favorite go-to—these little touches can totally change the vibe.
I love mixing dainty pearls with bold clips, tying satin ribbons through ends, and strategically placing metallic pins for sparkle.
Play with symmetry, color contrasts, and texture to make your braids uniquely you and effortlessly chic.
Transitioning Braids From Day to Night in Minutes

When I need to take my French curl braids from daytime chill to nighttime glam in minutes, I lean on a few foolproof tricks you can try too.
I’ll swap in bolder pins or a silk scarf, tweak my hairline and brow makeup for polish, and shift a braid into a sleeker or more dramatic placement to match the dress code.
Believe me, a couple smart accessory and styling tweaks are all it takes to transform the look fast.
Quick Accessory Swaps
I love swapping out a few simple pieces to take my French curl braids from daytime casual to nighttime chic in under five minutes. I grab bold clips, switch a ribbon for a silk scrunchie, add statement earrings, then finish with a jeweled hair cuff.
Quick swaps, big vibe change—instant main character energy.
- Bold clips
- Silk scrunchie
- Statement earrings
- Jeweled cuff
Adjust Makeup + Hairline
Swapping in bold clips and a silk scrunchie is my go-to mood boost, but I also tweak my makeup and hairline to make the braids read nighttime-ready.
I deepen my liner, swipe a brighter highlighter on cheekbones, and amp the lip color.
Then I soften baby hairs with a tiny gel swoop along the hairline for polished, intentional edges that elevate the whole look.
Dress-Code Styling Tweaks
If you need to take your French curl braids from desk-friendly to dance-floor ready in minutes, I’ve got a few foolproof tweaks up my sleeve.
I’ll show quick swaps that elevate vibes without a mirror marathon.
- Add a satin scarf for instant glam.
- Pin half up for drama.
- Spray a shine mist.
- Clip on statement earrings for instant main-character energy.
Caring for Braids Overnight and Prolonging the Look

Usually I tuck my French curl braids up at night to keep them fresh and frizz-free, and you can do the same with just a few quick steps.
I wrap a silk scarf, pin loose curls gently, and sleep on a satin pillowcase.
In the morning I lightly mist with water, fluff with fingers, and touch up any flyaways for a polished, lasting look.
Adapting French Curl Braids for Different Hair Types
Because everyone’s hair responds differently, I tweak my French curl braids to suit texture, porosity, and thickness so they look their best on you.
I pick product, tension, and curl placement based on your strands. Quick tips:
- Fine hair: lighter product, looser sections.
- Thick hair: smaller sections, stronger hold.
- Curly hair: detangle, welcome shrinkage.
- Low-porosity: steam or hydrate first.
Common Mistakes and How to Fix Them Fast

When braid sections start slipping or your curls look limp, I want you to know these problems are fixable fast—I’ve seen and solved them a hundred times behind the chair.
Tighten loose sections, add a dab of texture spray, and re-twist curls while hair’s slightly damp.
Avoid overloading with conditioner, use clips for control, and refresh with a light mist to revive bounce instantly.
Inspo Gallery: Iconic Looks to Recreate

Plunge into these looks and get excited—I’ve curated a mini gallery of iconic French curl braid styles you can actually recreate at home or ask your stylist for.
I’ll guide you quickly so you leave inspired, not overwhelmed.
- Sleek low curl braid for chic evenings.
- Messy boho curls with face-framing tendrils.
- High braided crown with soft spiral ends.
- Romantic side-swept curls for date nights.
I hope you’re as excited as I am to try these French curl braids — they really are the ultimate main-character move. With a little prep, the right products, and gentle nighttime care, you’ll keep that sleek scalp and soft spiral drama for days.
Experiment with curl size, accessories, or silk wraps until it feels like you. Go braid, pose, and own every frame — you’ve totally got this.


