
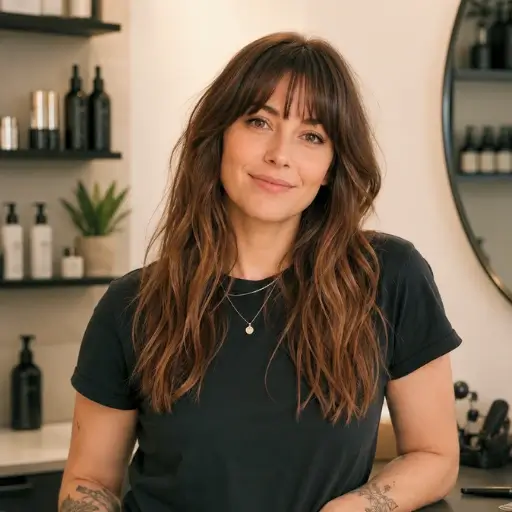
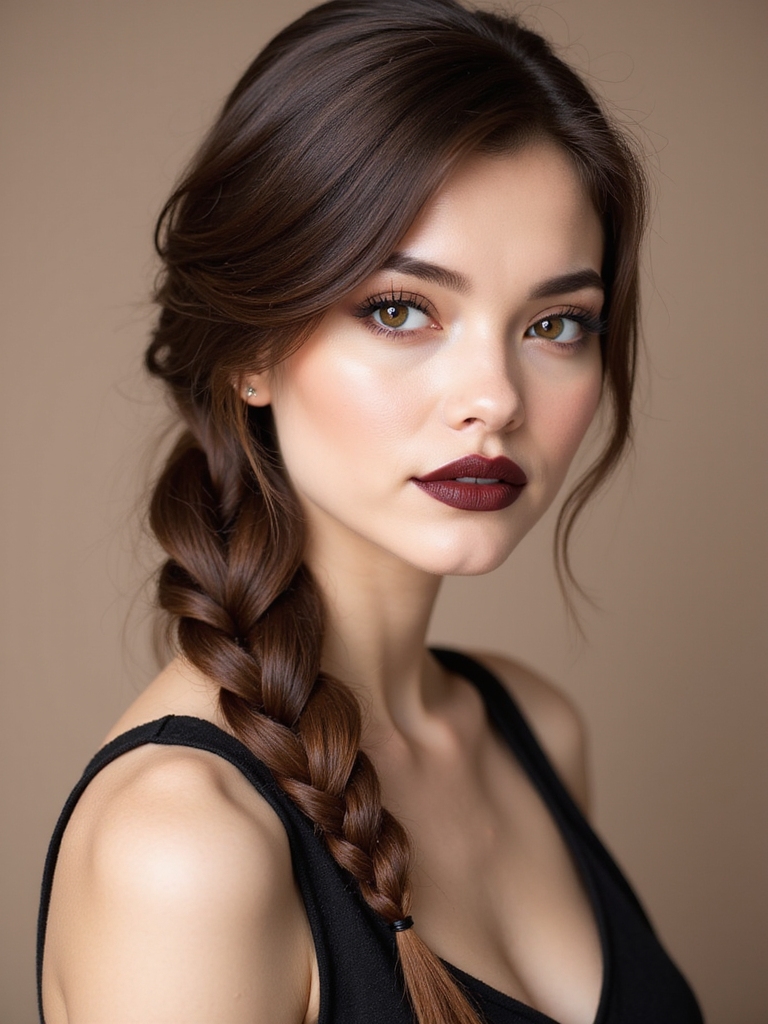
I love how a simple braid can turn rushed mornings into something a bit chic without much fuss, and I’ll show you easy styles that work if your hair’s sleek or a little rebellious.
I’ll walk you through classic three-strand and low side plaits, teach a fuss-free Dutch and French braid, and share tricks for polished buns, headband braids, and relaxed milkmaid looks—plus the tiny hacks that make them last—so stick around to pick your go-to.
Classic Three-Strand Braid Tutorial
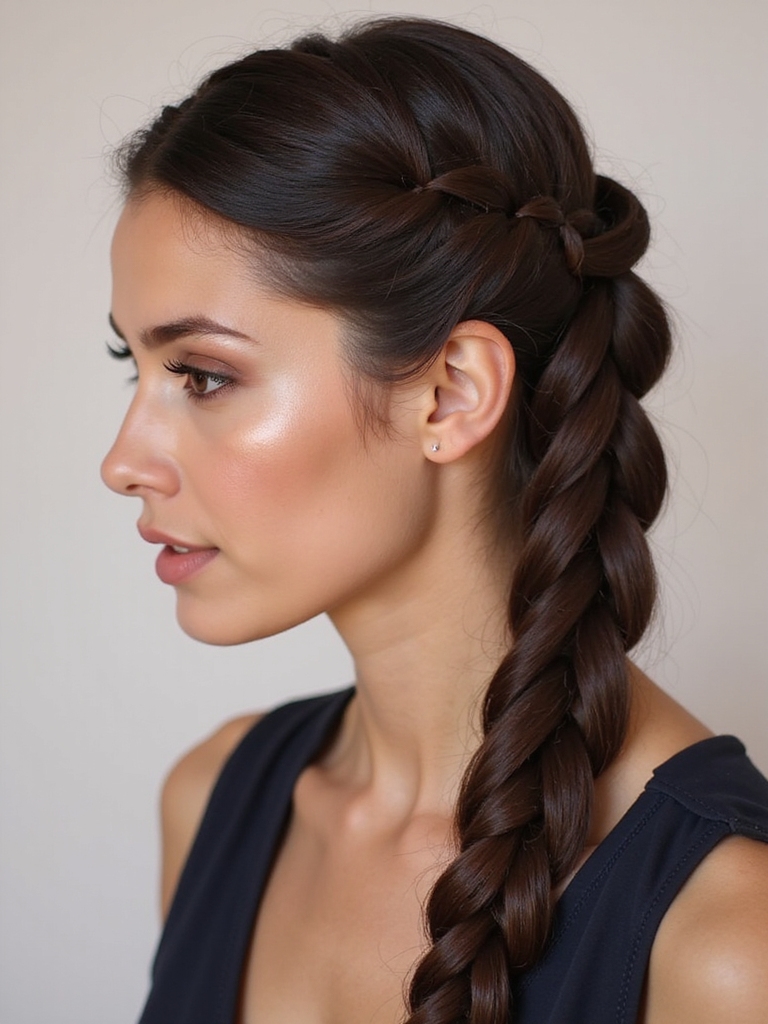
Let’s jump in — I’ll walk you through a classic three-strand braid that never goes out of style.
First, detangle and part hair, grab three even sections, and cross right over middle, then left over middle, repeating.
Keep tension consistent, smooth flyaways with fingers, and secure the end.
It’s quick, tidy, and perfect for any day when you want polished simplicity.
This simple method is one of the most enduring styles in charming braided hairstyles and works on most hair types.
Sleek Low Side Plait

Alright, let’s talk about the sleek low side plait—I’ll show you how a clean part and a little prep set the whole look up for success.
I’ll walk you step-by-step through the braiding technique so your strands stay smooth and even as they sweep to one side.
Finally, I’ll share quick finishing touches—taming flyaways, securing the end, and adding shine—so it looks polished without fuss.
This style is a timeless option that draws on classic braided updo principles to keep the look elegant yet effortless.
Parting and Prep
Before I start braiding, I always map out the part and prep the hair so the plait sits clean and sleek; a crooked part turns a chic low side plait into a sloppy knot fast.
I comb, dampen lightly, and apply a touch of smoothing serum. Clips hold flyaways while I section precisely — neat foundation, effortless polish. I often begin with a simple Two Braided Ponytails technique to warm up my hands and set the symmetry before committing to the final plait.
Braiding Technique
I start the low side plait by sweeping the prepped hair over one shoulder so I’m working with clean, controlled sections; that sideways drape not only looks chic, it stops the braid from ballooning out.
I pick three even strands, cross tightly at the roots, then maintain steady tension while feeding hair in smoothly.
Keep movements small for a sleek, compact finish.
Braids are versatile and can be adapted for everyday elegance by varying tension, parting, and placement.
Finishing Touches
Once the braid’s locked and tensioned, I shift into finish mode to keep that low-side plait looking polished all day.
I smooth stray hairs with a dab of serum, wrap a thin elastic twice, then hide the tail under the braid and pin discreetly.
A light mist of flexible-hold spray tames frizz without stiffness—practical, pretty, and ready for anything.
Braids are versatile for daily wear and offer an effortless look that elevates everyday glam.
Loose Messy Braid for Casual Days
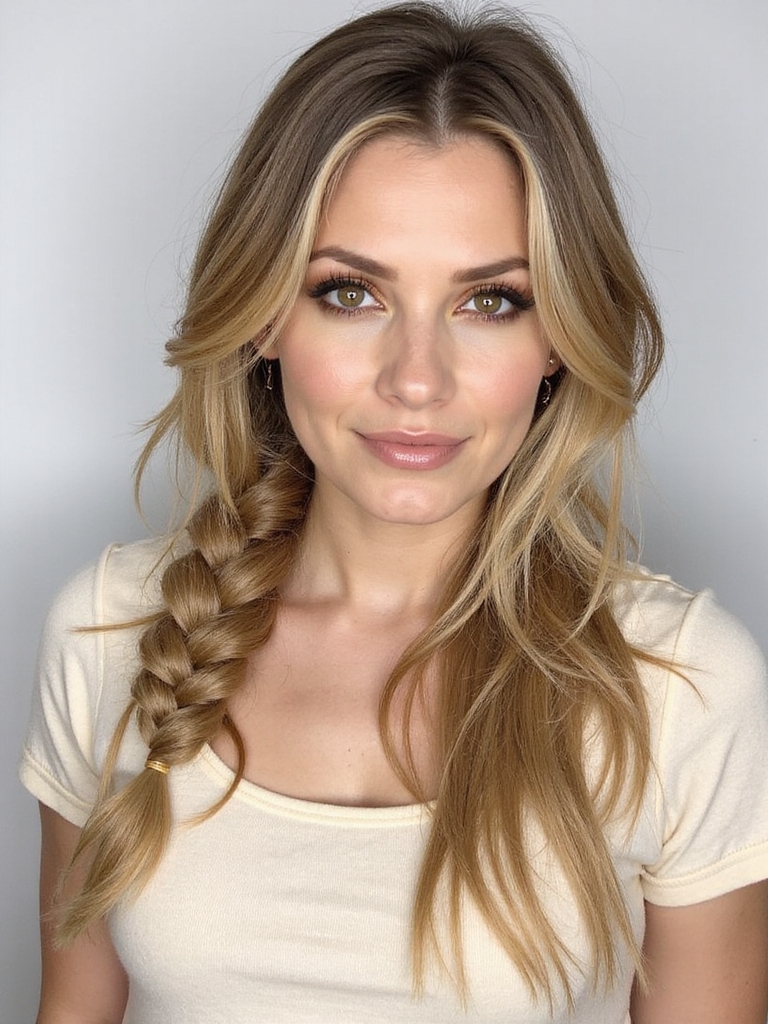
I love a loose, messy braid for casual days because it’s forgiving and fast—start by adding texture so the braid actually holds.
I always pull out soft face-framing pieces before I braid to keep things relaxed and flattering.
Once it’s done, I gently loosen and pancake the plaits for that effortless, undone vibe.
Prep and Texture
While you might think messy braids are all about letting hair do its thing, I actually prep mine with intention so the “effortless” look doesn’t fall flat by noon. I add texture and grit—nothing sticky—so braids hold but stay touchable.
- Sea salt spray
- Light mousse
- Dry shampoo for grip
Soft Face-Framing Pieces
Because soft face-framing pieces are what make a loose messy braid read casual instead of careless, I always pull out a few strands around my face before I start braiding — not too many, just enough to soften the look and catch movement.
They hide flyaways, flatter cheekbones, and let the braid feel effortless; twist or tuck them depending on your mood.
Loosen and Pancake
Pulling those face-framing pieces out is the warm-up; now we loosen and pancake the braid to get that perfectly undone look. I tug gently, ruffle, and pretend it was effortless.
Try this:
- Tug each braid section outward for width.
- Loosen near the crown for volume.
- Tug ends and mess them up slightly.
You’ll look relaxed, not sloppy—trust me.
Quick Dutch Braid for Beginners

If you’ve never tried a Dutch braid before, don’t worry — I’ll walk you through a quick, foolproof version that makes you look polished in minutes.
I start with detangled hair, section a top chunk, then cross outer strands under the center, adding small pieces as I go.
Keep tension even, finish with an elastic, tug gently for texture, and you’re out the door.
Simple French Braid Step-by-Step

Once you get the hang of the hand movements, a French braid becomes my go-to for tidy, everyday hair — and I’ll show you a simple step-by-step that keeps it fast and foolproof.
I walk you through neat sections, adding hair smoothly, and keeping tension even.
- Divide top section.
- Cross side strands, add small pieces.
- Secure and tug lightly for shape.
Half-Up Braided Crown

While I’m still a fan of the classic French braid for everyday neatness, I love a half-up braided crown when I want something that feels a bit more polished without much fuss.
I grab two small sections, braid toward the back, secure with pins, then tug gently for softness. It’s quick, feminine, and stays put—perfect for errands, meetings, or pretending you woke up like this.
Easy Fishtail Braid Guide

With a few simple twists and a bit of patience, I can show you how to make a fishtail braid look effortlessly chic—no salon skills required.
I’ll guide you through clean sections, relaxed pulling for texture, and securing without bulk.
Try these steps:
- Split hair; take thin pieces.
- Cross and tighten gently.
- Pancake for fullness and finish with spray.
Braided Ponytail for Busy Mornings

I’m all about a braided ponytail when mornings are a rush — a few quick prep steps (think dry shampoo, a slick back, and a simple elastic) and you’re halfway there.
I’ll show a couple of styling variations that keep it polished for work or playful for errands, with minimal effort.
Stick with me and you’ll have a go-to that looks intentional even when you’re not.
Quick Prep Steps
Because mornings run on fast-forward, I keep my braided ponytail routine to five minutes flat — and you can too.
I prep quickly, focusing on grip and neatness so the braid lasts.
My steps:
- Brush, detangle, and mist with leave-in.
- Smooth with a light gel at roots.
- Secure high ponytail, then braid and tie.
Fast, tidy, done.
Styling Variations
A couple of quick tweaks can turn my go-to braided ponytail from “just out the door” to “hey, who did your hair?” — and they won’t add time to your morning.
I swap a messy braid for a sleek one, wrap a ribbon around the elastic, or pull face-framing pieces loose. Each small change feels fresh, polished, and totally doable before coffee.
Tiny Accent Braids for Texture

I often tuck tiny accent braids into my hair when I want instant texture without the fuss; they’re my go-to trick for making flat styles pop.
I’ll slip a few discreet braids near the face or crown to lift a look.
Try these quick ideas:
- Face-framing braid for softness.
- Crown peeks for volume.
- Nape accents for interest.
Twisted Halo Braid

Think of a halo braid but softer and a little sassier — I twist sections instead of plaiting to get a relaxed, romantic crown that still looks pulled-together.
I start near one ear, twist and pin, following my hairline. It’s forgiving — mess it up, pancake the twists, and no one will know. Great for second-day hair and instant polish without fuss.
Side Swept Boho Braid

When I want an easy, carefree look that still reads chic, I sweep my hair to one side and braid loosely from just behind the ear, letting face-framing pieces fall free for that effortless boho vibe.
I love how relaxed it feels — casual but put-together.
- Quick to do
- Soft, lived-in texture
- Works with waves or straight hair
Braided Bun With Minimal Pins
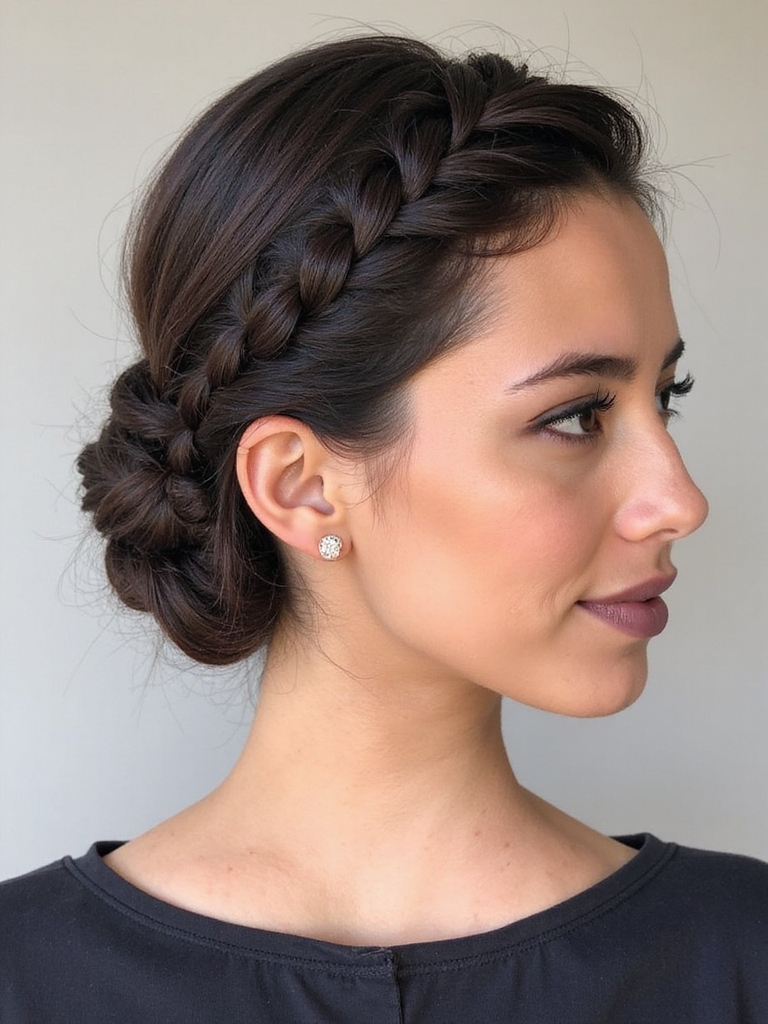
Okay, let’s make a polished bun with hardly any hardware: I start by prepping and sectioning the hair so the braid sits neat and flat.
Then I do a simple three-strand braid down the length, keeping tension even for a clean wrap.
Finally I secure the end and twist the braid into a bun, tucking and pinning only where needed so you use minimal pins.
Prep and Sectioning
Since a tidy foundation makes the whole look effortless, I start by detangling and misting my hair with a light leave-in spray so braids lay smooth without feeling stiff.
Then I neatly section for the bun, keeping things simple and reversible.
- Part cleanly.
- Clip sections.
- Smooth edges.
Quick, tidy, and ready for styling without drama.
Three-Strand Braid
Now that my sections are clipped and edges smoothed, I braid—simple three strands, nothing fussy—to build the bun’s backbone.
I keep tension even, whipping the plait to the nape, then coil it into a tidy loop.
A single pin or two tucks the braid snugly; it stays neat, light, and wearable all day without fuss or drama.
Secure With Twist
I usually finish the braid and then twist it around itself, keeping the coil flat against my head so the shape reads tidy, not top-heavy.
I tuck the end, secure with a few pins, and call it done. My quick checklist:
- Smooth edges with spray.
- Twist tightly, but comfortably.
- Use 2–4 pins, crisscrossed for grip.
It lasts all day.
Headband Braid for Short Hair

Don’t be fooled—short hair can totally pull off a chic headband braid, and I’ll show you how to make it look effortless.
I grab a small front section, French-braid toward the ear, pin as needed, then tug gently for volume. It frames my face, keeps bangs neat, and looks polished without fuss.
Quick, wearable, and surprisingly versatile for everyday polish.
Double Braids for Sporty Looks
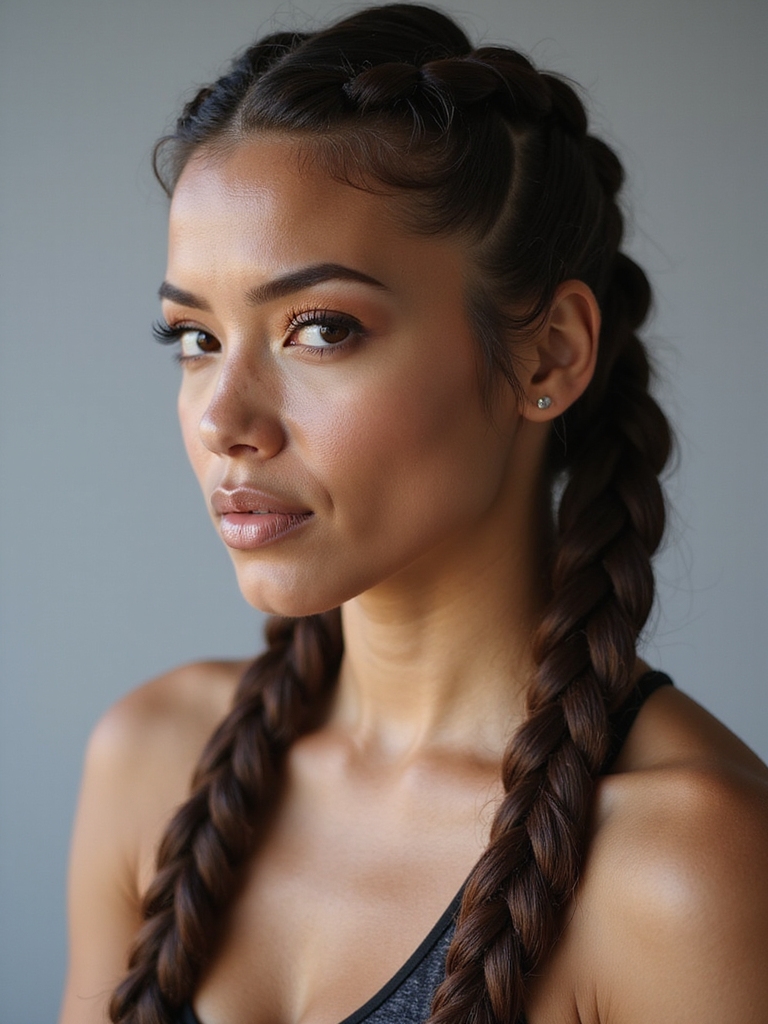
Often I reach for double braids when I want something sporty that still feels put-together; they keep hair out of my face during workouts and look cute afterward. I braid tight or loose depending on mood.
My quick tips:
- Start with a center part.
- Use small elastics.
- Add hairspray for grip.
They stay secure, chic, and zero-fuss — win.
Soft Romantic Milkmaid Braids

When I want something that feels effortlessly romantic without looking overdone, I reach for milkmaid braids — they wrap around the head like a crown and soften whatever I’m wearing.
I loosen strands for face-framing wisps, tug the braids gently to add volume, and secure with discreet pins.
It’s quick, forgiving, and somehow both polished and playful — perfect for coffee dates or meetings.
You’ve got a full arsenal of easy braids now, and honestly, they’re life-savers. Try the classic, flirt with a low side plait, or loosen things up with a messy braid when you’re running late.
Dutch and French braids give polish, while milkmaid or braided buns feel delightfully fancy with almost no effort. Experiment, make mistakes, tug and pancake until it looks right—these styles are forgiving, fun, and perfect for everyday elegance.


