
I love quick hairstyles that actually look like I spent time on them, so I keep a few braids in my back pocket for rushed mornings or last-minute plans. They’re fast, forgiving, and work on almost any hair type—slick for work, messy for weekends.
I’ll walk you through easy versions of classic and modern braids, plus simple tricks to add polish or texture, and one little hack that makes them hold all day…
Classic Three-Strand Side Braid
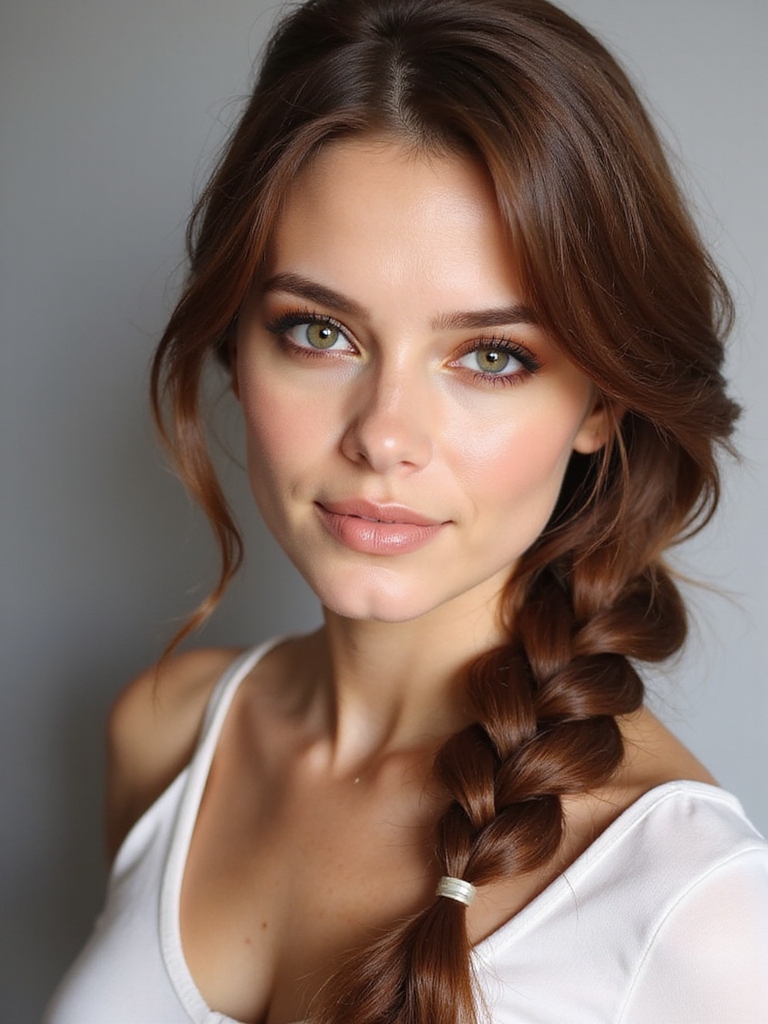
Let’s start simple: I’ll show you how to make a Classic Three-Strand Side Braid that looks polished without needing a lot of time or skill.
I gathered hair to one side, divided into three even sections, and crossed them rhythmically.
I tightened gently for neatness, tugged edges for softness, and secured with an elastic.
It’s quick, tidy, and perfect for any day.
Braids have a long history and are used worldwide as both practical and decorative hairstyles, often reflecting cultural identity with styles like the Pretty Braided Hairstyles.
Low Messy Fishtail
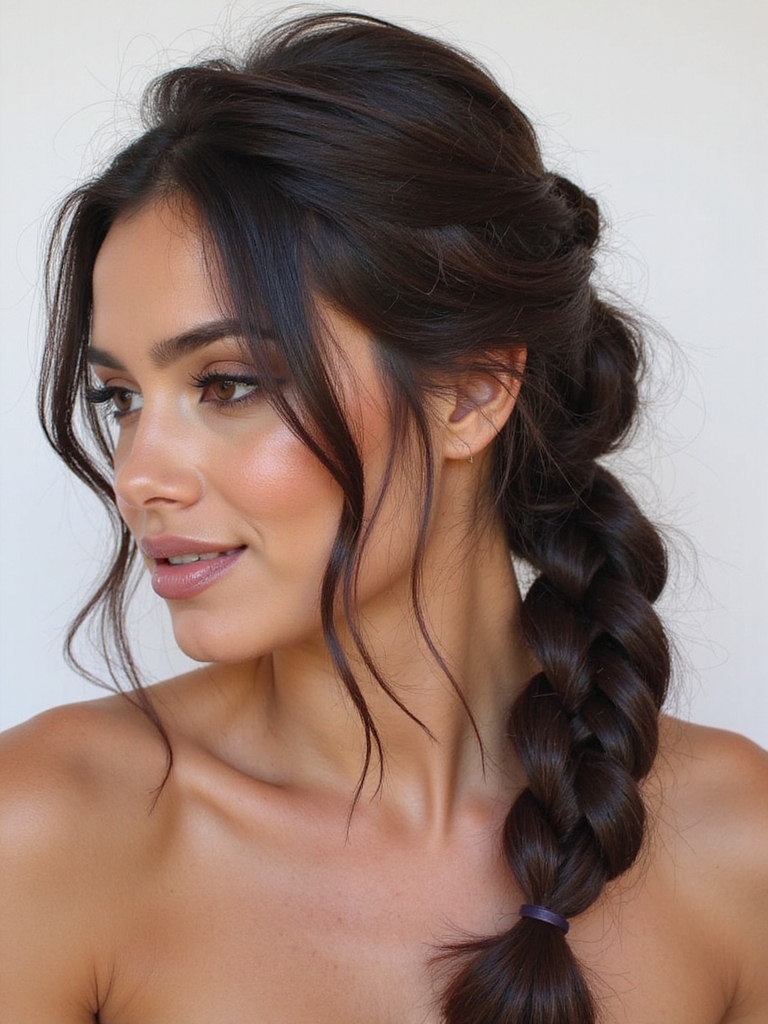
Often I start my low messy fishtail by loosely gathering hair at the nape, then splitting it into two sections before picking small outer strands and crossing them over into the opposite side—repeat, pull gently to loosen for texture, and finish with a soft tug of the braid for that undone look.
I secure it low, loosen face-framing pieces, and spritz to hold without stiffness. A quick braid like this gives an effortless charm and works well for charming braided hairstyles in everyday looks.
Quick Dutch Crown

If you liked the relaxed vibe of that low messy fishtail, you’ll find the quick Dutch crown just as forgiving—only it sits on top like a neat halo instead of hanging low.
I part hair, grab a front section, and Dutch-braid along the hairline, adding small bits as I go. Pin the end, loosen for volume, and you’re polished without fuss. Try using a light-hold spray to maintain texture and reduce flyaways while keeping movement light hold spray.
Braided Ponytail Wrap

I love the braided ponytail wrap because it turns a basic pony into something polished in two minutes: I take a small section, braid or twist it, and wrap it around the hair tie to hide it while adding texture.
It’s my go-to for rushed days — secure with a bobby pin, loosen a few strands for softness, and you’re out the door looking sharp.
Braided ponytail styles like the braided ponytail are versatile for casual and formal occasions.
Half-Up Waterfall Braid

The half-up waterfall braid is my favorite when I want something pretty without fuss — I sweep the top section back, pick up a small strand, and let pieces cascade through the braid so it looks intricate but stays airy.
I secure with a clear elastic, tug gently for volume, and leave ends loose for a soft, effortless vibe that lasts through meetings or weekend plans.
This style pairs beautifully with other adorable braided looks to create a cohesive, charming hairstyle.
Tiny Accent Cornrows

Pop a few tiny cornrows along your hairline and watch a simple look get instantly cooler — I like to place them behind one ear for an asymmetrical vibe that’s low-commitment but high-style.
They take minutes, smooth flyaways, and frame my face. Use a rat-tail comb, small sections, and clear gel.
Secure ends with tiny elastics or bobby pins for neat, wearable flair.
Twisted Halo Braid

For an easy, romantic finish, I twist two sections from either side and pin them into a halo that sits like a crown around my head.
It’s fast: twist, tuck, secure with bobby pins.
I loosen a few face-framing strands for softness, spray for hold, and I’m out the door.
Works on fresh hair or day-old texture—effortless and surprisingly elegant.
Simple Rope Braid
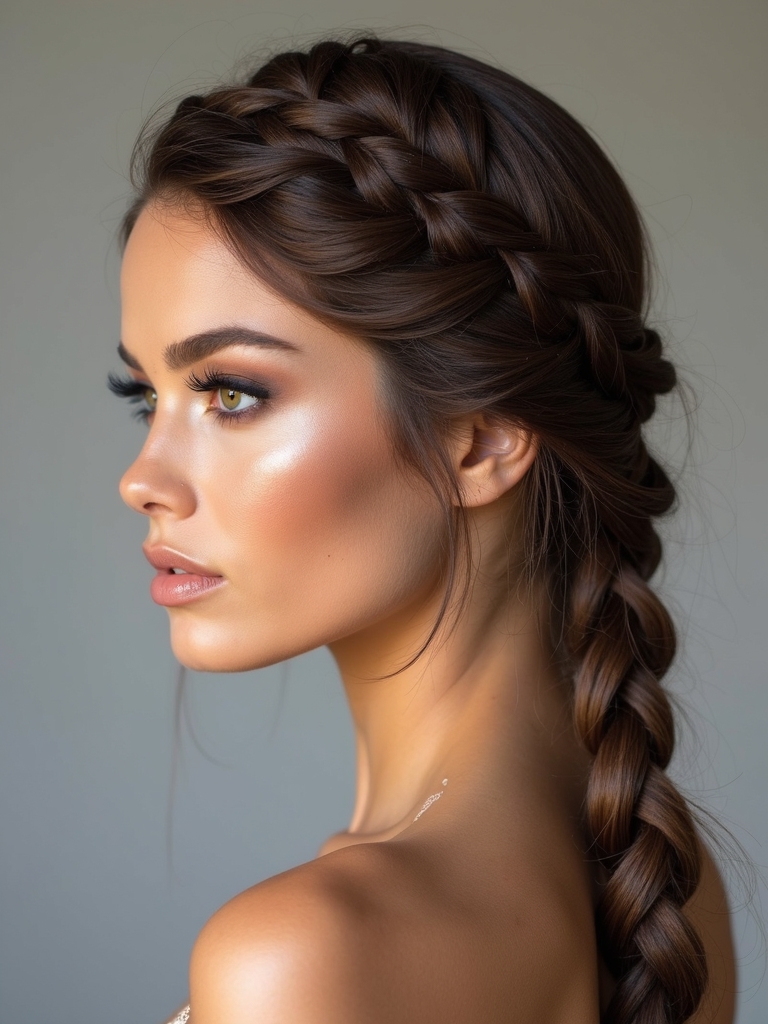
Okay, let’s tackle a simple rope braid—first I’ll show you how to section your hair cleanly so the twist stays neat.
Then I’ll walk you through the twisting motion and how to keep tension so the braid looks tight and even.
Finally I’ll show the best ways to secure it so it won’t unravel during your day.
How to Section Hair
Before you start twisting, I like to split the hair into two equal sections so the rope braid sits neat and balanced — grab a tail-comb or your fingers, find the center part (or off-center if you prefer), and clip one side out of the way.
Then smooth each half, detangling ends, and check symmetry.
Keep tension light so the braid won’t pull at your scalp.
Twisting and Securing Technique
Start twisting by taking one small section from the right half and wrapping it over itself toward the left, then do the same with a matching piece from the left—keep both strands twisted away from your face as you cross them together so the rope braid tightens neatly.
I love how quick it looks; secure with a gentle elastic.
- Twist tightly for hold
- Smooth flyaways with cream
- Anchor with bobby pins
Braided Top Knot

Think of the braided top knot as your go-to for days when you want chic hair with minimal fuss—I love it because it’s quick, holds all day, and looks put-together even if you’re running late.
I gather hair high, braid a simple three-strand, wrap into a knot, secure with pins or an elastic, then tug pieces for shape.
It’s effortless, tidy, and versatile.
Double Mini Braids for Short Hair

If you like the fuss-free vibe of a braided top knot, try double mini braids when your hair’s too short for full-length styles — I reach for them on days I want a little edge without extra time.
They’re quick, cute, and stay put. Try these tweaks:
- Add texture spray for grip
- Secure with tiny elastics
- Pull loops for volume and attitude
You’ve just opened a handful of go-to braids that make busy mornings way more stylish (and less stressful). Try the side braid or messy fishtail on rushed days, tuck a tiny braid around your ponytail to hide the elastic, or crown your look with a quick Dutch or twisted halo for instant polish.
Play with loosened strands, secure with pins, and mist lightly — you’ll be out the door looking put-together in under ten minutes.


