I’ve been obsessing over jaw-dropping braid looks that actually work for real life, and I can’t wait to share tricks that make Dutch, milkmaid, bubble and ribbon-infused styles feel fresh and wearable.
I’ll show you how simple prep, tight or knotless technique, and a few styling hacks turn basic plaits into instant showstoppers—plus easy extras like beads or twisted wings that elevate the whole vibe. Stick around for the part that changes everything.
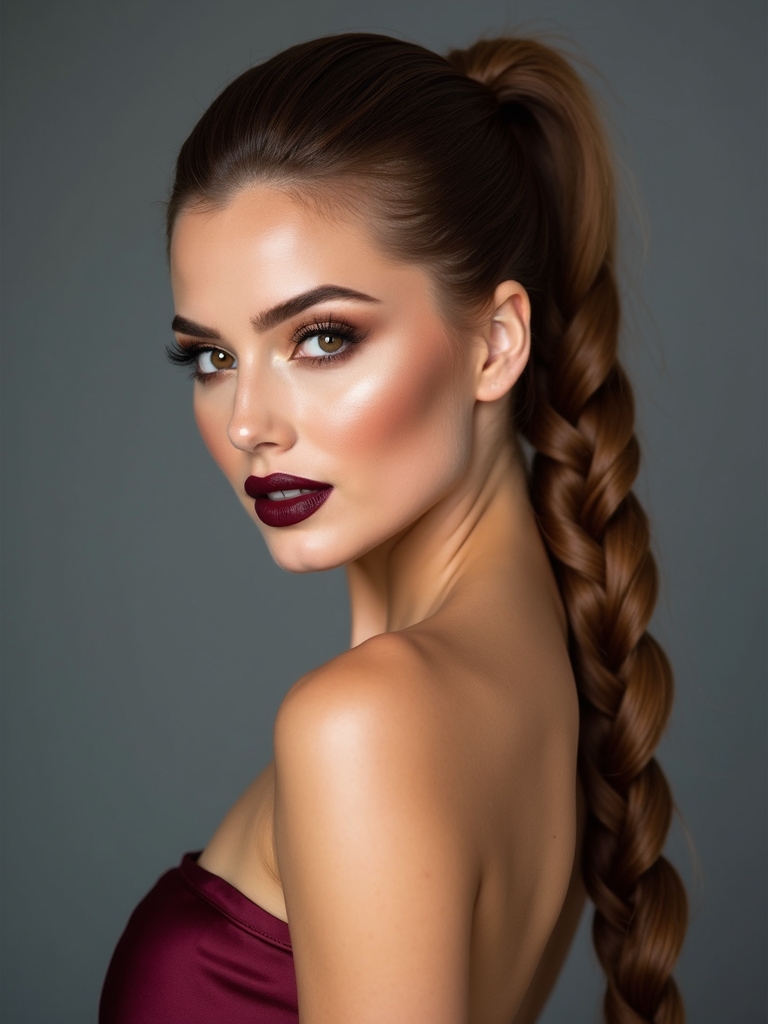
Glossy Dutch Braid With a Modern Twist
When I want a braid that feels fresh and a little luxe, I reach for a glossy Dutch braid with a modern twist—it’s bold, neat, and totally wearable from coffee runs to date nights.
I slick hair with lightweight serum, braid tightly for structure, then tug sections gently for volume.
It stays polished, feels secure, and gives instant edge without fuss—my go-to when I want impact.
I also often start with damp, detangled hair to ensure a smoother, frizz-free finish and easier braiding with Dutch braids.
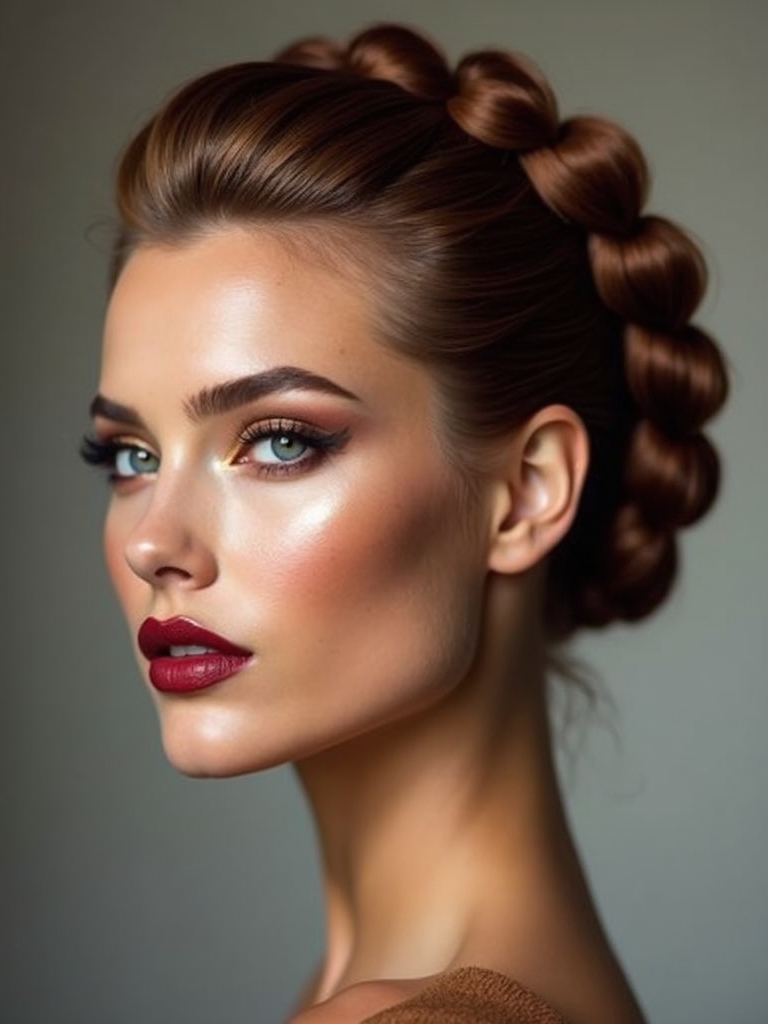
Milkmaid Braids Reimagined
If you think milkmaid braids are just quaint, think again — I love reworking that classic into something modern and mischievous.
I swap chunky, pulled-apart loops for sleek, glossy ropes, tuck playful tendrils, and add unexpected accessories.
I’ll show you quick tips to lift the crown, secure comfort for all-day wear, and make the look both fresh and utterly wearable.
Simple Fulani braids offer versatile, cultural-inspired details you can mix into this style for added edge and authenticity, including distinctive central braids.
Bubble Braid Elegance
I love turning a simple ponytail into a sculptural statement with bubble braids — they’re playful, surprisingly polished, and easy to customize for day or night.
I’ll show quick sectioning, elastic spacing tips, and how to puff each bubble for instant volume.
They hold up all day, work on any length, and pair perfectly with casual tees or a sleek blazer for instant charm.
Bubble braids are a fun example of bubble braid styling that creates instant texture and volume.
Ribbon-Infused Braids
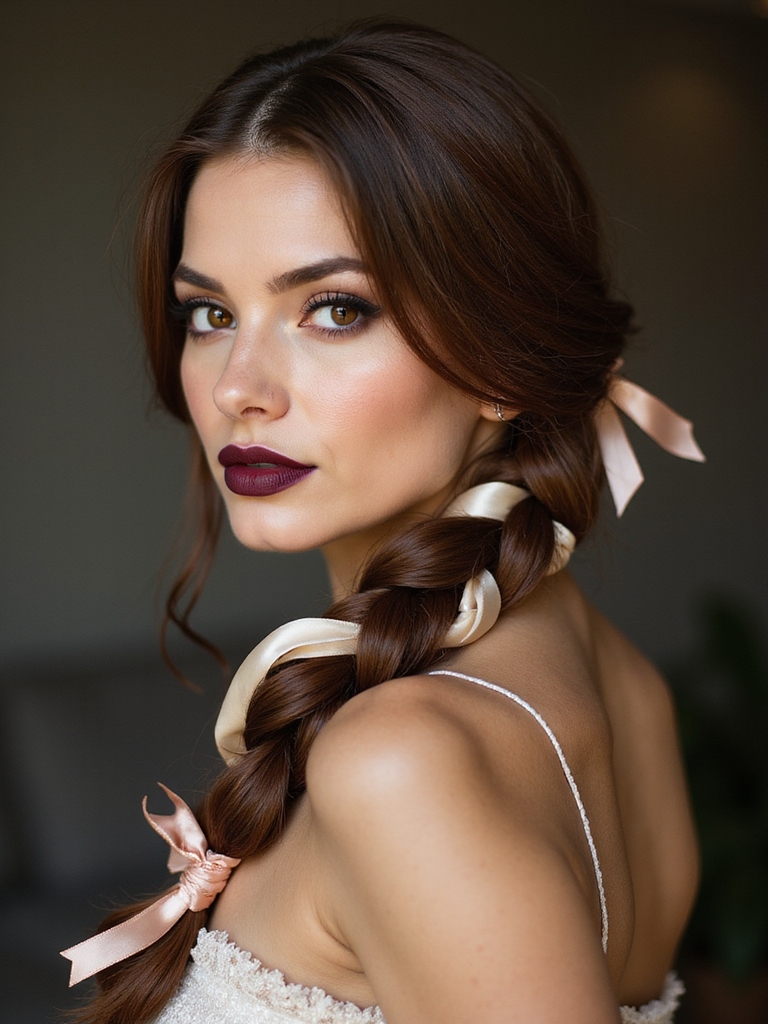
Curious how a simple ribbon can turn your braid into a showstopper? I weave satin through strands, teasing color and texture—it’s instant fun.
Try these playful twists:
- Wrap ribbon along a classic three-strand for candy-striped charm
- Loop ribbon into a fishtail for sleek contrast
- Tie ribbon at the end as a bow flourish
- Mix thin ribbons for boho sparkle and dimension
Experimenting with ribbon placement can also help highlight braid structure and overall hairstyle symmetry.
Stitch Braid Detailing
When you want a braid that looks intricate without hours of work, I reach for stitch braids—they give that neat, raised ladder effect that turns heads.
I love how quick detailing elevates a simple cornrow into art; you pull sections tight, stitch across, and voilà — crisp texture and geometric vibes.
Try them with a pop of color for instant oomph.
Stitch braids are prized for being an effortless protective style that helps reduce daily manipulation and breakage.
Fishtail Halo Braid
Stitch braids set the stage for trying something softer and more romantic — enter the fishtail halo braid. I adore how it crowns the face, feels effortless, and still turns heads. I’ll show you how to loosen for softness, secure discreetly, and finish with shine.
- Slightly pull for volume
- Use texturizing spray
- Tuck ends under
- Add tiny pins for hold
Fresh braided hairstyles like the fishtail halo braid are among the new braided hairstyles gaining popularity this season.
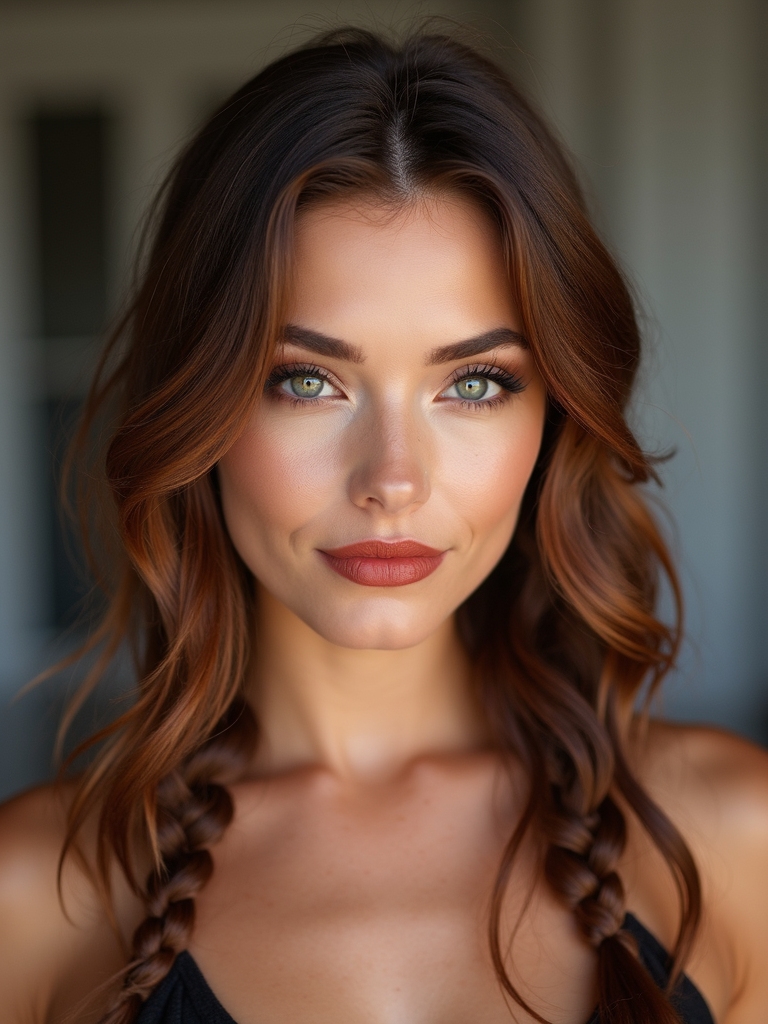
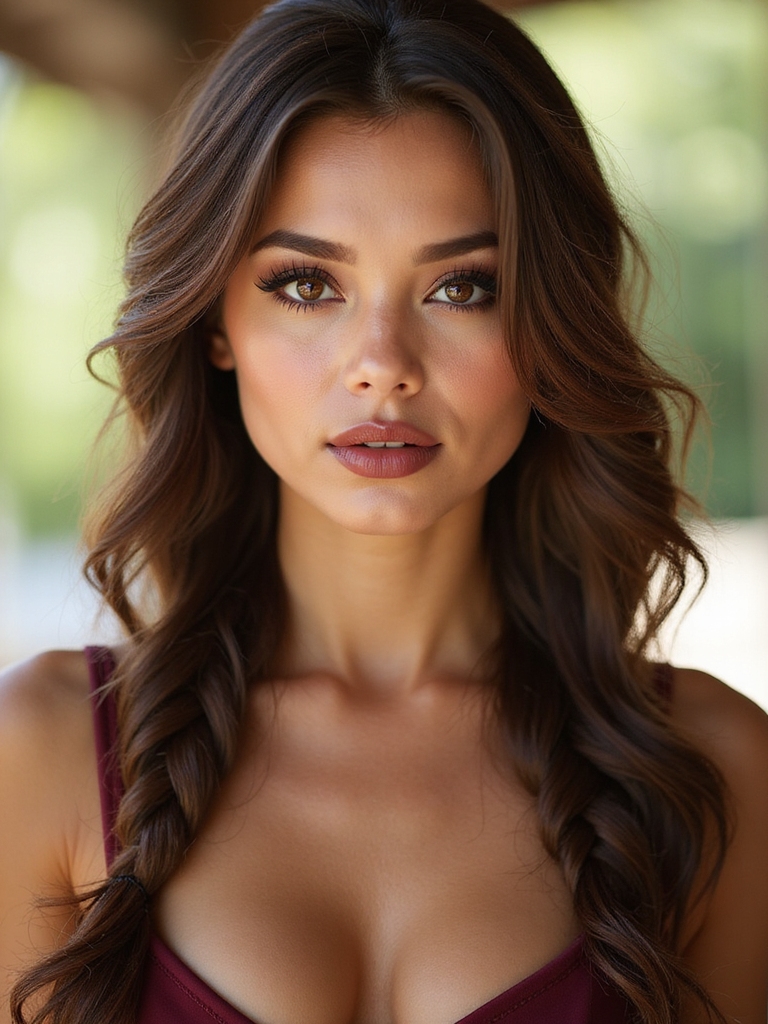
Boho Side Braids With Texture
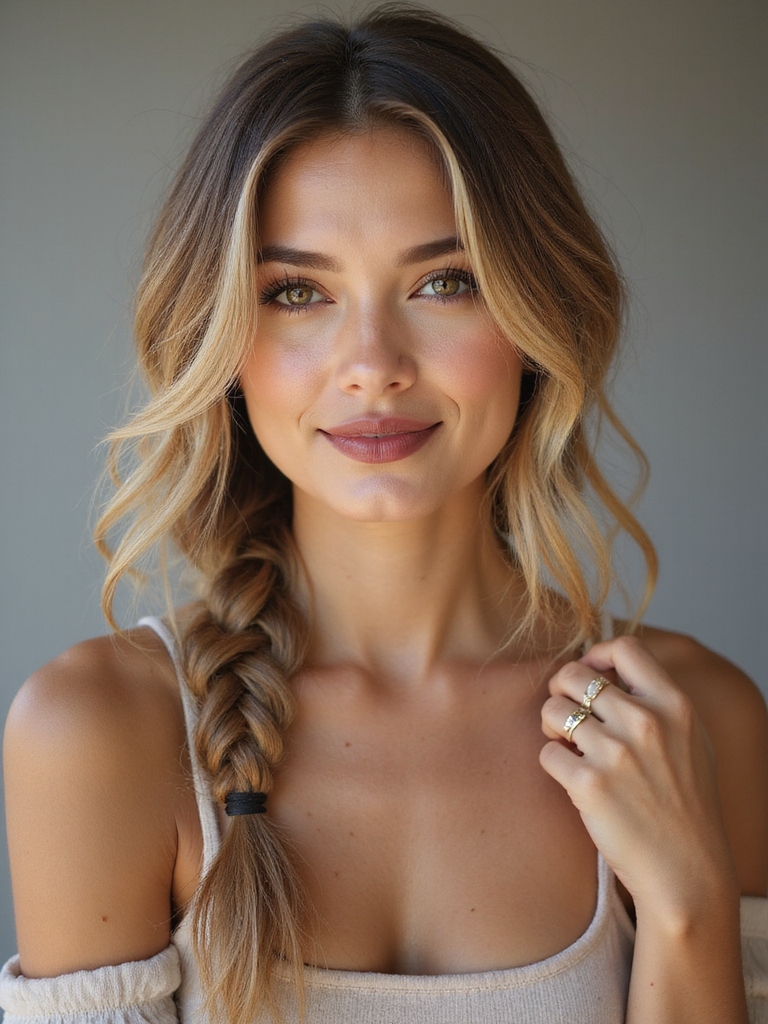
I love pulling a few loose, textured side braids over one shoulder for an easy boho vibe that reads effortless but actually lasts all day.
I tug strands for softness, mist with sea salt, and tuck tiny flowers or metallic cuffs for playful flair. It’s quick, forgiving, and perfect for brunch, festivals, or a spontaneous date—total carefree chic with minimal effort.
Knotted techniques have evolved into gentler options like knotless braids that reduce tension and feel more natural.
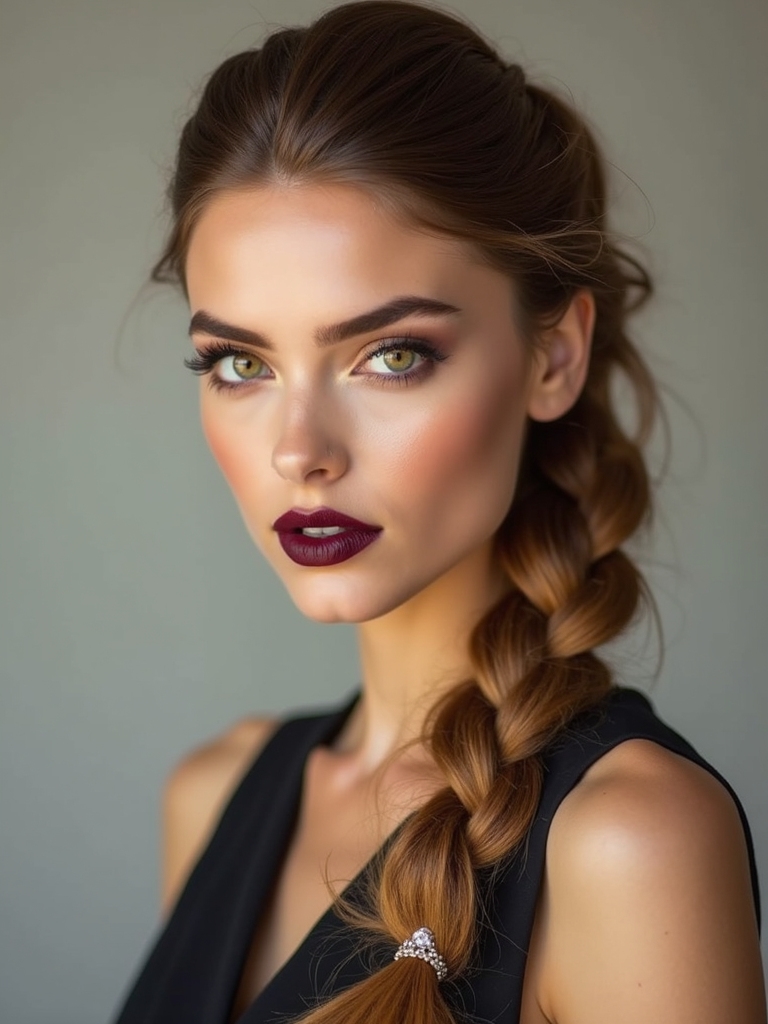
Sleek Rope Braid Ponytail
I love how a sleek rope braid ponytail looks crisp and chic, so let’s start with clean prep and smart sectioning to keep everything smooth.
I’ll show you how to twist and wrap the rope braid neatly, then secure and finish it so the ponytail reads polished all day.
Stick with me and you’ll have a sleek, fuss-free style that holds up and shines.
Two Braids are a versatile, everyday option that can be incorporated into a sleek ponytail for added texture and hold, especially when you begin with effortless braids.
Prep and Sectioning
Before I start twisting, I make sure the hair is clean, detangled, and slightly damp so the rope braid lies sleek without frizz.
I section neatly for control, clip stray pieces away, and pick a low or high ponytail base depending on mood.
Quick checklist keeps it tidy:
- Part cleanly down the center or side
- Smooth each section with gel
- Secure with a soft elastic
- Clip excess hair out of the way
For everyday wear, I often choose effortless braided hairstyles that are quick to create and maintain throughout the day.
Wrapping and Finish
Once the rope braid’s tucked into place, I wrap the remaining tail around the ponytail base to hide the elastic and give the style a polished look.
I secure with bobby pins, tucking ends neatly.
Then I smooth flyaways with a light serum, mist for hold, and gently pull the braid for balanced volume.
It’s quick, chic, and totally wearable for any day.
This effortless look is anchored by the Sleek Braided Ponytail technique to keep the style neat and modern.
Ladder Braid Accents
I love adding ladder braid accents when I want a little wow without going overboard.
Placing thin ladder details along the hairline or above a ponytail gives texture and surprise where hair usually sits flat.
I’ll show you how small changes in placement and braid tightness transform the whole look.
Subtle Ladder Detailing
With a few quick ladders woven along your part, I can turn an everyday braid into a tiny architectural flourish that feels both polished and playful. I slip in slim ladder braids for subtle edge, then tweak spacing so they peek just right.
- Tiny woven rungs for tidy shine
- Minimal tools, max impact
- Keeps movement natural
- Works for casual or chic
Placement and Texture
After adding those tiny ladder rungs along your part, I’ll play with where to place them and how they feel against your hair.
I might cluster a few by the temple for edge drama or space them down the crown for subtle cadence.
I’ll mix sleek strands with textured, tousled ones so each rung pops—contrasting smooth and messy gives instant personality and movement.
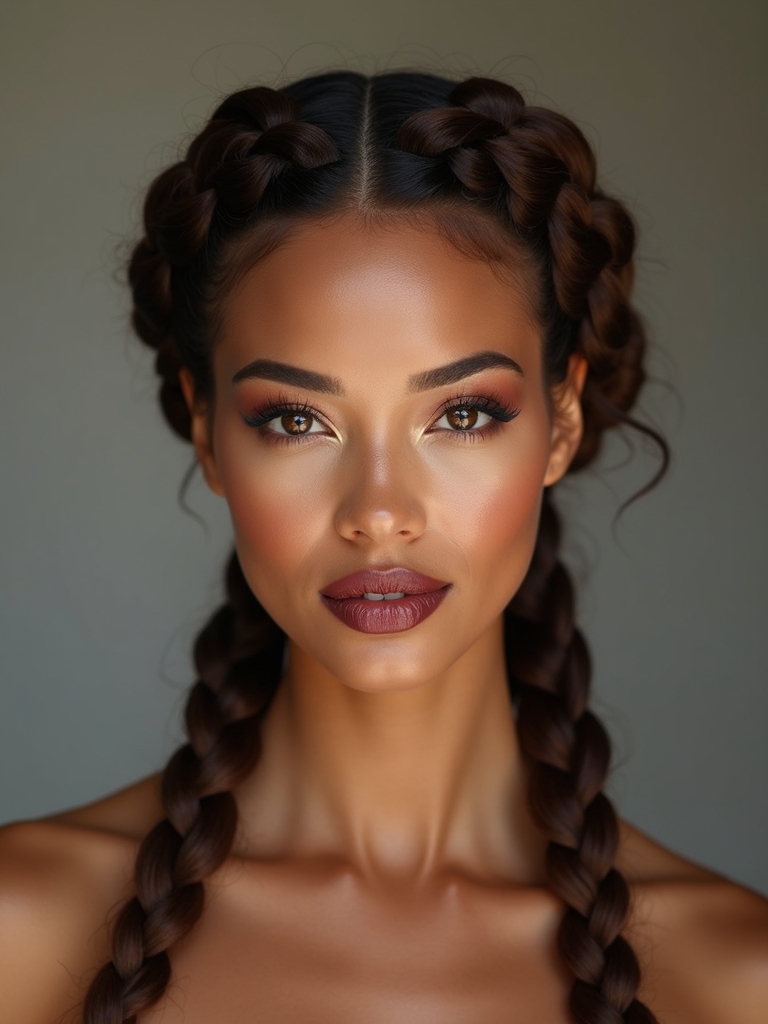
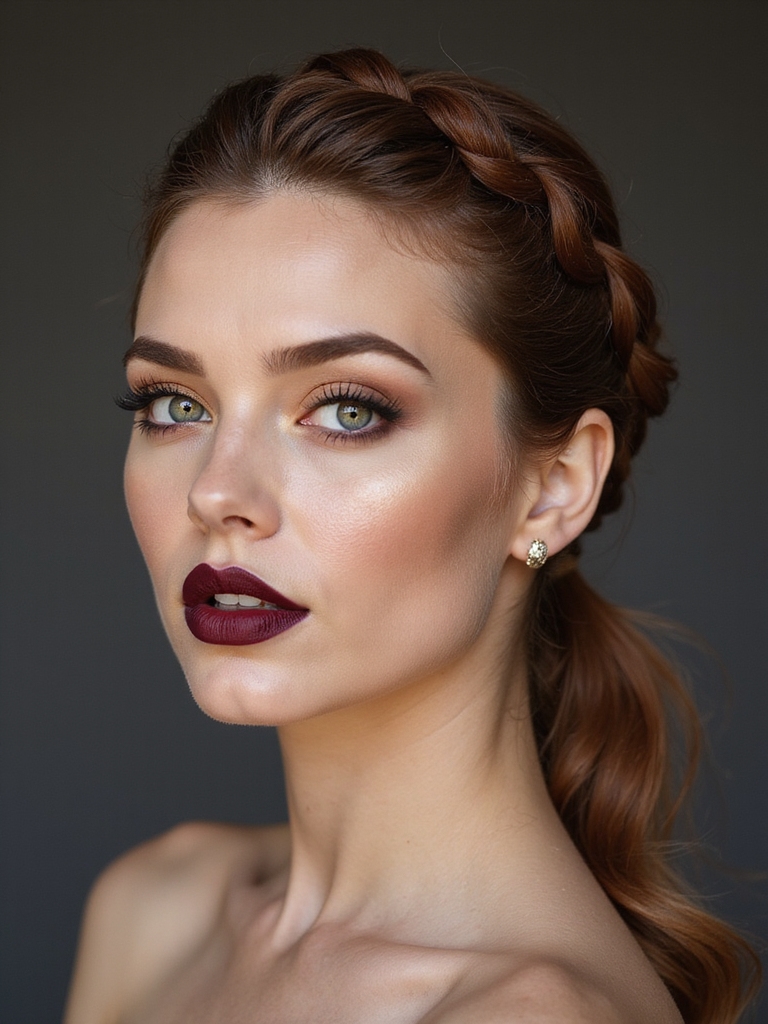
Knotted Braided Crown
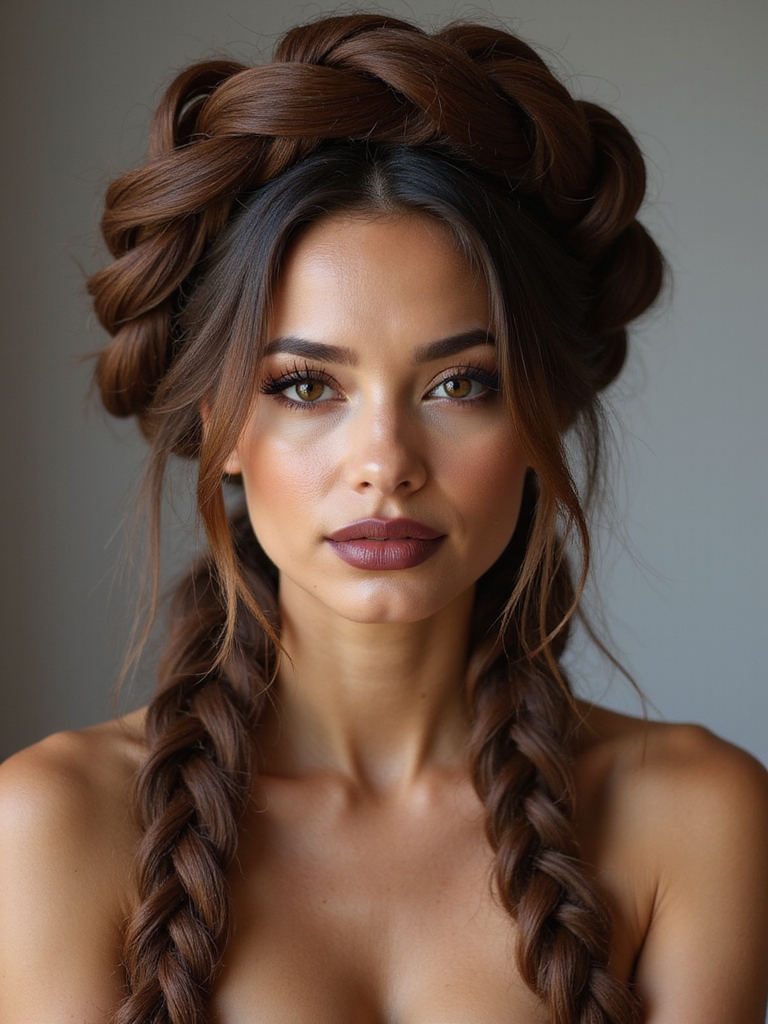
If you want a look that’s both romantic and a little bit warrior-ready, I’ll show you how the knotted braided crown pulls it off with flair.
I braid, knot, and pin around my head for an instant crown that’s comfy and chic. It lifts my face and holds through wind, parties, and park strolls.
- soft tension for comfort
- textured strands for depth
- secure hidden pins
- effortless undone finish
Waterfall Braid Variation
Beside my ear I start the cascade: a waterfall braid variation that spills delicate strands while keeping the rest of my hair anchored and polished.
I weave, drop, and pick up sections, watching soft ribbons fall like confetti.
It’s flirty, tidy, and surprisingly quick — perfect for brunch or a bold date.
Try mixing thin twists for texture and instant wow.
Chunky Box Braid Updo
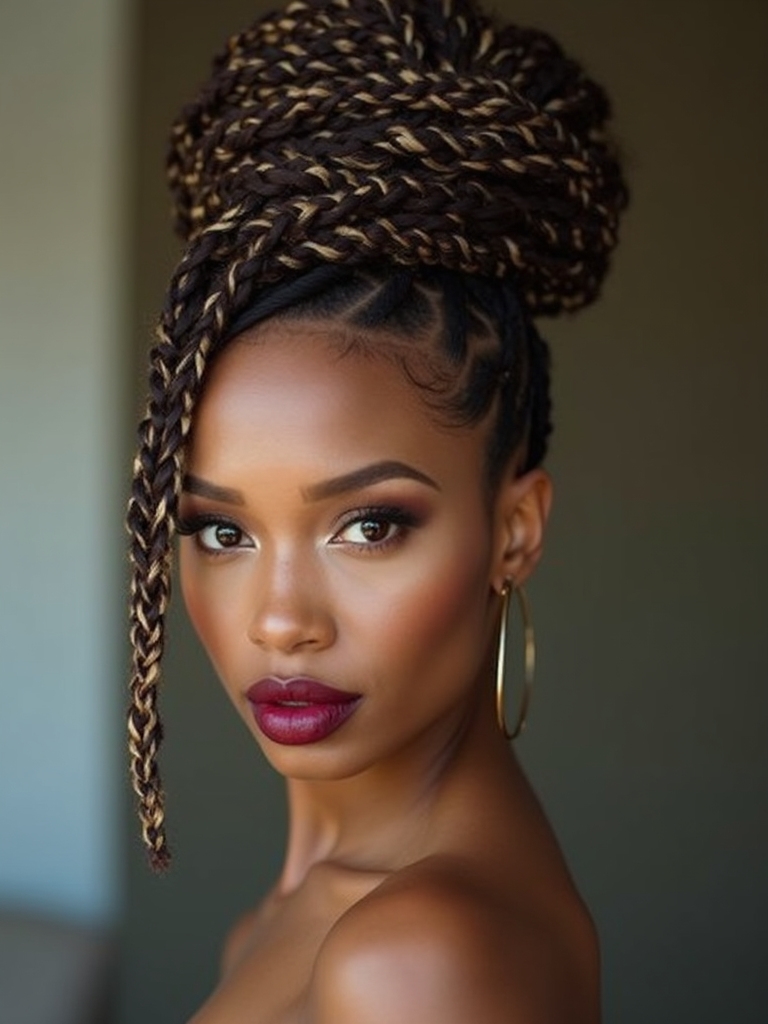
A chunky box braid updo is my go-to when I want instant attitude with zero fuss — I pile thick, sculpted braids into a high bun or crown and the look feels polished and bold at once.
I love how it frames my face and lasts days.
- Bold silhouette that elevates any outfit
- Minimal daily maintenance
- Easy to accessorize with cuffs
- Great for showing off texture
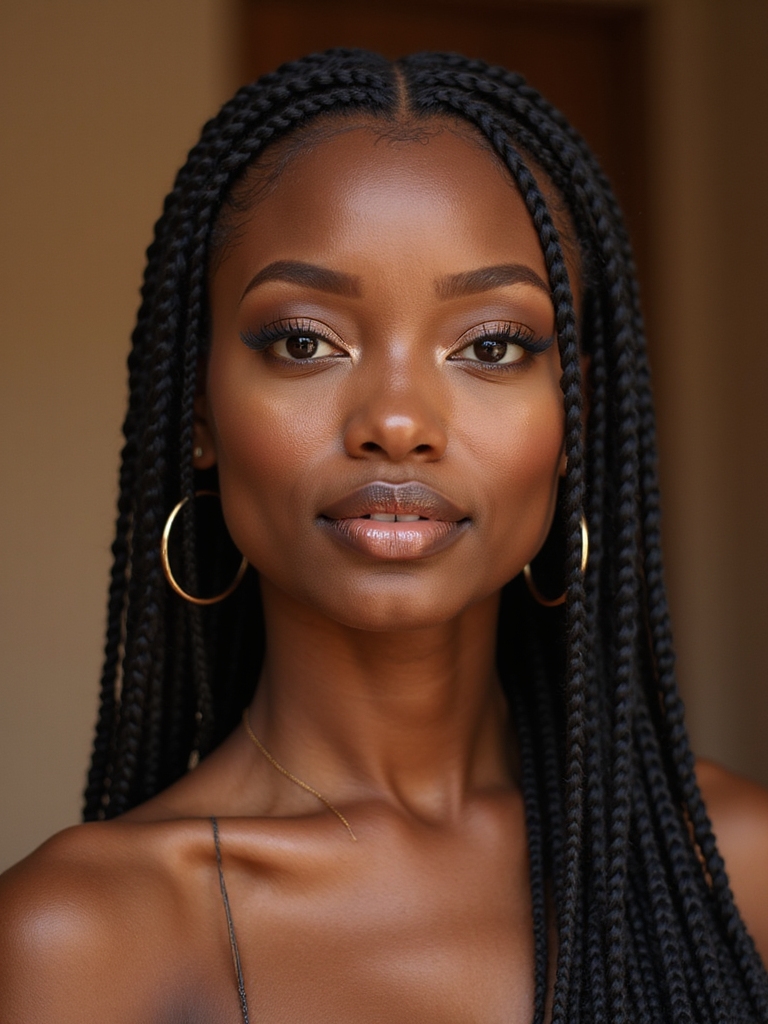
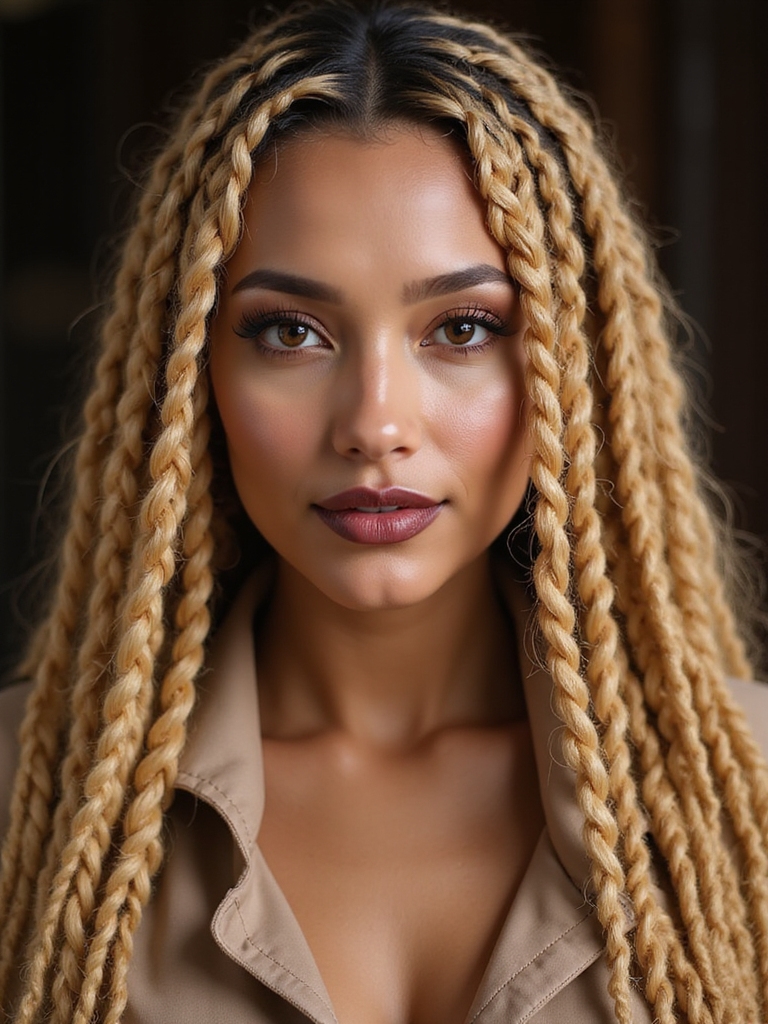
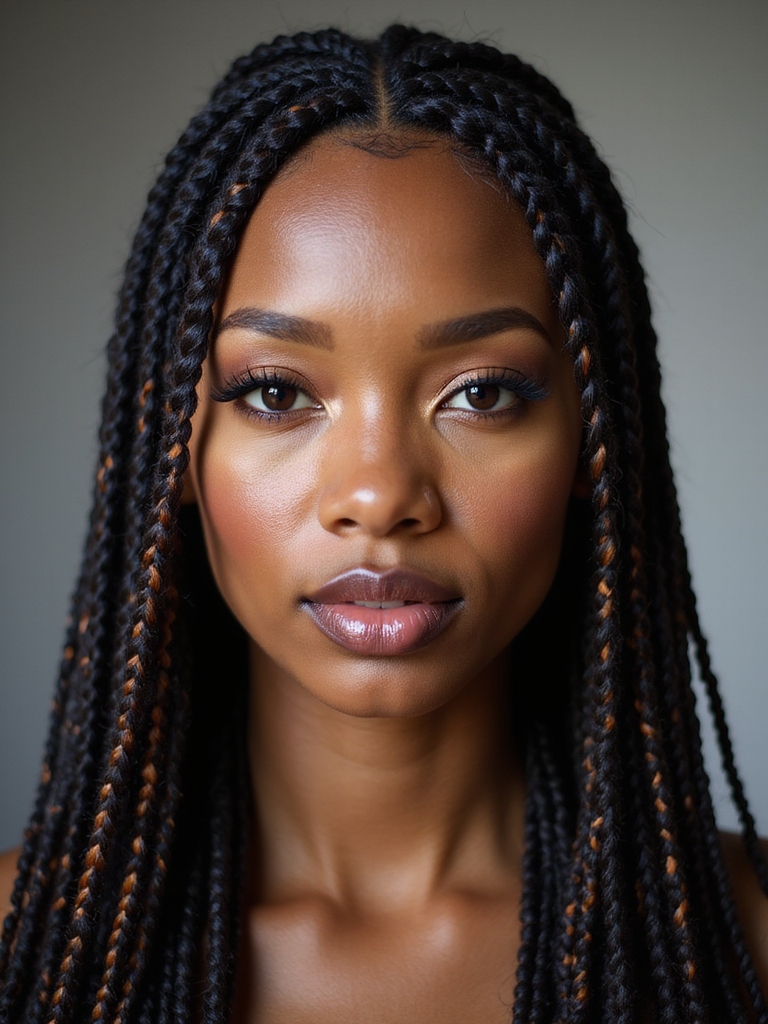
Microbraid Beaded Styles
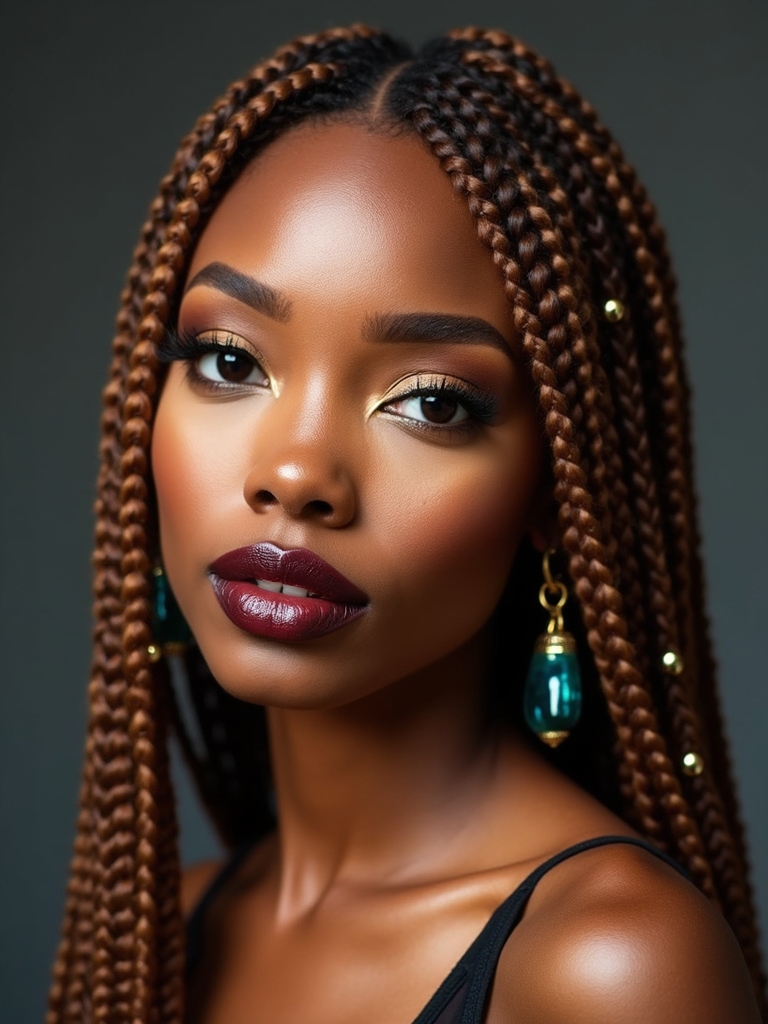
I always reach for microbraids when I want something intricate but carefree — tiny, waist-skimming plaits threaded with a scatter of beads give me movement, shine, and personality all at once.
I love mixing matte and metallic beads, spacing them for surprise, and letting a few peek near my face. They’re low-fuss, endlessly customizable, and an instant vibe upgrade I can’t resist.
Braided Bun With Twisted Wings
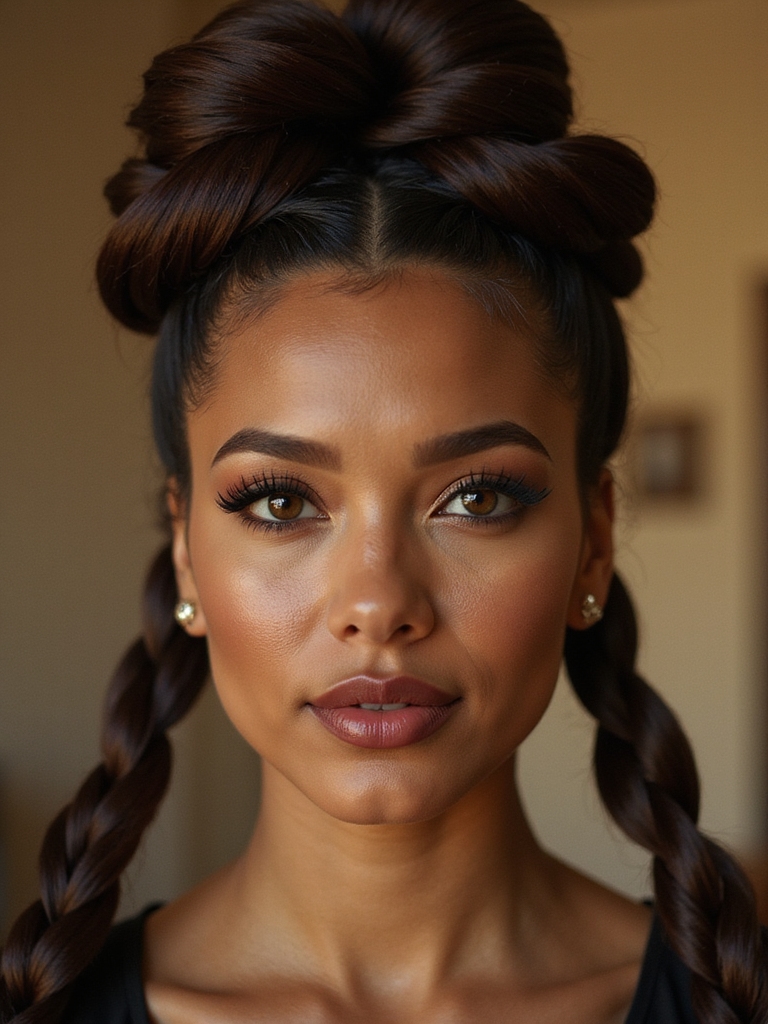
I’m excited to show you how to build a sleek braided bun with playful twisted wings, starting with a smooth, detangled base so everything sits neat and lasts longer.
I’ll walk you through twisting out crisp wings on each side, then bringing those pieces back into a sturdy braid.
Finally, I’ll secure the braid into a tight bun so your style stays polished and bounce-proof all day.
Preparing Hair Base
Once you’ve detangled and dampened your hair, I start by sectioning it into three parts so the braided bun with twisted wings comes together cleanly and fast.
I smooth each section, secure the base, and prep for sleek braids—clean lines make the fun stuff easier.
- Clip top section loosely
- Apply light styling cream
- Brush roots toward crown
- Secure low ponytail
Crafting Twisted Wings
When you’re ready, I’ll show you how to shape the twisted wings so they frame the bun like little sculpted sails.
I grab sections beside the bun, twist each toward the back, and let them fan outward.
I tweak tension for soft volume, pinning twists to sit airy, not stiff.
You’ll get playful, winged curves that lift the whole look.
Securing Braided Bun
Let’s lock this braided bun into place so your twisted wings stay the star—I’ll work with the braid’s base, tucking and pinning sections snugly against the scalp to create a clean, secure foundation.
I’ll test tension, smooth flyaways, and add texture where needed.
- Use strong bobby pins in opposing directions
- Add a light-hold spray
- Tuck ends under the bun
- Check symmetry and comfort
Asymmetrical French-to-Dutch Fusion
Because I love mixing textures, I’ll show you how an asymmetrical French-to-Dutch fusion gives your look instant edge and movement—braid one side with a sleek French braid and flip into a raised Dutch on the other for contrast that reads modern and effortless.
I’ll guide you through parting, tension shifts, and finishing touches so the style feels balanced, bold, and totally wearable for day or night.
I’m buzzing to see which braid you’ll try first — glossy Dutch, milkmaid reinvention, bubble glam, or that asymmetrical French-to-Dutch twist? Play with ribbons, beads, or chunky vs. micro textures, prep with damp, detangled strands and a slick of serum, then braid tight or knotless and tug for drama.
These looks last from coffee runs to date nights, so grab your tools, get playful, and rock a jaw-dropping braid that feels totally you.