I love how a great braid can turn a meh morning into something a little chic and totally doable. I’ll guide you through styles from a foolproof three-strand to a romantic halo, with easy prep tips and finishers so your look lasts.
If you want low-maintenance texture or a polished updo for an event, I’ve got options you can try this week—let me show you which ones suit your hair and how to make them stick.
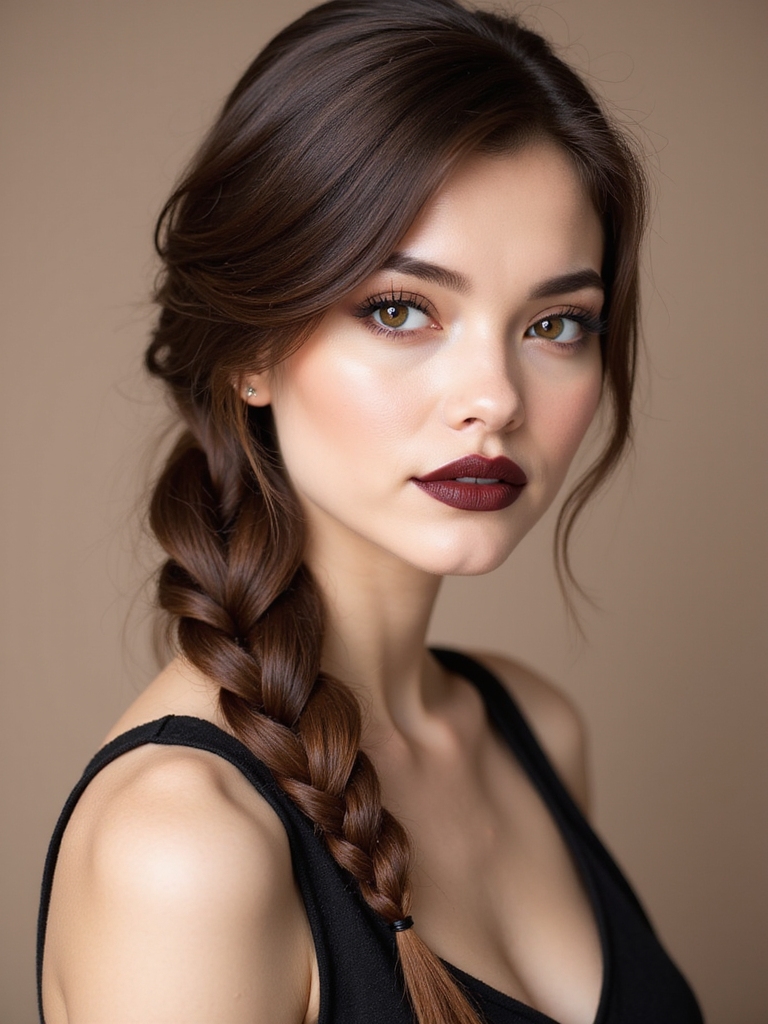
Classic Three-Strand Braid

Let’s start with the classic three-strand braid — it’s the backbone of so many styles and honestly one of my favorite, fail-safe looks.
I love its simplicity: divide, cross, repeat.
It holds all day, works on wet or dry hair, and you can loosen or tighten for different vibes.
Try adding a ribbon or pulling pieces for texture — effortless and reliable.
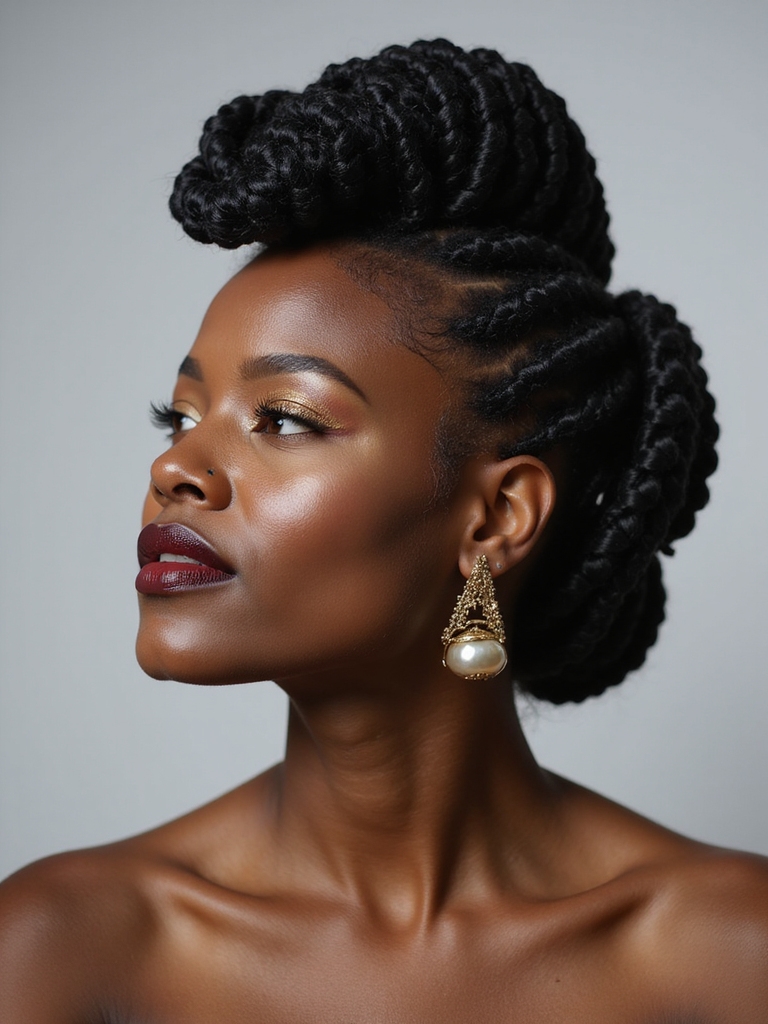
Braided updos often use multiple braid types, including braided updo techniques, to create elegant, secure styles.
French Braid

If the three-strand braid is your reliable go-to, the French braid is the slightly fancier cousin that keeps things tidy close to the scalp.
I love it for workouts and polished days; you add hair gradually, keeping sections neat.
It’s forgiving with layers, holds all day, and looks effortless once you get the rhythm.
Try loosening the crown for a softer vibe.
Cornrow updos offer versatile styling options when you want something protective and chic, including braided buns and intricate updo techniques that keep hair secure.
Dutch Braid

Now that we’ve played with the French braid, I’m going to show you how a Dutch braid starts with the right prep and clean sectioning so it sits crisp.
I’ll walk you through the underhand weaving technique that gives it that bold, raised look and share tips to keep strands neat as you go.
Finally, we’ll finish with smart ways to secure the braid and boost hold without crushing volume.
Braided ponytails can be adapted for every occasion with simple adjustments to length and volume.
Prep and Sectioning
Starting with clean, slightly damp hair makes the braid hold better, so I usually spritz and detangle before I even reach for a comb.
I section a neat center part, clip sides out of the way, and create a top triangular section for the Dutch braid.
Keeping sections tidy and even saves time, prevents slipping, and makes the final braid look crisp and intentional.
Braided styles can be dressed up or down to suit any wedding vibe, including classic braided wedding hairstyles that add elegance and texture.
Weaving Technique Tips
I’ll walk you through the Dutch braid weave so you can get that raised, defined look without wrestling your hair into knots.
Start with three tight sections, cross outer pieces under the middle, adding small amounts of hair each time.
Keep tension steady, angle fingers to lift strands, and gently tighten as you go.
Practice slow—muscle memory builds fast.
This technique is a staple in many braided cornrow styles and works well on varied hair textures.
Finishing and Hold
Once you’ve braided to the nape and have just a few inches left, I switch gears from building to locking the style in place—this is where hold and finish matter most.
I secure the tail with a clear elastic, tug gently to pancake for volume, mist with flexible-hold spray, and pin loose pieces with bobby pins. A tiny dab of pomade tames flyaways without stiffness.
Fishtail Braid

I love how a fishtail can look sleek and tight for a polished vibe or pulled-apart and messy for boho flair, and I’ll show you when to choose each.
I’ll give fast styling tips—like prepping with texturizing spray for grip or using tiny elastics for a cleaner finish—and a few easy variations you can try.
Stick with me and you’ll master both finishes and a handful of styles that work for any occasion.
Tight vs. Loose Finish
Let’s dig into the tight-versus-loose debate for fishtail braids—because how you finish it changes everything. I prefer tight for sleek, long-lasting wear and neat texture; it’s great when you need polish.
Loose gives an effortless, romantic vibe and adds volume but loosens faster. Choose based on occasion and hair type, then secure ends so your look lasts.
Styling Tips & Variations
Often I tweak a fishtail’s basic form to match the mood—casual, polished, or somewhere in between—and you can too. I loosen for beachy texture, pull strands for softness, or slick sides for sleekness.
Add ribbons, tiny elastics, or a messy bun with the tail. For longevity, mist lightly and secure hidden pins where needed; small changes make big style differences.
Milkmaid Braids

When I want a look that’s charming but surprisingly simple, I reach for milkmaid braids — they lift hair off the face, hold up through a busy day, and give any outfit a playful, polished vibe.
I braid two sections, wrap them over the crown, and pin discreetly. They work on second-day hair, hide imperfections, and shift effortlessly from errands to dinner.
Rope Braid

I’ll walk you through a simple step-by-step technique for a sleek rope braid that even beginners can master.
Then we’ll play with styling variations—from casual side-ponytail twists to chic updo wraps—so you can match the look to any occasion.
Follow along and I’ll point out quick tips to keep the braid neat and long-lasting.
Step-By-Step Technique
Because the rope braid looks intricate but’s actually simple, I’ll walk you through a neat, foolproof method that works on most hair types.
Start with detangled, slightly damp hair. Split into two sections, twist each away from the face, then twist them together toward the face. Keep tension even, secure with an elastic, and finish by gently tugging for balance and grip.
Styling Variations
Now that you’ve got the rope braid technique down, let me show you fun ways to play with it so your look never gets boring.
I twist two tight ropes into a low bun, tuck ends into a messy crown, or double them as playful pigtails.
I add ribbons, beads, or loosen for texture.
Quick, chic, and wearable — perfect for work or weekend.
Waterfall Braid

I often reach for the waterfall braid when I want something that looks intricate but stays breezy all day.
It drops soft strands like a cascade, framing my face while the rest tucks neatly.
I braid along the crown, letting pieces fall as I add new sections.
It’s quick, forgiving, and perfect for casual outings or sprucing up second-day hair.
Halo Braid

If you like the effortless look of a waterfall braid, you’ll also enjoy the halo braid for days you want something a bit more polished without fuss.
I wrap a braid around my crown, pinning as I go for a secure, crown-like finish. It feels romantic and tidy, works with loose waves or sleek hair, and holds up all day with minimal touch-ups.
Lace Braid

When you want a braid that feels both delicate and intentional, I reach for a lace braid because it lets me braid only on one side as I add small pieces of hair into the outer strand.
It frames my face nicely, stays chic all day, and works on any hair length.
I pin it behind an ear for instant polish—easy, pretty, and surprisingly quick.
Pull-Through Braid

Think of the pull-through braid as a braid that cheats—it’s basically a series of ponytails fanned and wrapped to look like a chunky, intricate braid without the fiddly plaiting.
I love it for quick volume: secure small ponytails, split and loop, then tug gently for fullness.
It holds well, works on most lengths, and looks elaborate with minimal effort—perfect for busy days.
Boxer Braids

Okay, let’s talk boxer braids—start with an even, clean center part so both sides mirror each other.
I’ll show you how to keep the braids tight and secure from root to tip so they last all day.
With a few quick tips on tension and finishing, you’ll have a sleek, durable style in no time.
Even, Clean Center Part
A crisp center part makes boxer braids look sharp and balanced, so I always start by finding the exact middle between my eyebrows and the nape.
I use a tail comb, clip one side, and smooth flyaways. Try this quick checklist:
- Clean hairline
- Firm part with comb
- Clip to hold
- Even tension before braiding
It’s practical and totally chic.
Tight, Secure Braiding
Now that the center part is locked in, I focus on making each braid tight and secure so they last all day.
I pull evenly, keep tension consistent, and add small sections for strength.
I smooth flyaways with a dab of gel, reposition elastic bands close to the ends, and tug gently to shape.
These boxer braids stay neat through workouts and errands—practical, polished, effortless.
Messy Side Braid

I love pulling my hair into a messy side braid when I want something that looks effortless but actually holds up all day; it’s my go-to for lazy mornings or when I’m heading out and want a touch of undone charm.
I tease pieces, braid loosely, and tug for texture. Try these steps:
- Prep with dry shampoo
- Start low at nape
- Braid loosely
- Tug and pin as needed
Boho Braided Crown

Sunset vibes and a little wanderlust—I’m talking about the boho braided crown, my favorite way to feel put-together without trying too hard.
I twist two loose braids from each side, pin them across the top, and tug softly for volume.
It holds all day, works with waves or straight hair, and looks effortlessly chic for festivals, dates, or casual brunches.
Braided Ponytail

Pull a few strands into a low ponytail, braid it, and you’ve got a look that’s instantly polished but still relaxed.
I love how quick it’s and how it disguises messy hair.
Try these small tweaks to switch the vibe:
- Wrap a strand to hide the band
- Loosen the braid for volume
- Add a ribbon for charm
- Secure with clear elastic
Twisted Half-Up Braid

When I want a look that’s both effortless and a little romantic, I twist two sections from either side and pin them at the back for a Twisted Half-Up Braid that works on any hair length.
It’s quick, tidy, and soft; I add texture spray for grip, loosen the twists for volume, and secure with discreet pins—perfect for errands or a date night.
So go ahead—pick one braid, or mix a couple, and have fun with it this week. I’ll usually start with slightly damp hair, a bit of texturizer, and neat parts, then tweak tension for the vibe I want—tight for errands, loose for date night.
Keep clear elastics and bobby pins handy, and finish with flexible-hold spray. Braids are easy, forgiving, and endlessly creative—your hair, your rules.