
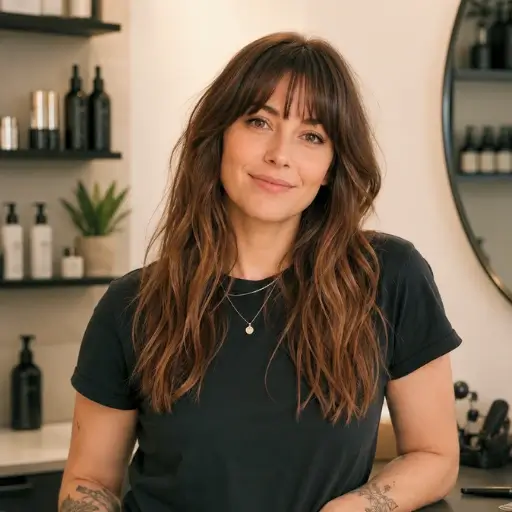

I love a braided bun because it’s that rare hairstyle that looks polished for a meeting yet playful for drinks after. I’ll walk you through sleek low chignons, messy topknots wrapped in skinny braids, and a few textured twists that keep hair secure without feeling rigid.
Stick around — I’ll show how small tweaks change the whole vibe and which tools actually make it easy.
Sleek Low Braided Bun for the Office
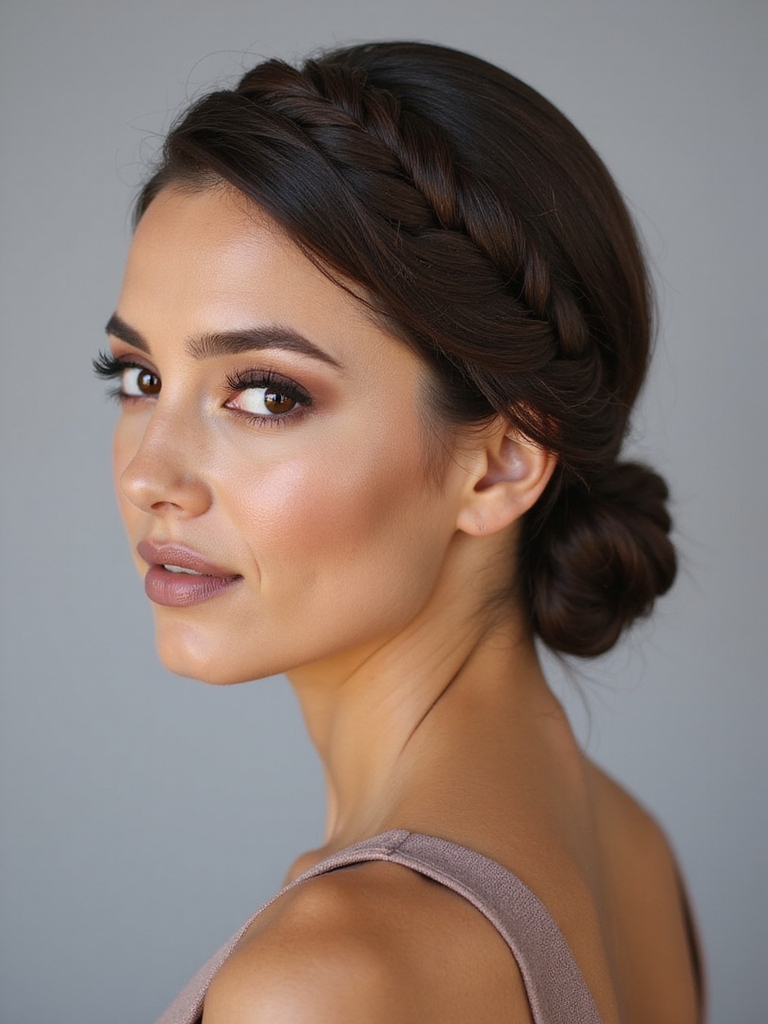
When I need a polished, no-fuss look for the office, I reach for a sleek low braided bun that says “I mean business” without shouting—it’s tidy, professional, and surprisingly quick to pull together.
I braid a section, wrap it at the nape, secure with pins, smooth flyaways with a dab of gel, and I’m out the door—neat, confident, and work-ready.
Elegant braided updos can be adapted for different hair types and lengths, showcasing the versatility of braided updos for both casual and formal settings.
Messy Topknot Wrapped in Multiple Braids

I toss my hair up into a loose topknot, then weave a few skinny braids around it to turn casual chaos into something intentionally cool—think sleep-in-but-still-stylish.
I pull a few wisps free, secure ends with tiny elastics, and tug the braids for texture.
It’s fast, messy in the best way, and perfect when you want effortlessness with a little edge.
Messy updos can look polished while still feeling undone, especially when you embrace textured volume and strategic loose strands.
Single Side Braid Twisted Into a Low Bun
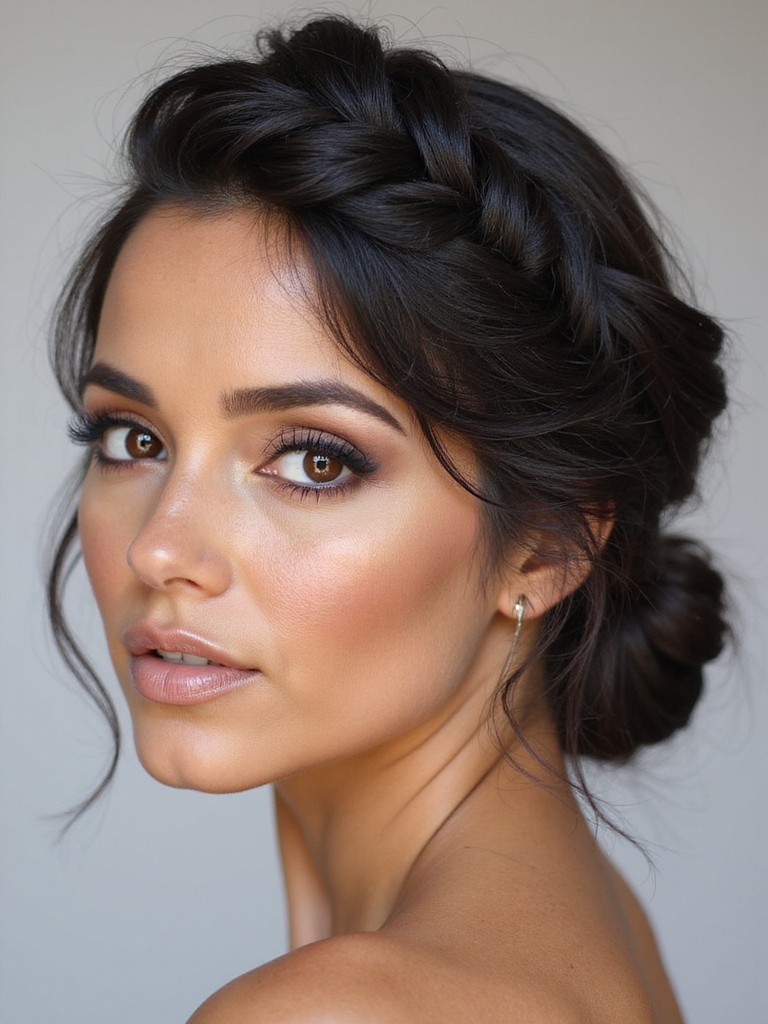
Pull a side braid over my shoulder, twist it into a low bun at the nape, and suddenly a simple plait looks polished without trying too hard.
I love how it keeps hair neat for meetings yet feels playful for after-work plans.
It’s quick: braid, wrap, secure with pins.
Add a few face-framing strands for softness, and you’re out the door, confidently composed.
Cornrow styles often inspire sleek updos and can be adapted for different hair textures with protective styling to reduce breakage.
Dutch Braided Crown Into a Chignon

First, I’ll have you part and section your hair so the Dutch braid can hug the hairline without getting lopsided.
Then I’ll show you how to stitch a Dutch braid around your crown, pulling each tuck snug so it sits flat before we twist everything into a neat chignon at the nape.
Stick with me and we’ll turn those prep steps into a polished, long-lasting updo.
For formal events, a well-executed braided style can elevate your look with an elegant braided updo while still staying practical for work or play.
Prep and Sectioning
Since we’re aiming for a clean Dutch braided crown that folds into a neat chignon, I always start by prepping the hair so it behaves—no frizz, no flyaways, no rebellion.
I mist with light leave-in, smooth with a wide-tooth comb, then section: a deep part, two even front-to-ear panels and a crown reserve.
Clips keep sections tidy so braiding is effortless.
For a polished finish, consider practicing simple Updo Hairstyles to build speed and confidence.
Braiding Into Crown
With the sections clipped and hair tamed, I start the Dutch braid at one temple and braid toward the opposite ear, keeping the strands tight to the scalp so the crown sits sleek and lifted.
I follow the hairline, adding pieces evenly, then pin the braid into a low chignon.
A few tendrils and a spritz seal the look—practical, polished, and surprisingly quick.
Fishtail Plait Rolled Into a Mid-Height Bun
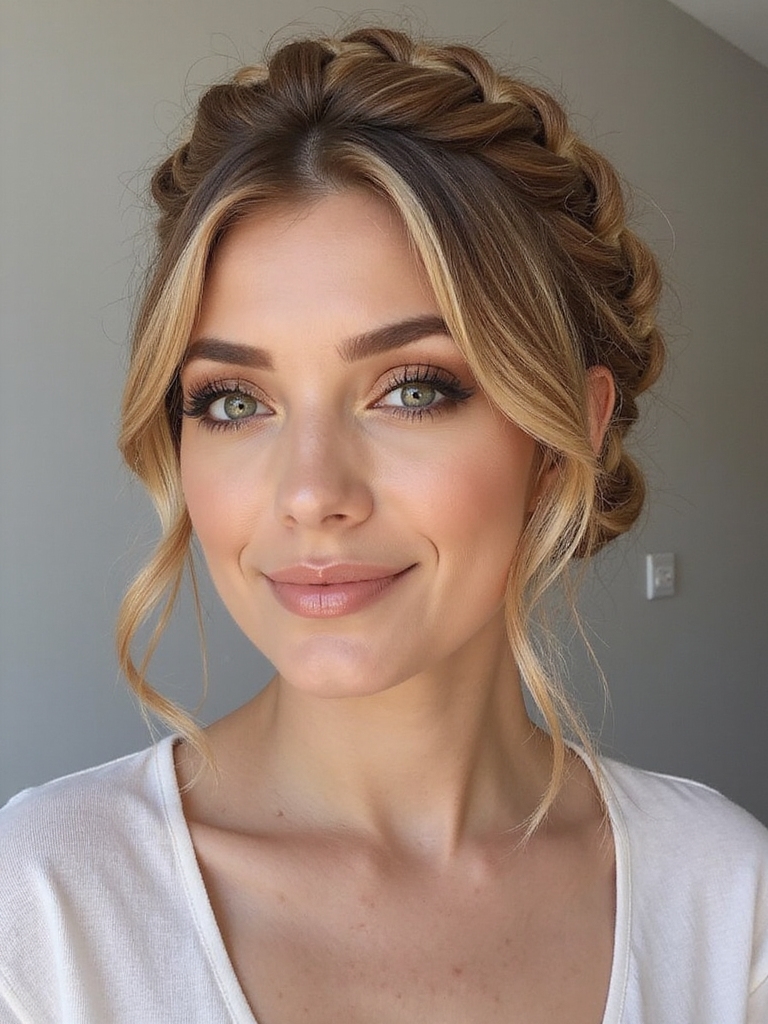
I love how a fishtail plait rolled into a mid-height bun feels equal parts polished and effortless—perfect for days when you want to look put-together without fuss.
I braid loosely to keep texture, then roll and pin the plait into a relaxed knot at mid-height. It stays chic through meetings or coffee runs, and a few face-framing wisps make it feel intentional, not stiff.
Double Braided Space Buns for a Playful Look
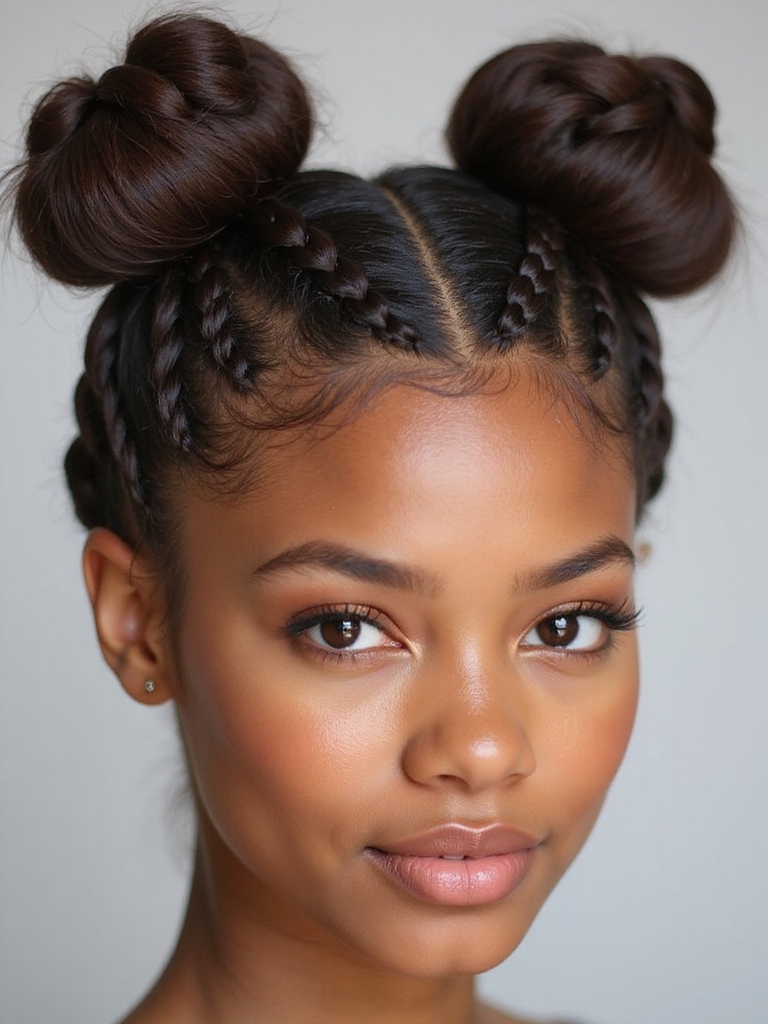
Alright, let’s get playful: I start by crisping a center part and sectioning each half so the braids sit symmetrically.
I braid each side tight enough to stay put, then coil them into buns and secure with pins and a couple small elastics.
For the finishing touch I tug gently for shape, mist with spray, and hide any stray hairs for a polished-yet-fun vibe.
Sectioning and Parting
Once you’ve decided on double braided space buns, start by sketching the part in your mind so you don’t end up with lopsided planets on your head.
I split my hair down the middle, clip one side, then refine the line with a tail comb.
I section each half into top and bottom for manageable braiding—clean lines make playful buns look intentional, not accidental.
Securing and Finishing
Because these buns are all about playful polish, I focus on sturdy anchors and neat finishes so they hold up through coffee runs and dance-offs.
I secure each braided base with small elastics, wrap ends tightly into buns, and pin with U-pins hidden at the crown. A spritz of flexible hairspray and a careful tug for symmetry keeps everything secure without stiffness.
Loose Boho Braids Gathered Into a Soft Bun

I usually reach for loose boho braids when I want a look that’s effortless but still pulled together, and gathering them into a soft bun is my go-to for weddings, brunches, or just feeling a bit fancy on a Tuesday.
I tug pieces free, twist the braids loosely, coil them into a messy knot, and secure with pins—soft, romantic, and surprisingly secure.
French Braid to Twisted Low Knot

I’ll walk you through prepping and sectioning so your French braid starts neat and stays smooth. Then I’ll show the step-by-step braid technique and how to twist it into a low knot without it falling apart.
Finally, we’ll lock it down with the best securing and finishing touches so it lasts all day (and looks intentional).
Prep and Sectioning
When I prep your hair for a French braid that morphs into a twisted low knot, I start by detangling and dampening — it gives the braid grip and the knot structure without feeling stiff.
I then create a clean center part (or off-center if you’re feeling bold), clip side sections, and leave a low ponytail zone free.
Neat sections make the rest effortless.
Braid Technique Steps
Start by grabbing three even sections at the crown and let’s get into the French braid — I’ll add hair from the clipped sides as I cross each strand, keeping tension consistent but not tight so the braid sits smooth without pulling at your scalp.
Once at nape, switch to a regular three-strand, twist that into a low knot, tucking ends neatly for a polished, effortless finish.
Secure and Finish
Now that the French braid reaches the nape, I switch gears and keep things neat by smoothing the tail before folding it into a three-strand twist; this keeps the look polished without adding bulk.
I coil the twist into a low knot, secure with bobby pins tucked flat, and finish with a spritz of light hairspray — effortless, office-ready, and twirl-proof for after-work plans.
Rope Braids Coiled Into an Elegant Bun
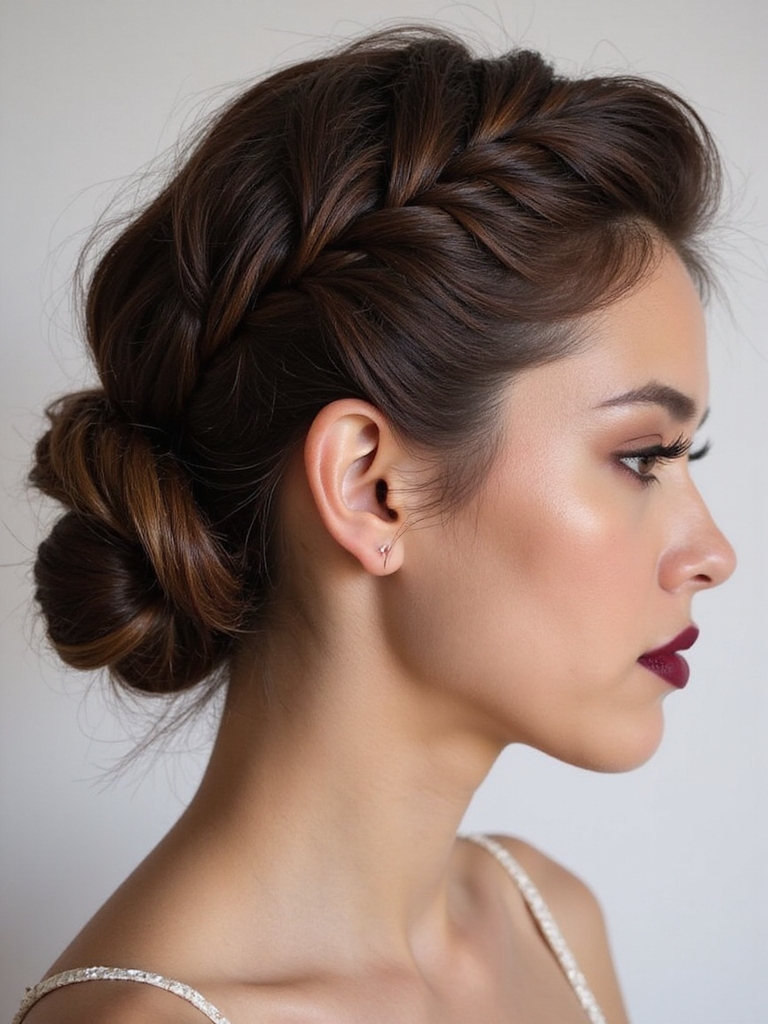
If you want a bun that looks intricate but didn’t take forever, I’ll show you how rope braids coiled into a bun give that polished, textured finish without fussy steps.
I twist two-strand rope braids, coil them around a low knot, and pin strategically. It’s sturdy for meetings, pretty for dinners, and forgiving if you loosen a strand for softness.
Try it—instant elegance.
Braided Halo Merged With a Textured Bun
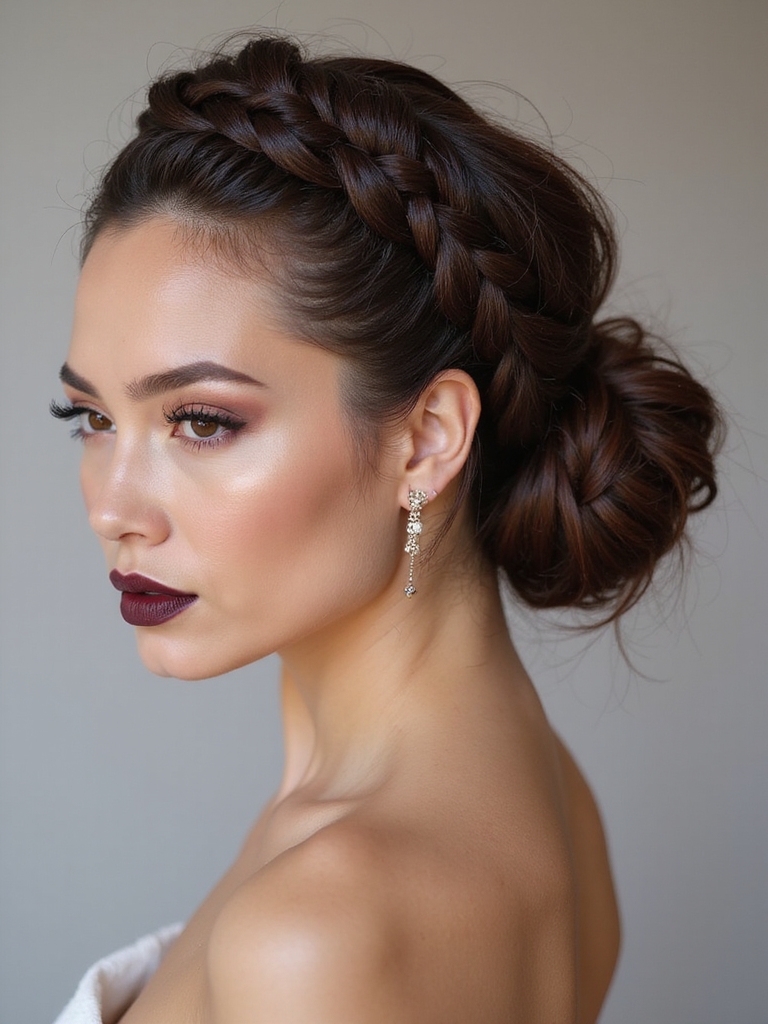
You liked the rope-braid bun? I adore how a braided halo wraps like a crown, then melts into a messy textured bun—effortless chic. I wear this when I want polished with personality.
- Confidence boost
- Soft romance
- Office-appropriate flair
- Party-ready edge
So there you have it — braided buns for every mood and meeting. Try the sleek low chignon when you need power, or mess it up with wrapped braids for weekend fun. Mix textures, use strong pins, and don’t fear a flyaway or two — they make the look human.
Play around with placement and braid types until one feels like you. Keep a small spray and a few pins handy, and you’re good to go.


