
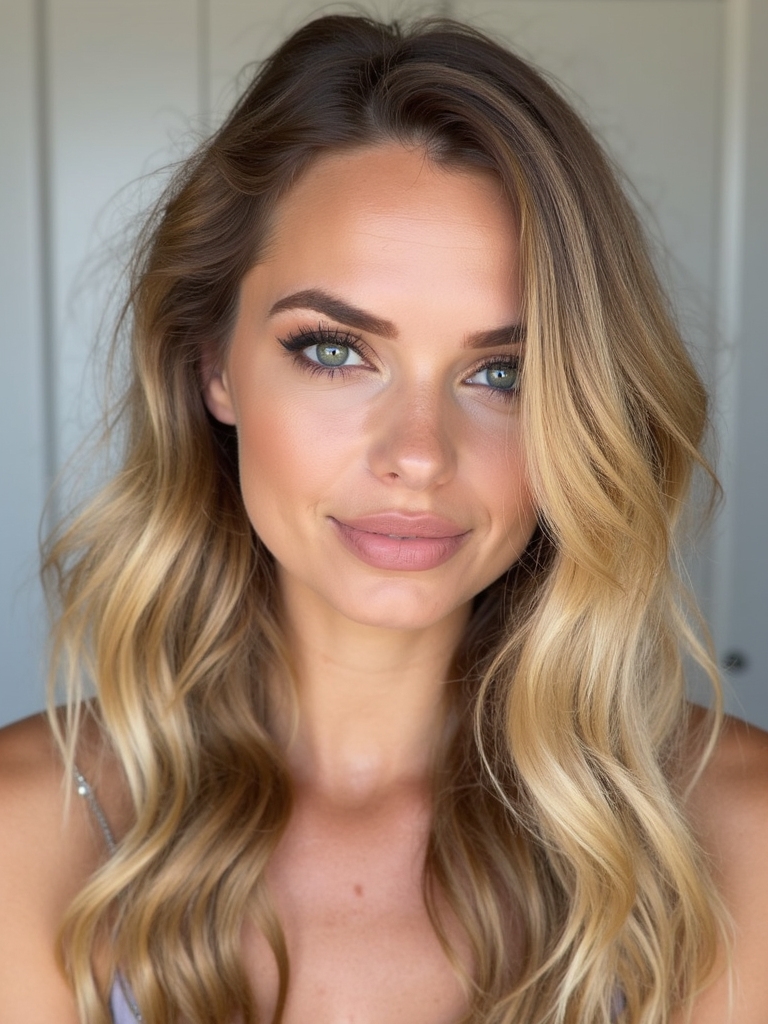
I’ve been teaching friends a few simple braids that actually look like you tried, and they’re great when you’re short on time or patience. Start with clean, detangled hair and learn the three-strand braid—once that’s comfy, a messy side braid, low braided ponytail or a quick braided bun are next.
I’ll walk you through easy steps, tips for texture and volume, and a few little tricks that make even beginners look polished—so stick around to try them.
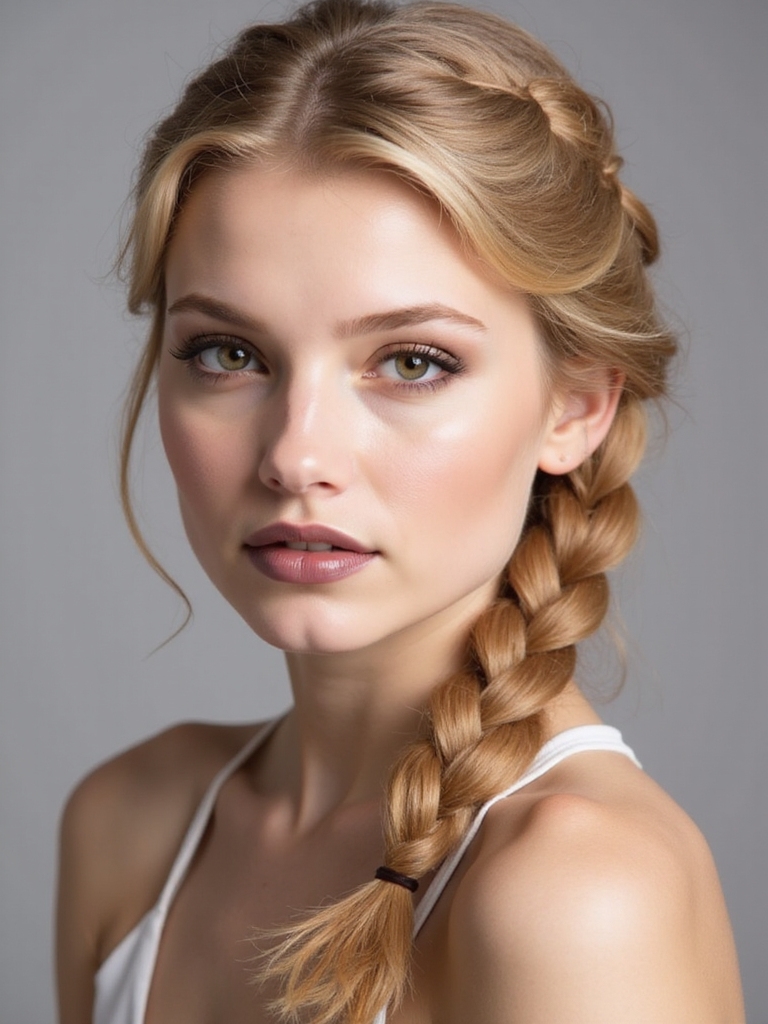
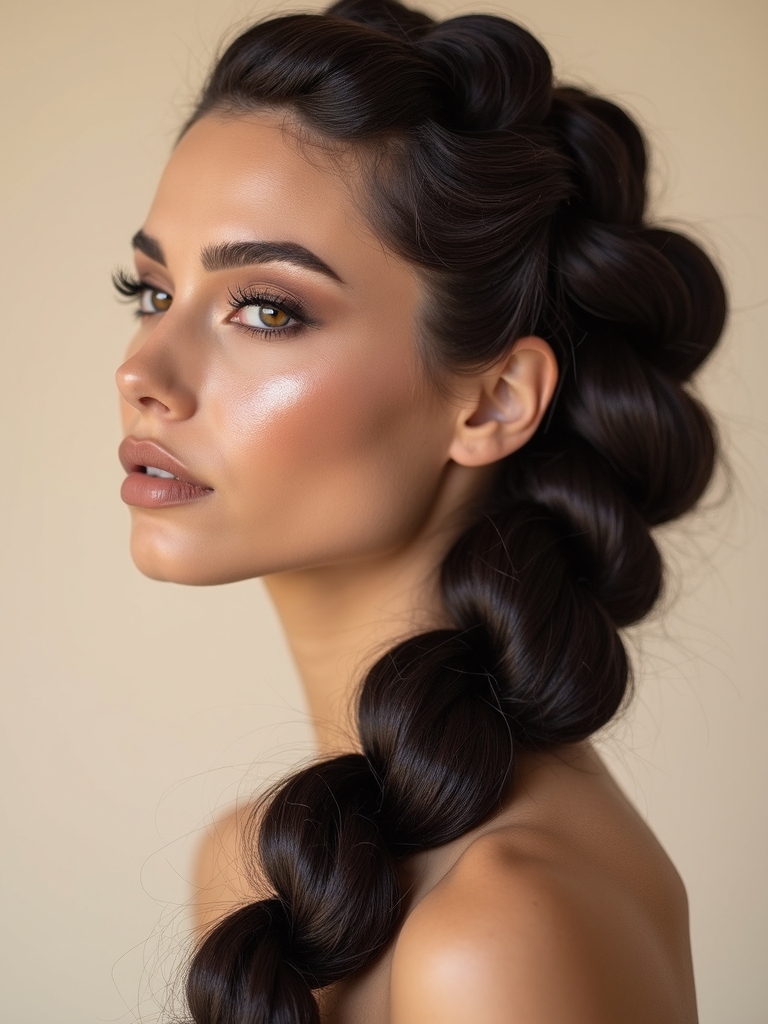
Classic Three-Strand Braid
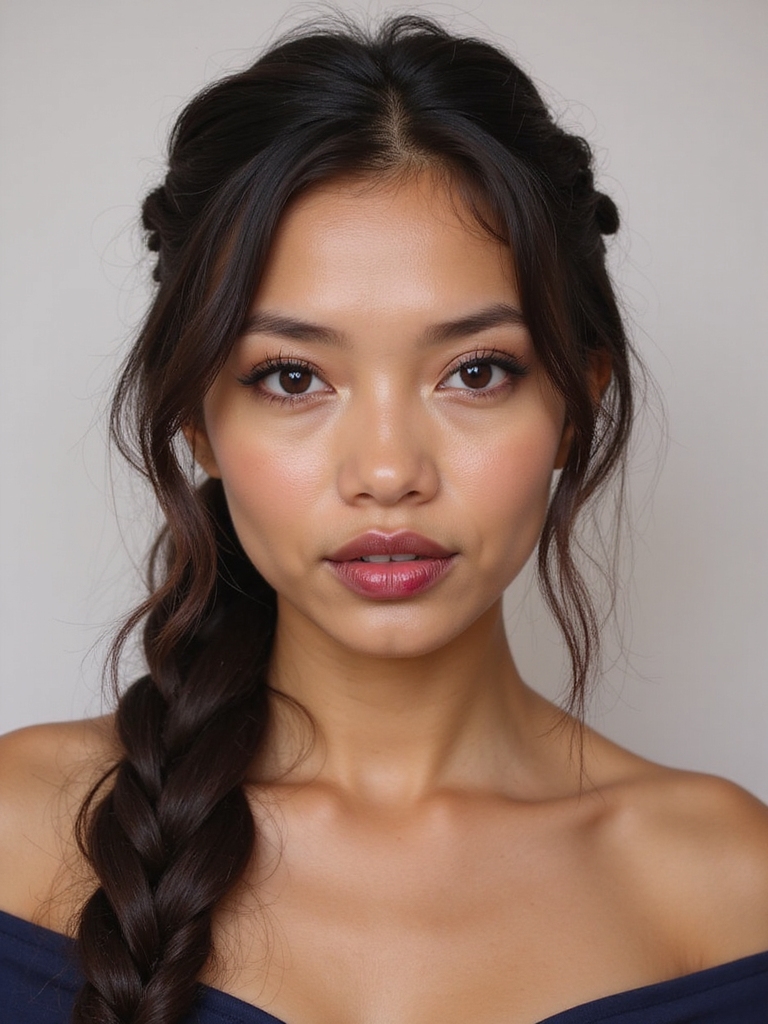
Let’s start with the classic three-strand braid—simple, fast, and always reliable.
I’ll walk you through sectioning, crossing outer strands over the center, and keeping tension even.
It’s perfect for school, work, or a quick polished look.
I use a light mist and gentle brushing to tame flyaways, finishing with a secure elastic.
You’ll get smooth, neat results every time.
You can also adapt this basic technique to create pretty braided hairstyles by changing braid placement and tightness.
Messy Side Braid
If you liked the neatness of the classic braid but want something a bit more relaxed, I’ll show you how to turn that same basic technique into a flirty messy side braid.
I sweep hair to one shoulder, braid loosely from the crown, tug at strands for texture, and secure with a soft elastic.
It’s effortless, forgiving, and perfect for casual days.
For a quick alternative, try loosening the braid and gently pulling pieces outward to create messy texture that enhances the effortless look.
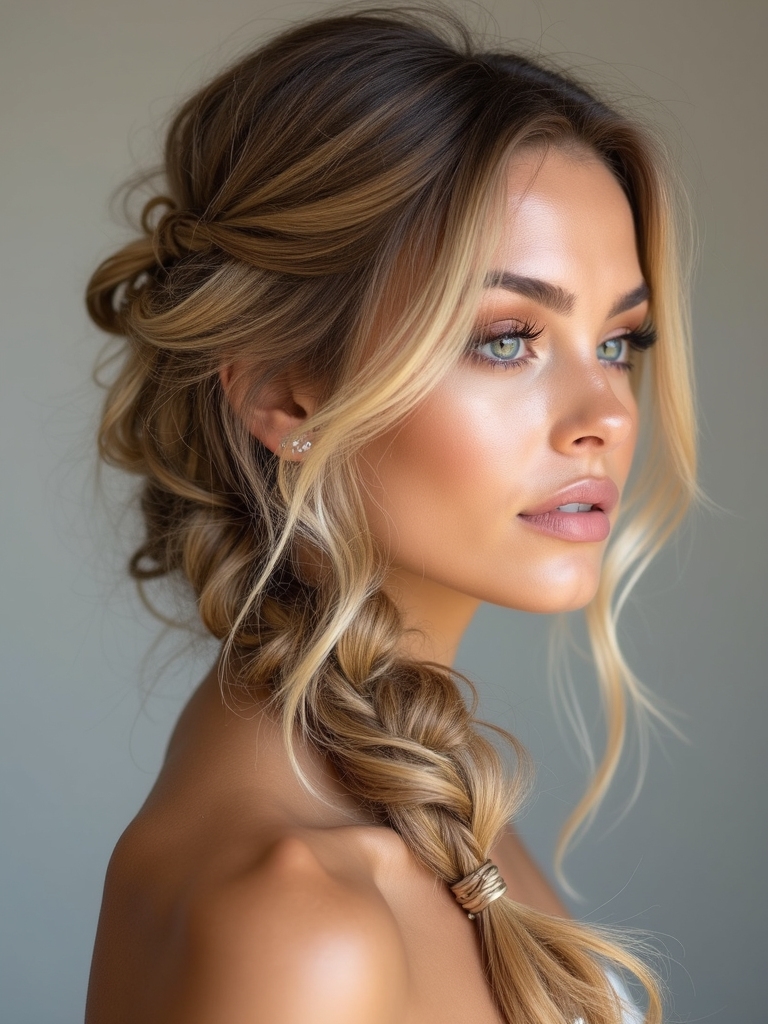
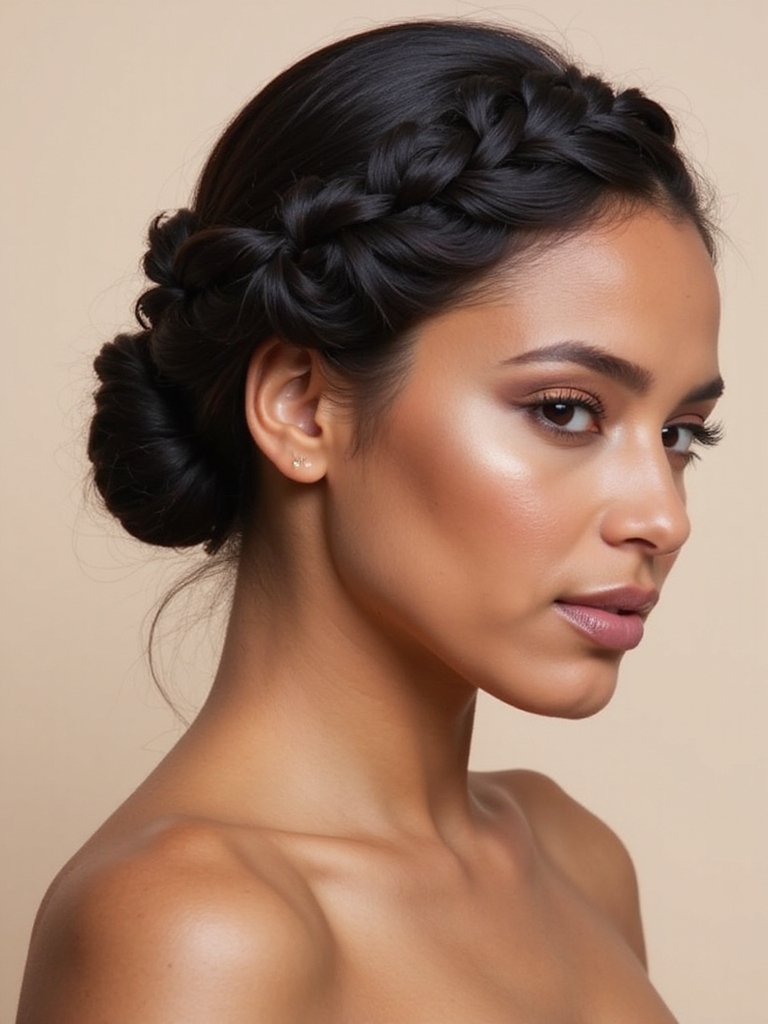
Low Braided Ponytail
Okay, let’s talk low braided ponytails — I start by prepping my hair and sectioning it cleanly so the braid sits neat at the nape.
Then I braid from those sections, keeping tension even so the plait looks polished but still comfy.
I finish by securing the end and hiding the elastic for a sleek, put-together finish.
Low braided ponytails are versatile and can be dressed up or down with braided ponytail accents to suit any occasion.
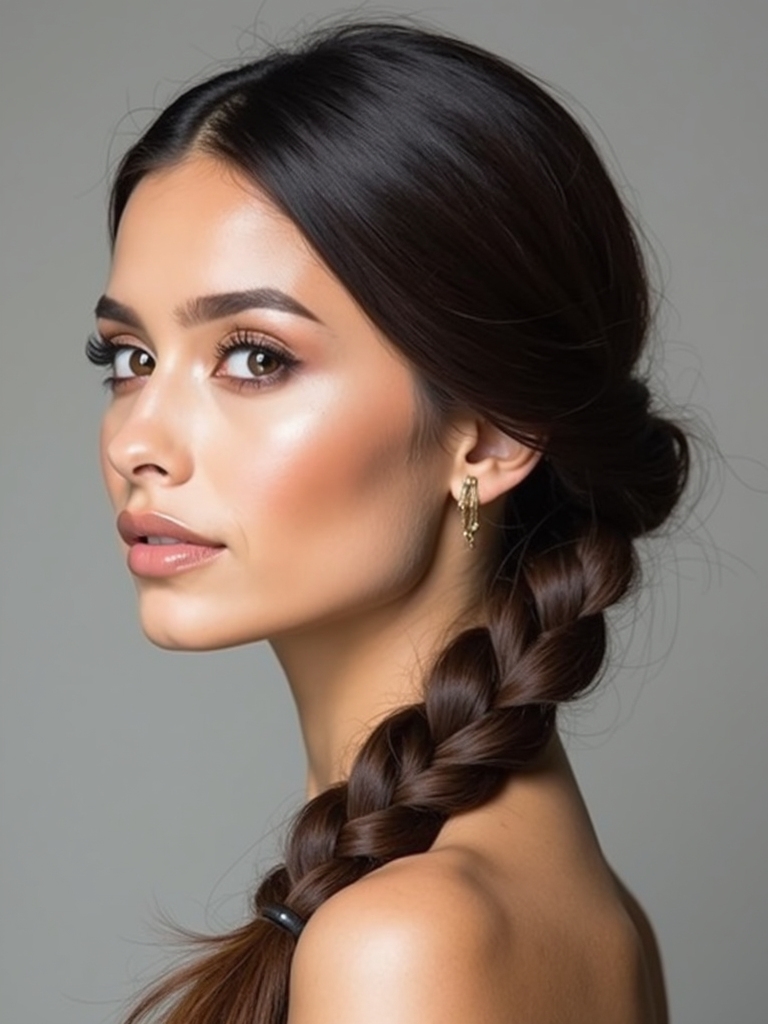
Prep and Sectioning
Because a great low braided ponytail starts with the prep, I always begin by smoothing and detangling fresh or second-day hair so the braid lies sleek and clean.
I mist lightweight leave-in, part where you want the ponytail, and clip sections aside.
For a tidy low braid I create a clean center or slightly off-center part, then divide into three even sections ready for braiding.
Charming braided styles can elevate any look, so I often recommend practicing the basic braid to build confidence with braided hairstyles.
Braiding and Securing
Gather the three sections and start a classic three-strand braid, keeping tension even so the braid sits smooth against the nape; I like to cross the outer strands over the middle, pulling gently as I go to avoid bumps.
Braid to desired length, secure with a snag-free elastic, then tug gently on segments for a fuller look. Finish with light hairspray for hold. A sleek finish and neat parting help create an effortless sleek braided ponytail that stays polished throughout the day.
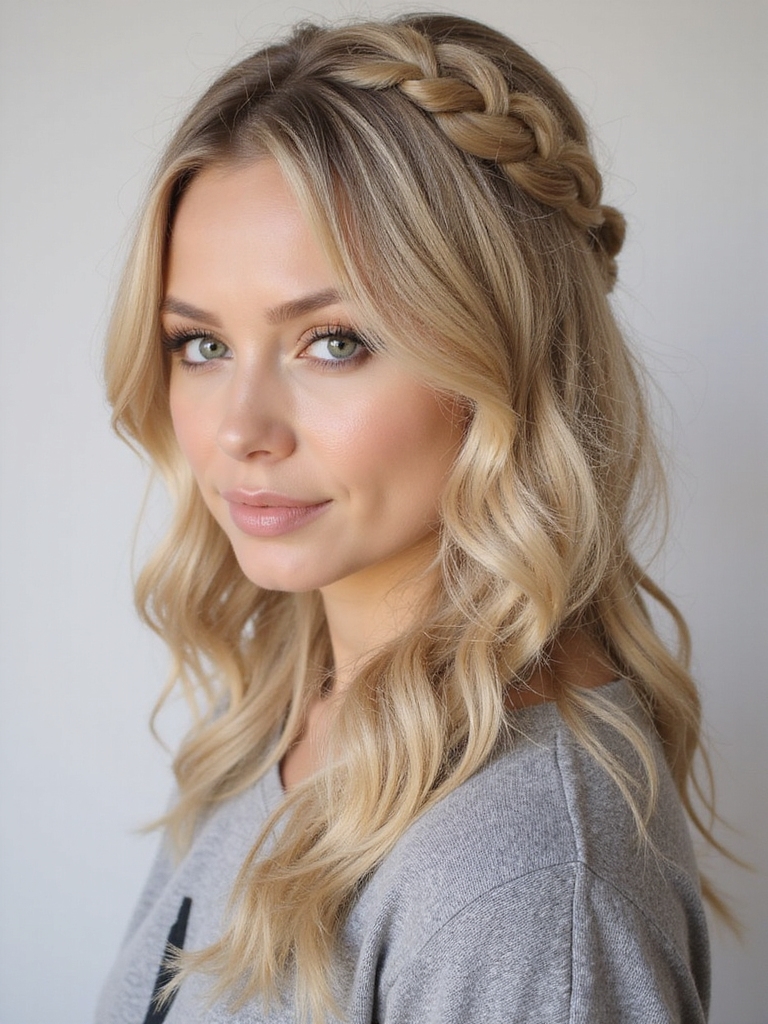
Half-Up Braided Crown
Alright, let’s make a half-up braided crown that actually stays put: first I’ll show you how to section and part for even braids, then we’ll braid each side neatly toward the back.
I’ll walk you through the quickest ways to secure the braids so they don’t slip and how to tweak the shape for a softer or fuller crown.
Stick with me and you’ll have a pretty, practical half-up style in minutes.
Sectioning and Parting
To start the half-up braided crown, I like to part my hair down the middle so both sides sit even and tidy; it makes the whole look symmetrical and way easier to braid.
Then I clip the lower half out of the way, create a neat front section on each side, and use small clips to keep sections defined—clean parts mean cleaner braids later.
Braiding Each Side
Now that the lower half is clipped away and your front sections are tidy, I start braiding each side from the temple toward the back.
I keep tension even and pull in small bits for a neat, crown-like braid.
Quick tips:
- Braid tightly at first, loosen slightly for softness.
- Use fingers to guide strands.
- Match braid height on both sides.
Securing and Styling
Usually I bring the two temple braids together at the crown and check their balance before securing them, so I can tweak height or fullness without fuss.
Then I pin one braid over the other, hiding ends and bobby pins with a small loop or tucked tail. A spritz of texturizing spray and a few face-framing wisps finish the look—secure, soft, effortless.
Dutch Braid for Beginners
I often start beginners with the Dutch braid because it’s forgiving and instantly makes hair look polished.
I walk you through crossing strands under, keeping tension even, and tucking flyaways. Try these quick tips:
- Use a light texturizing spray for grip.
- Keep three equal sections at the start.
- Practice on slightly damp hair for control.
You’ll get it fast — promise.
Fishtail Braid Made Simple
Now let’s tackle the fishtail braid—I’ll walk you through an easy step-by-step technique so you can get a neat braid without the fuss.
I’ll share quick styling tips for taming flyaways and adding texture so it looks intentional, not messy.
Stick with me and you’ll be braiding like a pro in minutes.
Easy Step-By-Step Technique
If you’ve ever stared at a fishtail tutorial and felt lost, I’ll walk you through a simple, step-by-step method that actually works — no fancy tools required. I’ll keep it clear and fun so you won’t panic mid-braid.
- Split hair into two even sections.
- Pull a thin strand from one side over, add to the other.
- Repeat, tighten gently, secure with an elastic.
Quick Styling Tips
Once you’ve got the basic fishtail down, let me show you a few tiny tweaks that make it look salon-ready in minutes. Loosen sections gently for volume, tug outer loops for texture, and spritz with light hairspray to hold shape.
Hide the elastic with a hair strand or ribbon, and add a few face-framing tendrils for softness. Quick, cute, and totally doable.
Bubble Braid Twist
Playing with texture, I’ll show you how a Bubble Braid Twist takes a simple braid and turns it into a bouncy, playful style that’s surprisingly easy to do; think sectioning, securing, and puffing — no fancy skills required.
I walk you through quick steps and tips:
- Section hair, tie small elastics.
- Gently tug each segment to puff.
- Repeat until finished, secure end.
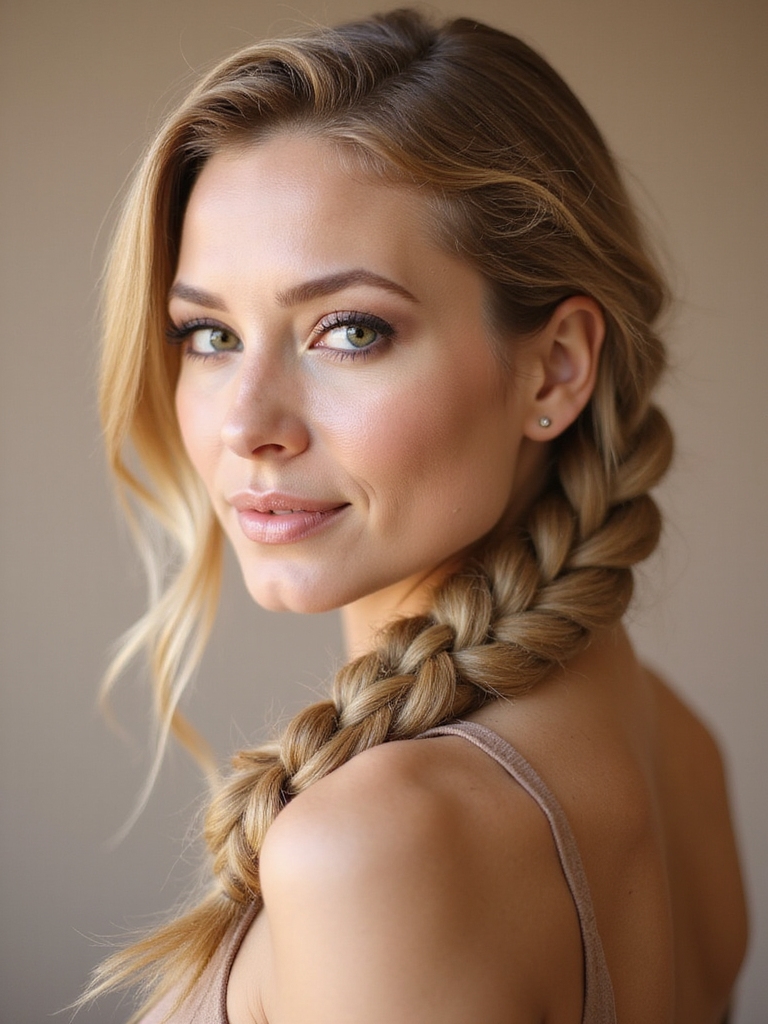
Rope Braid for Shorter Hair
With shorter hair, I love how a rope braid gives you instant polish without wrestling with long lengths — it’s basically two twists and a snap.
I twist small sections, cross them over, secure with a tiny elastic, then tug gently for texture.
It stays put, looks chic, and works on damp or dry hair.
Quick, forgiving, and totally beginner-friendly.
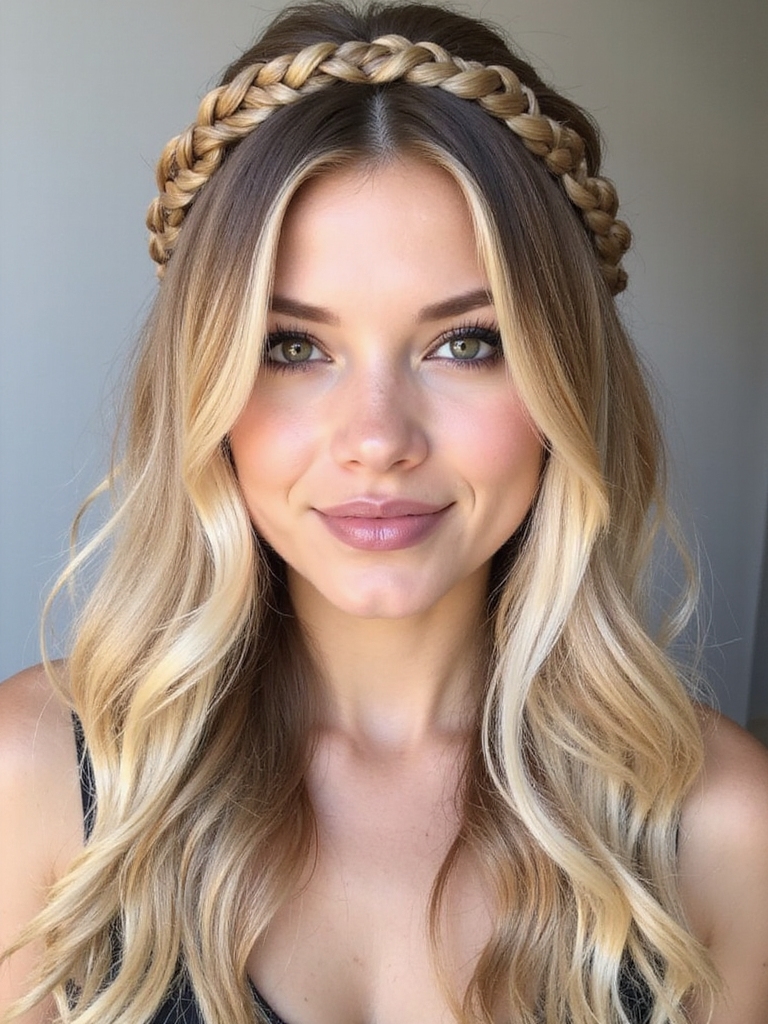
Braided Headband Style
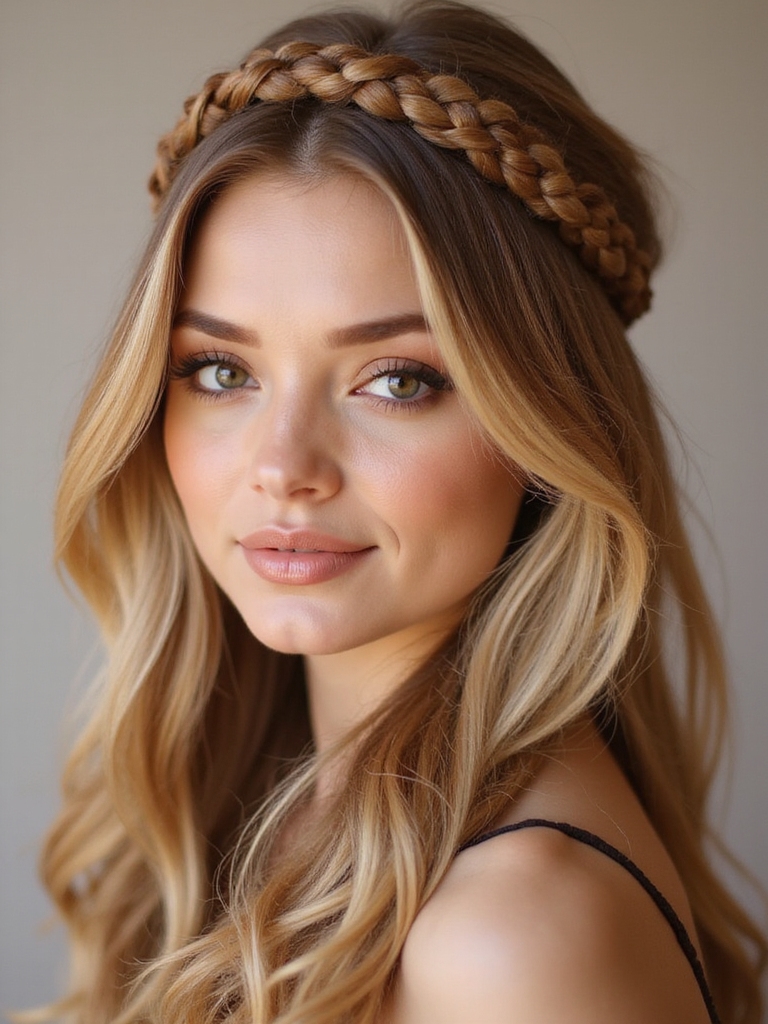
Okay, let’s make a braided headband that actually stays put—I’ll walk you through picking the right hair and tools so it’s easy from the start.
I’ll show how to braid along the hairline for a neat headband look and how to hide the ends for a seamless finish.
Finally, I’ll cover smart ways to secure it and add a little product so it lasts all day.
Choose Hair and Tools
I usually start by deciding which hair will show off the braided headband best: finer hair gives a sleek, delicate look while thicker hair makes the braid pop and hold shape all day.
I pick tools that suit texture and speed. My essentials:
- lightweight mousse or texturizing spray
- snag-free elastics and bobby pins
- medium paddle brush and a fine-tooth comb
Quick, simple, ready.
Make the Braid Headband
Once I’ve got my sections picked and my tools within reach, I start the braided headband by taking a small piece from behind one ear and split it into three even strands—this is the bit that sets the whole look, so I keep the strands neat but not perfect.
I braid toward the crown, gently adding hair as I go, aiming for a smooth arc that frames my face.
Secure and Finish
After I braid to the crown and tuck the end, I secure the headband by pinning it discreetly with bobby pins that match my hair color—inserting them in an X-shape keeps the braid locked without slipping.
I finish with a mist of hairspray and a gentle tug. Quick checklist:
- Hide pins under braid loops
- Smooth flyaways with serum
- Check comfort and adjust tension
Double Braided Pigtails
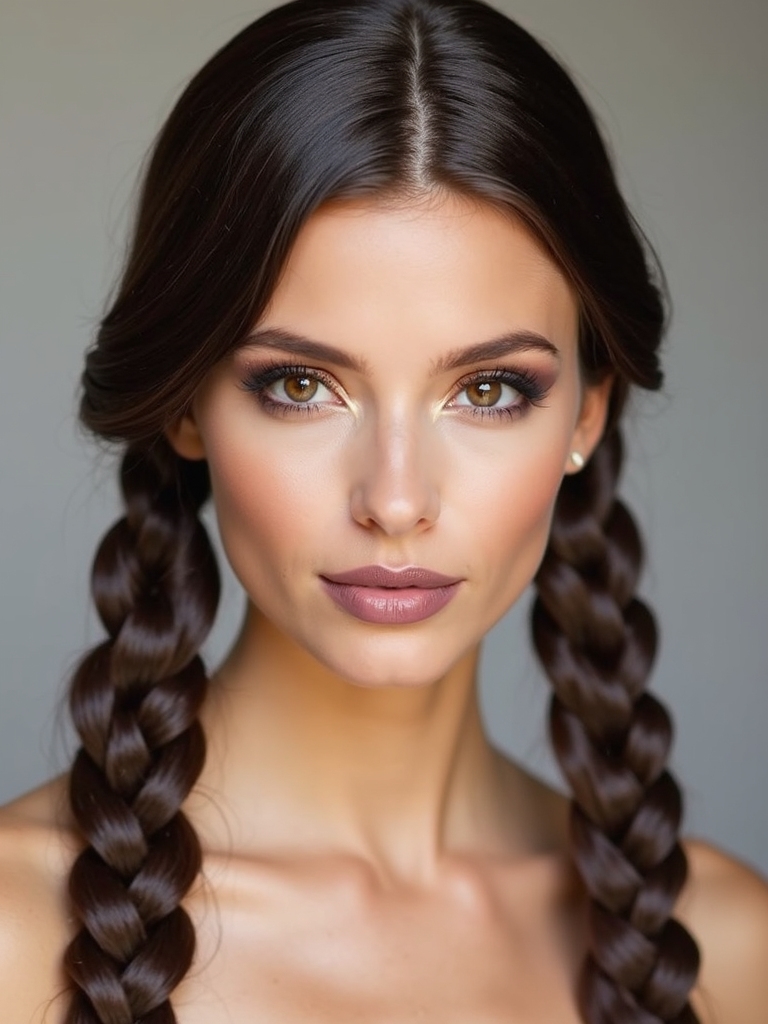
I usually reach for double braided pigtails when I want something cute, practical, and quick to do.
I part my hair down the middle, secure each side, and braid tightly from the crown to keep flyaways tamed.
They’re great for workouts or school runs, and you can loosen the braids later for a softer, messier look that still stays put.
Pull-Through Braid Alternative
For days when I want the look of a pull-through braid without the fuss, I turn to a simple ponytail-stacking trick that gives the same voluminous, woven effect in half the time.
I’ll show you quick steps and tips:
- Stack small ponytails, loop and secure.
- Tug each loop for fullness.
- Finish with hairspray for hold.
Braided Bun Quick Style
Want a polished updo fast? I twist a simple three-strand braid, wrap it into a low bun, and secure with pins or a hair tie—easy.
I pull a few face-framing strands for softness and tug the braid slightly for volume. It stays neat all day, works for casual errands or quick meetings, and takes minutes once you get the rhythm.
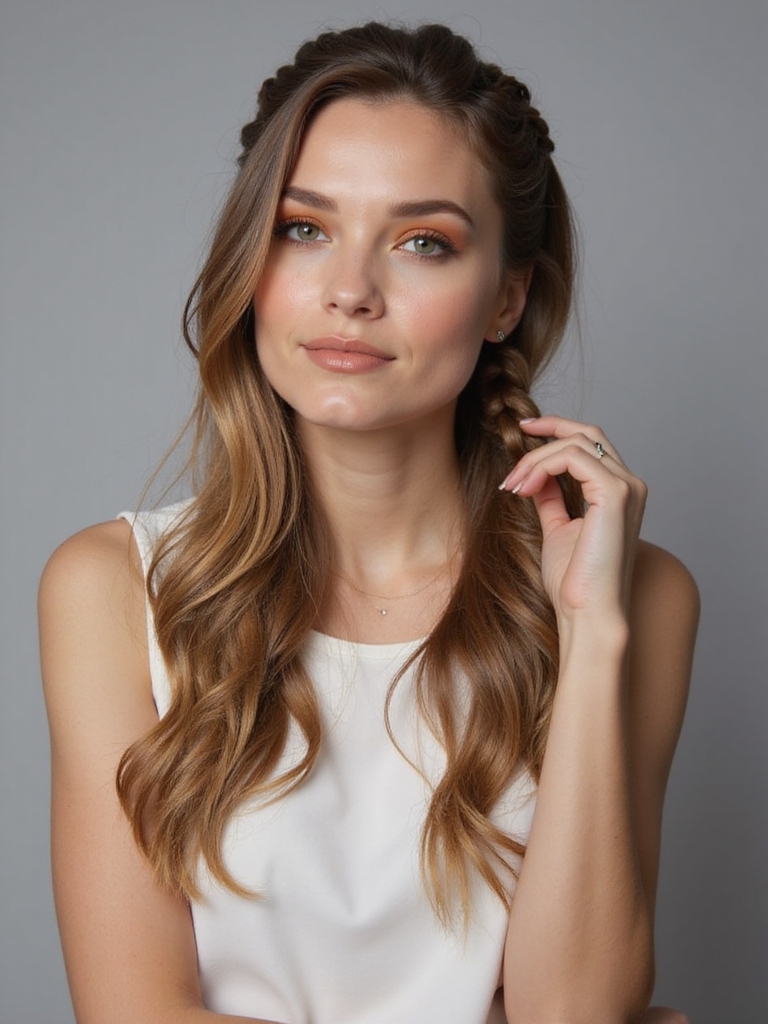
Accent Braid With Loose Waves
An accent braid with loose waves is my go-to when I want effortless texture with a flirty twist — I braid a small section near the temple or crown, clip it out of the way, create soft waves through the rest of my hair, then unclip and pin the braid where it looks best.
- Quick to do on busy mornings
- Adds playful detail without fuss
- Works with most lengths and textures
Tiny Braids Mixed With Curls
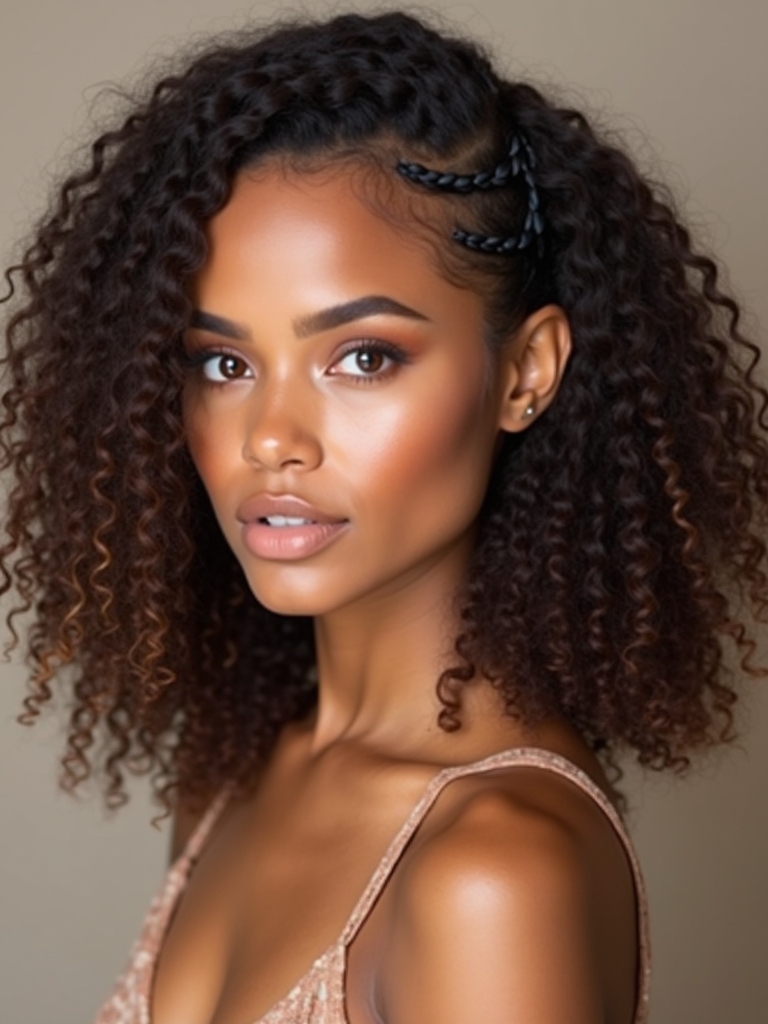
I like to switch things up by adding tiny braids into curly hair — they give my curls a little edge and keep things from looking too uniform.
I tuck a few thin braids around my face and random spots, secure ends with tiny elastics, then fluff the rest.
It’s playful, low-effort, and keeps curls defined without weighing them down.
Twisted Halo Braid
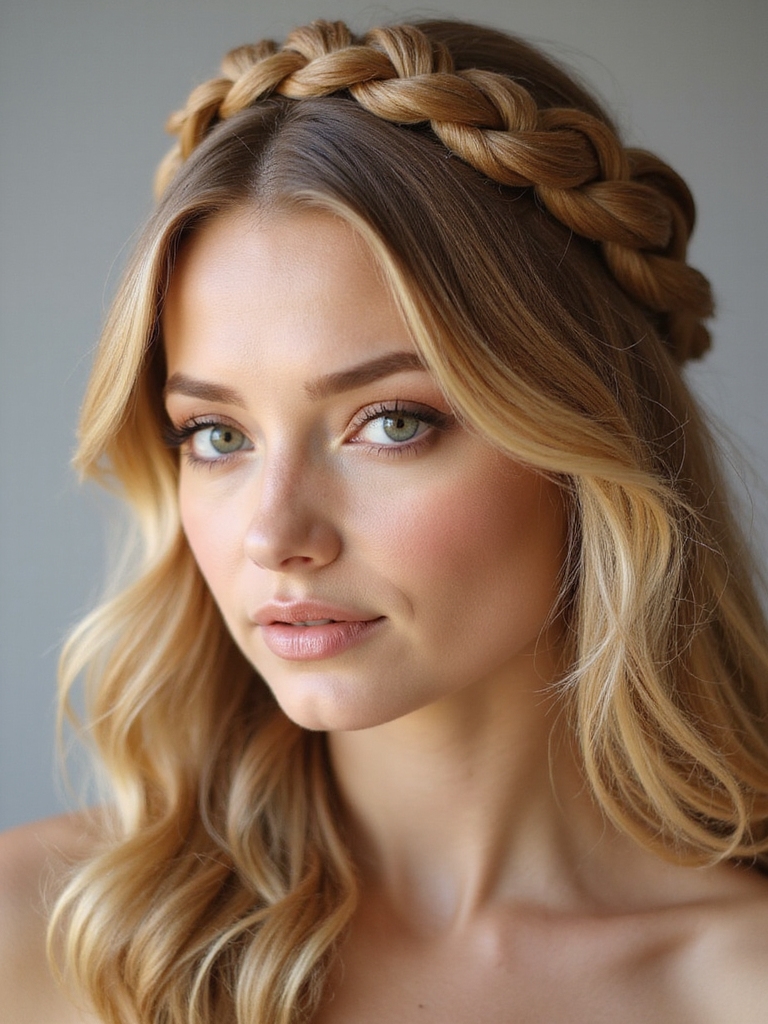
For a quick, romantic upgrade to plain hair, I twist sections into a halo braid that sits like a crown around my head. I tell you how to keep it neat and comfy, plus quick fixes when pieces escape.
- Start with a deep side part and two sections.
- Twist each toward the back, pin as you go.
- Tuck ends under and secure with bobby pins.
You’ve got this—braiding’s way easier than it looks. Start simple with a three-strand or messy side braid, practice steady tension, and don’t be afraid to tug sections for that lived-in volume. Mix in low ponytails, tiny braids, or a quick braided bun when you want variety.
Keep hair detangled, use a snag-free elastic, and have fun experimenting—before long you’ll breeze through these looks and get creative with your own twists and combos.


