
I love how braids can be simple or show-stopping, so I’ve rounded up looks you’ll actually want to try — from a no-fuss three-strand with a metallic thread to a Dutch crown that stays put all day.
I’ll walk you through easy tweaks, styling hacks, and when to pull or pin for the best shape. Stick around and I’ll help you pick the perfect braid for your hair and plans—no salon required.
Classic Three-Strand Braid With a Modern Twist

When I twist the everyday three-strand braid into something a bit more modern, it suddenly feels like my go-to look got an upgrade without any extra fuss.
I loosen strands, weave in subtle ribbon or metallic thread, and tug gently for texture. It stays tidy yet relaxed, works for errands or dates, and takes minutes. Try it—simple tweaks make a big, stylish difference.
Braided styles like the classic three-strand braid are versatile and often featured in lists of adorable braided hairstyles that suit many occasions.
Boho Chunky Side Plait
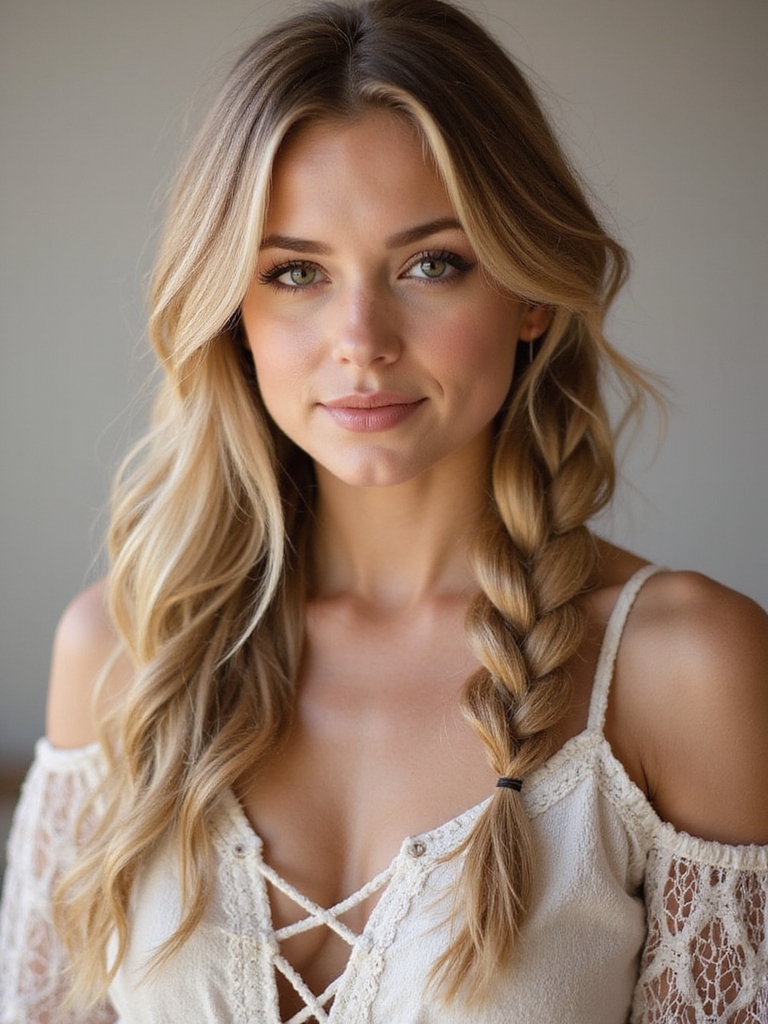
I pull my hair over one shoulder, loosen a few face-framing pieces, and braid a chunky side plait that screams effortless boho without the fuss.
I tug at sections to create that lived-in texture, secure with a clear elastic, and hide the end with a ribbon or tuck.
It’s fast, forgiving, and perfect for brunch, festivals, or lazy days when you still want cute.
Effortless half braided styles are ideal for adding everyday glamour with minimal time and skill, especially when incorporating half braided hairstyles for a relaxed finish.
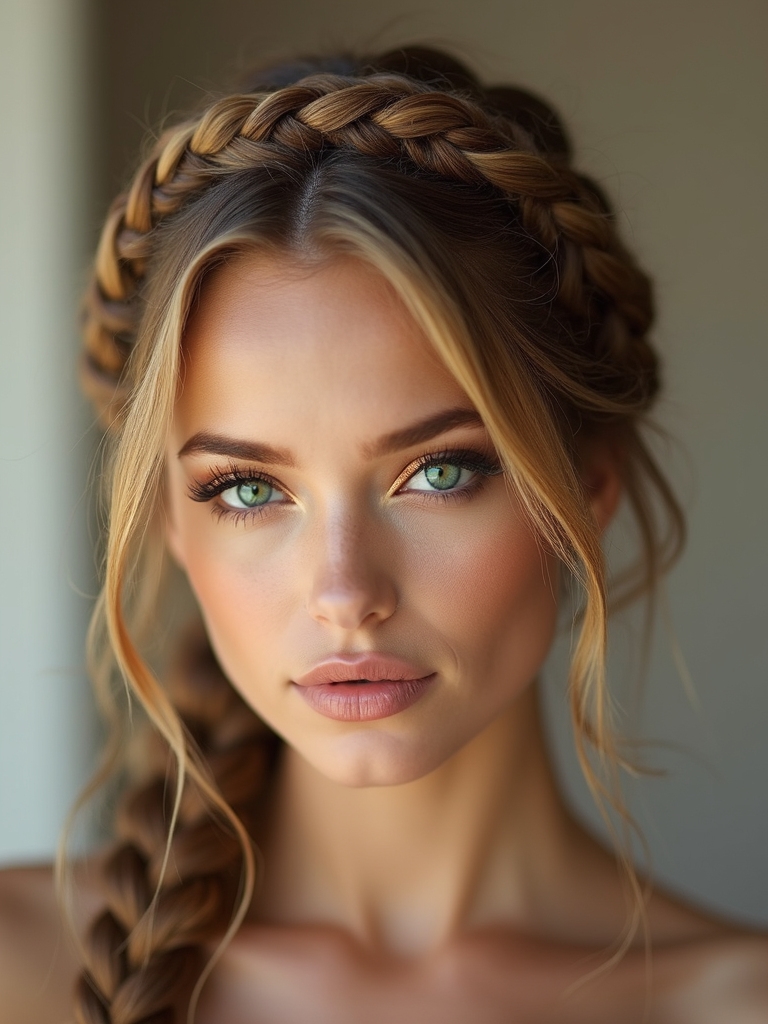
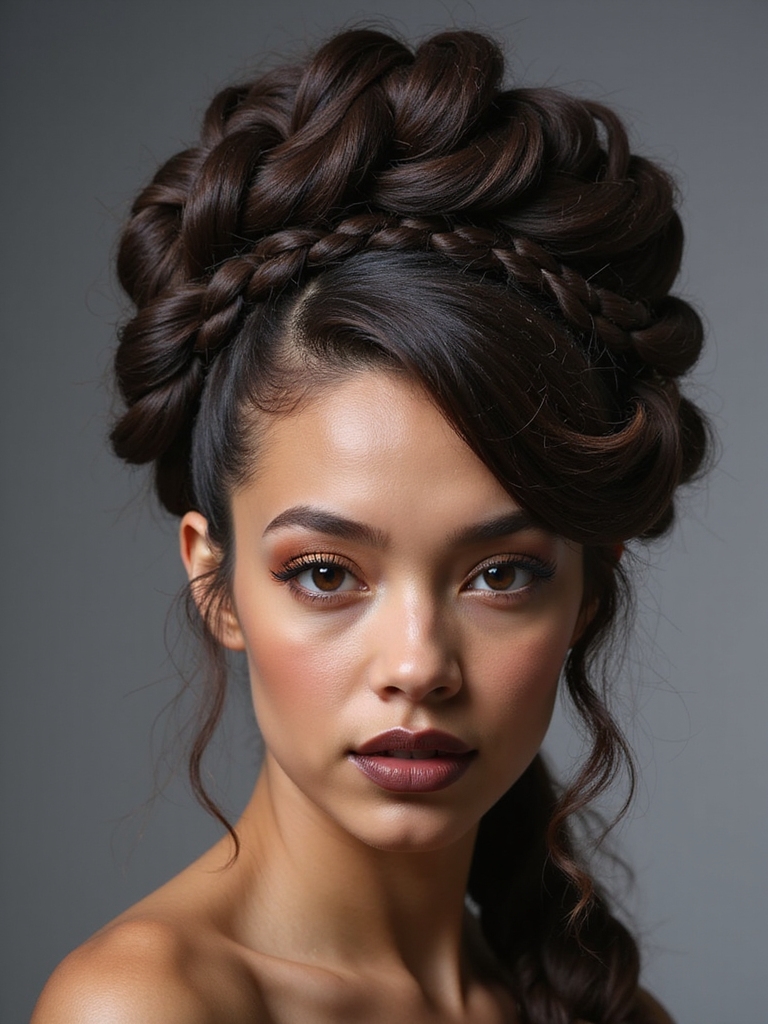
Dutch Crown Braid for Everyday Elegance
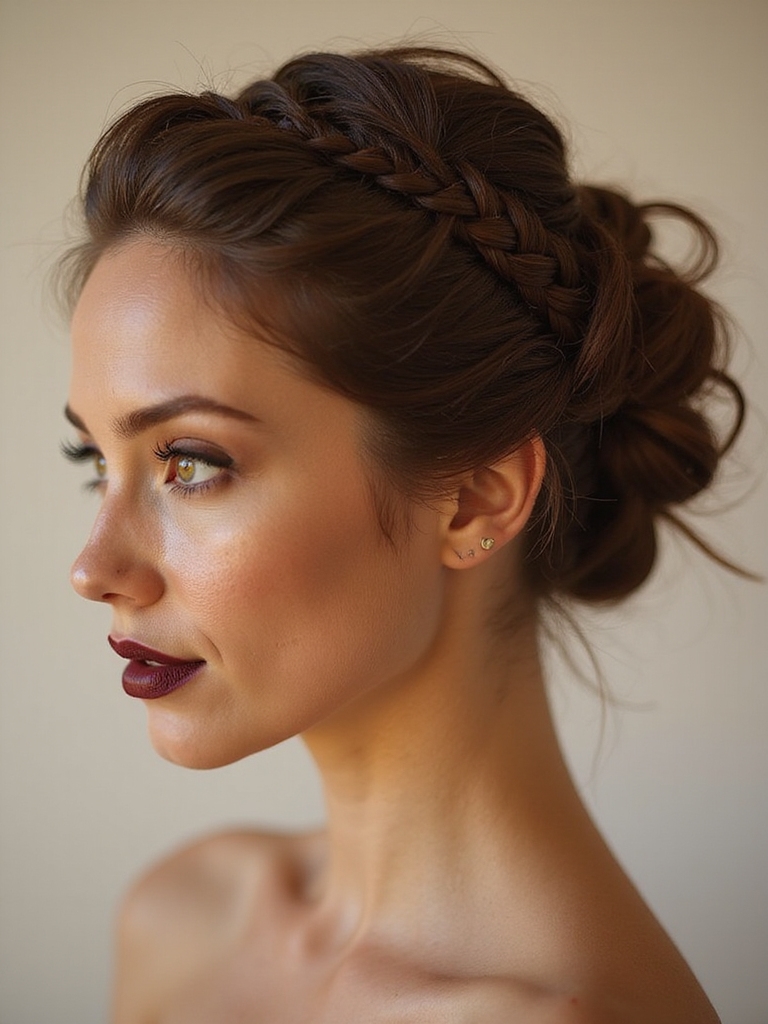
I love how a Dutch crown braid instantly makes you look put-together with minimal fuss, so let me walk you through the prep and parting that’ll keep it neat all day.
I’ll show the braiding steps in a simple, practical order—starting with sectioning, then crossing under, and finally pinning the crown.
Stick with me and you’ll have an elegant everyday look in under twenty minutes.
This technique creates a polished finish by combining classic braiding with braided updo construction knowledge so it holds well throughout the day.
Prep and Parting
Since you’ve decided on a Dutch crown braid for an everyday polished look, let’s get the prep right so the style actually lasts and looks neat. I’ll keep it simple:
- Detangle with a wide-tooth comb.
- Add lightweight mousse for grip.
- Create a clean center or slightly off-center part.
- Section hair into manageable pieces before you braid.
You’re ready to move on confidently. For extra hold and frizz control, finish with a light mist of flexible-hold hairspray so the style stays soft but secure.
Braiding Technique Steps
Although Dutch braids look intricate, I’ll walk you through each step so you can do this crown with confidence and speed.
I start by sectioning, then front-to-back Dutch braiding—cross under, add hair as you go—keeping tension even.
When you reach the nape, continue around, tuck ends, secure with pins, and loosen loops for softness.
Quick, tidy, and totally wearable.
For an alternate look, you can transform the style into cornrow updo variations for added texture and edge.
Fishtail Braid With Soft, Face-Framing Pieces
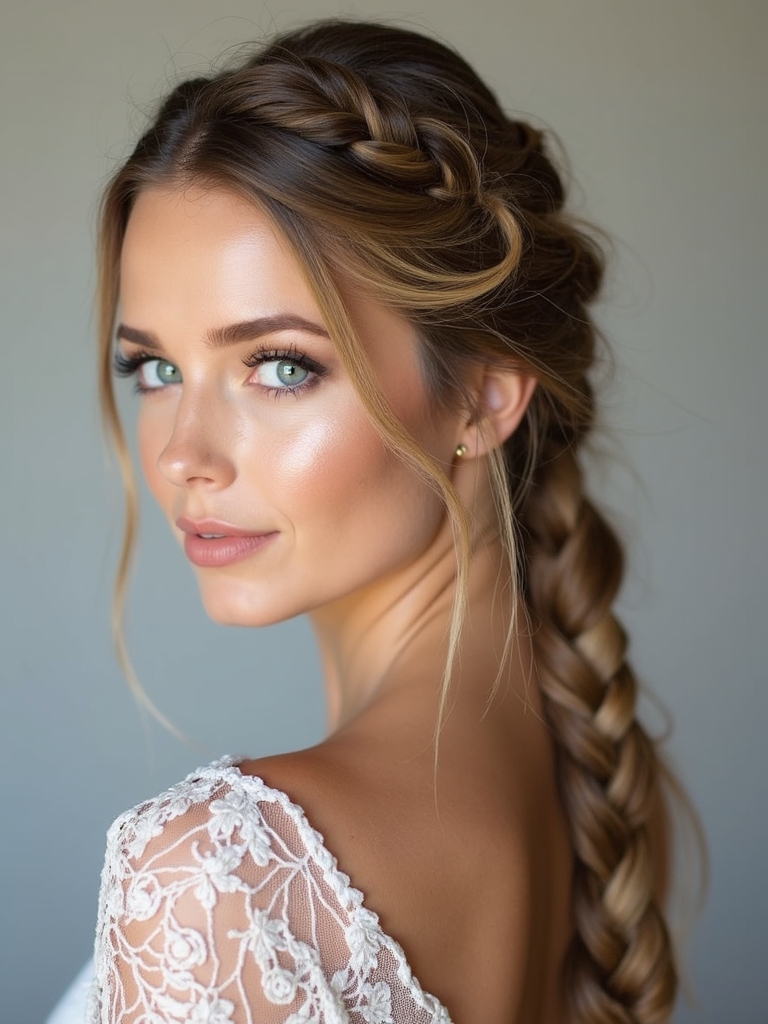
I love how a fishtail braid looks when you prep and section smartly, leaving soft pieces to frame the face.
I’ll walk you through the braiding steps so the weave stays neat but still relaxed.
Then I’ll share finishing and hold tips—products and tugging tricks—to keep it looking effortless all day.
Prep and Sectioning
Before I start braiding, I always make sure the hair is clean, detangled, and a little textured so the fishtail holds without looking stiff.
I section with purpose and leave soft face-framing pieces.
Quick checklist for you:
- Light texturizer spray
- Wide-tooth comb detangle
- Center or off-center part
- Clip crown and face pieces separately
Braiding Technique Steps
Alright — let’s get fingers moving: I start by releasing the clipped crown and face-framing pieces, then pick up two small sections from the main ponytail to kick off the fishtail.
I cross tiny strands from left to right, keeping tension even, tucking loose face pieces as I go.
I braid down to the ends, then secure and gently pancake for softness.
Finishing and Hold Tips
Now that the braid’s secured and pancaked, I’ll lock everything in so your soft face-framing pieces keep their airy look while the braid stays put.
I’ll share quick tricks:
- Light mist of flexible hairspray.
- Pin stray pieces behind ear discreetly.
- Tug tiny sections for softness.
- Secure end with a clear elastic, then hide it with a wrap.
Sleek Center-Parted Braided Ponytail

With a few simple tools and a little patience, I can show you how to get that polished, center-parted braided ponytail that turns heads without wasting time.
I part hair down the middle, slick sides with gel, braid each section toward the nape, then join into a secure ponytail.
It’s clean, modern, and fast — perfect for work or weekend plans.
Double Dutch Braids for Sporty Chic
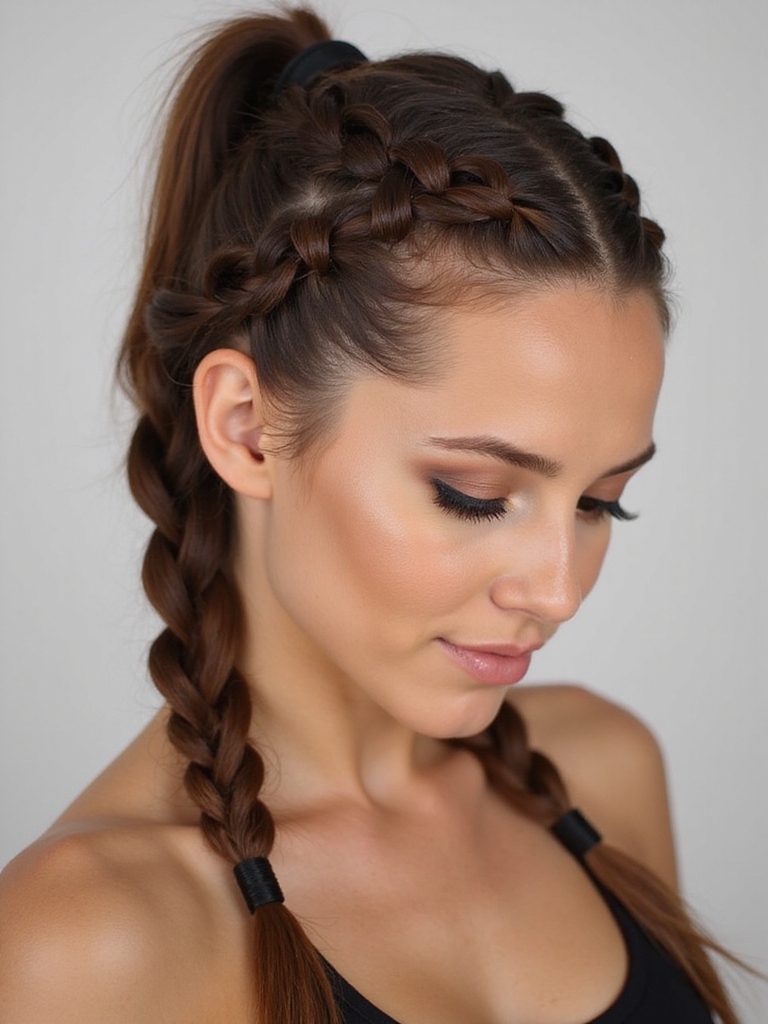
I love how double Dutch braids keep hair locked in and sweat-proof during workouts, so you can actually focus on the game.
I’ll show you quick, no-fuss steps to get them tight and neat without spending ages. Stick with me and you’ll have a sporty, chic look that’s totally practical.
Secure, Sweat-Proof Styling
If you’re heading to the gym or chasing kids around the park, double Dutch braids keep your hair locked down without feeling stiff or matronly.
I love them for sweat-proof days — light hold, no flyaways, and they look cute. Try these quick perks:
- Stays put during sprints
- Minimal frizz
- Works with headbands
- Easy to refresh mid-day
Quick Technique Steps
Because you want something that’s fast and foolproof, I’ll walk you through the double Dutch braid steps I always use for sporty days — no drama, just neat, long-lasting braids.
Split hair down the middle, clip one side.
Start Dutch braiding close to the hairline, adding small sections, pulling under (not over).
Secure ends with elastic, repeat, smooth flyaways with gel.
Messy Halo Braid With Texture

Often I reach for a messy halo braid when I want something effortless but stylish, and it’s one of my go‑to looks for textured hair.
I love how undone pieces soften my face and hold all day.
Try these quick tips:
- Prep with sea‑salt spray.
- Loosely Dutch braid around.
- Tug sections for volume.
- Secure with discreet pins and hairspray.
Mini Box Braids Accented With Beads
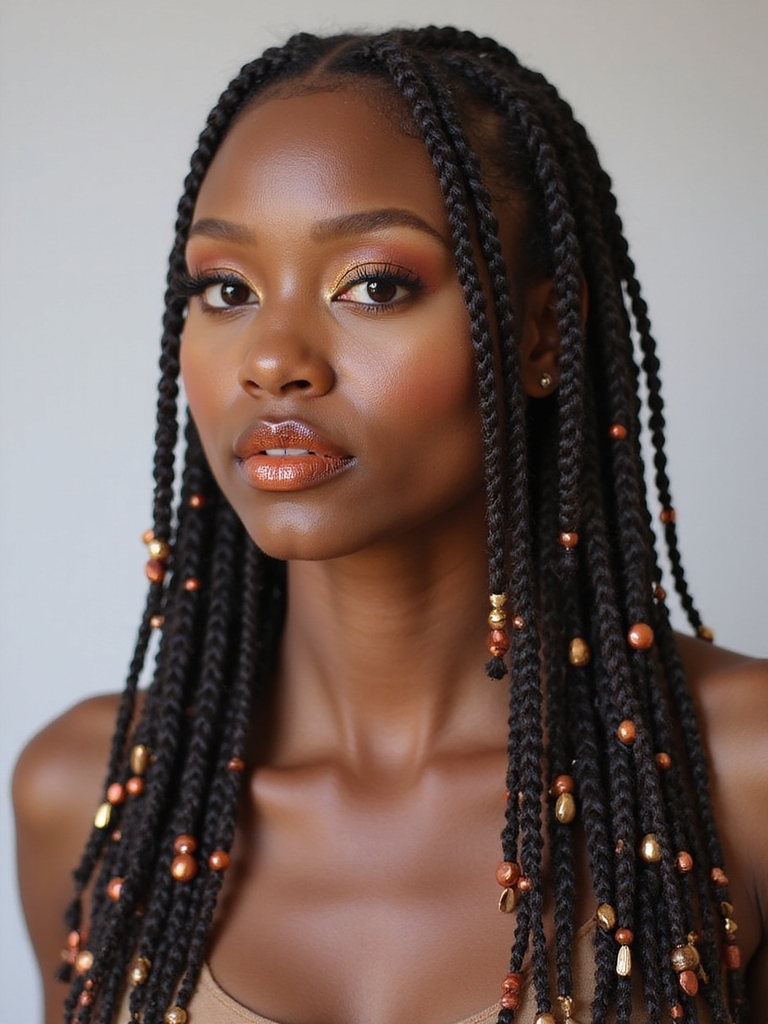
I love how tiny box braids become playful with a few well-placed beads, so I’ll show you simple placement tips that keep the look balanced and secure.
I’ll also cover easy maintenance—like nightly wraps and gentle cleansing—to make them last without frizz.
Finally, I’ll share quick styling tricks so you can switch from casual to polished in minutes.
Bead Placement Tips
Let’s dig into bead placement so your mini box braids pop without feeling overdone: I love keeping beads intentional — here’s how I do it:
- Accent ends for weight and movement.
- Cluster a few at one side for asymmetry.
- Space single beads down random braids for subtle shine.
- Use color to frame your face, not overwhelm the whole style.
Maintenance and Styling
When I’m caring for mini box braids with beads, I focus on routines that keep the scalp healthy and the beads secure without making styling feel like a chore.
I oil my scalp lightly, sleep with a silk scarf, and check beads for looseness. Quick updos, half-up knots, and colorful elastics refresh looks. Wash gently, dry thoroughly, and tighten any shaky beads promptly.
Pull-Through Braid That Mimics Volume

For a quick way to fake big, bouncy braids, I love the pull-through braid — it looks like volume but’s way easier than you’d think.
I’ll walk you through the essentials:
- Section hair into small ponytails.
- Loop and clip each segment.
- Tug gently to pancake for fullness.
- Finish with hairspray for hold and bounce.
Simple, fast, and totally wearable.
Waterfall Braid for Romantic Layers
I love how the waterfall braid lets pieces cascade while keeping the rest of your hair soft and loose — it’s the easiest way I know to add romantic, face-framing layers without cutting a single strand.
I’ll show quick steps: pick a deep part, braid and drop sections, secure with discreet pins, tug gently for volume. It’s breezy, elegant, and surprisingly fast.
Milkmaid Braids Elevated With Twists

If you want the classic milkmaid vibe but crave a little edge, I twist sections into the braids before pinning them up — it instantly modernizes the look without much extra effort.
- Start with loose braid bases.
- Twist thin strands for texture.
- Pin twists over crown.
- Finish with hairspray.
It’s playful, quick, and surprisingly chic.
Low Braided Bun for Formal Events

Want something that reads polished without feeling stiff? I love a low braided bun for formal events because it’s elegant but forgiving—braid the hair, twist into a low bun, secure with pins and a spritz.
It stays neat through speeches and dancing, yet looks soft from the sides. I’ll show you how to balance structure with a few face-framing wisps.
Accent Braid Under Loose Waves
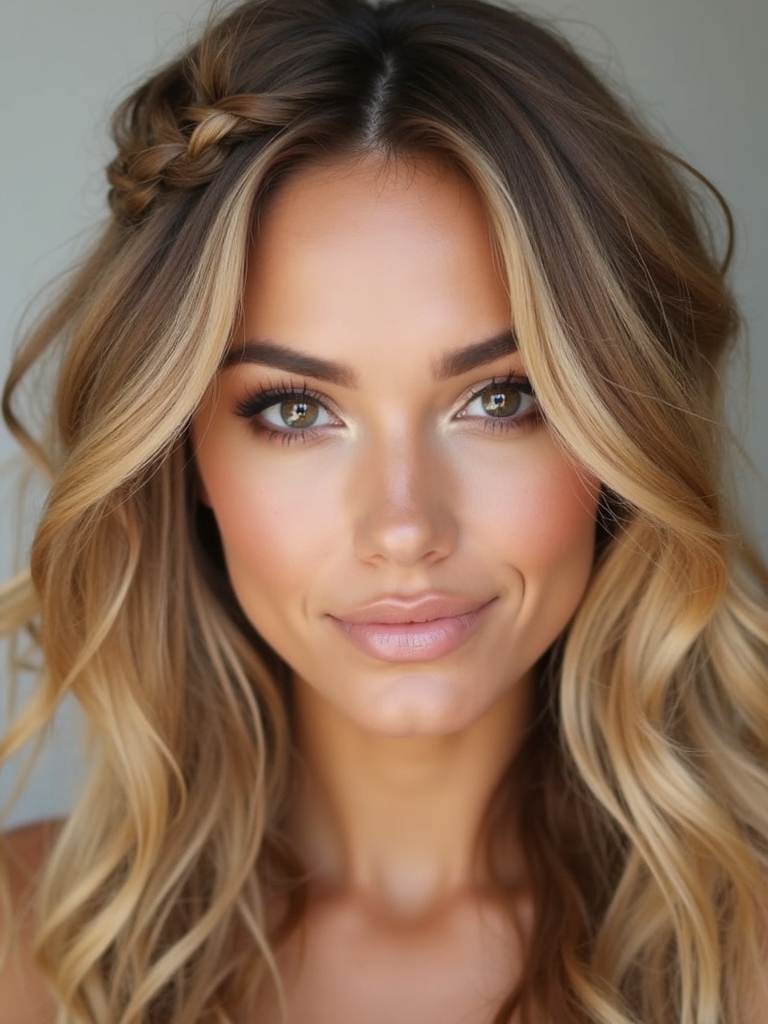
Slip a slim braid under loose waves and you’ll get that effortlessly cool look that reads intentional without shouting “done up.”
I like to weave a small accent braid along the nape or behind one ear, then drape soft waves over it so the braid peeks through—adds texture and interest while keeping things relaxed.
- Quick to do
- Works with second-day hair
- Soft, subtle edge
- Stylishly low-maintenance
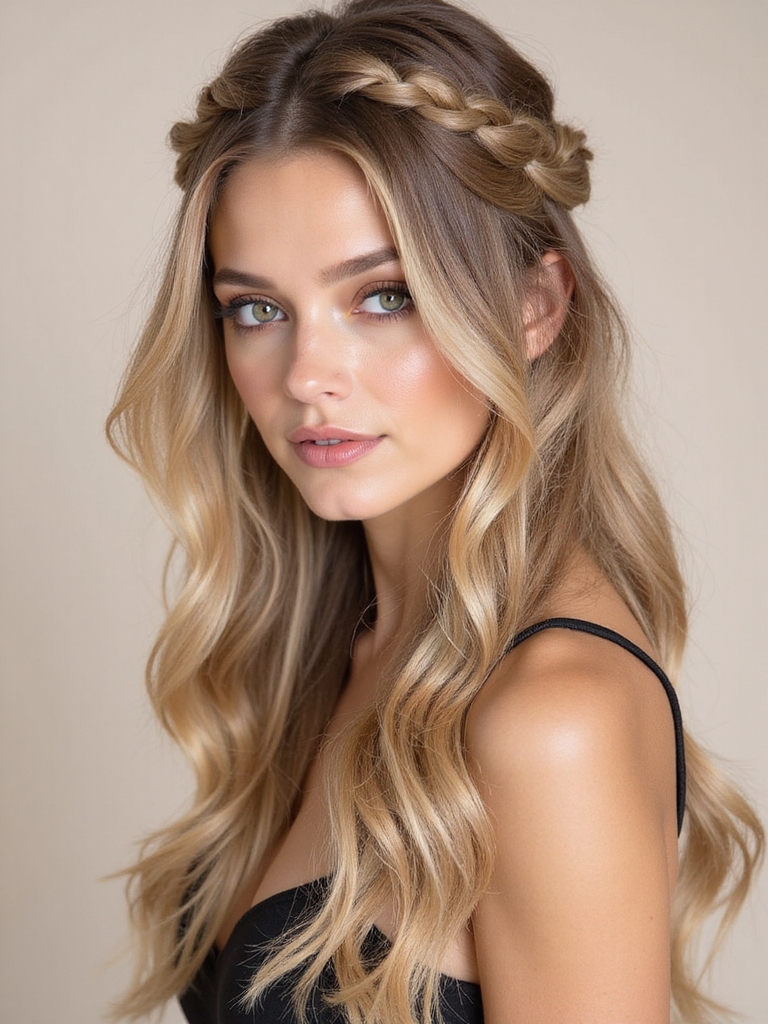
Rope Braids Twisted Into a Crown
Twisting two rope braids into a crown is my go-to when I want something that looks regal but feels totally doable.
I start with clean, detangled hair, split two sections, twist each tightly, then wrap them around my head and pin.
It stays secure all day, works with any length, and gives instant polish without fuss — perfect for busy days.
Braided Updo With Braided Bangs
If I’m keeping the crown vibe but want something a bit softer around the face, I’ll swap those rope braids for a braided updo with braided bangs.
I love it — chic, comfy, and totally doable.
Quick tips:
- Start with a loose braid.
- Pin into a low bun.
- Braid front sections into bangs.
- Use light hairspray for hold.
I hope you’re feeling inspired — I know I am! If you try a classic three-strand with metallic thread, a boho chunky side plait, or a sleek braided ponytail, these looks are easy to make your own.
Mix in ribbons, beads, or a hidden accent braid for instant personality, and don’t be afraid to tug and mess things up a bit for that lived-in vibe. Now go braid something beautiful — and show it off!


