I love how long braids can look both polished and totally relaxed, so I wanted to share a few styles that feel effortlessly glam without fuss.
I’ll show you options from sleek three-strand looks to chunky Dutch braids, plus quick tricks for volume, grip, and finishing touches that actually hold. Stick around—I’ve got styling shortcuts and tiny embellishments that make a big difference.
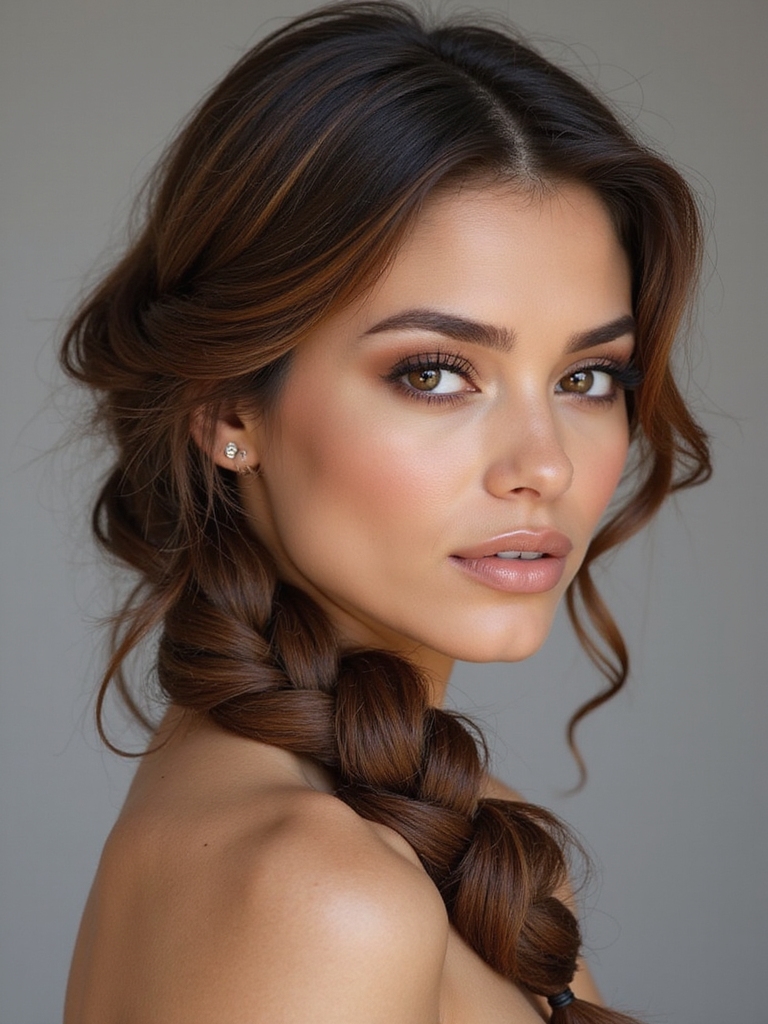
Sleek Classic Three-Strand Braid
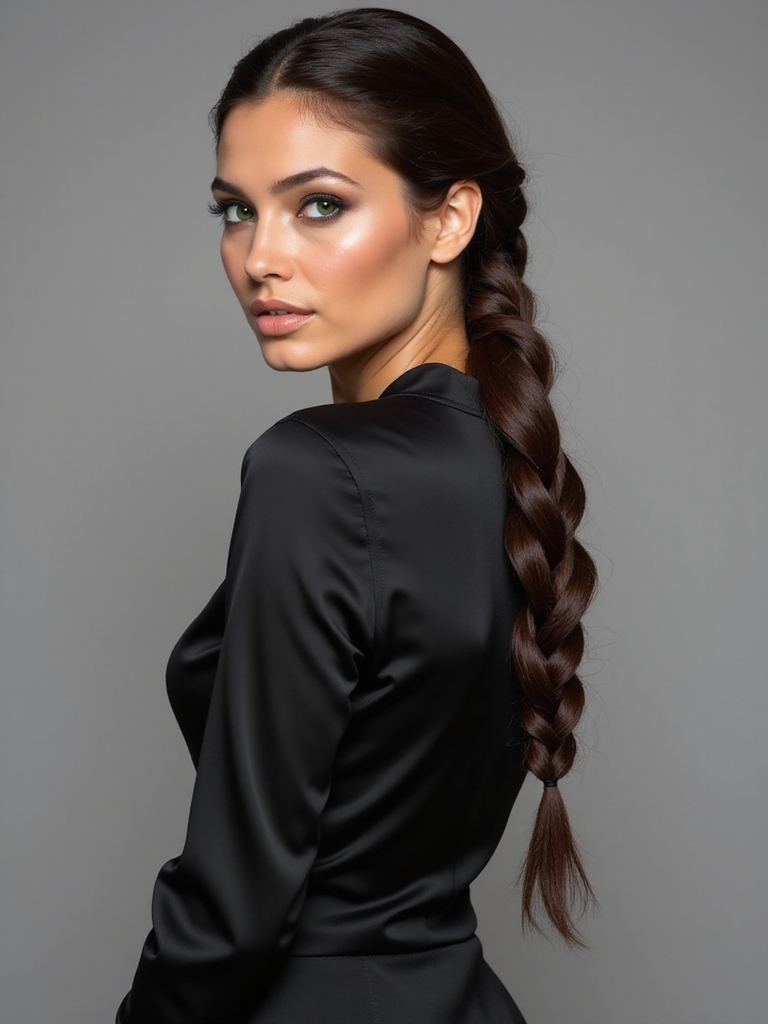
I love the sleek classic three-strand braid because it’s effortless, tidy, and works for literally any occasion — from errands to evenings out.
I’ll show you quick sectioning, smooth brushing, and tension control so it stays neat all day. Tie with a tiny elastic, hide the end under a ribbon if you like, and refresh with a few spritzes of hairspray.
Elegant braided hairstyles can be adapted for any length or event with simple tweaks, like adding accessories or varying braid tightness to change the look; see braided hairstyles for ideas.
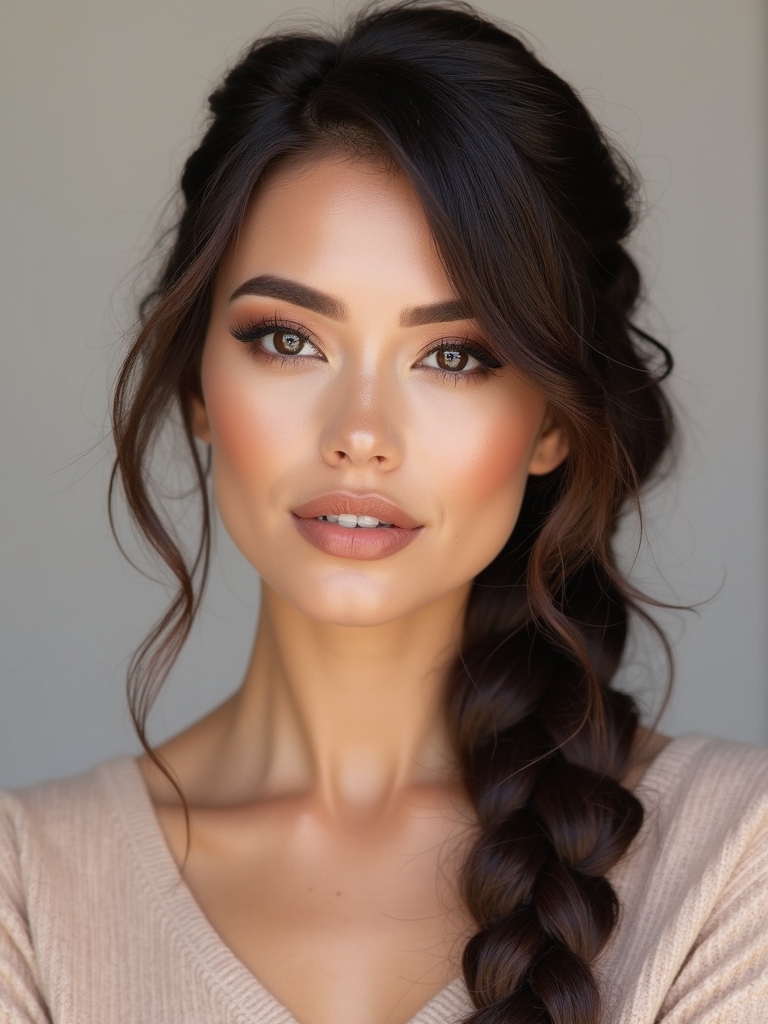
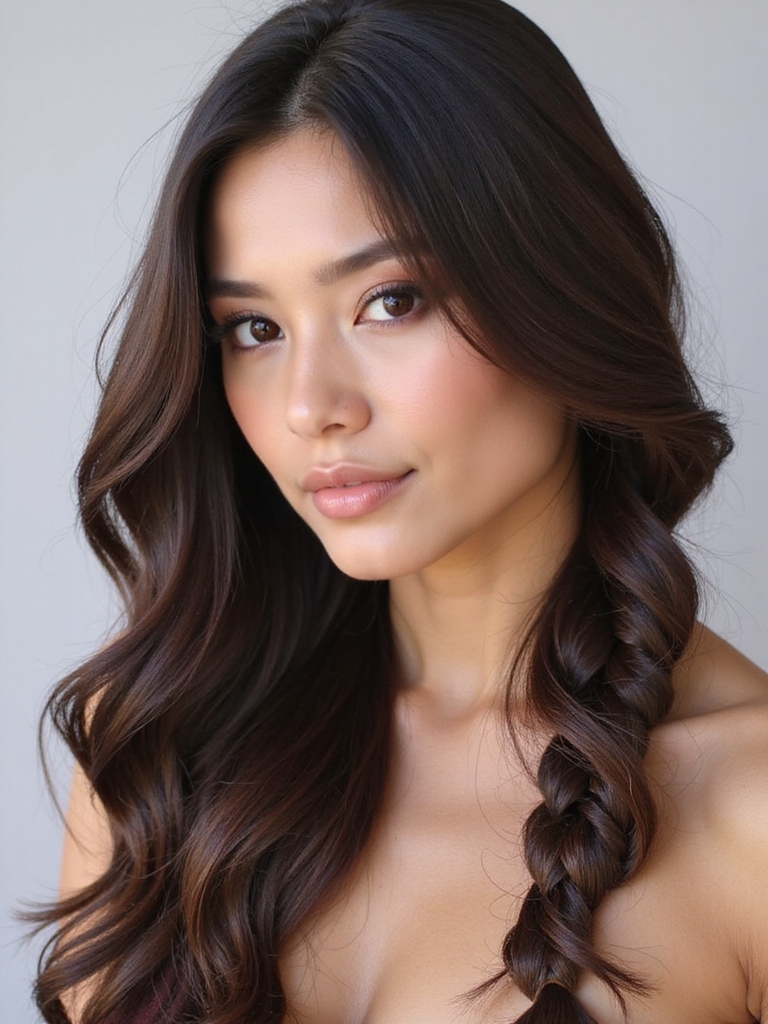
Boho Loose Fishtail Braid

If you love the neat three-strand look but want something airier for weekend plans, try a boho loose fishtail braid — it’s relaxed, romantic, and surprisingly quick.
I pull big sections, cross small pieces, and gently pancake the braid for fullness. It hides imperfections, works on second-day hair, and pairs with hats or soft waves. Quick pins finish the look.
I also find it pairs perfectly with other effortless braided ponytail ideas like a wrapped elastic or a messy crown for added glam and versatility, especially for casual events where comfort meets style effortless braided ponytail.
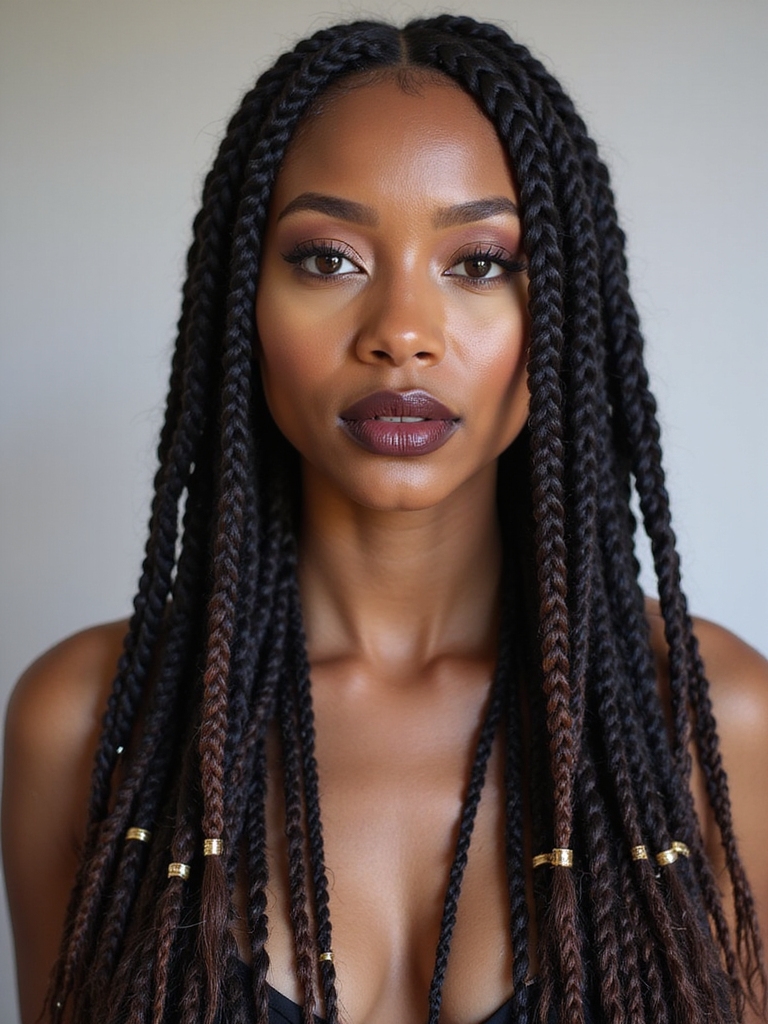
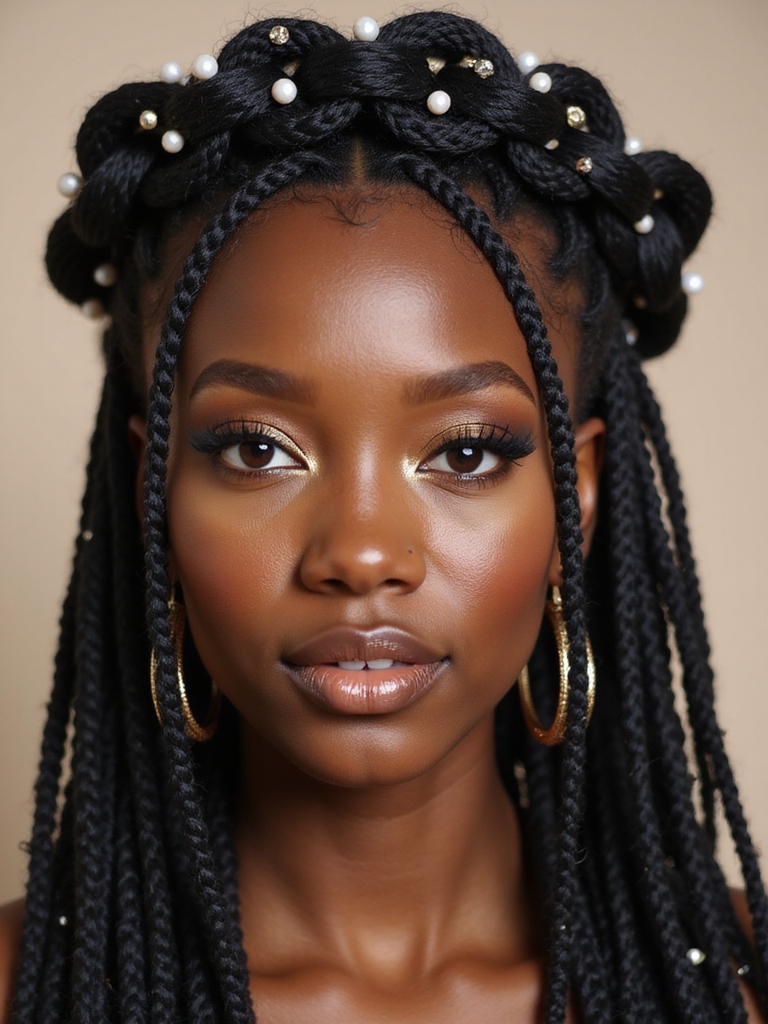
High Ponytail Box Braids

Swinging a high ponytail of box braids instantly feels like putting on a power cape — I love how it’s bold, neat, and fuss-free.
I grab a strong elastic, smooth edges with gel, and wrap a few braids around the base for a polished finish.
It’s low-maintenance, lasts for weeks, and shifts from gym to date night without drama.
You can also switch it up by creating two braided ponytails for a playful yet polished alternative.
Romantic Crown Braid
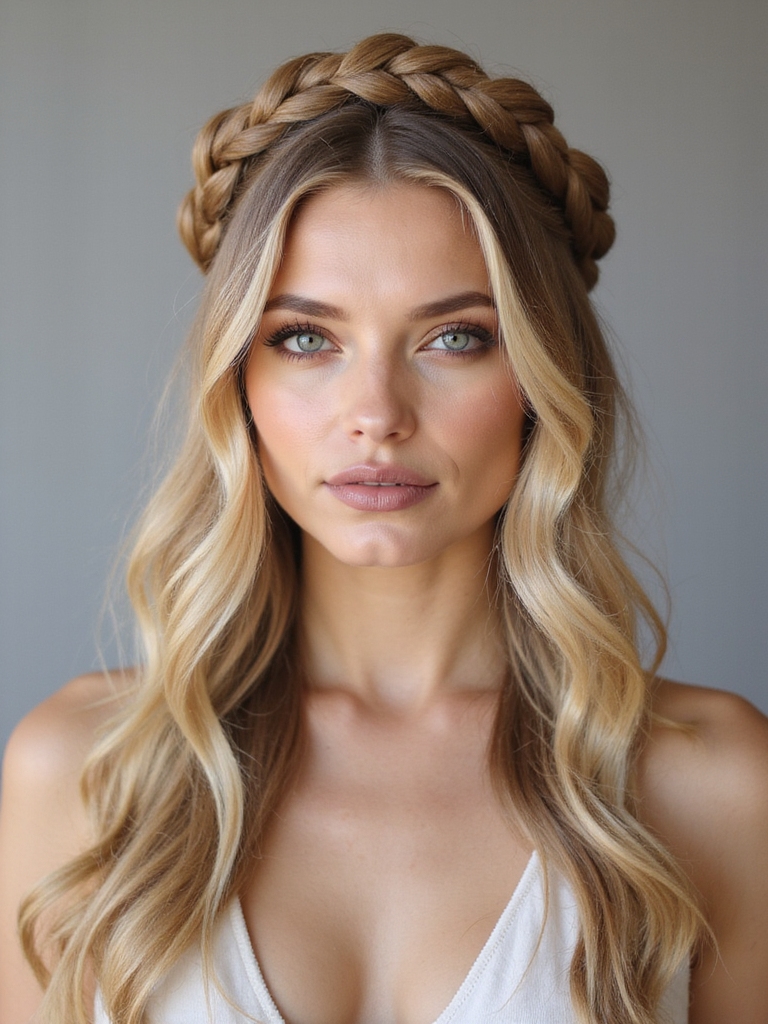
I love how a romantic crown braid instantly dresses up long hair, and I’ll show you the simple steps to create one so you can try it at home.
I’ll share quick styling tips—like pulling a few face-framing strands and tucking in floral pins—and what products and techniques keep the braid secure all day.
Stick with me and you’ll get a soft, romantic look that actually holds.
Crown braids are a timeless choice often featured in collections of bridal braided hairstyles for their elegance and versatility.
How To>Create
Let me walk you through creating a romantic crown braid that looks intricate but is actually totally doable at home; grab a brush, some elastics, and a few bobby pins and we’ll get started.
I part hair to one side, French-braid along the hairline, adding pieces as I go.
I wrap the braid around my head, secure ends under the braid, and tuck with pins for a soft, finished look.
Braided updos often combine multiple braid types for effortless chic and lasting hold.
Styling Tips & Hold
Start by misting hair with a light-hold spray so the braid grabs rather than slides — I like to work with slightly textured hair for better grip.
I secure pieces with hidden pins and tug gently for softness.
Quick checklist:
- Use dry shampoo for grit
- Pin under each cross for security
- Finish with flexible-hold mist
- Sleep on a silk pillowcase to preserve shape
Ladder Braid With Face-Framing Pieces
Okay, let’s tackle a ladder braid with face-framing pieces — I’ll show you how to section the hair neatly so the braid sits clean and even.
I’ll walk you through creating the ladder braid step by step, including where to pick up and release strands for that pretty runged effect.
Then we’ll shape and style the face-framing pieces so they soften your features and blend seamlessly with the braid.
How to Section Hair
Although it looks fancy, I section hair for a ladder braid with face-framing pieces the same way I’d prep a simple braid: I divide clean, detangled hair into a top panel for the ladder, two side panels for the face pieces, and the remaining back section to feed into the braid.
- clip top panel
- free face pieces
- secure back section
- smooth parting lines
Creating the Ladder Braid
Now I’ll walk you through building the ladder braid: think of it as a regular French braid but with a deliberate gap where those face-framing pieces slip through, creating the “rungs.”
I start high, pick three strands, cross and add like a French braid but intentionally leave a small strand out each pass, secure rungs with tiny elastics, tighten gently, and finish with a clear band.
Styling Face-Framing Pieces
Once the ladder braid is braided and those little rungs are clipped in, I focus on the face-framing pieces because they make the whole look sing.
I tug, curl, and mist until they sit just so—soft, not stiff. Try these quick moves to polish the vibe:
- Twist a strand and pin behind ear
- Softly curl with a wand
- Tease roots slightly
- Finish with light hairspray
Rope Braid Side Sweep
Leaning into the side-swept trend, I love how a rope braid gives long hair instant polish with almost no fuss.
I twist two sections, wrap them tightly, and let the braid drape over one shoulder for a flirty, low-maintenance look. It’s great for windy days, hides uneven layers, and stays neat with a clear elastic and a few discreet pins—easy glam, truly.
Chunky Dutch Braids With Volume

Okay, let’s talk chunky Dutch braids with serious volume — I’ll show you how prepping the roots and mid-lengths makes that puff look intentional, not sloppy.
For long sections we’ll keep the pieces big and manageable, and I’ll give you simple grip tricks so the braid stays chunky without collapsing.
Stick with me and you’ll get that full, dramatic look without a ton of fuss.
Prep for Added Volume
I usually start by texturizing the roots — and you should too if you want those chunky Dutch braids to look full and effortless.
I tease lightly, mist with sea salt spray, then braid tight at the base.
Quick checklist:
- Sea salt or texturizing spray
- Light root backcombing
- Volumizing mousse at roots
- Finish with flexible-hold hairspray
Tips for Long Sections
Chunking up long sections makes those Dutch braids read big without feeling heavy, so I split each side into two or three thick pieces before I even think about crossing them—this keeps the braid chunky but manageable, prevents tiny pieces from sneaking out, and gives you control over where the volume sits.
I tug gently after braiding, smooth flyaways with balm, and anchor ends securely.
Waterfall Braid Accent
I often reach for a waterfall braid when I want a pretty, effortless-looking accent that still feels polished; it lets pieces cascade through the braid so your hair looks soft and intricate without hours of styling.
I love how it frames my face. Try these touches:
- Soft, face-framing drops
- Messy texture for ease
- Sparkly pins at intervals
- Tuck ends into waves
Half-Up Bubble Braids

If you like the soft romance of a waterfall braid but want something with more structure and a bit of fun, try half-up bubble braids — they give that polished-but-playful look without fuss.
I grab top sections, secure small ponytails, then tug each segment into rounded “bubbles.” It’s quick, stays put, and flatters long hair—perfect for daytime events or low-key glam.
Braided Halo With Embellishments
For a look that feels angelic but totally achievable, I wrap a thick crown braid around the head and weave in tiny charms, fresh flowers, or ribbon for instant wow factor. I keep it comfy and secure, then add sparkle where needed.
- tiny gold charms
- baby’s breath blooms
- satin ribbon interlaced
- pearl pins scattered
I hope you’re feeling inspired — I know I am! These long braided looks prove you can be comfy and totally glam with just a few tricks: texture for grip, gentle tugging for softness, and discreet finishes that keep things polished.
Try a crown braid for romance, chunky Dutches for drama, or a sleek three-strand when you’re short on time. Have fun experimenting — your long hair is basically a playground, so go play!


