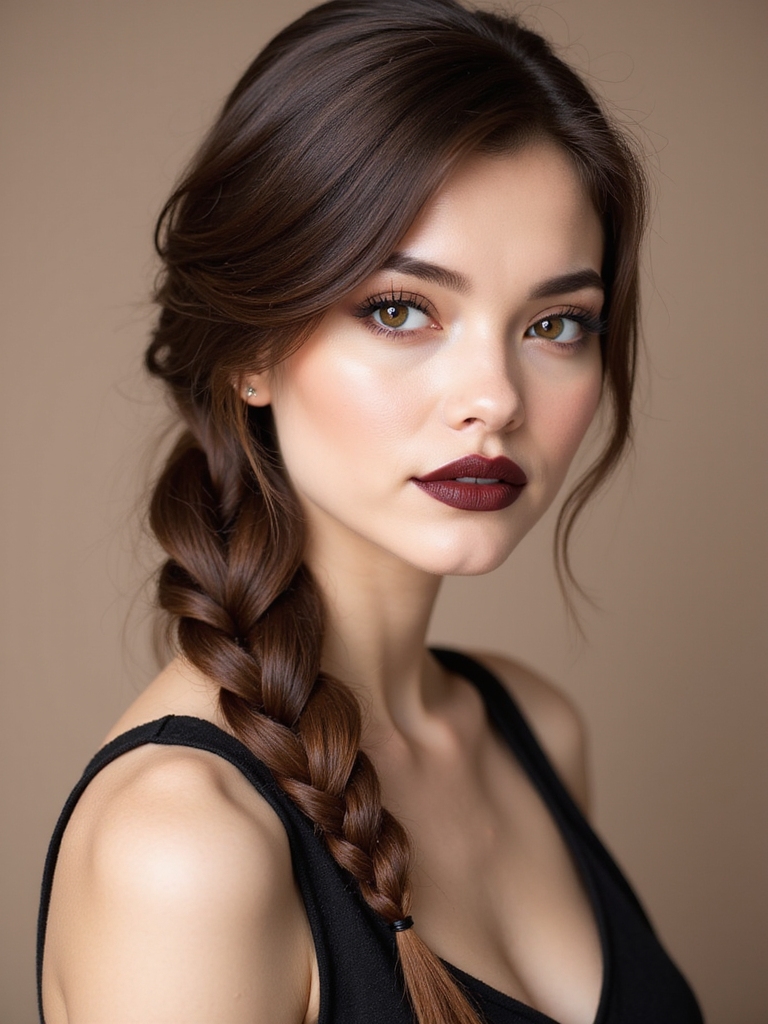
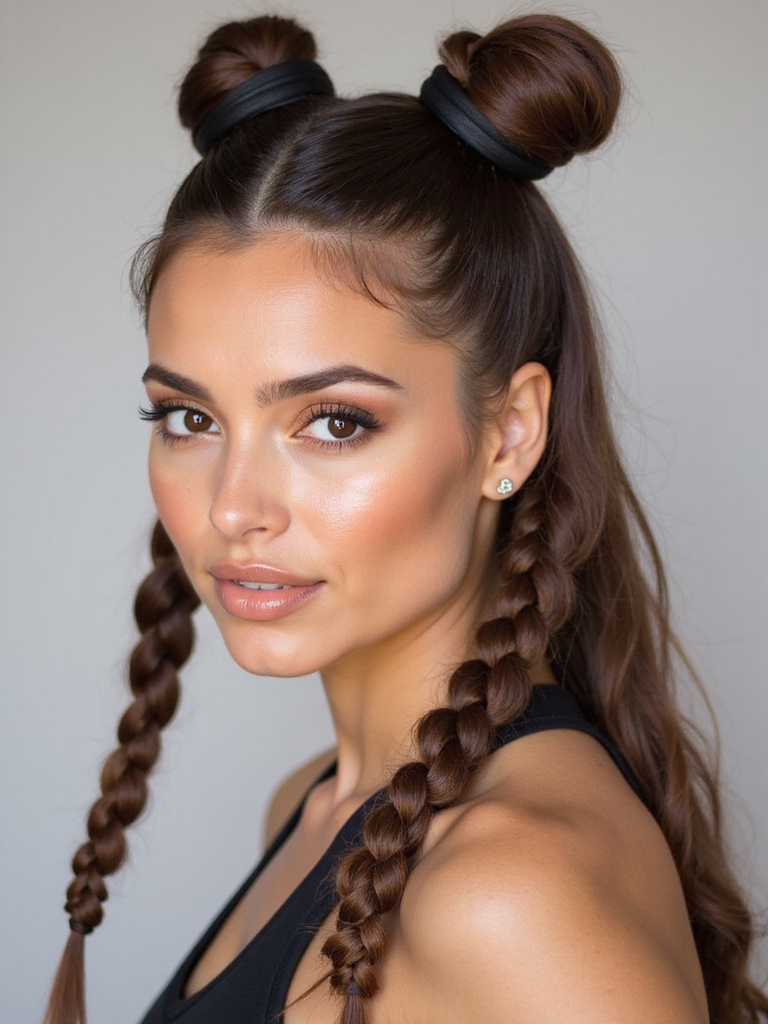
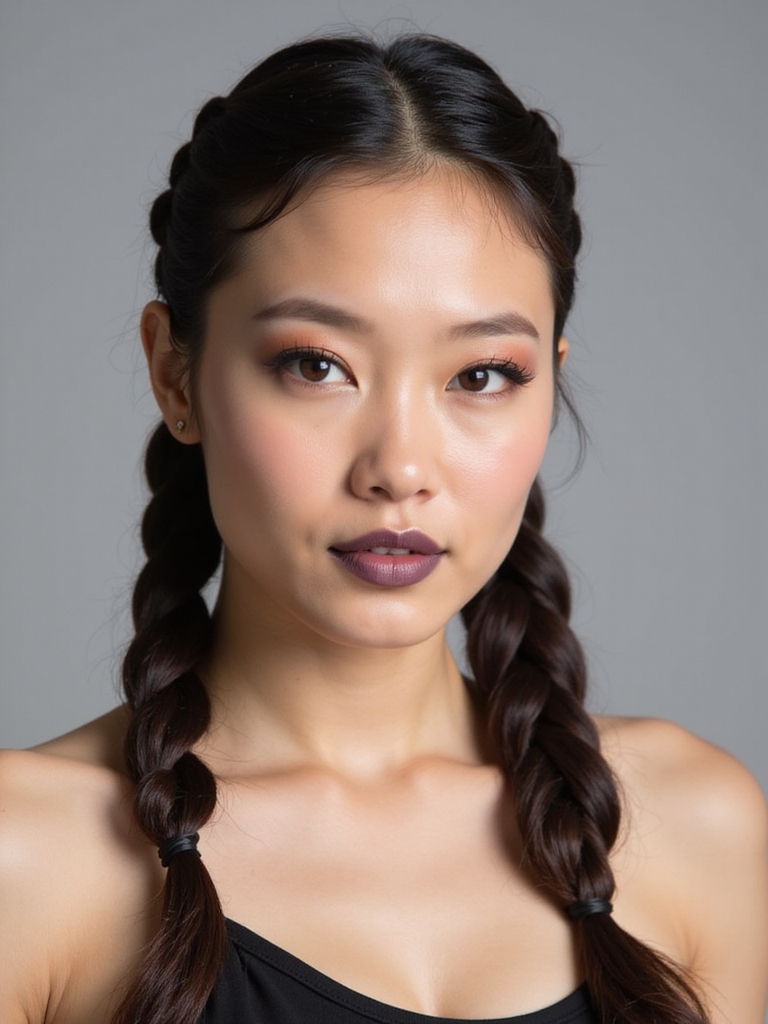
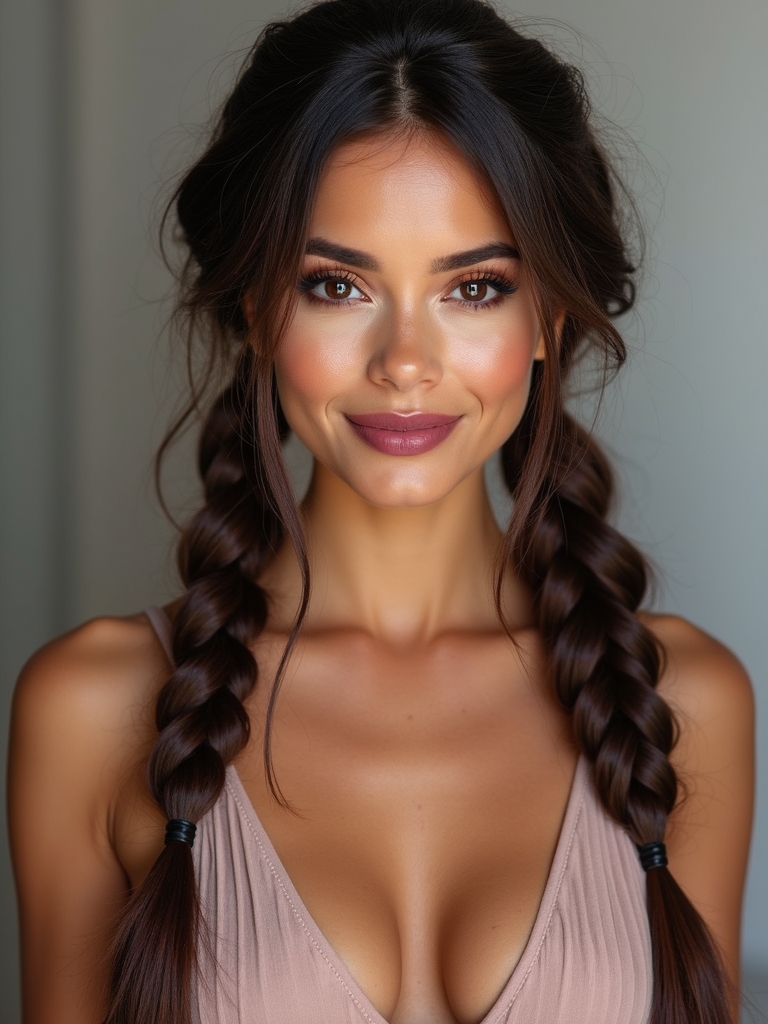
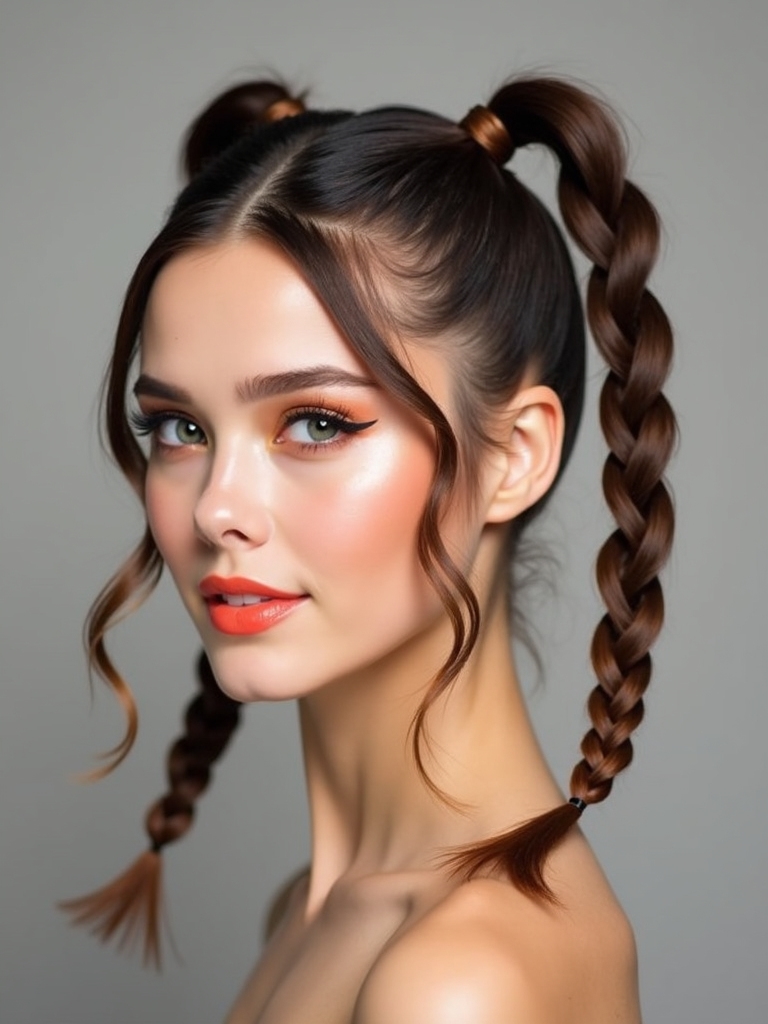
I love how two braided ponytails can be equal parts playful and polished, and I bet you will too—whether you want sleek, schoolgirl vibes or loose, boho movement.
I’ll walk you through picking the right braid for your hair type, quick prep tricks to keep them neat, and easy fixes for frizz, plus a few styling swaps that totally change the mood. Ready to try a version that actually lasts?
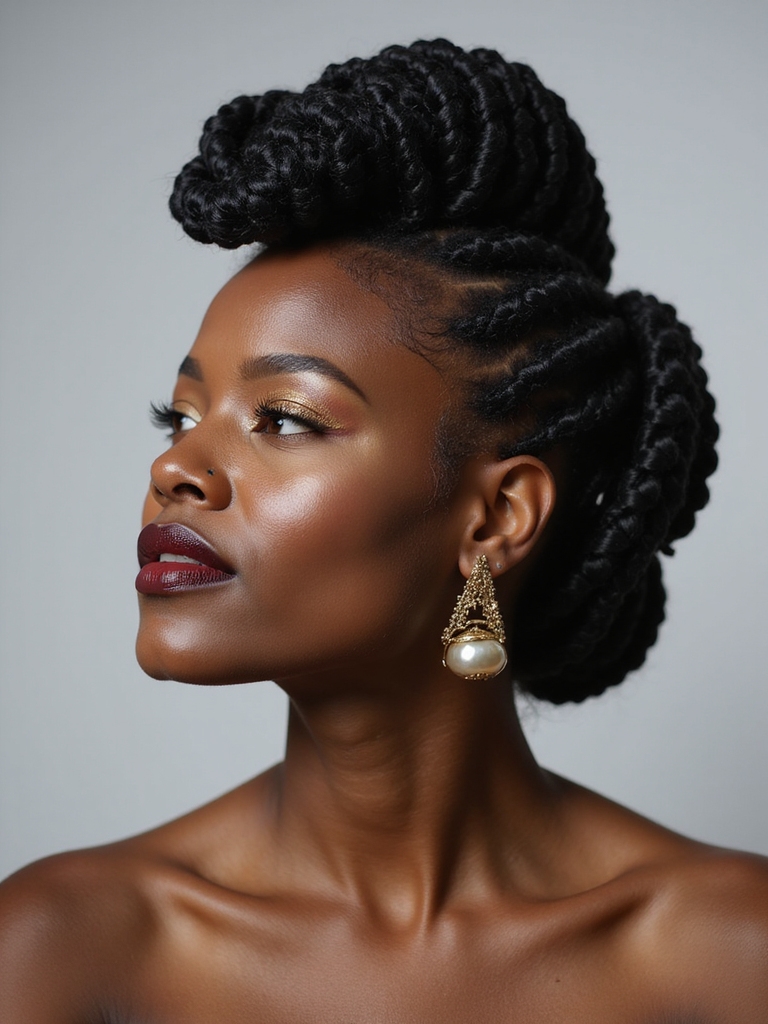
Why Two Braided Ponytails Are Trending Now
I’ve been watching two braided ponytails pop up everywhere — on runways, in TikTok reels, and at coffee shops — and it’s easy to see why: they’re playful, practical, and instantly put a fresh spin on a classic look.
I love how they read youthful yet polished, keep hair controlled during busy days, and translate across casual outings or dressier events with minimal effort.
They also pair well with braided ponytail hairstyles to create effortless, woven looks for every occasion.
Choosing the Right Braid Style for Your Hair Type

Because hair type changes everything, I start by sizing up texture, thickness, and how much time you want to spend styling — that way we can pick a braid that actually works for your life.
- Fine: go for loose, boho braids for volume.
- Thick: try sturdy Dutch or boxer braids.
- Curly: use wider sections to avoid frizz.
- Shorter layers: opt for mini braids or rope twists.
Effortless braided looks often rely on simple steps and charming braided hairstyles that suit everyday wear.
Prep Steps for Long-Lasting Braids
Before I braid, I always start with clean, completely detangled hair so nothing snags or frizzes mid-plait.
Then I lock in light moisture with a leave-in or oil and use a bit of gel or cream to give the style hold without stiffness.
Believe me, those small prep steps are the secret to braids that actually last.
Many people find that starting with simple braided hairstyles builds skills quickly and makes everyday braiding easier.
Clean, Detangled Hair
I usually start by washing and detangling my hair thoroughly because clean, knot-free strands are the foundation of braids that actually last.
I comb in sections, finger out stubborn tangles, and enjoy that smooth glide—no snags, no drama.
- Section hair
- Apply lightweight conditioner
- Finger-detangle then comb
- Clip sections neat and ready
Braids stay manageable longer when you begin with effortless braided hairstyles and simple, repeatable techniques.
Moisture and Hold
With a few spritzes and a slick of product, I set the moisture and hold that’ll keep my braids neat for days without feeling crunchy.
I mist leave-in conditioner, seal ends with a lightweight oil, then smooth gel where needed for flyaways.
I don’t overload—just enough to define strands and prevent frizz.
Nighttime satin wrap prolongs the style and freshness.
Regular maintenance like re-moisturizing and gentle scalp care helps keep braided styles healthy, especially for natural hair.
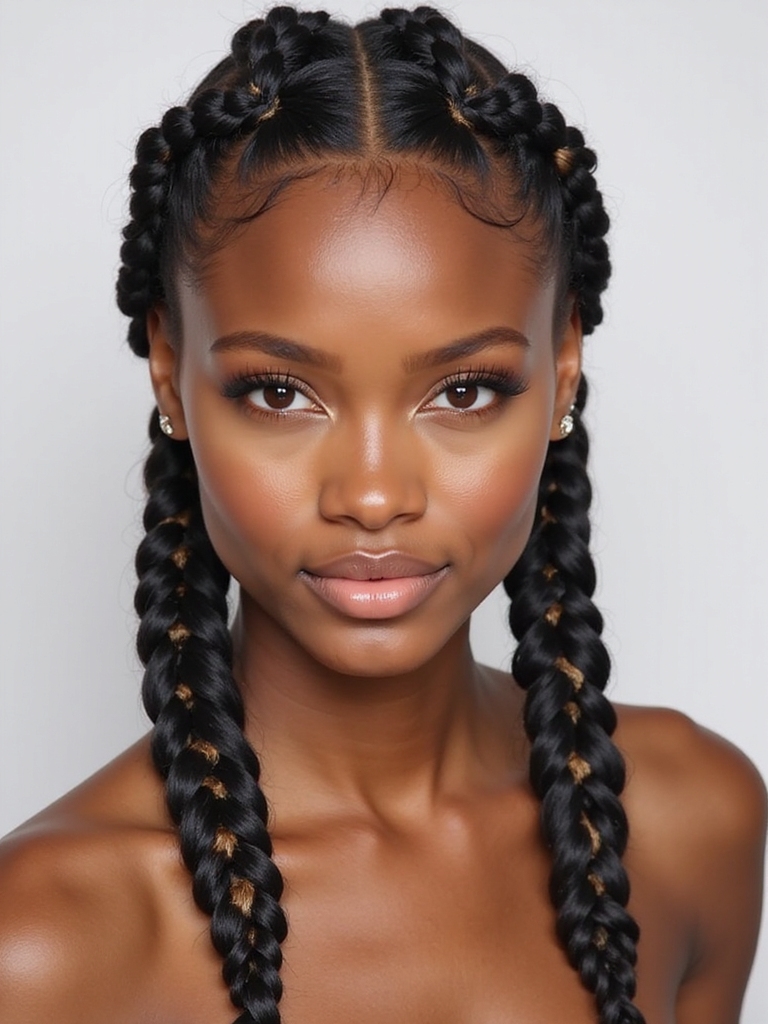
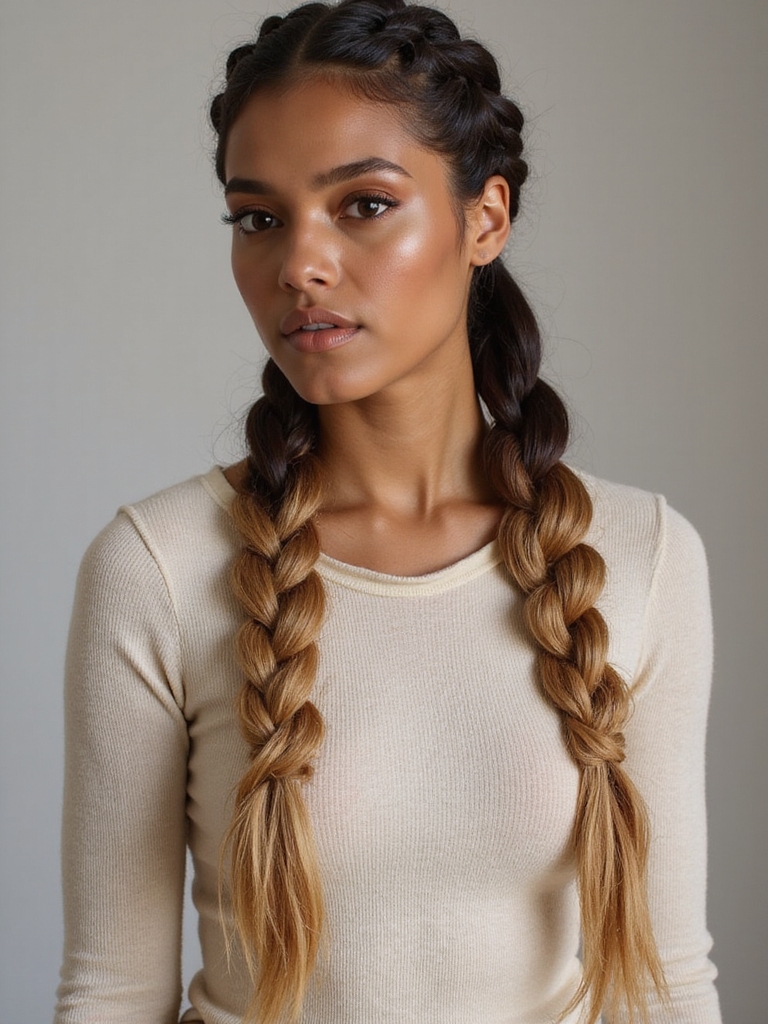
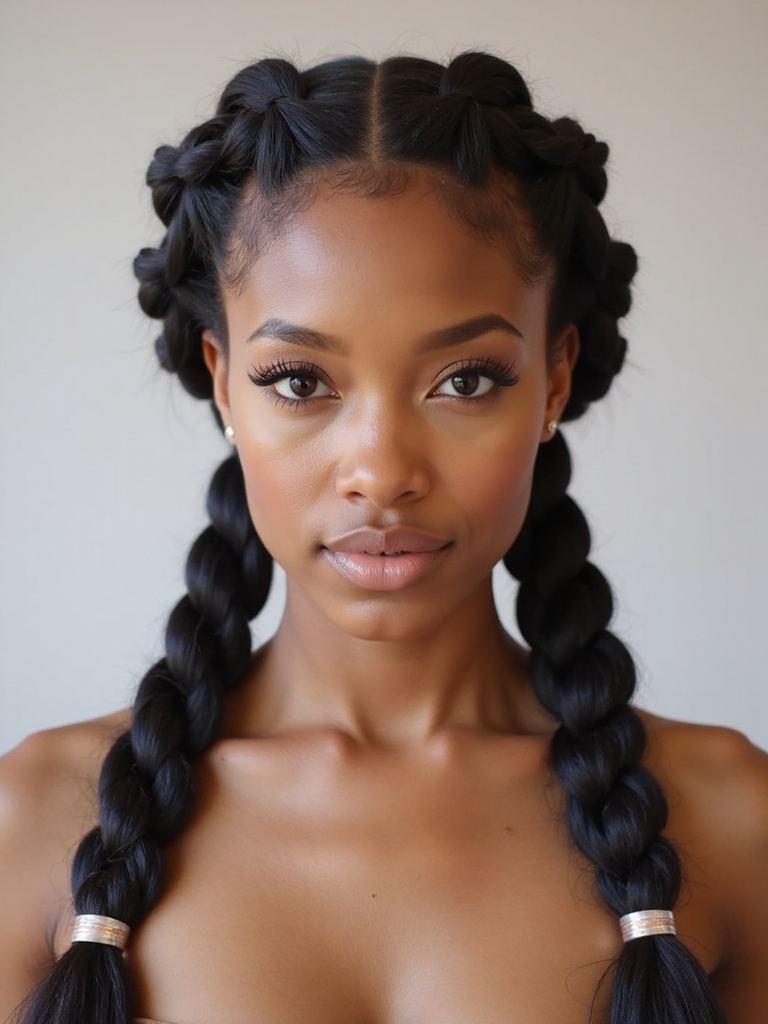
How to Create Classic Tight Braided Ponytails
I’ll walk you through making classic tight braided ponytails starting with neat, even sections so each braid looks sharp.
Keep the tension firm as you braid to lock in the shape and prevent frizz.
Finish by securing ends tightly and smoothing flyaways for a clean, polished look.
Section the Hair Evenly
Because neat sections are the backbone of a classic tight braided ponytail, I always start by parting the hair deliberately and cleanly.
I divide into equal zones, clip tidy, and check symmetry before braiding.
Simple tools help.
- Use a fine-tooth comb.
- Create a precise center or side part.
- Clip sections securely.
- Re-check balance in the mirror.
Braid With Firm Tension
Pull each section tight and keep it there — that’s the secret to a classic, crisp braided ponytail.
I grab small, equal strands, clip stray bits, and braid with steady tension so edges stay smooth.
I check symmetry as I go, smoothing with my fingers.
No tugging that hurts, just firm, consistent pressure for a neat, long-lasting look that still feels comfortable.
Secure and Finish Neatly
Once the braid’s tight and even, I lock it down so the whole style actually lasts—no slipping, no frizzing out by lunch.
I finish neat: elastic, secure pins, a dab of gel, and a mist of spray. Here’s my quick checklist:
- Use a strong elastic close to the base
- Tuck ends under and pin
- Smooth with gel
- Light hairspray finish
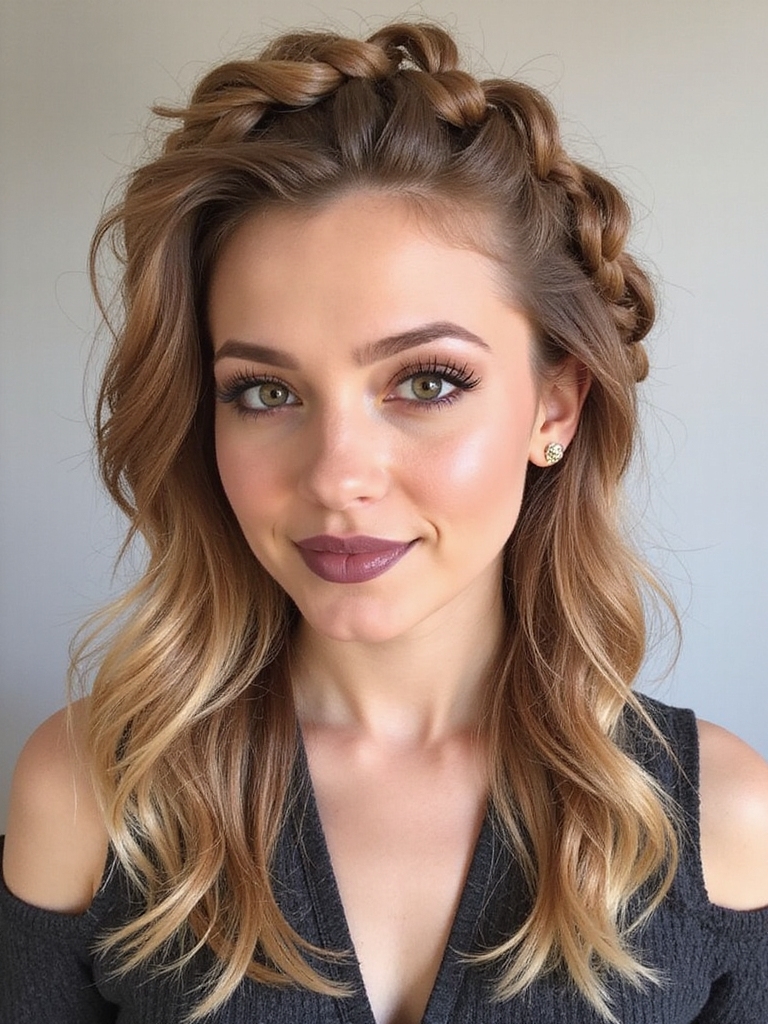
Loose Boho Braided Ponytail Tutorial
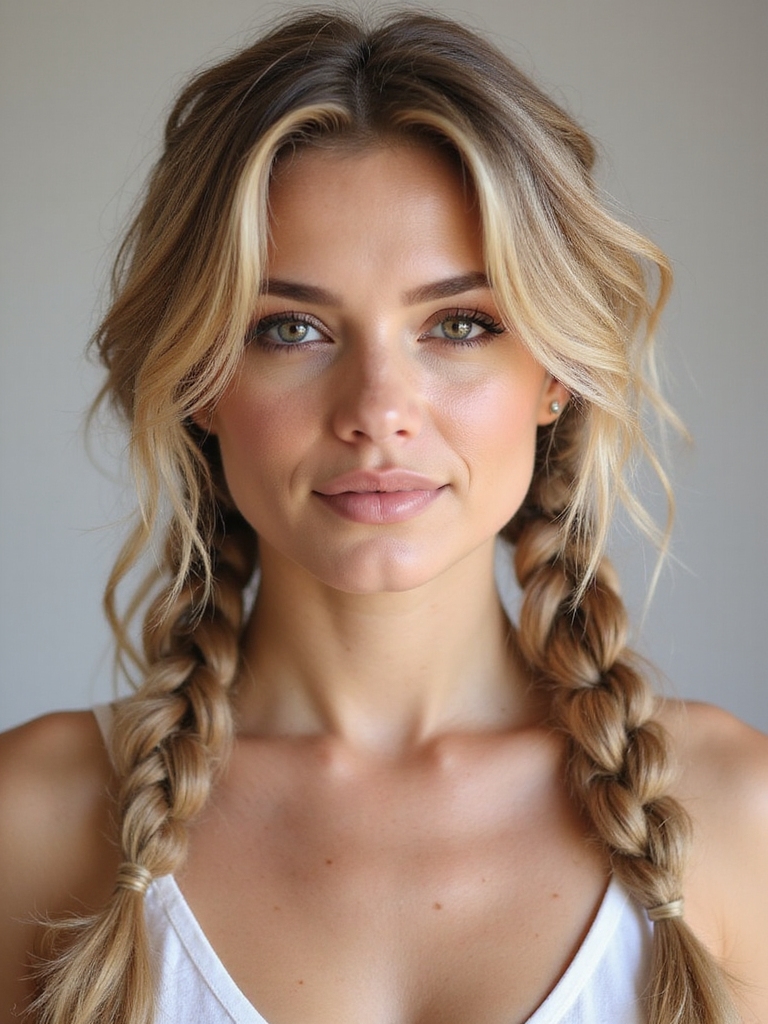
If you want an easy, lived-in look that still reads polished, I’ll show you how to build a loose boho braided ponytail that feels effortless but holds up all day.
I tease roots, gather hair into a low pony, braid loosely, and pancake the braid for volume.
I pull face-framing strands, secure with a soft elastic, and finish with a light texturizing spray.
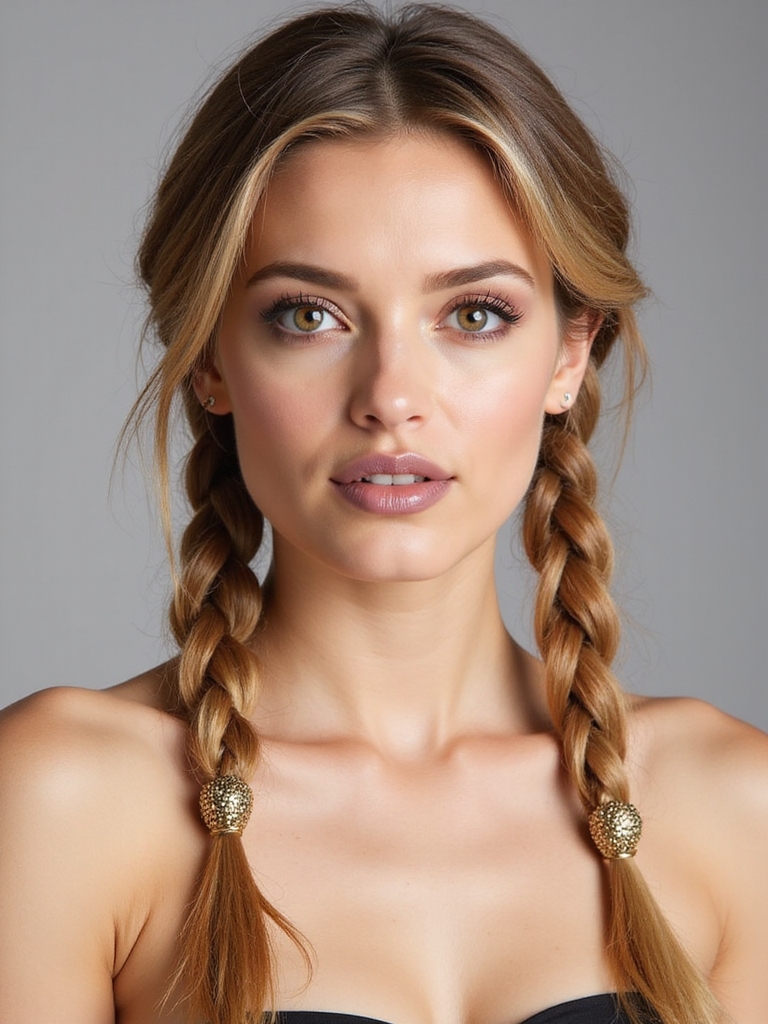
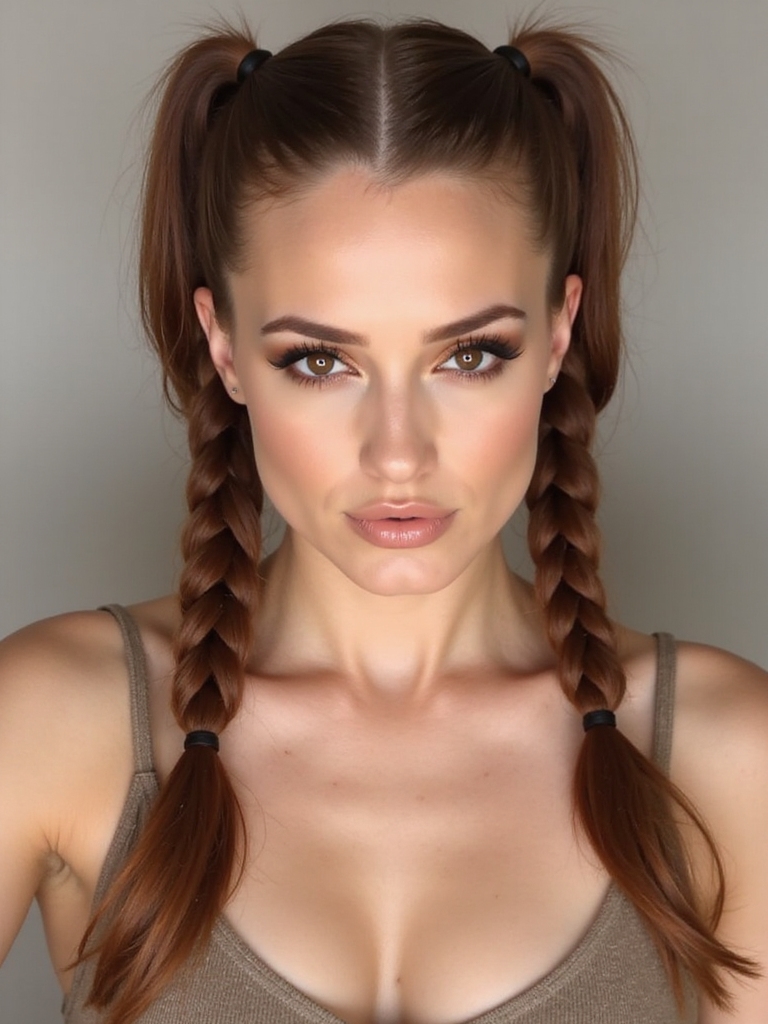
Sporty High Braided Ponytails for Active Days
I often reach for a sporty high braided ponytail on busy days because it keeps my hair out of my face, stays put through workouts, and still looks cute.
I braid tightly, secure well, and add a fun scrunchie for bounce. Try these quick tips:
- Prep with dry shampoo.
- French or Dutch braid for hold.
- Tighten as you go.
- Finish with light spray.
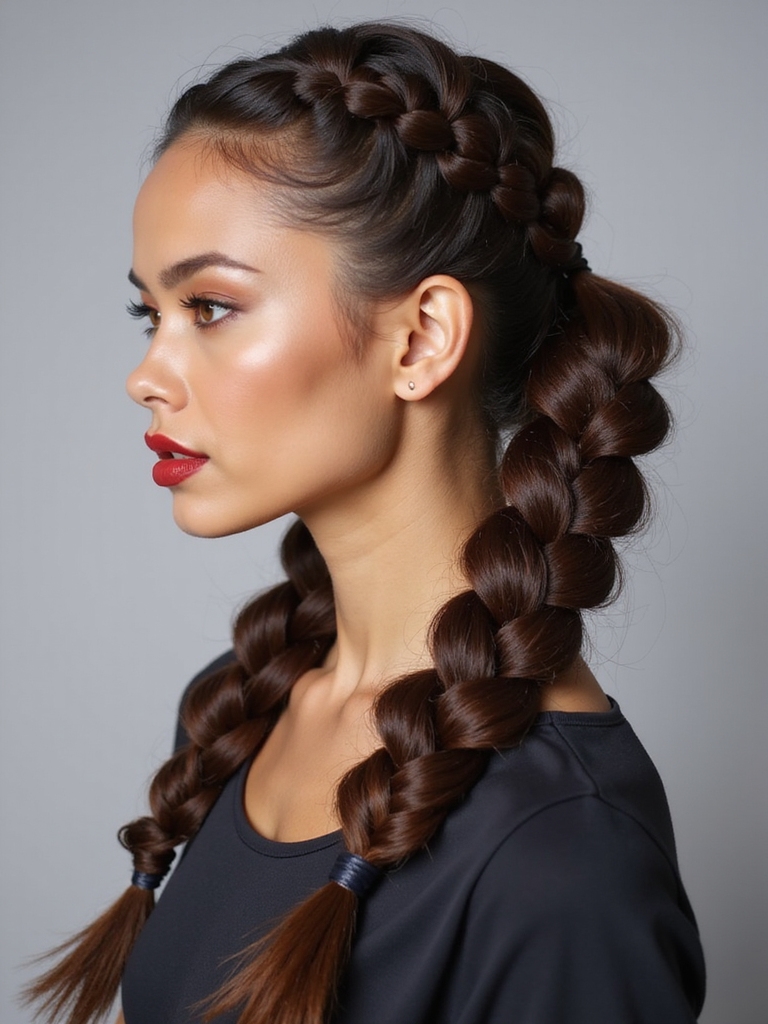
Sleek Low Braided Ponytails for a Polished Look
I love how a sleek low braided ponytail instantly reads polished, so I’ll show you how to nail a seamless hairline finish that keeps flyaways obedient.
We’ll set it off with a low-side parting for a touch of asymmetry, then smooth and tuck the ends for that tidy, tucked-under look.
Believe me, a few simple products and steady hands are all you need to pull this together.
Seamless Hairline Finish
While you might think a sleek low braided ponytail is all about the braid itself, I’ve learned the real magic lives in the hairline finish — those baby hairs and edges set the tone for a polished look.
I tweak mine with care, so here’s how I do it:
- Smooth edges with gel.
- Lay baby hairs gently.
- Use a fine toothbrush.
- Seal with hairspray.
Low-Side Parting
With a low-side parting, I lean into asymmetry to give a sleek braided ponytail extra attitude without overdoing it.
I sweep hair to one side, secure a low pony, then braid cleanly for a polished silhouette.
It’s quick, frames the face nicely, and feels dressy without fuss.
Tip: use a smoothing cream and firm elastic for lasting hold.
Smooth Tucked Ends
Keeping that low-side drama but tightening the finish, I tuck braid ends under for a sleek, polished low pony that looks put-together without fuss.
I’ll show quick steps I use to keep things smooth, secure, and chic.
- Smooth hair with serum.
- Braid snugly to tips.
- Roll ends under and pin.
- Light hairspray for hold.
Adding Volume: Bubble and Fishtail Combo
Plaiting a fishtail into a bubble ponytail is my go-to trick when I want instant oomph without sounding like I’m trying too hard.
I section the hair, create a low bubble pony, then fishtail the remaining length, loosening the braid for fullness. Tease each bubble lightly, secure with clear elastics, and finish with a spritz—fun, bouncy, and surprisingly easy.
Incorporating Hair Extensions Seamlessly
If you’re adding extensions to a braided ponytail, I always start by matching the texture so the pieces sit naturally with your hair.
I’ll show you how to hide the extension roots and blend them into your braid so nothing looks chunky or obvious.
Finally, I use invisible ties and smart placement to keep everything secure without sacrificing movement.
Choosing Matching Textures
I usually start by feeling the natural hair to match its texture before I even pick up extensions, because a seamless blend depends on that small tactile check. I compare curl pattern, thickness, shine, and movement, then tweak choices so everything plays nice.
- Match curl tightness
- Check strand thickness
- Compare shine levels
- Test movement and bounce
Blending Extension Roots
Blending extension roots starts with a little honest detective work: I lift, separate, and feel where the natural hair meets the added weft so you can’t spot the join.
Then I tease lightly, apply a dab of matching product, and smooth strands together. I tuck tiny bits of natural hair over the seam, comb gently, and step back—if it reads as one mane, I’m done.
Securing With Invisible Ties
Three small loops can change everything when I’m securing extensions: I reach for tiny, clear ties that disappear into the braid and hold the weight without snagging your hair.
I cinch gently, then hide knots with a quick wrap. Here’s my go-to checklist:
- Use clear, snag-free ties.
- Crimp extension roots lightly.
- Tension-match natural hair.
- Trim stray fibers cleanly.
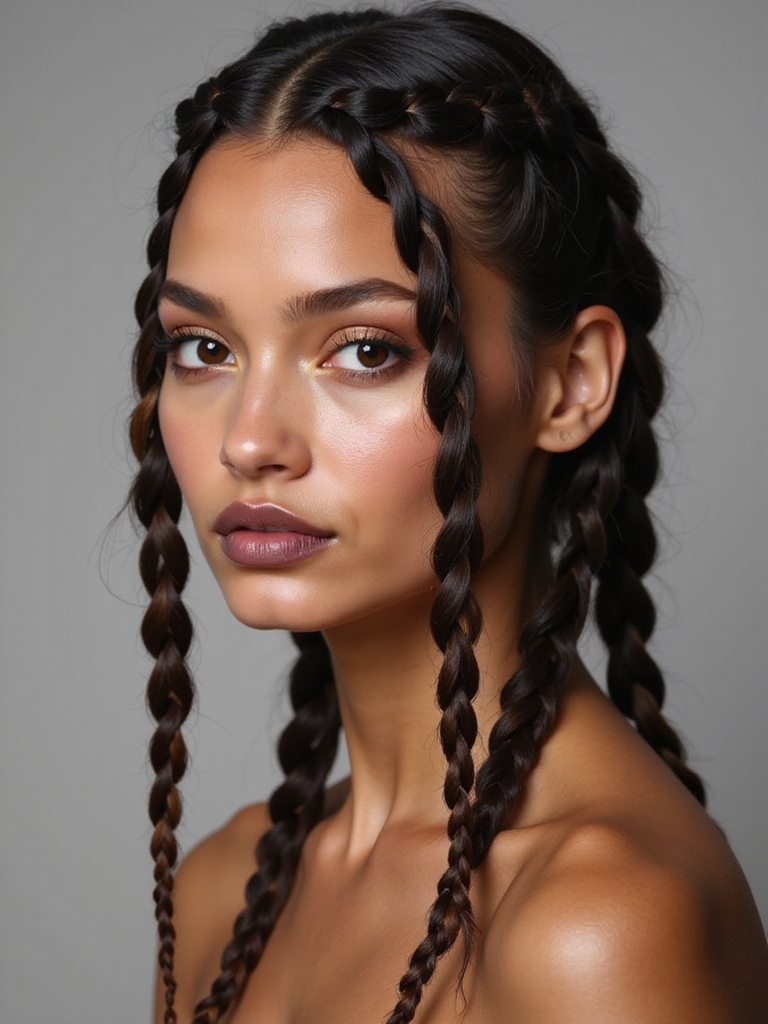
Accessorizing Braided Ponytails With Ribbons and Clips
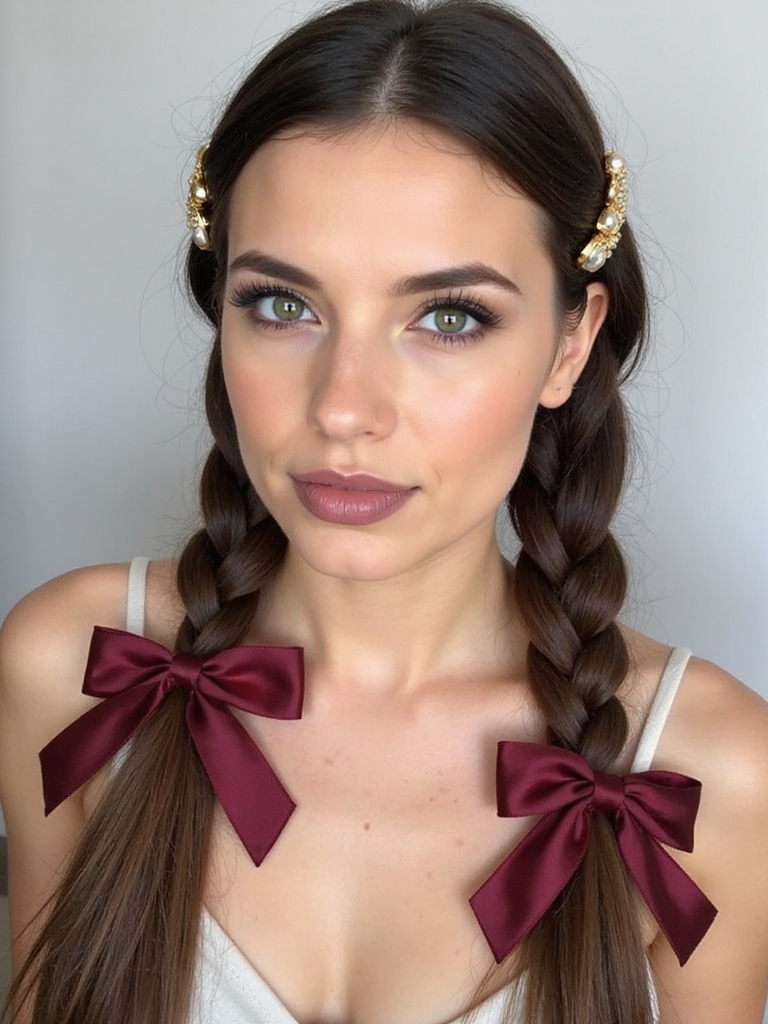
Sometimes a tiny ribbon or a sparkly clip is all I need to turn a simple braided ponytail into something fun and showy, and I’ll walk you through easy ways to do just that.
I tuck ribbons through braid gaps, tie playful bows at the base, and pin clips where braids meet.
Mix sizes, secure firmly, and keep it comfy for all-day wear.
Color Techniques to Enhance Braided Texture
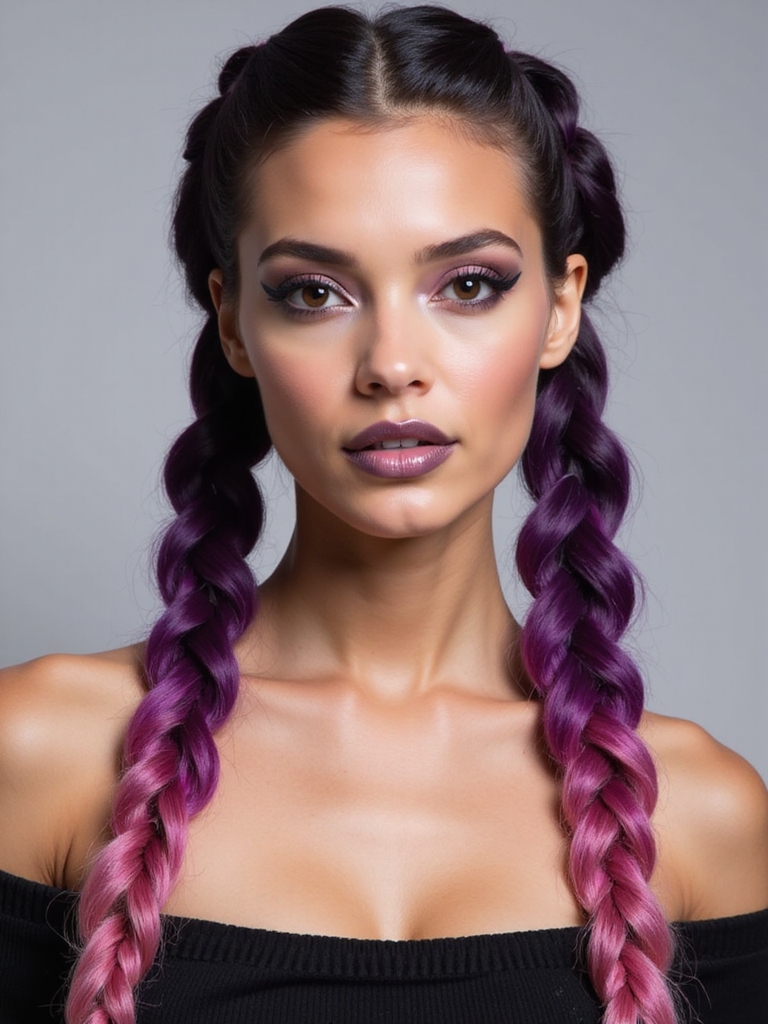
If a ribbon or clip can make a braid pop, color can take it a step further and make texture sing.
I love using subtle highlights or peekaboo shades to accent twists, making each braid read louder.
Try these simple tricks:
- Face-framing highlights for depth.
- Ombre ends to show movement.
- Pastel peekaboos for surprise.
- Money piece contrast for definition.
Transitioning Braided Ponytails From Day to Night
When I want a braided ponytail to go from work-appropriate to date-night ready, I tweak just a few details—tightening the braids, adding shine, and swapping one or two accessories—and the whole vibe shifts.
I’ll swap a simple elastic for a jeweled clip, pull a few face-framing tendrils, and mist light hold. It feels polished but playful, effortless and intentional.
Quick Fixes for Frizz and Flyaways
After I swap in a jeweled clip and pull a few tendrils for date night, the next battle is always the little hairs that stage a rebellion around my braid.
I fix them fast with simple tricks:
- Run a tiny dab of serum on fingertips.
- Smooth with a toothbrush and hairspray.
- Twist stray pieces into the braid.
- Use a fabric scrunchie to tame flyaways.
Protective Benefits of Braided Ponytails for Hair Health
Because I braid my ponytail snugly and tuck the ends, I keep daily wear-and-tear to a minimum and give my hair a real chance to rest, grow, and stay strong.
I chat with friends while my scalp breathes, sleep without tangles, and dodge split ends. It’s practical protection: less brushing, fewer breakage spots, and an easy, stylish habit that actually helps.
Styling Variations for Shorter Hair
I’ve loved how braided ponytails protect my hair, but short lengths call for a few clever tweaks so you don’t lose that practicality or the polished look.
I tweak placements and accessories to keep things secure and cute.
- Mini Dutch braids to anchor shorter layers
- Half-ponies to manage length
- Bobby-pin art for loose ends
- Texturizing spray for grip and volume
I hope you’re as excited to try these two braided ponytails as I am— they’re playful, practical, and seriously quick. With the right prep, a braid type that suits your hair, and a couple of tricks for frizz, you’ll have a look that survives errands, workouts, or a night out.
Mix tension, add ribbons or clips, and tweak length with extensions—these braids adapt to every vibe. Go on, braid and own it!