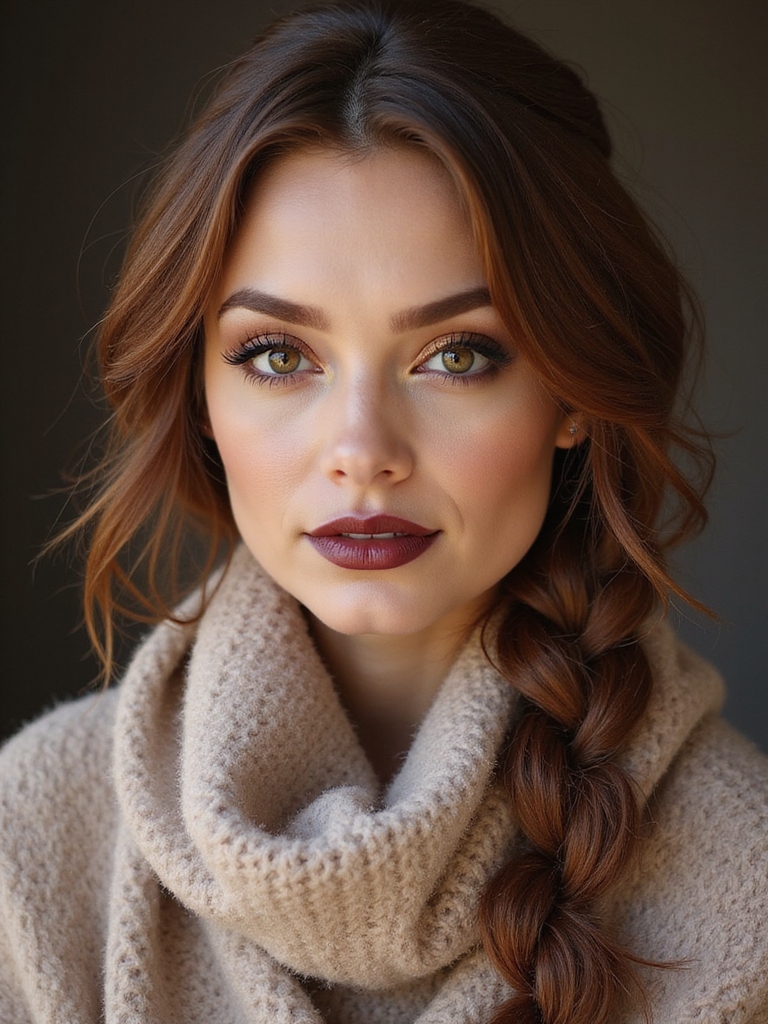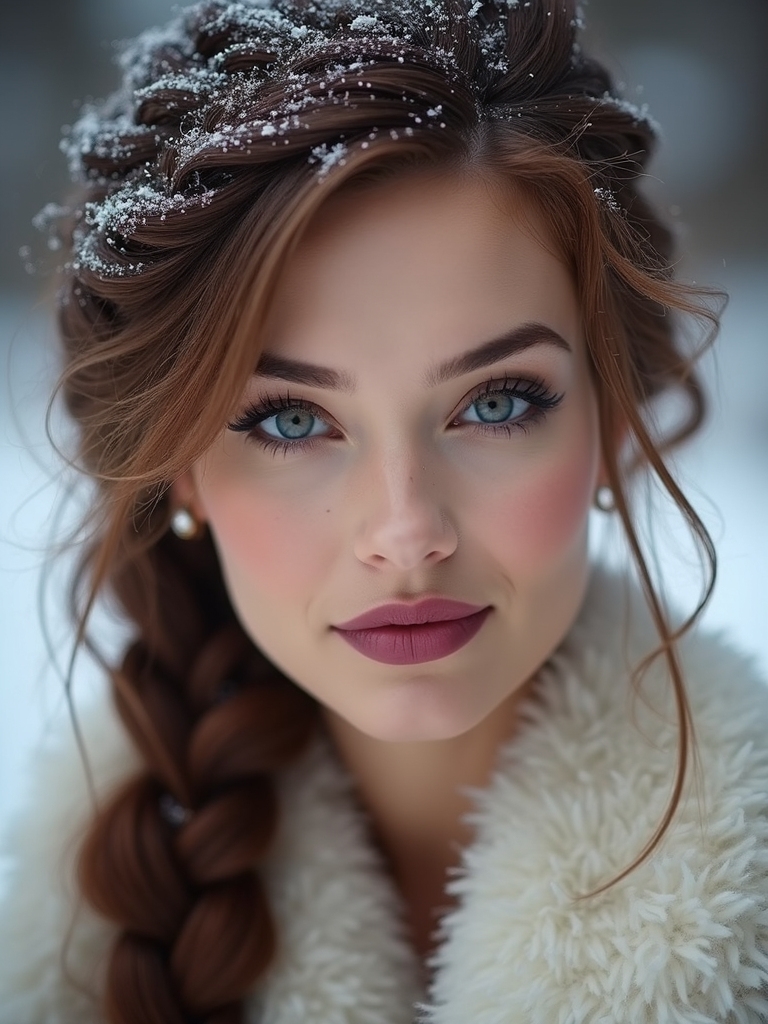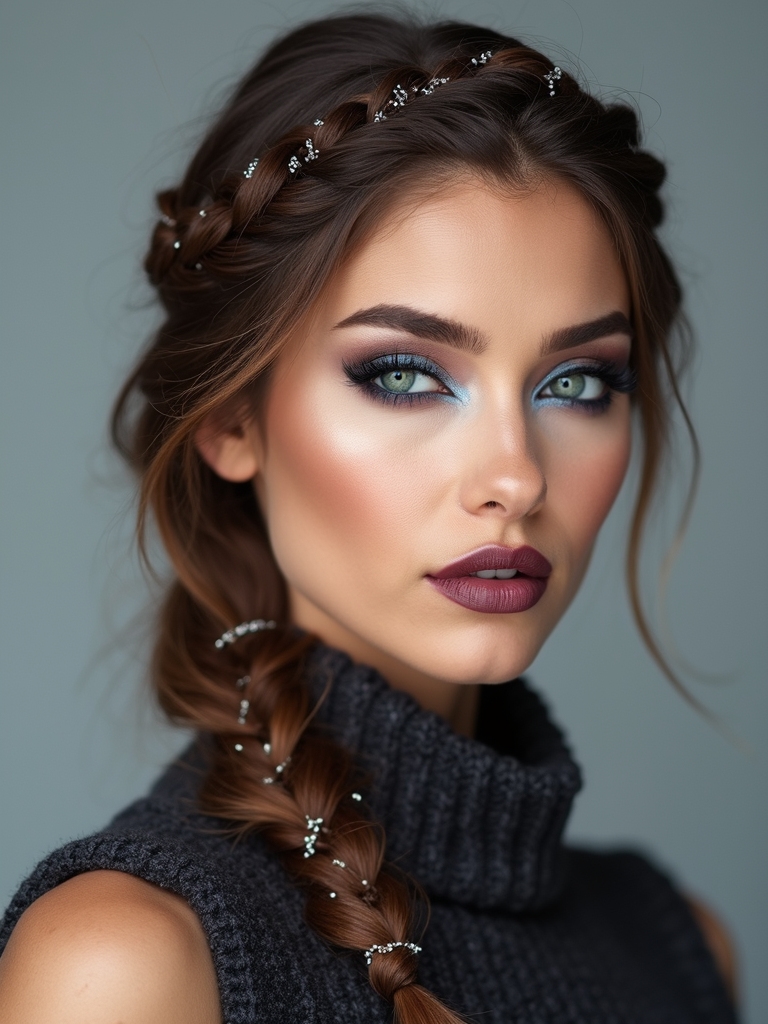

I tried medium knotless box braids after seeing them everywhere, and I get why they blew up—they’re lightweight, frame your face so well, and actually protect your edges. The feed‑in technique gives a natural root that moves, feels comfortable, and looks polished regardless you pull it up or leave it down.
I’ll walk you through what makes them different, who they suit best, and how to keep them flawless—but first, a few quick insider tips.
Why Medium Knotless Box Braids Became a Viral Sensation

Because they blend effortless style with low maintenance, I’ve watched medium knotless box braids explode across feeds and streets alike.
I love how they frame faces, move naturally, and suit every vibe—from work to weekend.
People share quick tutorials, transformation reels, and upkeep tips, so trends spread fast.
They’re wearable, versatile, and instantly photogenic, which explains the viral craze.
Knotless styles also reduce tension at the scalp and minimize breakage when installed correctly, making them a healthier protective option for natural hair.
What Makes Knotless Different From Traditional Box Braids

I want to show you why knotless feel so different from traditional box braids. They start seamlessly at the scalp, sit lighter on your head, and cut down on tension that can damage edges.
Stick with me and I’ll explain each benefit so you can decide what works for your hair. Knotless styles are also incredibly versatile, ranging from Small Knotless Box Braids to longer lengths and different parting patterns.
Seamless Scalp Start
When you look closely at knotless box braids, you’ll notice they start smoothly at the scalp with no bulky knot—I’ve seen this difference transform not just the braid’s look but also how comfortable and natural it feels.
The hair is fed in gradually, creating a sleek, seamless root that lays flat. It looks more like your own hair and frames the face beautifully.
Medium knotless braids offer an effortless, everyday style that’s easy to maintain and versatile for different looks, with medium knotless braids being a popular choice for balance between manageability and statement.
Lighter Weight Feel
Usually I notice the lighter weight of knotless box braids the moment my head’s done — they sit airy and flexible instead of heavy and stiff like traditional knotted braids.
I love how movement feels natural, styling is easier, and daily wear is more comfortable.
- Featherlight swing for effortless styling
- Less bulk at the roots and along the length
- Easier to sleep and tie up without strain
Knotless braids are known for being knotless braids that create a sleeker, more comfortable look and feel.
Reduced Tension Damage
Since the braids feel so much lighter, it’s obvious why my scalp breathes easier with knotless styles — they start with your natural hair and feed the extension in, so there’s no bulky knot pulling at the root.
I notice less soreness, fewer breakage spots, and healthier edges. Knotless spreads tension evenly, so I can wear styles longer without risking permanent damage. Large knotless box braids offer a bold, low-tension option for those who want statement styles with reduced scalp strain.
Best Face Shapes and Hair Types for Medium Knotless Box Braids

I’ll walk you through which face shapes pop with medium knotless box braids and why they work so well.
I’ll also cover the hair textures that hold the style best and how to tweak the look for finer or coarser strands.
Stick with me and you’ll know which variations will flatter your features and hair type.
Large knotless braids often offer extra versatility for styling and length options, making them a go-to for many looking for stylish protective hairstyles.
Best Face Shapes
Because face shape influences how medium knotless box braids frame you, I want to help you pick the most flattering look. I’ll guide you quickly so your braids highlight your features and balance proportions.
- Oval: versatile — try center or side part for symmetry.
- Round: add length with long braids or high part to elongate.
- Heart: soft face-framing pieces and chin-length layers flatter.
Jumbo knotless box braids can offer a bold, low-tension alternative to traditional braids that still protect hair and reduce scalp stress, especially when opting for knotless techniques.
Ideal Hair Textures
You’ve seen how face shape guides braid placement; now let’s match hair texture to medium knotless box braids so they hold, look natural, and feel good.
I recommend 3A–4C hair—those textures grip synthetic hair and hide extensions best.
Fine hair works with lighter braids and added base for grip.
Coarse, dense hair gives long-lasting structure.
I’ll help you pick weight and technique.
Feed-in braids are a gentler protective styling option that reduces tension on the scalp.
Choosing the Perfect Braid Size and Length

When I’m picking braid size and length, I focus on your lifestyle, face shape, and maintenance preferences—those three factors decide if chunky waist-length braids or neat shoulder-length ones will suit you best.
I ask practical questions, visualize proportions, and recommend lengths that flatter and fit your routine.
- Low maintenance: medium, shoulder to mid-back
- Bold look: chunky, waist-length
- Versatile: small, mid-back
I also consider knotless braids techniques to ensure the style is comfortable and reduces tension on the scalp.
Color Ideas to Elevate Your Knotless Box Braids

I love how warm honey highlights can add sun-kissed dimension to knotless box braids and brighten your face.
For a fun contrast, I also recommend bold pastel accents—think lavender or mint peeking through for instant personality. Mix and match them subtly for a modern, eye-catching look.
Medium Boho Knotless Braids bring effortless, everyday style with a relaxed, lived-in finish and low-tension installation that protects natural hair while looking chic — try experimenting with medium knotless options for a softer, more natural silhouette.
Warm Honey Highlights
I always reach for warm honey highlights when I want to add instant glow to knotless box braids—those golden caramel streaks brighten your face and complement rich brown or black bases without overwhelming them.
I love how they catch sun and frame cheekbones. Try subtle placement for natural warmth or chunkier pieces for drama.
- Face-framing strands
- Sun-kissed ends
- Peekaboo highlights
Bold Pastel Accents
Why not play with pastels to make your knotless box braids pop? I love adding mint, lavender, or baby blue strands for instant whimsy.
I mix bold pastel chunks or subtle tips to suit mood. They brighten skin tone and photos, and they’re surprisingly low-maintenance.
Try one shade or a gradient; you’ll get playful, modern hair without going overboard.
Essential Products for Installation and Scalp Care

Because good products make all the difference, I always start with a curated kit for knotless box braids: a moisturizing leave-in, a lightweight gel or edge control that won’t flake, high-quality synthetic hair that matches texture, a scalp oil for nourishment, and a gentle cleanser for pre- and post-install care.
- Lightweight, non-greasy scalp oil
- Moisturizing leave-in spray
- Flake-free edge control
Step-by-Step Guide to Preparing Your Hair for Braiding

Before I start braiding, I always cleanse and clarify my scalp to remove product buildup and give fresh roots a clean base.
Next I gently detangle from ends to roots and lock in moisture so my hair stays smooth and manageable. Those two steps make knotless box braids look neater and protect my strands during installation.
Cleanse and Clarify
Once my hair’s free of product and build-up, I get focused on a deep cleanse and clarifying rinse to give braid foundations a fresh start.
I use a sulfate-free clarifying shampoo, rinse thoroughly, then repeat only if needed.
Final rinse with cool water seals cuticles and prevents frizz.
- Shampoo scalp twice
- Massage, don’t scrub
- Cool water finish
Detangle and Moisturize
With my hair squeaky clean, I move into detangling and moisturizing to make braiding smooth and gentle.
I section hair, mist with water and a slip-rich conditioner, then gently finger-detangle from ends to roots.
I apply a lightweight leave-in and seal with oil, focusing on ends.
Quick, methodical steps guarantee knotless braids start healthy and pain-free.
How Long Installation Typically Takes and What to Expect

If you’ve never had knotless box braids installed, I’ll walk you through the usual timeline so you know what to expect and can plan your day.
I’ll tell you how long sessions generally last, comfort tips, and breaks to request.
Expect focused work, short rests, and a final check for symmetry and neat edges.
- Typical time: 4–8 hours
- Bring snacks, water
- Ask for scalp breaks
Styling Options: From Casual to Red-Carpet Ready

Although knotless box braids already look polished on their own, I love showing you quick ways to switch from casual to red‑carpet ready without hours of fuss.
Try a high sleek pony for glam, half‑up space buns for playful elegance, or sculpted updos with jeweled pins.
Add edge with a side part and face‑framing baby hairs.
Each look takes minutes and feels luxe.
Maintenance Tips to Keep Braids Fresh Longer

Because you want your knotless box braids to look sharp longer, I stick to a few simple habits that keep newness intact without overdoing it.
I touch up roots lightly, sleep on a satin scarf, and refresh edges sparingly to avoid buildup.
- Light scalp misting and braided roots refresh
- Satin night routine for smoother braids
- Gentle edge brushing, minimal product
Protecting Your Natural Hair While Wearing Knotless Braids

I usually start by treating my natural hair like a high-value asset—gentle, deliberate care keeps it thriving under knotless braids.
I moisturize scalp nightly with lightweight oil, sleep with a satin bonnet, and avoid heavy tension at the roots.
I cleanse gently, detangle edges softly, and schedule regular scalp massages.
Consistent, minimal-stress habits preserve length and health throughout wear.
How to Safely Remove Knotless Box Braids

Now that you’ve kept your natural hair healthy while wearing knotless braids, it’s time to remove them safely so you don’t undo your care. I work slowly, detangling as I go, protecting my ends and scalp.
Be patient — you’ll preserve length and shine.
- Use a good clip or scissors for the extensions
- Detangle with conditioner
- Section hair and moisturize as you go
Addressing Common Concerns: Tension, Shedding, and Scalp Irritation

When tension, shedding, or scalp irritation pop up, I tackle them quickly so you don’t end up with damage or a sore head; a little attention goes a long way.
I loosen tight braids, massage with light oil, and trim stray hairs. For shedding, I gently detangle and moisturize. If irritation persists, I advise a short break and see a pro.
Cost Breakdown: Salon vs. DIY Installations

After we handle tight braids or a sore scalp, it’s smart to look at money matters—how much you’ll spend at a salon versus doing knotless box braids yourself.
I break down time, product, and skill costs so you can choose smartly.
- Salon: higher price, less hassle, pro finish
- DIY: cheaper, time-consuming, learning curve
- Hybrid: stylist for install, you maintain
Real-Life Wear Tests and Before-and-After Results

Because photos and real days on the clock tell the truth better than promises, I put my knotless box braids through two-week wear tests and documented the results with daily notes and before-and-after shots.
Day 1: flawless, lightweight.
Day 7: minimal frizz, still snug.
Day 14: slight new growth at roots, braids intact.
Verdict: durable, low-maintenance, salon-worthy.
I’ve seen why medium knotless box braids blew up — they’re stylish, gentle on your edges, and crazy versatile. If you want low‑maintenance glam that still feels light and natural, they’re a no‑brainer.
Pick a size and length that flatters your face, protect your scalp, and opt for pro installation if you’re unsure. With proper prep, nightly care, and smart removal, you’ll get stunning results without the damage. Try them—you’ll love the effortless upgrade.