
I love how knotless box braids made protective styles feel fresh and light, and I’m excited to walk you through why they blew up—from scalp-friendly feed‑in roots to silky, versatile lengths that celebrities and stylists swear by.
They’re easier on edges, look effortlessly sleek, and can actually help hair thrive when done right. Stick with me and I’ll show you the simple steps, common slip-ups, and when to book a touch‑up.
What Are Knotless Box Braids and How They Differ From Traditional Braids

Though they look similar at first glance, knotless box braids feel like a clever upgrade—I’ll tell you why.
I love how they start with your natural hair, braiding in extensions smoothly so the scalp stays comfy and lightweight. No bulky knots means less tension, softer edges, and more natural movement.
They’re low-maintenance, versatile, and honestly, way more comfortable for long wear. Delicate knotless braids are also ideal for small knotless braids and offer an effortless style twist.
The Origins and Rise of Knotless Braids on Social Media

Because I watched them blow up on my feed, I can trace knotless box braids‘ rise from niche salon boards to viral fame — and it happened fast.
I cheered as stylists shared quick tutorials, before-and-afters, and easy maintenance hacks. Clips looped, influencers tagged trusted braiders, and trends snowballed.
Suddenly everyone wanted knotless—playful, sleek, and utterly shareable. I especially noticed the surge in popularity of Medium Knotless Braids as an accessible everyday style.
Benefits for Scalp Health and Hair Growth

I love how knotless box braids actually ease tension on the roots, so breakage drops and your edges can breathe.
They make it way simpler to reach your scalp for treatments and gentle cleansing.
Plus, the looser install helps products penetrate and lock in moisture for healthier growth.
They’re one of many knotless braids styles that offer versatility and gentler installation.
Reduced Tension Breakage
When I switched to knotless box braids, my scalp sighed with relief — less pulling meant fewer sore spots and way less breakage along the hairline.
I noticed strands staying put, edges recovering, and styling without fear. It’s a gentle hug for fragile areas, encouraging stronger growth cycles. Low-tension braids = happier roots, fewer snap-offs, and more confidence in every sway.
A popular option for this is Large Knotless Braids, which offer the same benefits with a fuller look.
Easier Scalp Access
Less tension meant my scalp could finally breathe, and that opened up a whole new perk: easier access to my roots for care.
I can part, inspect, and gently massage without tugging or fuss. Scalp treatments go on smoothly, flakes get spotted sooner, and I feel in control of growth routines. It’s simple, quick, and oddly joyful. Knotless braids also reduce pressure on the scalp, promoting scalp health and comfort.
Improved Moisture Retention
Because my scalp isn’t constantly under strain, I’ve noticed my hair actually holds moisture better — and that’s been a game-changer.
I feel softer strands, less breakage, and faster growth when I oil and seal regularly.
Hydration sticks around longer, and styling feels kinder.
- Easier product absorption
- Less dryness at roots
- Fewer split ends
- Longer-lasting oils
- Healthier growth cycle
Knotless styles also reduce tension on the scalp and edges, contributing to natural hair health and overall protection.
How the Feed-In Technique Works Step by Step

I’ll walk you through the feed-in method step by step so you can see how neat sectioning and precise parting set the foundation.
Then I’ll show how we add feed-in extensions smoothly for natural length and volume.
Finally, I’ll cover sealing and finishing techniques that keep your braids looking fresh and secure.
The feed-in technique relies on controlled tension and layering to produce seamless, lightweight braids with reduced breakage and less scalp stress.
Sectioning and Parting
When I start sectioning for feed-in knotless box braids, I map the scalp into neat, even squares so each braid sits tidy and lasts longer.
I use a rattail comb, clip clean parts, and keep tension gentle.
Clear sections make styling faster and neater—control is everything.
- Precision beats haste
- Symmetry creates balance
- Clean parts prevent frizz
- Clips save time
- Comfort guides placement
Understanding parting techniques helps maintain scalp health during longer styling sessions.
Adding Feed-In Extensions
Now that your parts are crisp and clipped, I start the feed-in by placing a small amount of extension at the root and braiding my natural hair with it for a few stitches to anchor. Then I add more extension gradually, blending strands smoothly so the braid grows thicker without a bulky knot.
I keep tension even, trim stray fibers, and repeat with cheerful rhythm. The technique borrows principles from Sleek Straight-Back Feed-In Braids to maintain a neat, low-tension finish.
Sealing and Finishing Techniques
Although the braid already feels secure, I finish strong by sealing and tidying every end so your knotless box braids stay sleek and last longer.
I trim stray fibers, melt tips softly if synthetic, wrap edges with thread where needed, and smooth with lightweight oil for shine. Quick steps keep style neat and comfy.
- Trim stray fibers
- Melt or seal tips
- Wrap loose edges
- Smooth with oil
- Set with light spray
I also recommend following proper protective styling practices to minimize breakage and maintain scalp health.
Sizing, Lengths, and Hair Types That Work Best

If you’re picking knotless box braids, I recommend thinking about size and length like outfit choices: chunky braids make a bold statement and take less time, while slim braids give a delicate, detailed look and last longer.
I love mid-length for everyday ease, long for drama, and shoulder-length for low fuss.
Thick natural hair holds chunky styles; fine hair shines with slimmer, lighter sections.
Choosing the Right Synthetic Hair for a Seamless Look

When picking synthetic hair for knotless box braids, I look for fibers that mimic natural shine and movement so the finished style blends seamlessly with your own hair. I choose colors, textures, and weights that feel believable and light.
Quick tips — pick quality, test a strand, and trust your eye.
- realistic texture
- lightweight feel
- matte finish option
- heat-safe fibers
- true-to-color shades
Tips to Keep Tension Low and Prevent Breakage
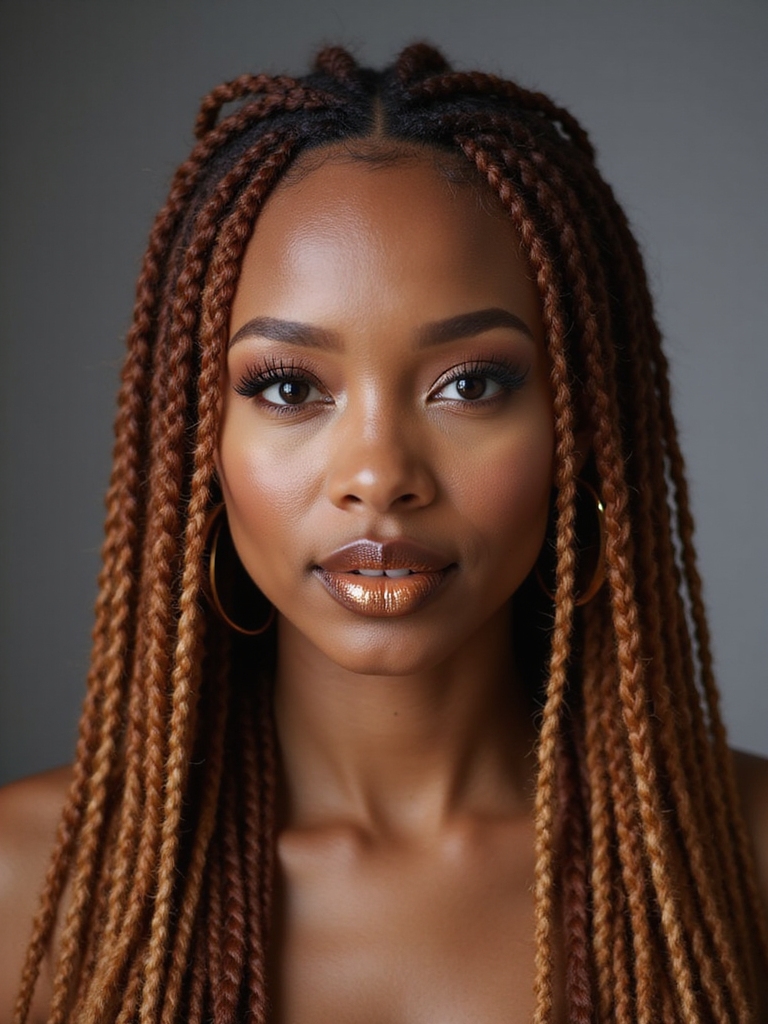
I’m all about keeping tension low so your hair stays healthy and your style lasts.
Start with gentle sectioning, pick lightweight extensions, and remember to soften your edges regularly to avoid strain.
Believe me — small tweaks make a big difference in preventing breakage.
Gentle Sectioning Technique
Because gentle sectioning sets the whole knotless braid up for success, I start each part with a soft touch and steady rhythm to keep tension low and hair healthy. I coach you to relax, breathe, and let fingers guide neat squares that protect edges and reduce stress.
- Use wide-tooth detangling first
- Make clean, proportionate parts
- Hold roots gently, not tight
- Keep consistent spacing
- Pause to reassess tension
Use Lightweight Extensions
After we’ve nailed gentle sectioning, I pick extensions that feel like a feather at the root so your hair doesn’t bear the load. I choose ultra-light fibers, trim excess bulk, and anchor softly so each braid moves without pulling.
Lighter extensions mean less tension, happier follicles, and longer-lasting styles. Believe me — weight is the silent culprit; keep it airy and breakage stays away.
Soften Edges Regularly
Regularly I loosen and soothe my edges so they don’t end up paying for the style. I gently massage oil, avoid tight parts, and sleep with a silk scarf to keep tension low and breakage away. Care is simple, fast, and kind to your hairline—tiny rituals, big results.
- Massage with lightweight oil
- Loosen braids at roots
- Avoid heavy styles
- Use silk scarf
- Trim fragile ends
Styling Ideas: Updos, Ponytails, and Protective Looks

I love how knotless box braids make playful updos and sleek ponytails feel effortless—so many protective styles look polished without much fuss. I’ll show quick ideas: high pony with wrapped base, low twisted bun, half-up space buns, and braided crown.
Add scarves, clips, or beads for instant personality. These looks protect ends, stay neat, and switch your vibe in seconds.
Maintenance Routine to Keep Braids Fresh Longer

I keep my scalp happy with a quick daily spray and gentle massage to stop itch and buildup.
At night I wrap my braids in a satin scarf and sleep on a satin pillowcase so everything stays sleek.
Every few days I freshen my edges with a light edge control and a soft brush to keep the look crisp.
Daily Scalp Care
Often I wake up and give my scalp a quick once-over to keep my knotless box braids looking crisp.
I massage, spritz, and treat gently so roots stay healthy and fresh all week.
- Light oil massage for circulation
- Water-based spritz to refresh
- Spot-clean flaky areas with cotton
- Scalp serum for itch control
- Gentle tension checks to prevent breakage
Nighttime Protection
Tucking my braids up before bed keeps them crisp and my edges happy. I wrap a silk scarf, pineapple the crown, and tuck ends into a satin bonnet.
Morning fluff is minimal, frizz controlled, and style lasts longer. I avoid damp sleep, refresh with a light oil spray when needed, and sleep on satin to protect shine and neat parting.
Refreshing Edges Routine
After a good night’s protection, I give my edges quick VIP treatment to keep braids looking salon-fresh. I gently smooth, refresh, and protect—fast, playful, effective.
- Light oil for shine
- Edge control for hold
- Soft toothbrush for sleekness
- Silk scarf to set
- Weekly mini-cleanse for buildup
This routine keeps knotless braids crisp without fuss, like a tiny backstage glam squad.
Removing Knotless Braids Safely Without Damage

Since I’ve spent hours rocking knotless box braids, I want to help you take them down without hurting your hair—gentle steps, no panic.
Start by trimming ends, then patiently unravel each braid from tip to root. Use a lightweight oil to reduce friction, detangle with fingers, and finish with a deep conditioner.
Celebrate your healthy hair — slow and steady wins.
Cost Factors: Salon Install vs. DIY Install

While you can save a lot by doing knotless box braids yourself, I’ll say upfront that time, tools, and skill all carry real costs—so don’t mistake cheap for easy.
I balance salon precision vs. DIY pride, deadlines, and budget. Here’s what I consider:
- Salon expertise fee
- Quality of extensions
- Time investment
- Tools and supplies
- Aftercare products
How Celebrities and Influencers Popularized the Trend
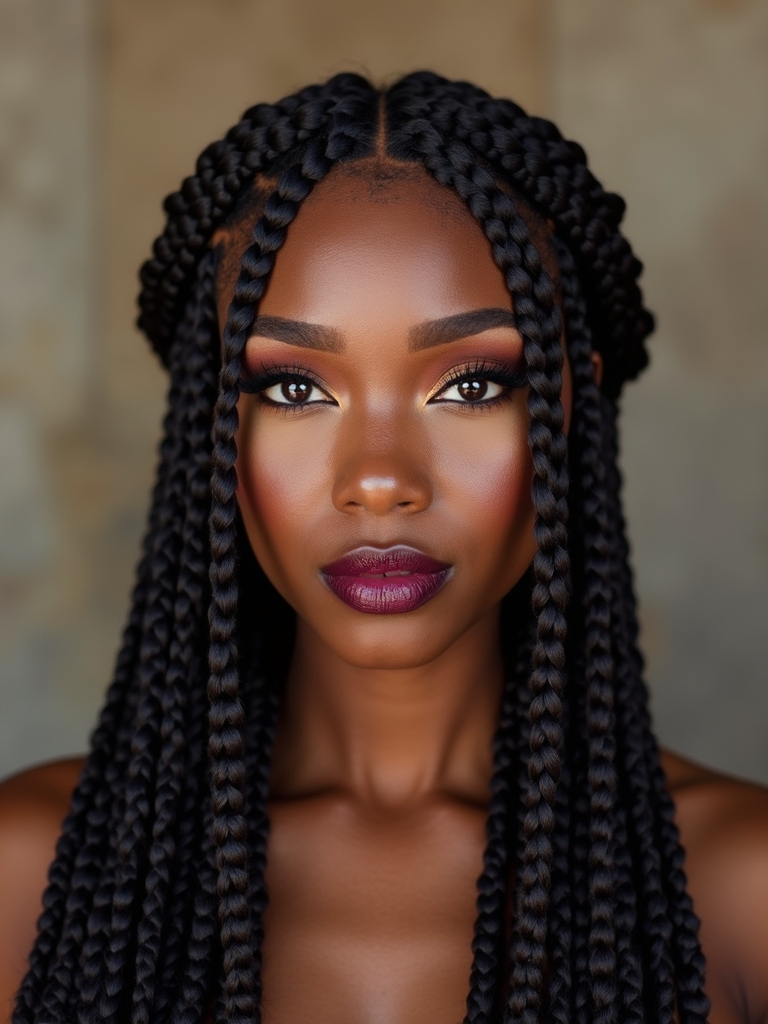
Because celebrities and influencers started wearing knotless box braids with effortless confidence, I noticed the style explode from niche salons to everyone’s feed almost overnight.
I watched red carpets, reels, and tutorials turn braids into a must-try look.
Their playful makeovers, behind-the-scenes posts, and taggable stylists made the trend feel accessible, trendy, and totally doable for my timeline and mood.
Common Mistakes to Avoid During Installation

If you rush the parting and sectioning, your knotless box braids will look messy and won’t last as long. I’ll walk you through quick pitfalls so your style pops and stays neat.
Keep it fun, stay patient, and avoid these slips:
- Too-tight roots
- Uneven parts
- Skipping moisturizing
- Using wrong hair tension
- Overloading hair with product
Transitioning From Traditional Braids to Knotless Braids

When I switched from traditional box braids to knotless, I was surprised how gentler and more versatile the style felt—no bulky knots at the scalp and way less tension.
I loved the lighter feel, easier styling, and softer edges. It’s faster to refresh, looks more natural, and lets me play with ponytails and updos without that stiff crown. Totally worth the swap!
When to Book a Touch-Up or Reinstall

Since my scalp started feeling tender and a few braids looked frizzy at the roots, I knew it was time to book a touch-up — not a full reinstall. I booked quickly, kept my routine, and felt refreshed.
- Tenderness signals repair, not redo
- Frizz at roots = touch-up territory
- Loose ends need tightening
- Excess shedding warns reinstall
- Schedule by comfort and scalp health
I’m glad we dove into knotless box braids — they’re stylish, gentle, and totally doable with the right technique. If you want a protective style that reduces tension, supports growth, and looks amazing in everyday life (and on camera), knotless is a smart switch from traditional braids.
Try smaller feed‑ins, lighter extensions, and regular scalp care. Ready to book a gentle install or try a mini practice run? You’ll love the lighter, softer vibe.