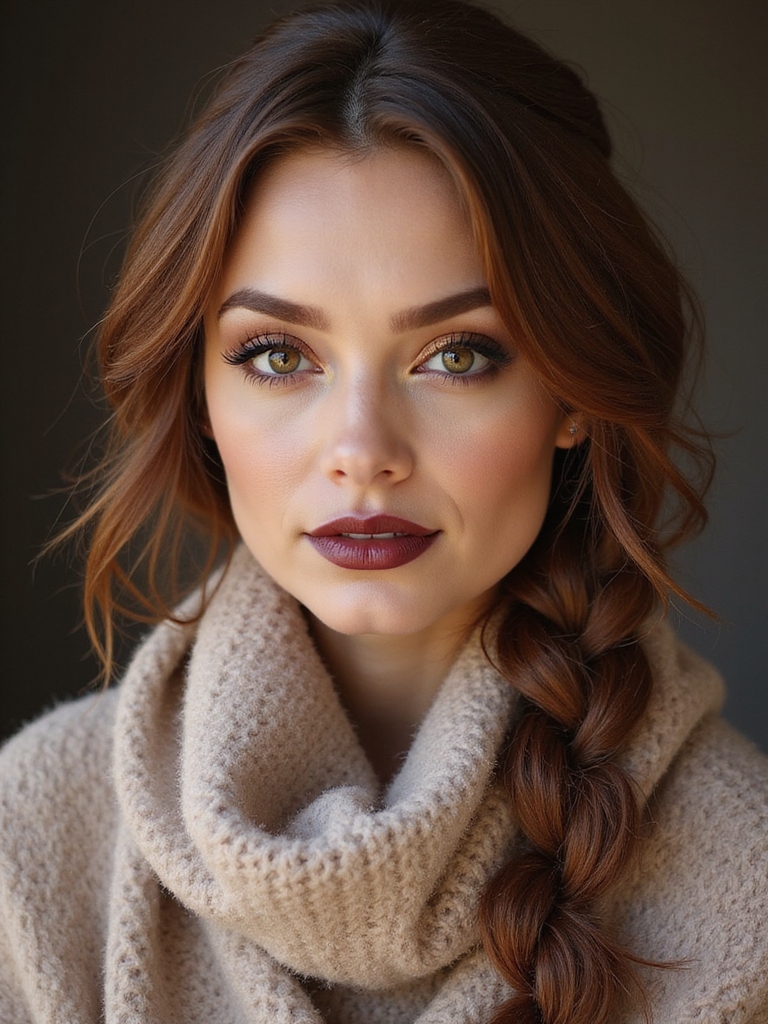

I finally tried jumbo knotless box braids and I can’t believe I waited so long — they’re bold, lightweight, and kind to my edges. The knotless feed-in method gives a smooth root and way less tension than regular braids, so styling feels effortless and low-maintenance.
I’ll tell you how to prep, install, and keep them fresh, plus the color tricks that make them pop, but first—let me show you the one thing everyone skips.
What Are Jumbo Knotless Box Braids?

When I talk about jumbo knotless box braids, I mean big, protective braids that start with your natural hair and gradually incorporate extensions so the roots stay smooth and lightweight.
I love how they sit chunky and bold, framing your face with effortless drama.
They feel flexible, move naturally, and let you rock size and length without bulky knots at the scalp.
These styles are a popular option for those seeking low-manipulation, protective hairstyles with big box braids that make a statement.
Benefits of Choosing the Knotless Technique

I love how the knotless method eases tension on my scalp so I can actually wear jumbo braids without that tight, sore feeling.
It also lets my natural hair grow out with a much softer, less bulky root line, so the style looks more natural over time.
Stick with me and I’ll show you why those two perks make knotless a winner.
Knotless techniques like the Medium Knotless Box Braids method provide versatility in braid size and reduced scalp stress, making them ideal for jumbo styles.
Reduced Scalp Tension
Because knotless braids start with your natural hair instead of a tight knot, I feel the difference almost immediately — less pulling, less pressure, and a lot more comfort at the roots.
My scalp breathes, headaches vanish, and styling feels breezier. I can toss my hair up without wincing; even after a week it stays comfy. It’s gentle, freeing, and frankly addictive. Knotless braids also tend to cause reduced scalp tension compared with traditional knotted styles.
Natural-Looking Growth
While letting my natural hair show at the roots, knotless braids give the cleanest, most believable growth line you can get with extensions, and that subtlety makes all the difference.
I love how my regrowth blends effortlessly, so touch-ups feel optional and my style stays fresh longer. It’s sneaky, natural, and saves me time—win-win for lazy glam. Jumbo knotless braids are a quick take on the Medium Knotless Braids technique that still deliver effortless style.
How to Prepare Your Hair for Jumbo Braids
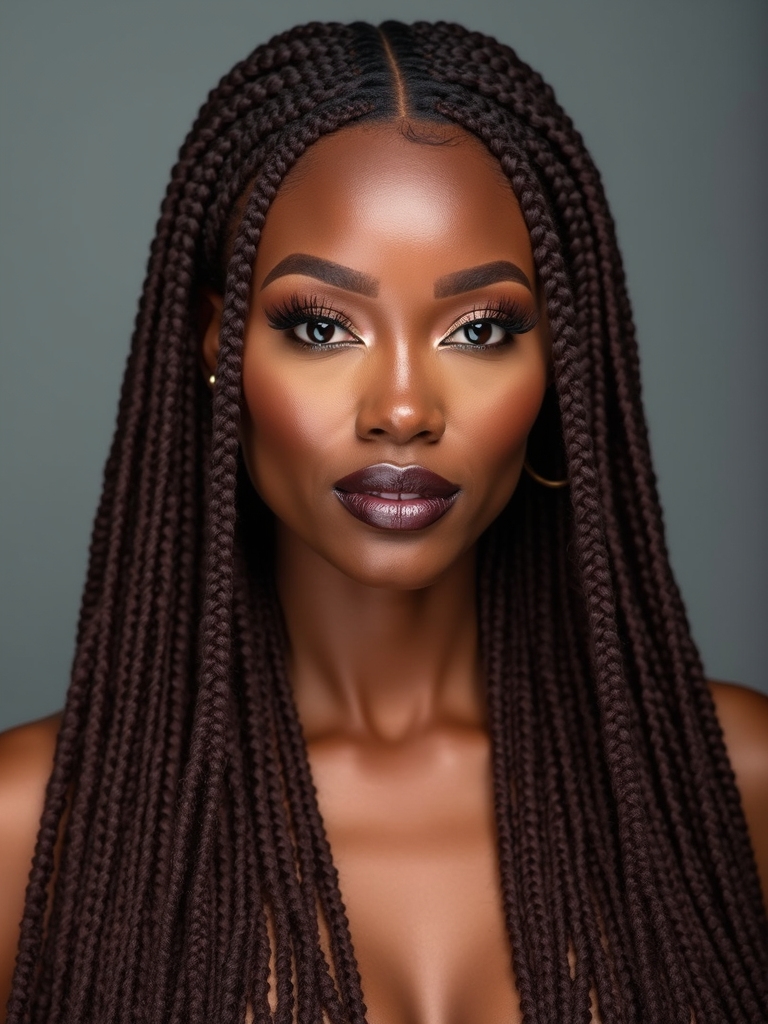
Before we braid, I always start by cleansing and clarifying so my scalp is spotless and product buildup is gone.
Then I deep-condition really well to lock in moisture and strength, because jumbo braids can be heavy.
Finally, I stretch and neatly section my hair so each knotless piece lays smooth and lasts longer.
I also recommend choosing the right size and using large knotless box braids to reduce tension and make styling easier.
Cleanse and Clarify
To get your scalp and strands braid-ready, I start by giving my hair a thorough cleanse and clarification to remove buildup, oils, and product residue that can weigh jumbo braids down; this step makes the braids sit cleaner, last longer, and feel lighter.
- Shampoo twice with clarifying formula.
- Massage scalp, rinse well.
- Use apple cider rinse sparingly.
- Pat dry, detangle gently.
- Consider starting with Small Knotless braids as a gentle way to ease into knotless techniques and assess tension tolerance.
Deep Condition Thoroughly
Since my scalp and strands are squeaky clean, I go all in on a deep-conditioning session that restores moisture, rebuilds strength, and primes my hair to hold jumbo knotless braids without breakage.
I apply a protein-rich mask, cover with heat or a steamy cap, and let it sink in.
Rinse gently, detangle with fingers, and pat dry—ready, resilient, and gloriously soft.
Feed-in braids are a great method to reduce tension and give the scalp consistent protection while installing jumbo knotless box braids.
Sectioning and Stretching
I start by outlining clean, crisp parts—this is where good braids begin—so I section my hair into manageable panels and clip everything else away.
I stretch each section gently, using heat-free tension and edge-friendly detangling.
Then I prep with a light leave-in.
My quick checklist:
- Moisturize
- Detangle
- Stretch (banding)
- Clip and secure
Knotless braids prioritize seamless root techniques to reduce tension and create a sleeker, more comfortable finish.
Best Hair Types for This Style

When my hair’s at its coarsest and thickest, jumbo knotless box braids feel like a dream—easy to install, long-lasting, and great for protecting your ends.
I find they work best on thick, coarse, or curly textures that hold braid structure, but they’re also fabulous on medium hair with some stretch.
Fine hair can wear them with added extensions for volume and grip.
These styles are part of a growing trend in knotless braids that offer stylish protective options.
Step-by-Step Braiding Process

I’m going to walk you through the exact steps for jumbo knotless box braids, starting with how to prep your hair and gather the right tools.
I’ll show clean sectioning and parting techniques so your rows stay neat and even.
Then we’ll get into the knotless braiding steps so you can achieve that smooth, secure finish every time.
Jumbo box braids are a versatile protective style that can be customized for any look, and I’ll include tips for braid size and maintenance so your style lasts.
Prepare Hair and Tools
Before you dig in, let’s get everything lined up so the braiding goes smooth and fast — I like to lay out tools and prep my hair in stages.
I rinse, deep-condition, detangle, and dry so my hair’s slick and healthy.
Then I gather essentials:
- Wide-tooth comb
- Leave-in conditioner
- Edge control
- Jumbo braiding hair
Now I’m ready to start.
Sectioning and Parting Technique
With a clean parting comb in hand, I map out my sections so the whole style looks neat and balanced from the start.
I grid the scalp into tidy squares, clip away stray hair, and keep parts consistent—neither too big nor too tiny.
I love the satisfying rhythm of clean lines; it makes the braiding process faster and the finished jumbo box braids sing.
Knotless Braiding Steps
Once I’ve prepped the section and separated your natural hair, I start by creating a small, neat feed of hair at the root so the braid builds up smoothly without that bulky knot—this is the heart of the knotless method.
I then:
- Feed in extension hair gently.
- Braid tightly but not stiff.
- Add length progressively.
- Seal ends neatly and trim stray hairs.
Tools and Products You’ll Need

Since I love a clean setup, I always gather my tools and products before I start jumbo knotless box braids so I don’t waste time hunting for things mid-braid.
I grab synthetic hair, a wide-tooth comb, rat-tail comb, clips, moisturizing cream, edge control (sparingly), a light oil, and a spray bottle.
Organization speeds the whole process and keeps vibes chill.
Protecting Your Edges and Scalp Health

I don’t braid without thinking about my edges and scalp—after I set up my tools, I give them the same attention I give my parting and hair prep.
I’m careful, playful, and methodical:
- Gentle detangling with a soft brush.
- Light, hydrating oil on edges.
- Avoid overly tight tension at roots.
- Scalp massages to boost circulation.
Healthy edges = happier braids.
Styling Ideas for Everyday Wear

I love switching up my jumbo knotless box braids for easy, chic looks you can wear everywhere. Try a sleek low ponytail for polish, a half-up top knot for playful lift, or a side sweep with beads and cuffs when you want extra flair.
Which one do you want to try first?
Sleek Low Ponytail
When I want a look that says “polished but effortless,” I pull my jumbo knotless box braids into a sleek low ponytail—it’s quick, chic, and surprisingly versatile.
I love how it frames my face and stays neat all day. Try these steps:
- Smooth edges.
- Secure low at nape.
- Wrap a braid around band.
- Add shine spray for sleekness.
Half-Up Top Knot
If I want something a bit more playful than a low ponytail, I pull the top half of my jumbo knotless box braids into a messy top knot that still looks polished—perfect for running errands or a casual lunch.
It’s quick, keeps hair off my face, and adds instant personality. I loosen a few face-framing braids for softness and secure the knot with a fabric scrunchie.
Accessorized Side Sweep
I sweep my jumbo knotless box braids over one shoulder, then jazz the look up with a few bold accessories that make a simple side-sweep feel intentional and fun.
I tweak texture and sparkle effortlessly:
- Gold cuffs for rhythm.
- Colorful beads at ends.
- A silk scarf tied low.
- Statement clip near temple.
It reads polished, playful, and ready.
How to Sleep and Maintain Your Braids

Usually I toss my jumbo knotless box braids into a loose, high ponytail or pineapple before bed to keep them from rubbing and frizzing, and you should try that too — it’s quick and actually cozy.
I wrap a satin scarf or bonnet, sleep on a satin pillowcase, and lightly mist edges with water and oil mix.
Morning shake, fluff, and you’re ready!
Repairing or Retouching Loose Braids
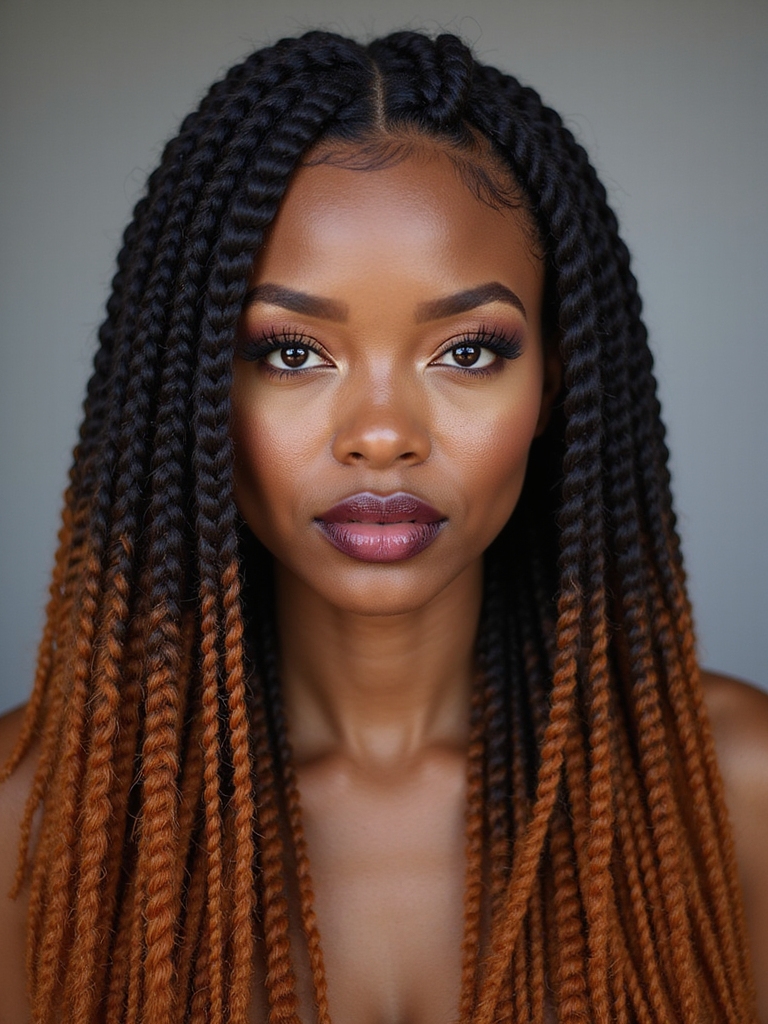
When a few braids start to loosen at the roots or end fraying, I jump in to fix them before the whole style looks tired — and you can do the same with just a few tools.
I tackle fixes fast and fun:
- Re-twist root with gel.
- Add small crochet for gaps.
- Replace frayed ends.
- Smooth with oil for shine.
Removing Jumbo Knotless Box Braids Safely

Before you get too comfortable fixing stray roots and frayed ends, it helps to know how to take these jumbo knotless box braids down without wrecking your hair — and I’ll walk you through a calm, careful routine that keeps your strands intact.
I gently detangle, clip sections, loosen ends with patience, remove braiding hair slowly, and shampoo + deep-condition to restore moisture.
Repeat only as needed.
How Often to Reinstall or Take Breaks

If you want your scalp and edges to stay healthy, I recommend giving your hair regular breaks between installs — about 6 to 8 weeks in most cases — so natural growth gets room and your skin can recover.
- Rest week: 1–2 weeks after removal.
- Deep condition before reinstalling.
- Watch tension; loosen styles if tender.
- Stretch longer if irritation appears; prioritize recovery.
Color and Extension Options to Try

Plunge into color like you’re picking paint for your personal billboard — I love how jumbo knotless box braids let you play with bold hues, subtle blends, and everything in between.
Try ombré shifts, peekaboo highlights, two-tone halves, or platinum tips for drama. Synthetic, human-hair, or mixed extensions each give different texture, weight, and longevity — mix for personality and low-maintenance flair.
Common Mistakes to Avoid

When I’m styling jumbo knotless box braids, I always watch for the same rookie moves that can ruin the look or your scalp—so here’s what I want you to skip.
I’m talking practical, snappy fixes:
- Braiding too tight.
- Skipping scalp prep.
- Using wrong extension weight.
- Ignoring maintenance routine.
Do these and your style lasts happier, healthier, and way cuter.
Cost and Time Considerations
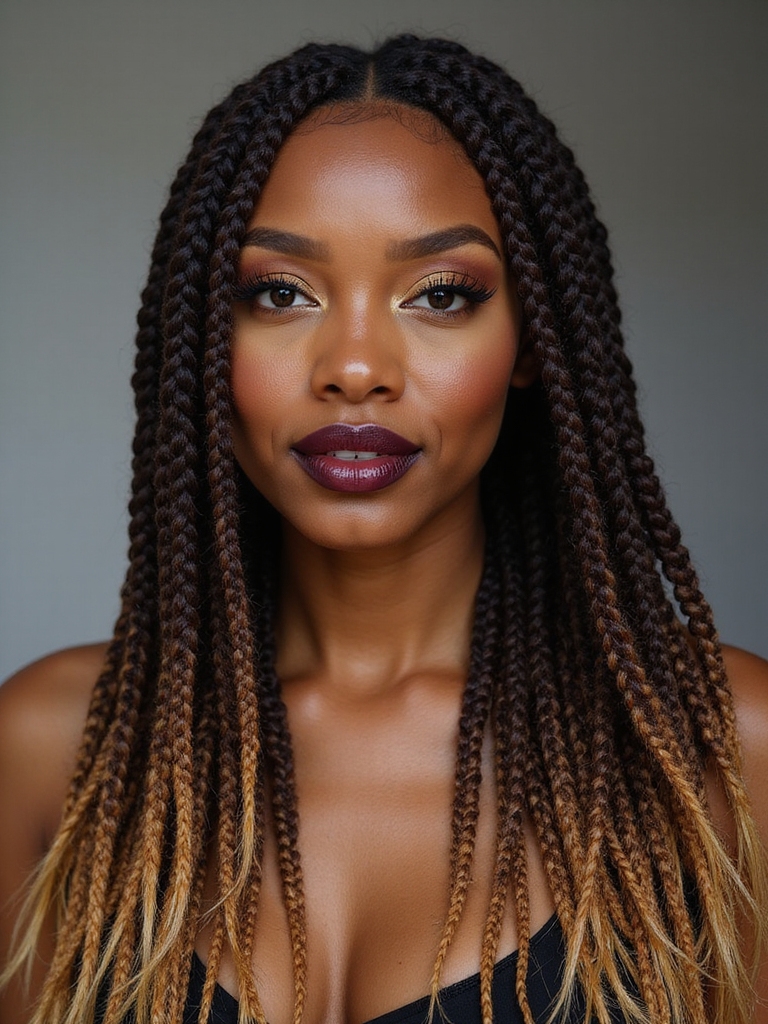
Alright, let’s talk money and time — two things that’ll make or break your jumbo knotless box braid plan.
I’ll be honest: they’re pricier per braid but faster overall than tiny styles. Expect fewer hours, hefty but fair salon fees, or cheaper DIY supplies if you’re brave.
Factor upkeep, touch-ups, and removal time—value for effort if you love low-maintenance glam.
I’m honestly obsessed with jumbo knotless box braids — they give bold, lightweight movement without tugging at your edges, and you’ll love how fast they go in compared with micro braids. With proper prep, gentle upkeep, and smart color choices, they’re a low-maintenance showstopper you can style a hundred ways.
Try them once and you’ll get why I’m hooked: protective, comfy, and totally statement-making—seriously, you’ll wish you tried them sooner.