
I love creating long curly updos that move—think messy low buns with cascading curls, high-volume ponytails, and twisted crowns with loose spiral tendrils. I prep with lightweight mousse or curl cream, tease lightly for lift, then pin twists, braids, or pull-throughs so curls remain touchable and bouncy.
I finish with flexible-hold spray and a shine serum to tame flyaways without stiffness. Keep going and I’ll show step-by-step tips and product picks to make them last.
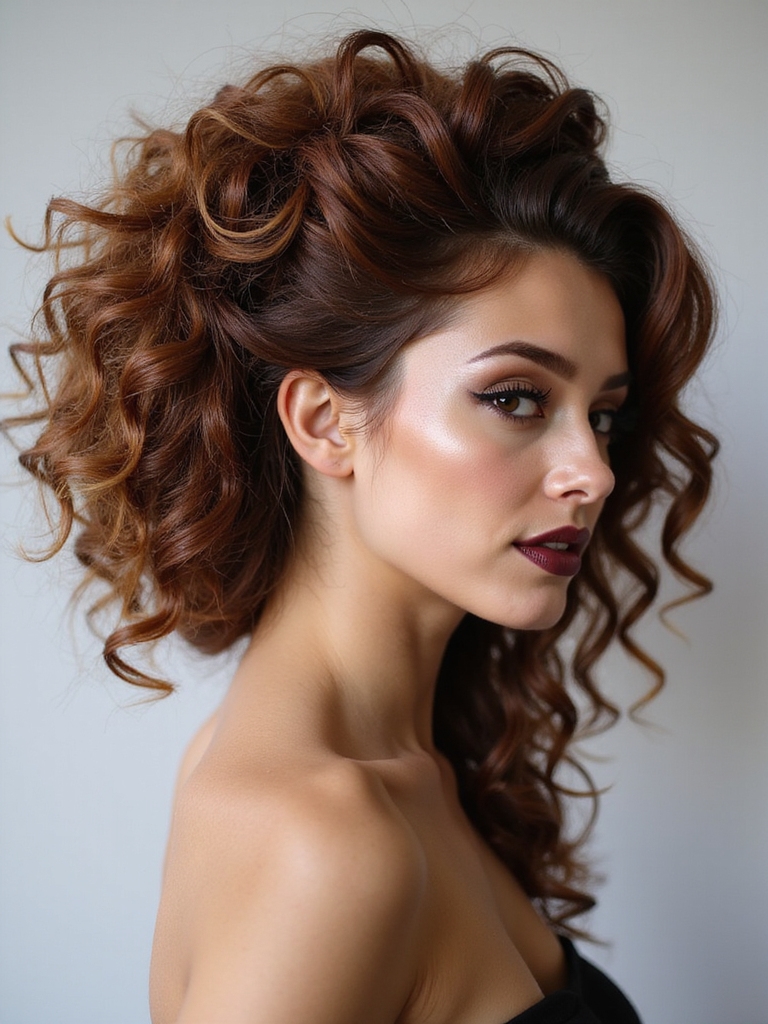
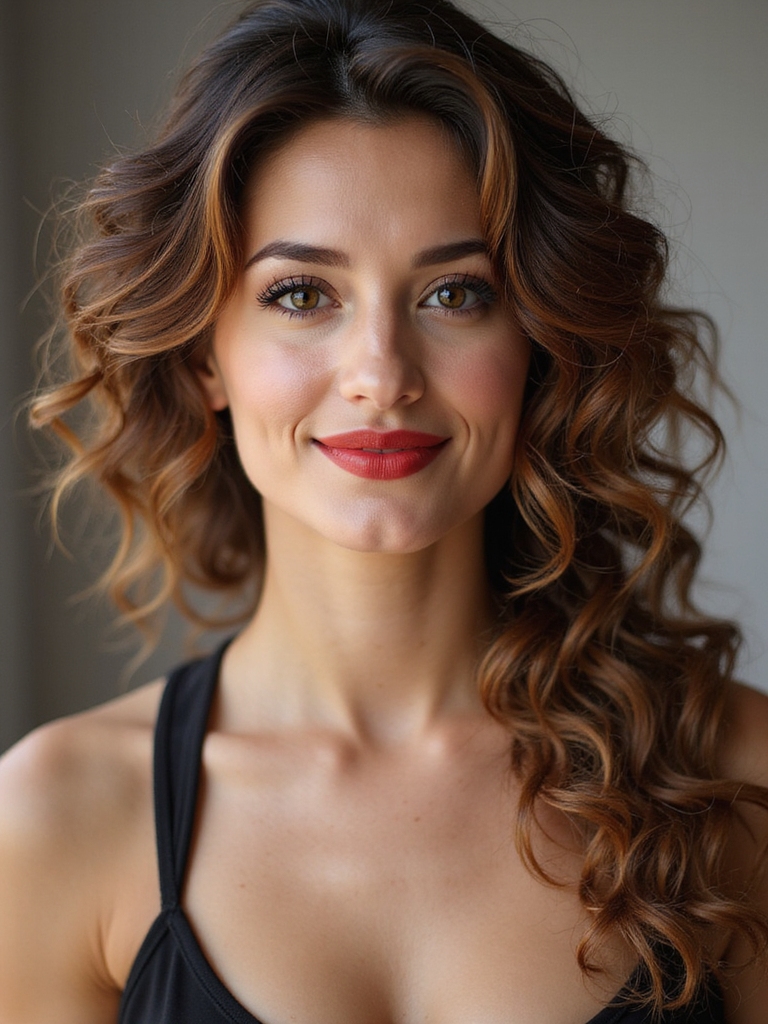
Romantic Low Messy Bun With Cascading Curls

Tucking loose tendrils into a low messy bun while letting a few cascading curls frame your face creates an effortlessly glamorous look I adore for special nights.
I’ll tell you to prep with a lightweight mousse for hold, twist sections loosely into a low bun, and pin strategically. Pull face-framing pieces and mist with flexible-hold spray to keep movement without stiffness.
For best results on textured hair, use products and techniques designed for enhancing natural curl pattern curl definition.
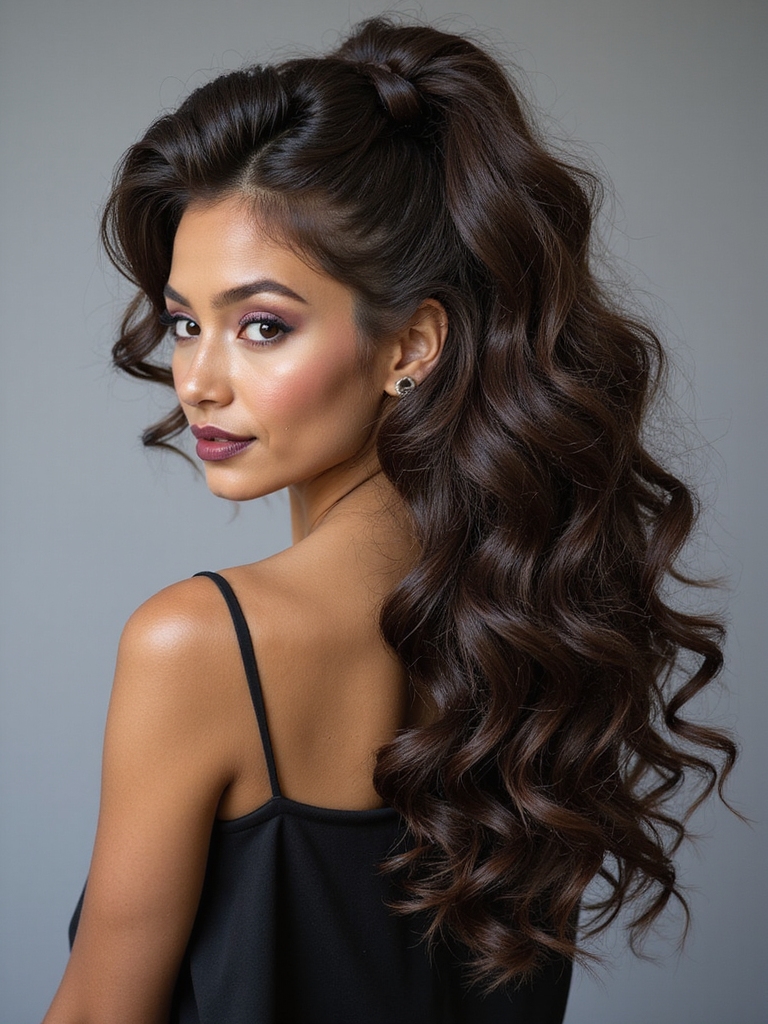
High-Volume Curly Ponytail Updo

If you love the soft romance of a low messy bun but want something with more height and drama, a high-volume curly ponytail updo will give you that instant lift and red-carpet polish.
I tease the roots, secure a high pony, and let glossy curls cascade for movement. Finish with lightweight hairspray and a satin-wrapped band to prevent frizz while keeping bounce. For an elegant, natural finish, try a soft curly updo technique that maintains serious movement while smoothing flyaways.
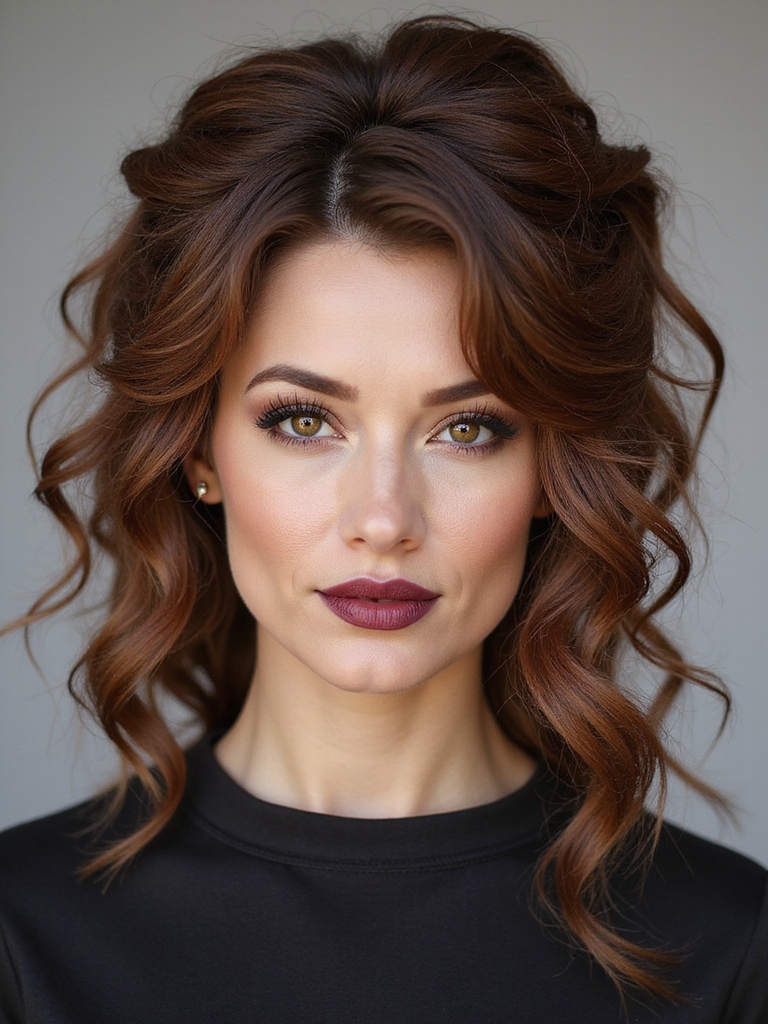
Twisted Crown With Loose Spiral Tendrils

I love creating a twisted crown because it lifts and frames the face while feeling effortlessly chic.
I’ll show you how to braid and pin sections to build a secure, sculpted crown, then pull out a few spiral tendrils for soft movement.
Those loose curls are the finishing touch—spritz lightly to hold shape without weighing down the bounce.
Medium curly updos often sit just right on medium-length hair, offering balance between volume and manageability.
Twisted Crown Technique
A twisted crown gives you instant elegance with minimal fuss, and I’ll walk you through creating one that feels both polished and effortless.
I section hair across the temples, twist each side toward the back, and secure with discreet pins, molding volume at the crown.
I smooth flyaways with a light serum and set only where needed, keeping the look soft, secure, and wearable.
This technique works especially well on textured hair types and helps maintain long curly movement throughout the day.
Loose Spiral Tendrils
Drawing a few loose spiral tendrils around the face instantly softens the twisted crown and gives the whole updo a romantic, undone finish.
I curl small sections away from the face, lightly mist with flexible-hold spray, then pinch each spiral to boost definition without stiffness.
For longevity, sleep on a silk pillow and refresh tendrils with a tiny dab of styling cream.
These mid-length styles maintain a clean, defined shape while still showcasing natural movement.
Braided Accented Updo for Bouncy Texture

I love placing a braided crown just above the hairline to lift curls and create that bouncy, sculpted silhouette.
I’ll let a few loose tendrils fall around the face to soften the look and highlight your natural spiral pattern.
With a light-hold spray and a finger-twist on each tendril, you’ll keep movement without losing polish.
I often recommend finishing with a braided bun for added texture and structure, especially when aiming for braided bun hairstyles that suit every occasion.
Braided Crown Placement
While arranging the crown braid, I’ll position it just above the hairline on either side to frame your face and keep bounce through the updo.
I anchor the braid lightly at the nape to preserve lift, weaving loosely for texture.
Finish with a lightweight mist and strategic pins so curls stay mobile, glossy, and elegantly contained without flattening your natural movement.
This approach creates an elegant, formal finish that highlights your curls’ natural movement and volume.
Loose Tendril Framing
Now that the crown braid is sitting just above the hairline and anchored to keep lift, I’ll soften the frame with loose tendrils that invite movement and highlight your curl pattern.
I pull small sections free, define them with a light cream or gel, and twist gently for springy definition. Finish with a flexible-hold spray so tendrils bounce, never stiff, around your face.
Effortless curly updos are perfect for school because they’re quick to create and maintain, giving day-long shape with minimal fuss everyday school looks.
Half-Up Rolled Updo With Floaty Layers

With a few quick twists and a gentle teasing, I turn long curls into a half-up rolled updo that feels both effortless and red-carpet ready.
I leave floaty layers around my face to soften the roll, mist with lightweight spray for bounce, and pin discreetly so movement shows.
For lasting shape, I prep with curl-defining cream and secure with flexible pins.
This look celebrates texture and styling confidence with techniques popular in curly updo care.
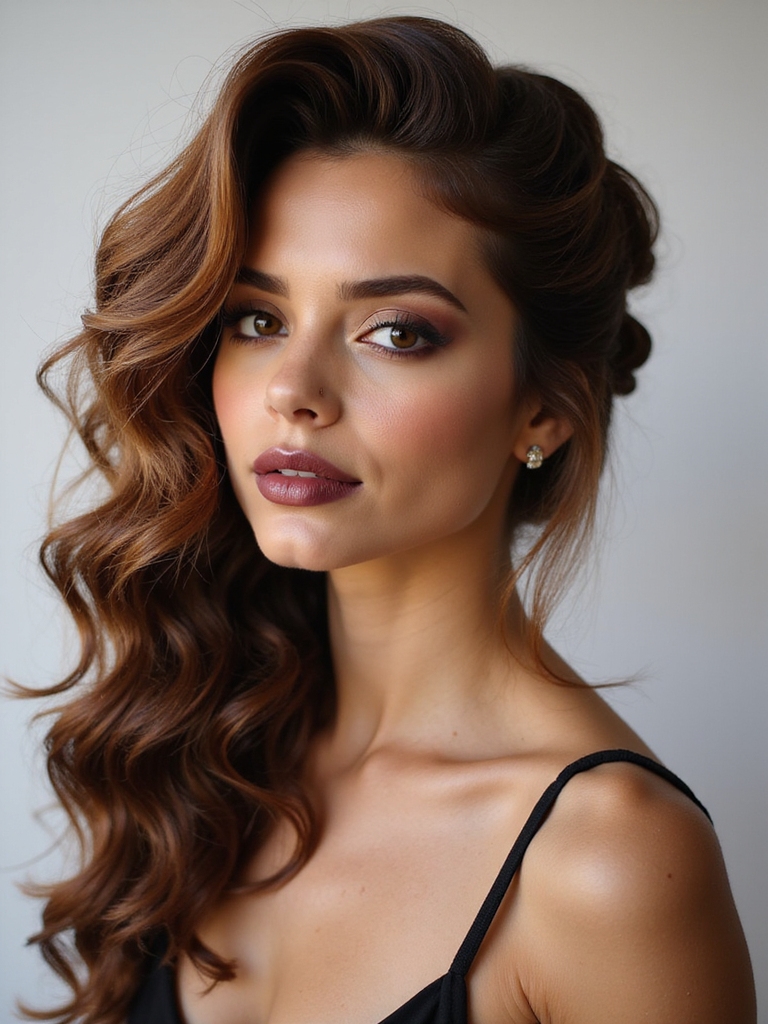
Sleek Side-Swept Curly Chignon
Now let’s talk about the sleek side-swept curly chignon and how a crisp part sets that polished, modern vibe.
I’ll show you a smooth parting technique that keeps frizz at bay while still honoring natural curl pattern.
Then we’ll place a few loose tendrils strategically to soften the face and keep the look effortlessly glamorous.
For textured hair, embracing the natural curl structure can make creating movement easier by working with curl pattern rather than against it.
Smooth Parting Technique
Although it takes a steady hand, I love how a smooth part instantly refines a side-swept curly chignon and elevates it from casual to red-carpet ready. I’ll show you precise, polished steps that keep curls soft while delivering structure:
- Use a fine-tooth comb and lightweight gel for a crisp line.
- Clip the parted section to set.
- Smooth with a boar-bristle brush and shine spray for glamour.
Loose Tendril Placement
For a sleek side-swept curly chignon, I place loose tendrils deliberately to frame the face and balance the overall silhouette.
I curl them softly, leave varied lengths near the temples and nape, and mist with flexible-hold spray so they move.
Tuck or pin one side for asymmetry, ensuring the look reads polished yet effortless—small adjustments make a big, glamorous difference.
Boho Knot With Playful Face-Framing Curls

How do you pull off a boho knot that still looks refined? I love keeping it effortless: soft knot at the crown, face-framing curls left loose, and polished texture.
Try these quick tips:
- Loosen knot slightly for movement and softness
- Define tendrils with a lightweight curl cream
- Finish with flexible-hold spray to keep bounce without stiffness
Double Loop Updo to Showcase Springy Ringlets
I love taking that same relaxed energy from a boho knot and elevating it into something a bit more structured with a double loop updo that puts springy ringlets center stage.
I tease the crown gently, loop two soft coils, and pin with discreet pins so curls peek. Finish with a lightweight shine spray to define bounce without weighing movement down.
Loose Top Knot With Soft Falling Curls

With a few easy twists I turn casual curls into a chic loose top knot that feels effortless but reads polished — I pull most of the hair up, leaving tendrils to soften the face, then secure a relaxed bun high on the crown so movement stays front and center.
I recommend:
- Teasing the crown for lift.
- Leaving face-framing curls soft.
- Using a light-hold spray for motion.
Vintage-Inspired Curly Gibson Tuck

I love how a Vintage-Inspired Curly Gibson Tuck turns long curls into polished romance, and the trick is in the prep: curl and set well so each spiral holds.
Then I use a tuck-and-pin technique to sculpt a soft, secure roll that still feels effortless.
To finish, I mist and gently loosen a few face-framing tendrils for movement so the look reads timeless, not stiff.
Prep: Curl and Set
Starting by curling and setting your hair gives the Gibson tuck its vintage structure and enduring hold. I use precise sections and a medium barrel for smooth, defined curls, then pin cool to set. Finish with a light mist to preserve shine.
Tips:
- Section hair into uniform rows
- Use heat protectant and medium barrel
- Pin curls until fully cool
Tuck-And-Pin Technique
After pinning the cooled curls, I coax each section into the classic tuck-and-pin silhouette—rolling the hair under at the nape and securing it with discreet pins to create that vintage Gibson tuck curve.
I ease pieces to frame the face, tucking stray tendrils for softness, and anchor with pins hidden beneath waves.
Use a fine-tooth comb to smooth and place pins against the head for lasting polish.
Finishing With Movement
Tucking those polished curls into place, I like to reintroduce subtle movement so the Gibson tuck feels lived-in rather than museum-perfect. I loosen a few face-framing tendrils, mist lightly, then coax bounce with fingers for soft shape.
Try these finishing touches:
- Pull tiny loops free for softness
- Soft-spray root lift for air
- Finger-scrunch curls to revive shine
Asymmetrical Pinned Waves With Movement
I love crafting asymmetrical pinned waves because they give long curls instant polish while keeping movement and life; I’ll show you how a few well-placed pins and a gentle brush-through can transform heavy curls into a swept, red‑carpet silhouette.
Start by smoothing one side, pinning loose S-shaped waves behind the ear, then tease roots slightly for lift and mist with flexible hold spray to preserve bounce.
Pull-Through Braid Into a Curly Bun
When you want a hairstyle that reads both intricate and effortless, I pull a loose pull-through braid into a soft curly bun that looks like it took a salon team and instead took me ten focused minutes.
I love how volume and movement stay intact; here’s my quick approach:
- loosen sections for airy texture
- secure with discreet pins
- finish with flexible-hold spray
Textured Halo Updo for Long Spirals

For evenings when I want my long spirals to feel both regal and relaxed, I wrap a textured halo updo that frames the face and lets each curl breathe; it’s my go-to for weddings or any night I want to look effortlessly polished.
I tease roots lightly, pin a soft halo around the crown, and pull tendrils free—finish with flexible-hold spray for touchable shine.
Statement Low Pony With Twisted Volume
Often I reach for a statement low pony with twisted volume when I want a look that’s both sleek and dramatic.
I tease the crown, twist sections into a low pony, and secure with a decorative tie.
Quick tips I love:
- Tease gently for lift without frizz
- Twist smooth strands around the base for polish
- Finish with flexible-hold spray to keep movement
Elegant Messy Fishtail Into a Curly Updo

If I want a look that’s equally polished but a bit more romantic, I’ll start with an elegant messy fishtail before gathering the curls into an updo.
I loosen the braid for texture, tug face-framing pieces, then twist and pin the fishtail into a low, airy bun.
I finish with light-hold spray and a shine serum for movement that feels effortless yet refined.
I hope you’ve loved these luxe looks — I know I have. Let your long, lively locks lead: layer for bounce, lift at the roots, and lavish on a light-hold spray to keep curls carefree yet controlled.
Try twists, tucks, and textured braids to build bold, beautiful movement, then finish with a smoothing serum for shine. Embrace playful polish and persistent pampering; practice perfects these pretty, powerful updos.


