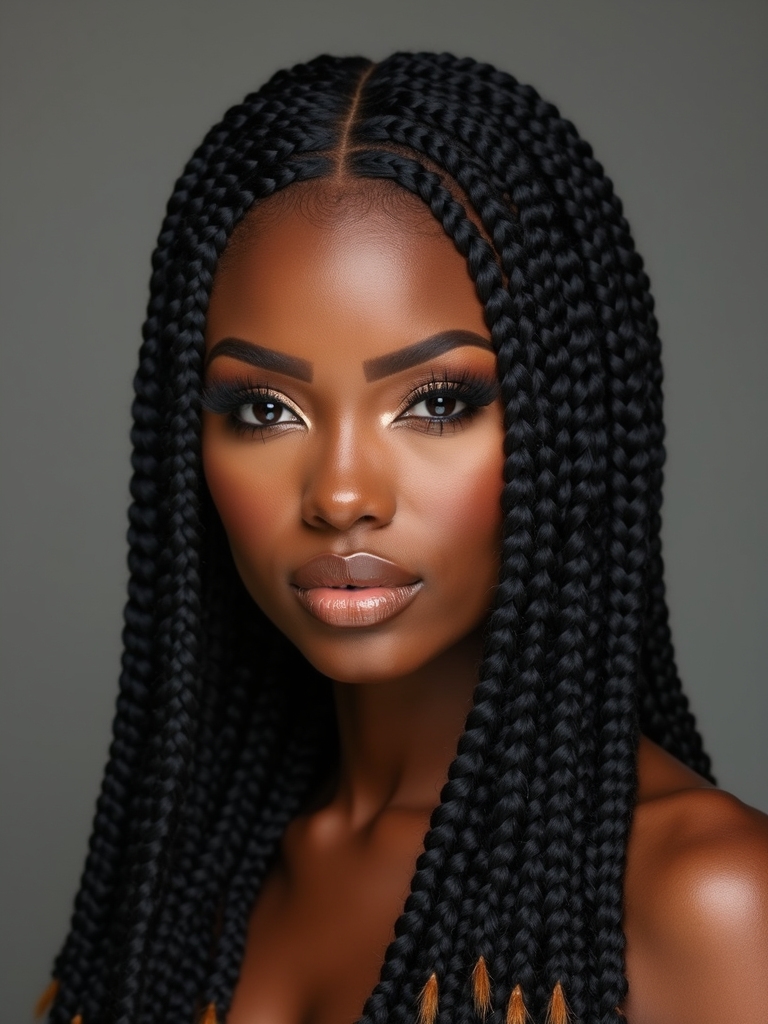
I’ve been low-key obsessed with Bora Bora braids lately — they’re chunky, a little undone, and somehow both beachy and chic. I love how the loose tendrils and subtle spacing make them feel effortless, yet totally styled.
If you’ve been curious about if they’ll work for your hair type, how to get that sun-kissed texture, or the best way to keep them fresh, stick around — I’ll walk you through it.
What Are Bora Bora Braids and Why They’re Popular

Think of Bora Bora braids as a breezy, island-inspired twist on classic box braids—I love how they look effortlessly chic and lived-in.
I’ll tell you: they mix chunky and undone textures, often with loose tendrils and playful spacing.
People adore them for low-maintenance vibes, sun-ready style, and versatile looks—from messy buns to beachy down-dos that feel fresh and fun.
Best Hair Types for Bora Bora Braids

I’ll walk you through which textures and lengths work best for Bora Bora braids so you can pick what’ll feel comfy and look fab.
If your hair is fine, curly, or thick, I’ll explain how texture affects hold and longevity.
I’ll also flag ideal lengths and what to do if your scalp’s sensitive so you get a stylish, pain-free result.
Straight back braids are a simple way to achieve a sleek look that stays neat all day, and they work well on many hair types when done with the right technique and products (see straight back braids).
Hair Texture Compatibility
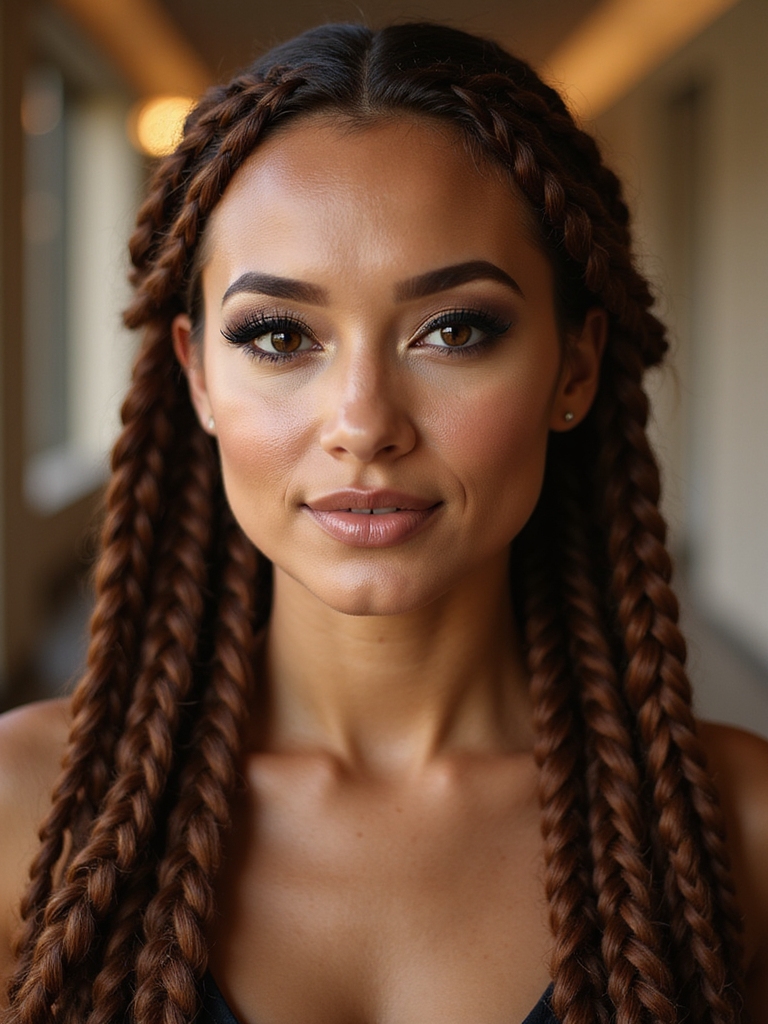
Because Bora Bora braids work by building texture and volume, I find they suit a wide range of hair types—especially those with medium to thick strands or naturally curly patterns that hold shape well.
I also love how slightly fine hair can gain grip with product and light teasing, while coily textures welcome the fullness effortlessly.
It’s playful, adaptable, and forgiving.
They pair especially well with Medium Boho Knotless Braids, which emphasize natural movement and reduced tension.
Ideal Hair Lengths
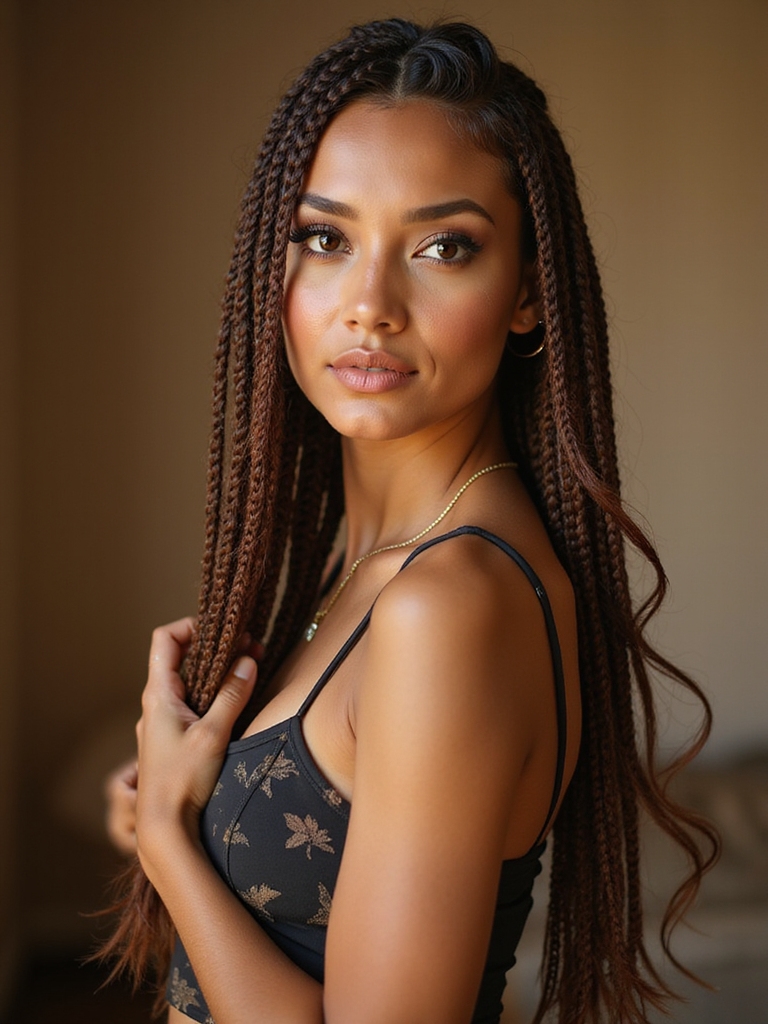
For Bora Bora braids, I’m a big fan of medium to long lengths—think shoulder-grazing to mid-back—because they give you enough hair to braid, loop, and tease without things looking cramped or falling apart.
I love how collarbone to mid-back hair creates those swoopy, voluminous braids that hold detail. Short cuts can work with extensions, but natural length shines brightest. Many people find shoulder length haircuts offer a versatile middle ground that can be layered or grown out to perfect braid-ready lengths.
Scalp Sensitivity Considerations
When your scalp’s on the tender side, you’ve got to pick braid styles and techniques that play nice—think looser tension, lighter extensions, and softer parting methods.
I recommend gentle installs, regular massage with soothing oils, and breaks between styles so your scalp can breathe. Tell your stylist about sensitivity, avoid tiny tight braids, and choose elasticity-friendly hair to keep comfort first.
For inspiration and technique guidance, consider studying cornrow braid patterns to see how parting and tension are managed.
Step-by-Step Guide to Creating Classic Bora Bora Braids

Okay — I’ll walk you through the whole process, from prepping and sectioning to the actual braiding technique and how to finish and maintain your Bora Bora braids.
I’ll show the clean parting and tension tricks that make each plait pop, then the step-by-step motions so you can recreate the look.
Finally, we’ll cover sealing tips and simple upkeep so your braids stay fresh longer.
Large Knotless Box Braids are a versatile option that can inspire variations on the classic Bora Bora style, offering reduced scalp tension while maintaining a similar aesthetic.
Prep and Sectioning
Although it might look complicated, I’ll walk you through simple prep and sectioning that sets your Bora Bora braids up to shine; start by detangling and smoothing damp hair so your parts stay crisp and your hands glide easily.
I part hair cleanly, clip sections I’m not using, and lightly spritz edges with gel. Neat sections make braiding faster and neater—promise. For best results, consider starting with detangled hair to prevent snagging and maintain braid longevity.
Braiding Technique Steps
Grab a small, neat section at your nape and start a three-strand braid, keeping tension even as you add hair from the parted sections—I’ll show you exactly how to build the signature Bora Bora look without tugging or gaps.
I guide you through each move so it stays neat and bouncy.
- Feed evenly.
- Smooth as you go.
- Secure and repeat.
These steps work especially well with medium knotless braids to keep the style lightweight and comfortable.
Finishing and Maintenance
When you reach the ends and step back to inspect your work, I’ll walk you through the quick finishing moves that keep Bora Bora braids looking fresh and lasting longer.
I tuck stray hairs, secure ends with tiny elastics, and mist a flexible-hold spray.
At night I wrap with a silk scarf and re-twist loose pieces in the morning.
Simple care, big payoff.
Beads can be added for extra flair and to weight the ends for smoother fall, especially when using braids with beads to accentuate the style.
Products That Help Hold the Look All Day

I almost always reach for a few trusty products to keep Bora Bora braids looking fresh from sunrise to sunset: a lightweight holding spray for flyaways, a flexible gel to tame edges without crunch, and a small pot of moisturizing pomade to keep braids glossy and frizz-free.
- Holding spray — mist and go.
- Flexible gel — smooth edges.
- Pomade — shine + hydration.
Knotless braids benefit from less tension and gentler installation to reduce breakage and scalp stress.
Quick Prep Tips for Beachy Texture

I’m all about quick tricks that give you that effortless, sandy vibe before you even start braiding.
I’ll show you how to mist and scrunch with sea-salt spray, tuck hair into easy overnight braids for built-in waves, and pick a couple of fast texturizing products that actually work.
Ready to make your Bora Bora braids look like you just stepped off the beach?
Boho Goddess Braids offer a relaxed, textured look that’s perfect for this style, especially when you add a few finishing touches like face-framing pieces and gentle pulling at the braid for volume.
Sea-Salt Spray Technique
Usually I reach for a sea-salt spray first because it gives instant beachy texture without fuss.
I spritz roots to ends, scrunch, then let air-dry for effortless waves. Try this quick routine:
- Spray evenly on damp hair.
- Scrunch gently to encourage waves.
- Rough-dry or air-dry, then finger-comb for tousled finish.
It’s playful, fast, and braid-ready.
Overnight Braiding Method
Often I twist my hair into loose braids before bed so I wake up with effortless, beachy waves—here’s how to make it quick and foolproof.
I dampen hair slightly, divide into three chunky sections, braid gently, and secure with soft ties.
Sleep, unravel in the morning, finger-comb, and pinch ends for texture.
It’s fast, low-effort, and perfect for sun-kissed Bora Bora vibes.
Quick Texturizing Products
If you want beachy waves but don’t have time for braids, a few quick texturizing products can get you there in minutes. I grab a spray, cream, and powder, spritzing, scrunching, and tousling for instant texture.
My go-to routine:
- Sea salt spray — mist and scrunch.
- Lightweight cream — define soft waves.
- Dry powder — add lift and grip.
Styling Variations: From Messy to Sleek

Play with texture and attitude when you’re styling Bora Bora braids—I love switching from carefree, beachy tousle to polished, runway-sleek depending on the mood.
I’ll roughen strands for volume, tug edges for effortless shape, or smooth with a tiny bit of serum and a slick part for glam.
You can flip between undone charm and chic structure in minutes—perfect for any day.
Accessory Ideas to Elevate Your Braids
I love popping shells and beads into my braids for that instant island vibe, and I’ll show you how to place them so they stay put.
Tiny ribbons woven through or tied at the ends add a sweet, playful touch I can’t resist.
For evening looks I slip on a few gold cuffs for instant polish without fuss.
Shells and Beads
Shells and beads are my go-to quick fix when I want boring braids to feel like a mini vacation; I love slipping a few cowries or colorful wooden beads along the braid for instant texture and personality.
I pick pieces that sing island vibes and mix sizes.
- Tiny cowries for subtle shine
- Bright wooden beads for pop
- Mixed textures for movement
Ribbon and Gold Cuffs
Tie a silky ribbon or slip on a gold cuff and watch a plain braid turn into something cheeky and chic. I love weaving color through plaits or knotting a ribbon at the end for a flirtatious bow.
Gold cuffs add instant polish—pop one near the root or stagger several down the length. It’s an easy, unexpected upgrade that feels luxe but playful.
How to Protect Your Hair While Braiding

Even though braids are a blast, I always take a few careful steps so my hair stays healthy and strong; protecting your strands lets you enjoy styles longer without the breakage.
I prep, braid gently, and care after. My quick checklist:
- Detangle + deep condition.
- Use lightweight oil at roots.
- Sleep on silk and loosen if it hurts.
Color Techniques That Complement Bora Bora Braids

When I pick colors for Bora Bora braids, I aim for shades that sing against my skin and play up the braid texture—think sunlit blondes, sea-glass greens, and warm caramels that catch the light as you move.
I love subtle ombrés, face-framing highlights, and peekaboo hues woven into braids for movement and depth. Keep contrasts soft for a natural, beachy vibe.
Braids for Short and Medium-Length Hair

Color can make even the shortest braid pop, so after picking hues that flatter your skin, think about shapes and sizes that work with less length.
I love quick styles that feel bold and easy:
- Tiny cornrows to frame the face.
- Short box braids with colorful ends.
- Half-up micro-braids for volume.
I’ll show tips to keep them neat and playful.
Transitioning From Casual to Formal With Bora Bora Braids

If you want your Bora Bora braids to work from brunch to the ballroom, I’ll show you a few simple swaps that elevate the look without losing the playful energy.
I’ll pinch a few braids into a polished low bun, add pearl pins, or smooth flyaways with a light serum. Swap sneakers for heels and a sleek clutch, and voilà—effortless glam.
Maintenance: How to Make Braids Last Longer

I usually tell clients that a little nightly care goes a long way, and Bora Bora braids are no exception—treat them right and they’ll stay fresh for weeks.
I’ll share my quick maintenance routine to keep texture and shine:
- Sleep on a silk scarf, tuck ends.
- Lightly oil scalp twice weekly.
- Refresh edges with gel and a soft brush.
Celebrity and Influencer Inspirations

Keeping up with nightly care makes it easier to experiment, and I love pulling inspiration from celebrities and influencers who put their own spin on Bora Bora braids.
I study red carpet twists, festival glam, and everyday casual takes, then adapt colors, accessories, and scale to my vibe. You can mix bold clips, soft waves, or minimalist beads to make the look unmistakably yours.
Common Mistakes and How to Fix Them

Although braid days can feel like magic, I still trip over a few repeatable mistakes—too-tight sections that pull, uneven parting, and skipping the prep that keeps braids neat.
I fix them fast with simple tricks:
- Loosen tension slightly to stop tugging.
- Use a tail comb for crisp parts.
- Prep with detangler and light mousse for grip and smoothness.
When to Seek a Professional Braid Stylist

If your attempts at fixing tension, parts, and prep still leave you with sore scalp, uneven rows, or braids that unravel after a day, it’s time to call in a pro.
I’ll book a stylist when pain persists, hair snaps, or I need complex patterns and polished edges. Pros save time, prevent damage, and give that flawless Bora Bora finish I just can’t DIY.
So there you have it — Bora Bora braids are my go-to for that effortlessly sun-kissed, boho vibe that looks polished without trying too hard. If your hair’s curly, thick, or somewhere in between, knotless technique, lightweight products, and a few playful accessories will keep things comfy and cute.
Try them loose, half-up, or piled high — and don’t be afraid to book a pro when you want perfection. Enjoy the glow!