I tried butterfly braids on a whim and immediately wished I’d started sooner—they’re airy, modern, and somehow make even a messy day look intentional.
They work on every texture, take minutes once you get the hang of the technique, and you can dress them up or down with a few simple tweaks. Stick with me and I’ll show you the tools, the step-by-step, and the little tricks that make them last all day.
What Are Butterfly Braids and Why They Work
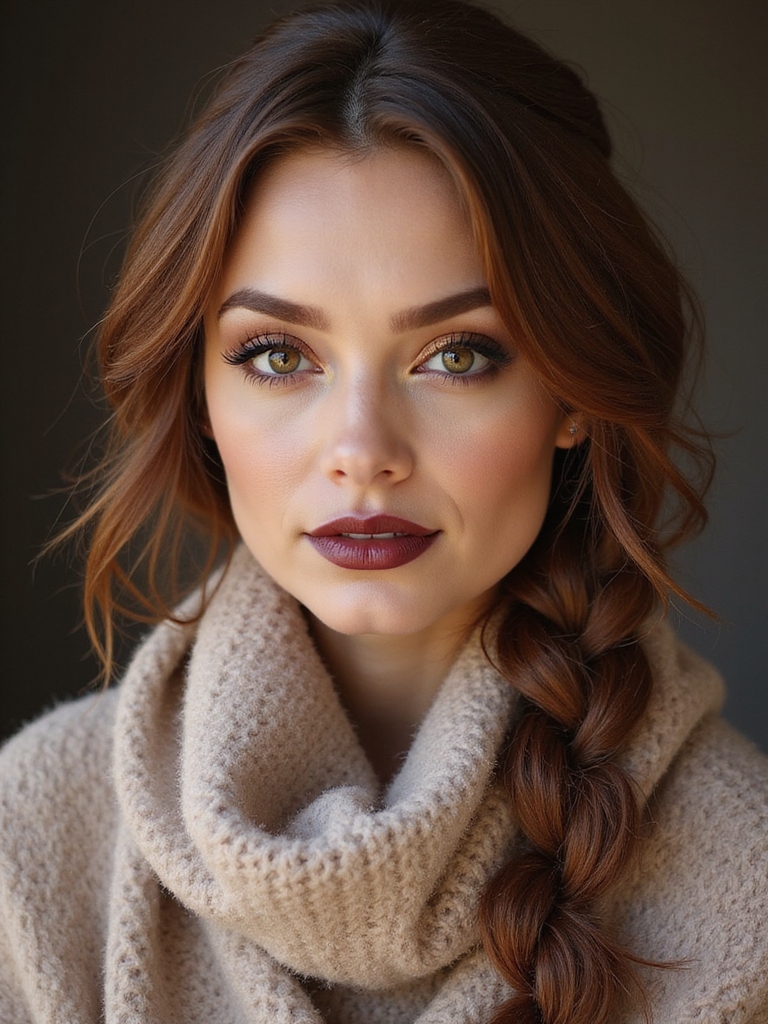
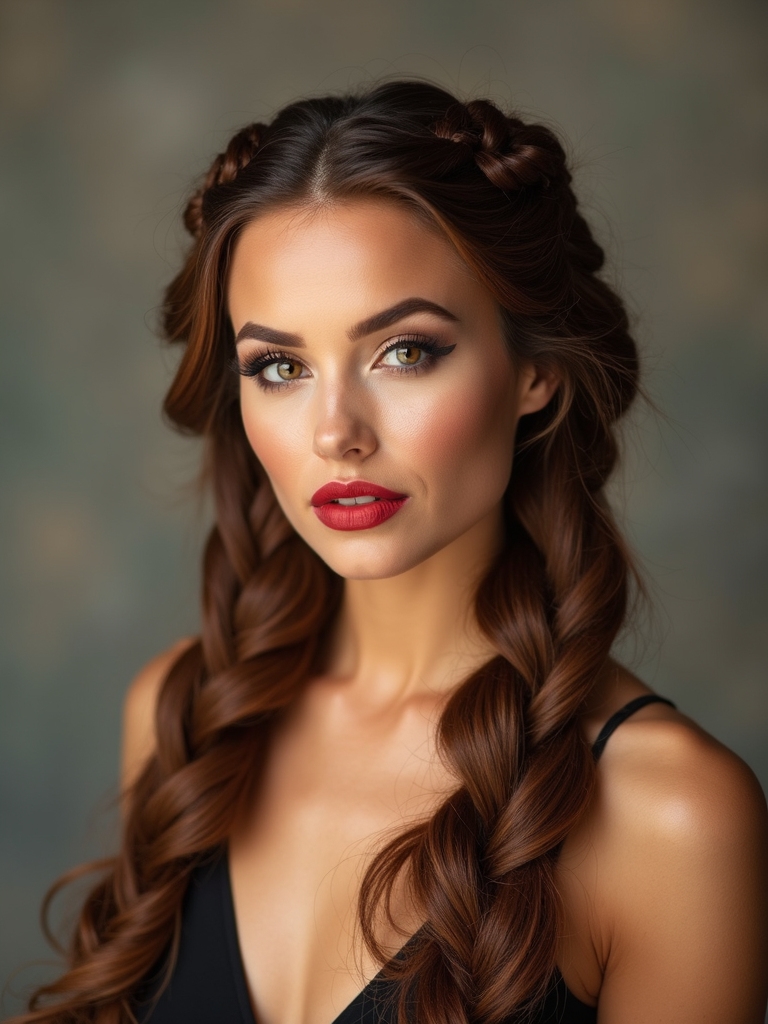
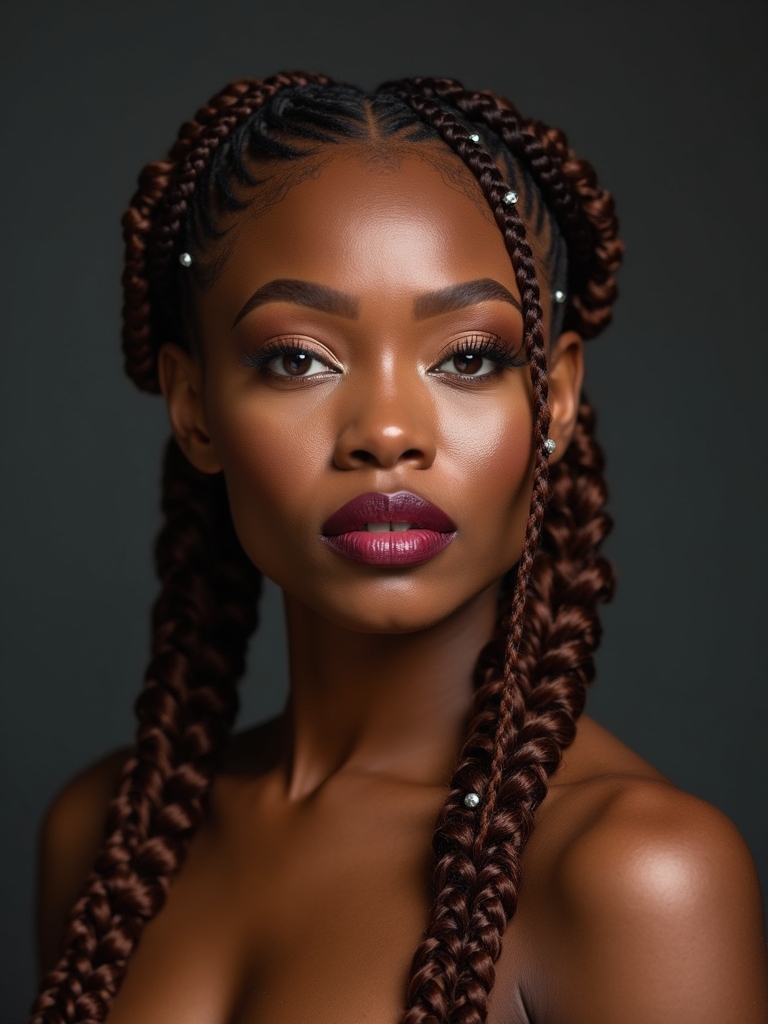
Because I love quick, eye-catching styles, I’m excited to tell you about butterfly braids: a playful variation of box or cornrow braids where sections are looped and fanned out to create wing-like silhouettes.
I adore how they add instant texture, movement, and a chic, youthful vibe without heavy styling.
They work by mixing structure and softness, flattering many hair types and outfits.
I also like that they share a relaxed, natural aesthetic with boho goddess braids, making them perfect for everyday wear.
Tools and Products You’ll Need
Now that you know what butterfly braids are, I’ll walk you through the tools and products that make them pop.
You’ll want a few essential styling tools—think detangling brush, fine-tooth comb, sectioning clips, and a good set of elastics—plus some product staples for hold and shine.
I’ll also share my favorite lightweight gels, frizz-control serums, and dry shampoos that keep the style neat without weighing hair down.
Curtain bangs can complement braided styles by framing the face and adding soft movement to the overall look, so consider how curtain bangs might pair with your braids.
Essential Styling Tools
Before we plunge into braiding, I’ll walk you through the must-have tools and products that make butterfly braids look polished and last longer.
I keep a fine-tooth comb, a detangling brush, clear elastics, small claw clips, sectioning clips, a tail comb for parting, and a lightweight hairspray for hold.
A few bobby pins and a microfiber towel finish my kit. A quick practice session can help you master the tension and positioning for simple braided hairstyles so your butterfly braids hold their shape.
Recommended Hair Products
Although you’ve already got the basic tools, I’ll recommend a few hair products that truly elevate butterfly braids—lightweight leave-in detangler for smooth sections, a small amount of curl-defining cream or smoothing serum to tame flyaways, a dry shampoo for grip on slippery hair, and a strong-hold yet flexible hairspray to lock the style without crunch.
I also love a lightweight oil for shine and a texturizing spray.
Summer braids are perfect for hot days because they help keep hair off your neck and reduce frizz, especially when styled as Effortless Braids.
Prepping Different Hair Types for Braiding
Before I start braiding, I tailor my prep to your hair type—fine hair needs gentle detangling while curly or coily textures benefit from sectioning and finger-smoothing.
I always balance moisture and hold, using lightweight leave-ins for thin strands and richer creams plus a bit of gel for textured hair.
These quick steps make the braiding smoother, longer-lasting, and way more chic.
I often choose styles that minimize pulling and stress on the roots to preserve low-tension curl health.
Detangle by Hair Type
I like to break detangling down by hair type so you get the smoothest foundation for butterfly braids without unnecessary tugging or frizz. I walk you through quick, type-specific tips that make braiding easier and look sharper.
- Fine: wide-tooth comb, gentle strokes
- Thick: section, detangle roots first
- Curly: finger-detangle, work in sections
- Coily: use a detangling brush
- Damp: never soaking wet, slight moisture
Different curl patterns benefit from tailored prepping to preserve definition and reduce breakage.
Moisture and Hold Prep
Now that we’ve smoothed out knots by hair type, let’s prime your strands for hold and shine so those butterfly braids last and sit neat.
I lightly mist leave-in for fine hair, cream for curls, oil for coarse textures, then use a light gel or edge control to set edges.
I always stretch or blow-dry gently for smoother braiding and longer wear. Protective curly hairstyles help reduce breakage and retain moisture, making braids last longer and healthier hair retention.
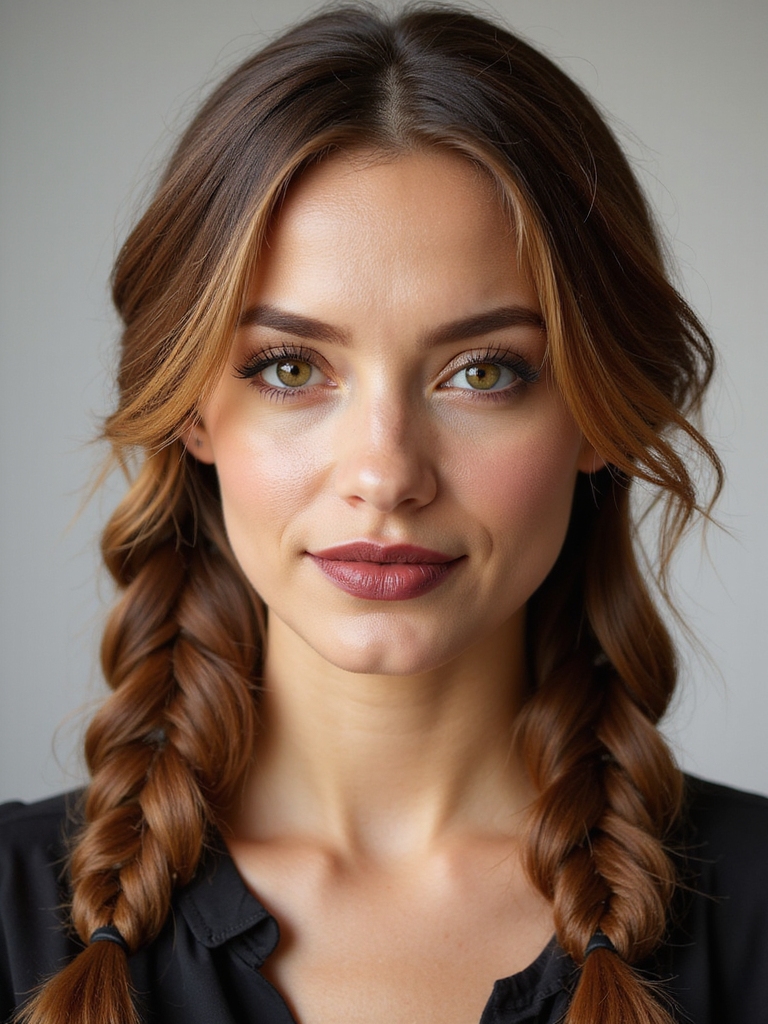
Step-by-Step Basic Butterfly Braid Tutorial
Once you get the hang of the hand movements, I’ll walk you through a simple butterfly braid step by step so you can recreate the look at home; think of it as a quick, trendy twist on a classic braid that flutters like wings.
I’ll guide you confidently as we section, cross, loop, pancake, and secure for that airy, chic finish.
- Section hair neatly
- Start a three-strand braid
- Add thin outer strands
- Pancake for volume
- Secure with a clear elastic
Charming braided styles can be adapted for any length or texture, making them a versatile braided hairstyle for everyday wear.
Quick Tips to Make Braids Last Longer
After you’ve mastered sectioning, looping, and pancaking your butterfly braid, let me share a few tricks that keep it looking fresh for days. Sleep on a silk pillowcase, spritz a lightweight hairspray to set shape, and secure loose bits with clear elastics or discreet bobby pins.
Refresh with a tiny dry-shampoo touchup at the roots and gently re-pancake any flattened wings. For longer-lasting results, protect the braid at night with a silk scarf to reduce friction and frizz.
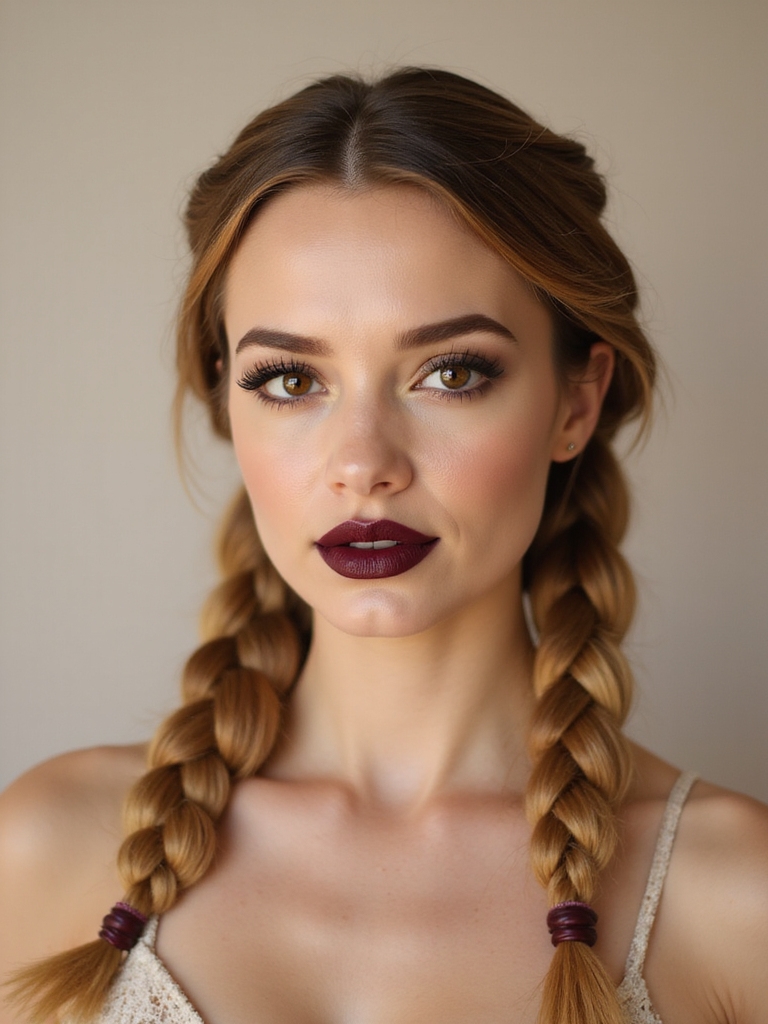
Styling Variations for Short Hair
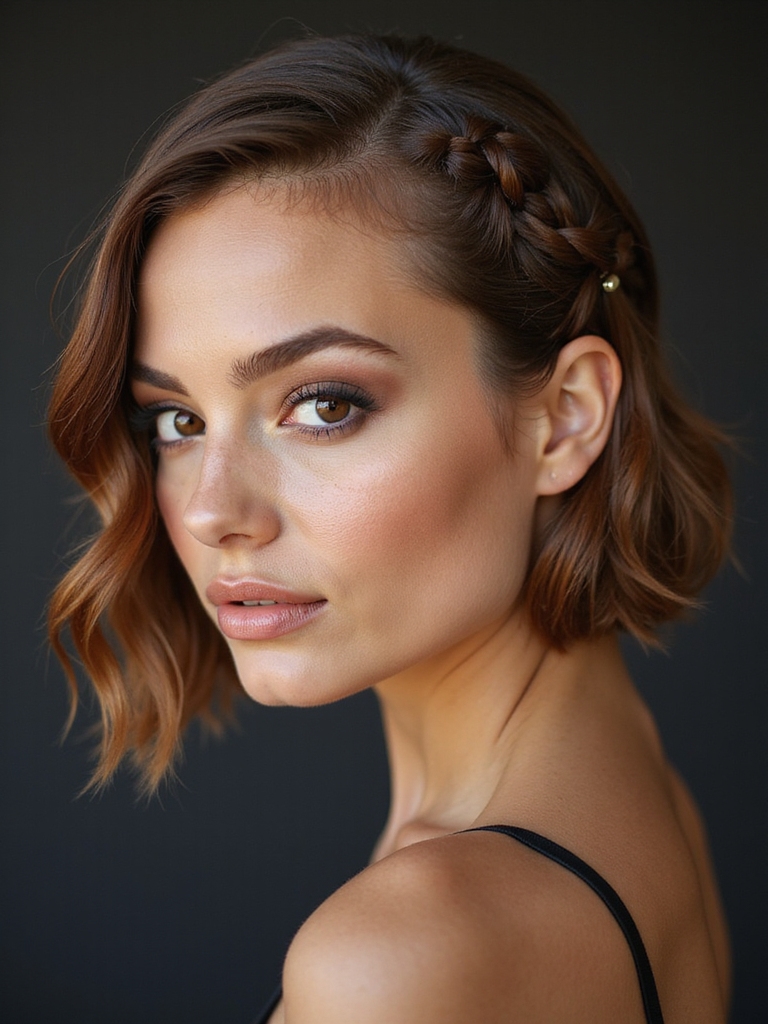
I often get asked how to adapt butterfly braids for shorter hair, and I love that it’s totally doable with a few tweaks — think smaller sections, strategic pinning, and playful accessories.
- Create mini wings with tiny sections
- Use bobby pins for lift and hold
- Add colorful barrettes for flair
- Try half-butterfly for volume
- Mist with texturizing spray for grip
You can also transform the look into an elegant updo by incorporating a braided bun for added polish and lasting hold.
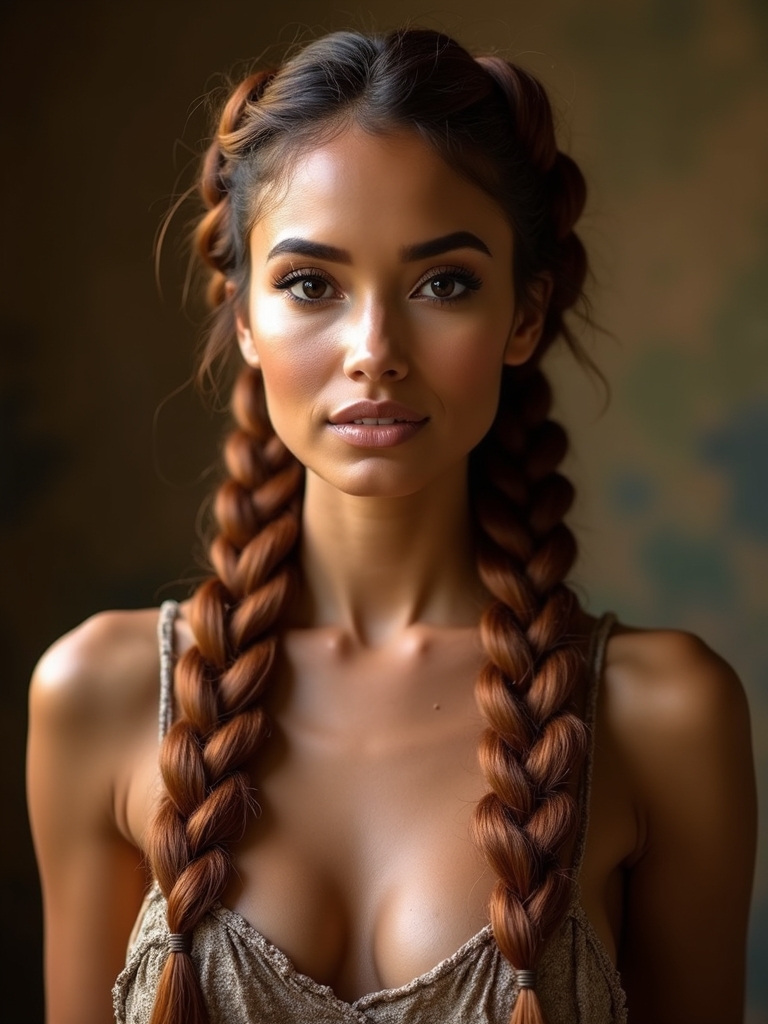
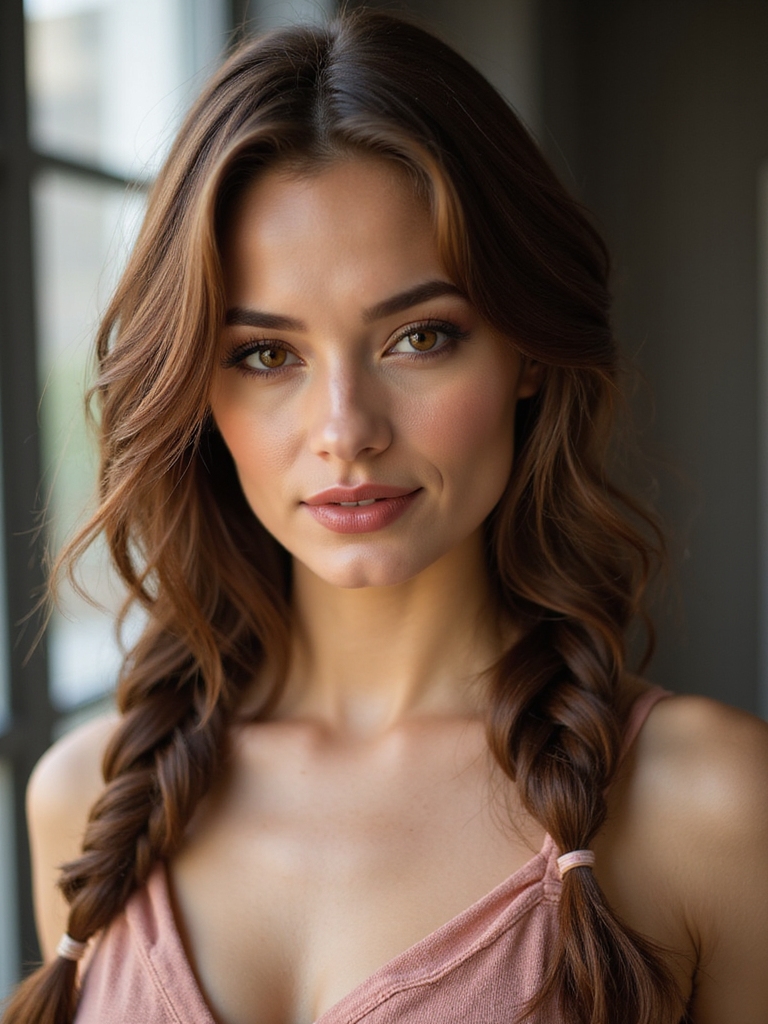
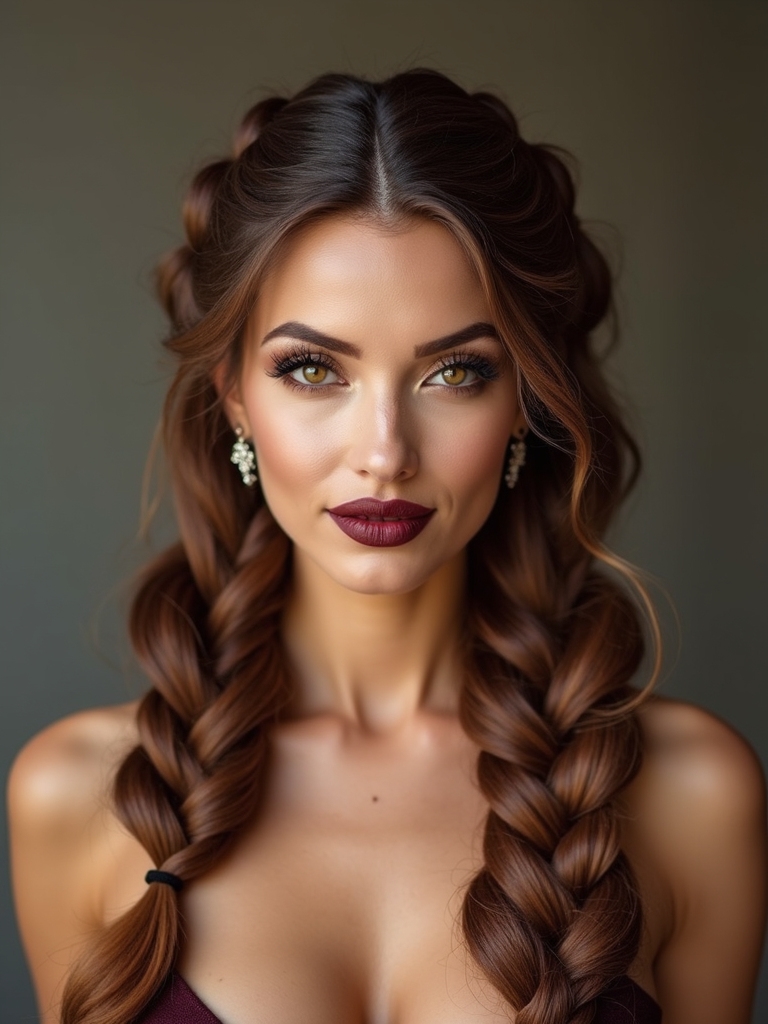
Adapting Butterfly Braids for Long Hair
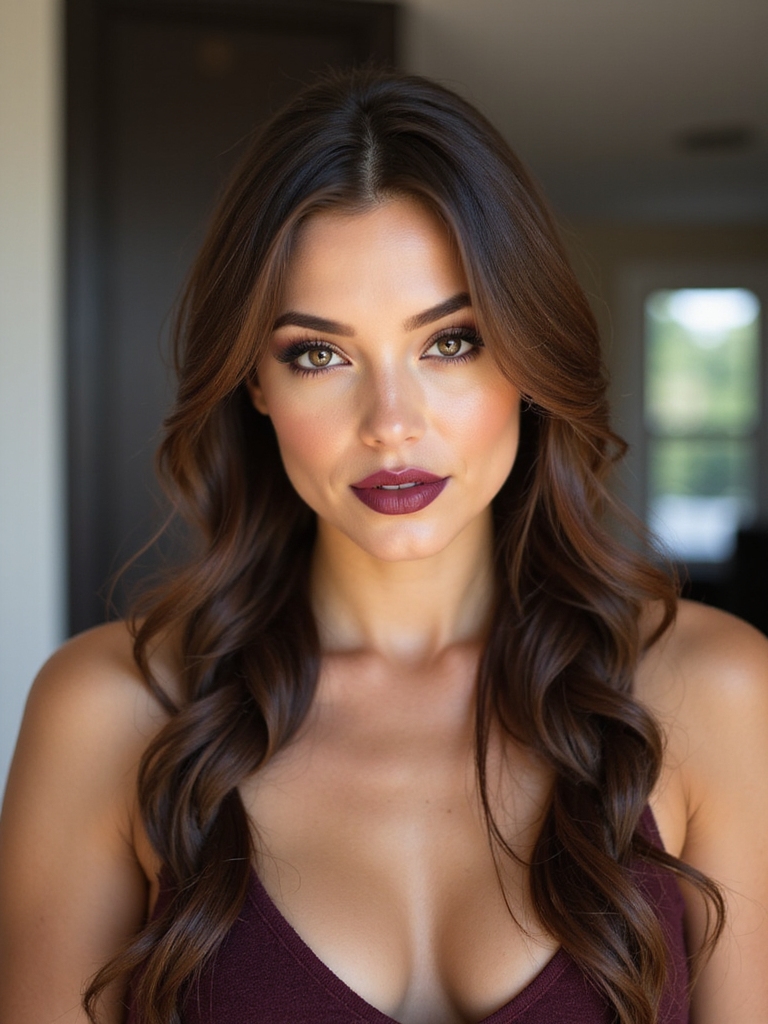
If tiny wings and barrettes worked for shorter lengths, you’ll love how much more you can do with long hair — the extra length gives you drama, texture, and lots of shaping options.
I favor elongated butterfly loops, cascading tails, and layered wings to showcase movement. I add subtle braids for structure, secure with discreet pins, and finish with light-hold spray for bounce.
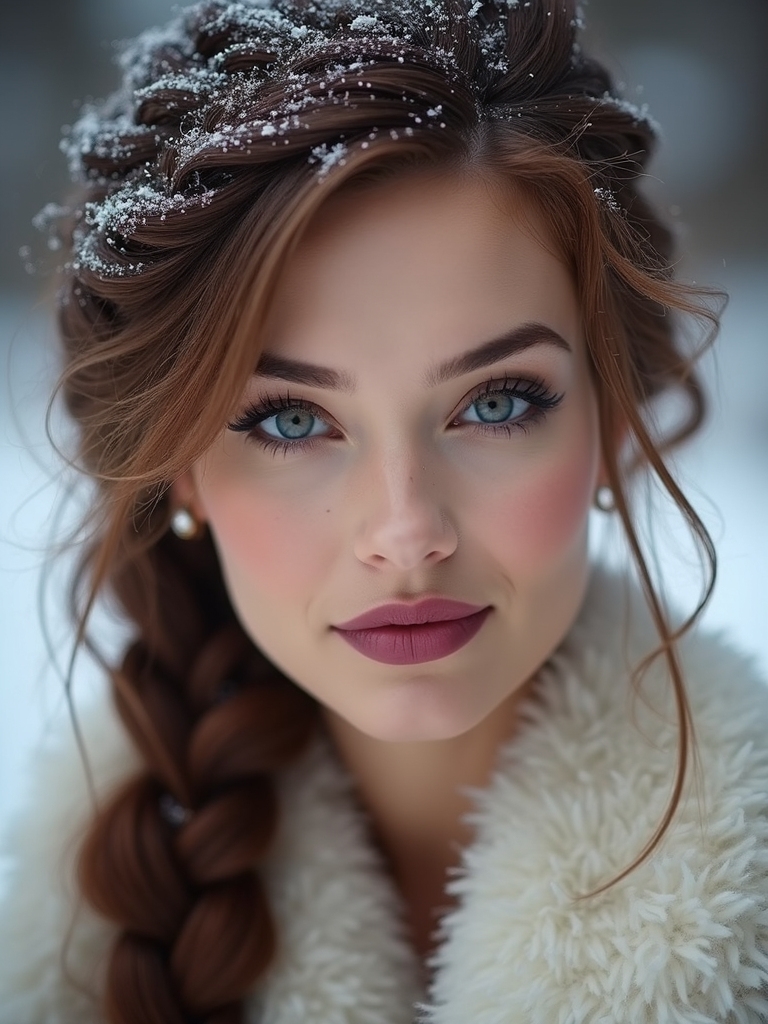
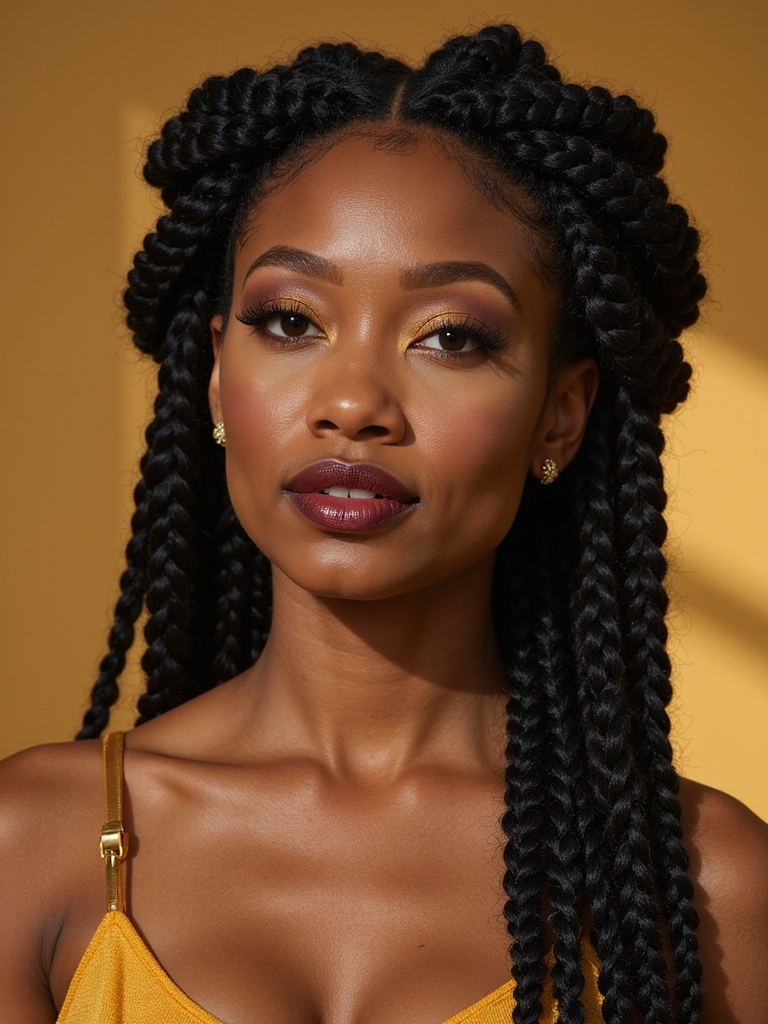
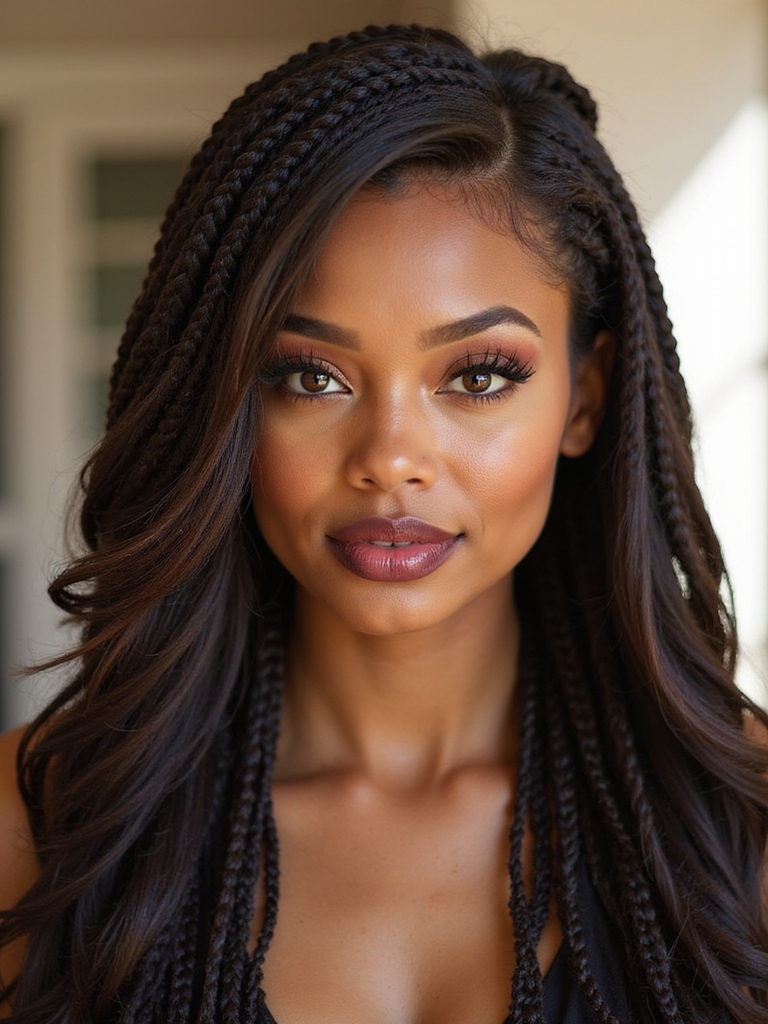
Textured and Curly Hair: Do’s and Don’ts
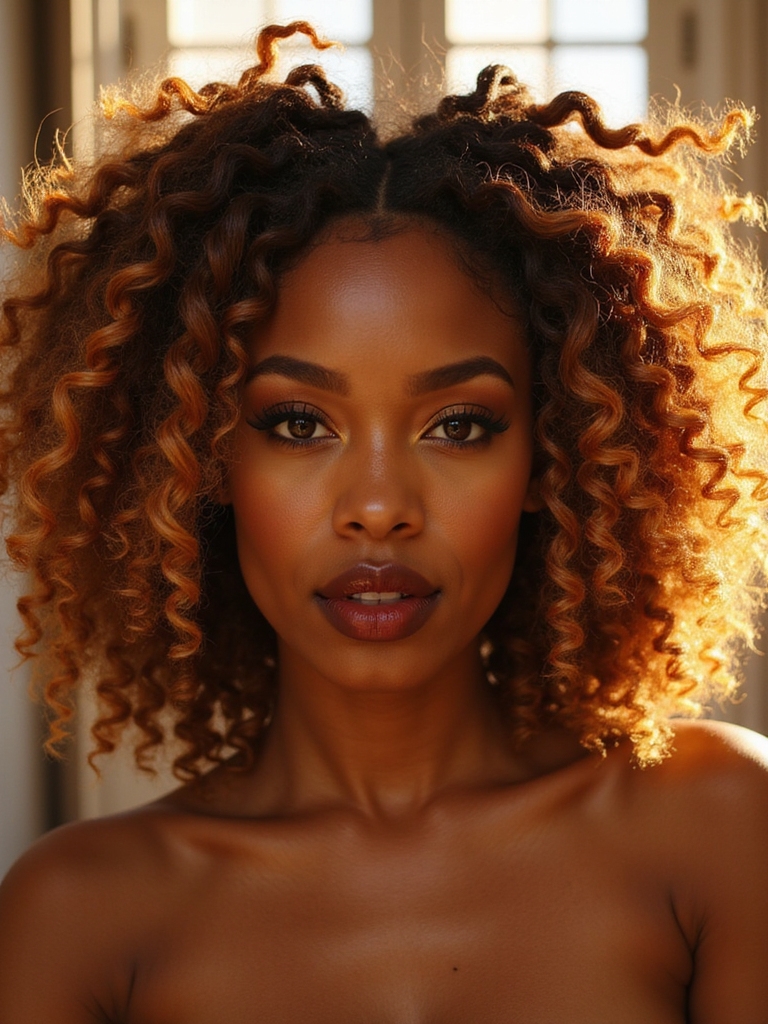
If you’ve got textured or curly hair, I always start by locking in moisture so the strands bend and braid without frizz.
I’ll also take steps to protect your curl pattern—think gentle detangling and using styling products that define rather than weigh curls down.
With those basics, butterfly braids look intentional and last longer on natural textures.
Prep With Moisture
Let’s kick things off by getting your curls cozy and hydrated before you braid—moisture is the difference between sleek butterfly braids and a frizzy mess.
I always prep damp hair, seal with oil, and use a light cream for slip. Try these quick steps:
- Detangle gently with conditioner
- Apply leave-in on sections
- Add a lightweight oil
- Use a curl cream
- Let air-dry slightly
Protect Curl Pattern
Now that your curls are moisturized and primed, I want to talk about protecting your natural curl pattern as you braid—keeping those coils defined will make your butterfly braids pop.
I gently detangle in sections, use a light cream or gel to clump curls, and braid loosely where definition matters.
I avoid over-manipulating and refresh edges with a tiny amount of oil for shine.
Easy Updo Transitions With Butterfly Braids
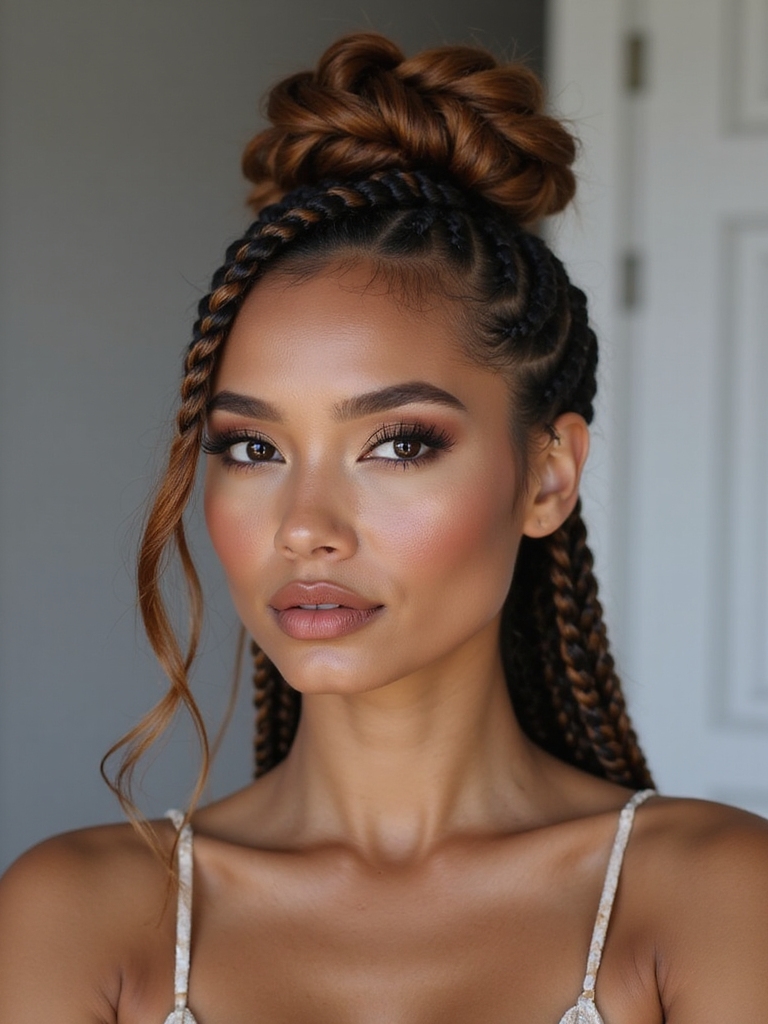
When I want a quick, polished look that still feels playful, I turn to butterfly braids for seamless updo shifts; they lift and secure hair without any stiff, overworked vibes.
I’ll show simple steps to twist, pin, and flip sections for instant chic. Try these ideas:
- Half-up halo with soft wings
- Low bun with braided accents
- Twisted crown wrap
- Side swept knot
- Textured ponytail conversion
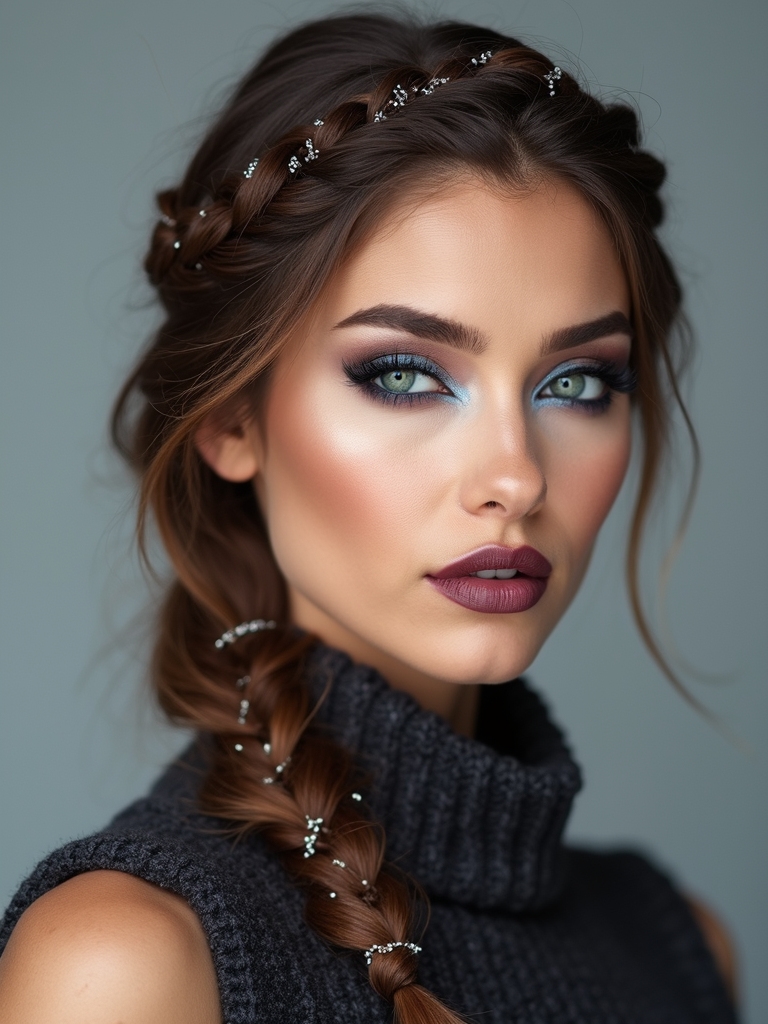
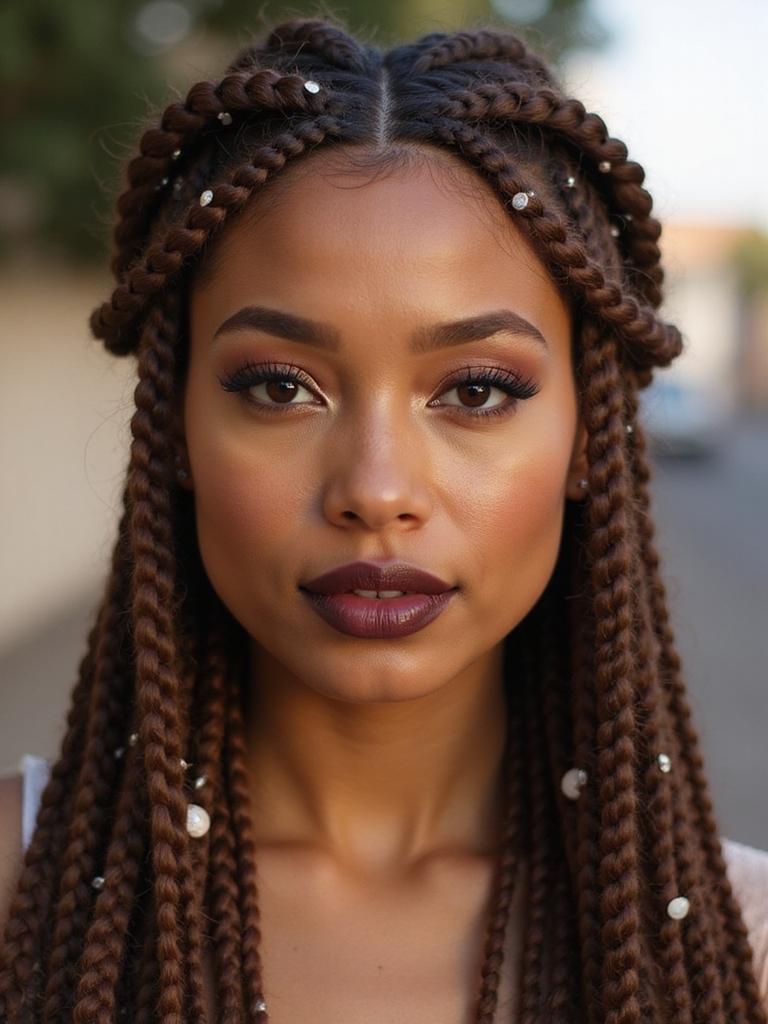
Accessorizing: Ribbons, Clips, and Beads
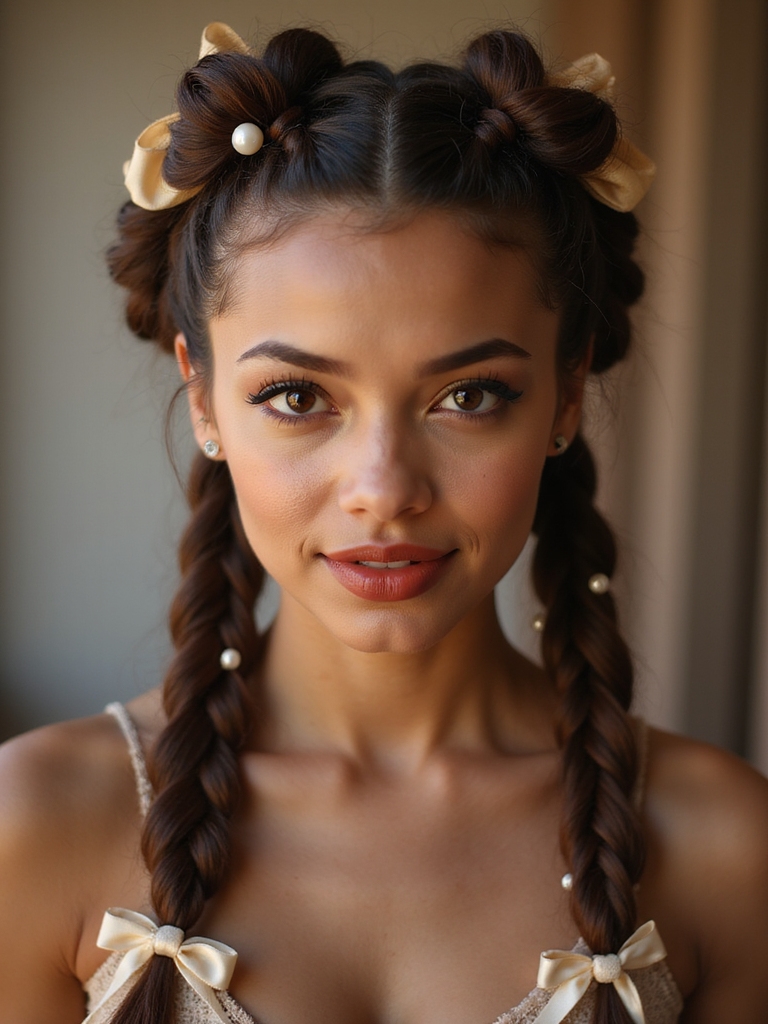
I like to dress up butterfly braids with a few well-chosen accents—ribbons, clips, and beads instantly shift the vibe from casual to curated without a lot of fuss.
I mix satin ribbons for polish, tiny pearls for subtle glam, and colorful clips to punctuate movement.
Beads threaded on ends add playful texture.
Keep placement balanced and materials light so the braid stays airy and modern.
Festival-Ready Butterfly Braid Looks
I often go all out with festival-ready butterfly braids, mixing bold color, texture, and playful accents so my look reads fun and intentional.
I pair glitter roots, temporary dye, and tiny braids for movement, then secure everything with flexible hairspray and charm clips for dancing.
- Neon thread woven through wings
- Micro braids for shimmer
- Sparkle gel at parting
- Charm clips on tips
- Soft faux flowers tucked in
Office-Friendly and Polished Versions
For a work-ready take on butterfly braids, I love smoothing them into a sleek low ponytail for a polished, modern silhouette.
If you want something softer but still tidy, a neat half-up style keeps the braids visible without looking casual.
Let me show you quick tips to make both looks last through meetings and commute.
Sleek Low Ponytail
Crafting a sleek low ponytail is my go-to when I want an office-ready look that still feels modern and polished.
I smooth flyaways, secure low at the nape, and tuck a hair wrap for a refined finish. It lasts through meetings and commute, looks intentional, and pairs with blazers effortlessly.
- Fast to create
- Minimal product
- Polished silhouette
- Versatile for events
- Timeless vibe
Neat Half-Up Style
When I want a look that’s polished without feeling stiff, a neat half-up is my secret go-to — it keeps hair off my face while still showing off texture and shine.
For office-friendly butterfly braids, I secure small braided wings into a low half-ponytail, smoothing edges with light serum. It reads professional, feels modern, and shifts effortlessly from desk to drinks.
Braiding Mistakes to Avoid
Although I love experimenting with butterfly braids, I’ve learned that a few common mistakes can turn a cute look into a frizzy mess—so I want to point out the ones I see most often and how to avoid them.
- Starting with tangled hair
- Using too much product
- Braiding too tightly
- Ignoring section symmetry
- Skipping secure pins
Keep it playful and precise.
Maintaining Your Look: Nighttime Care
Because I want your butterfly braids to look fresh tomorrow, I tuck them up gently before bed and sleep on a silk or satin pillowcase to cut down on friction and frizz.
I also mist lightly with a leave-in spray, wrap loose flyaways with a silk scarf, and avoid heavy products overnight.
In the morning, I shake out and refresh braids with a tiny oil on fingertips.
Inspiring Celebrity and Street-Style Examples
Nighttime care keeps my butterfly braids fresh, but I also love looking to real-life inspiration for new ways to wear them. I spot celebs and street-style stars mixing embellishments, colors, and silhouettes—then try my own twist.
Here are looks that spark me:
- High-gloss embellished braids
- Subtle pastel accents
- Sporty low buns
- Edgy metallic threads
- Soft face-framing tendrils
I’m obsessed with butterfly braids — they’re playful, flattering, and ridiculously easy to make your own. Once you’ve prepped your hair, grabbed clear elastics and a light-hold product, you’ll be looping, pancaking, and adding tiny embellishments like a pro.
They work for every hair type, shift from casual to polished, and stay comfy all day with simple nighttime care. Try one and you’ll wonder why you didn’t start sooner — believe me, you’ll love it.