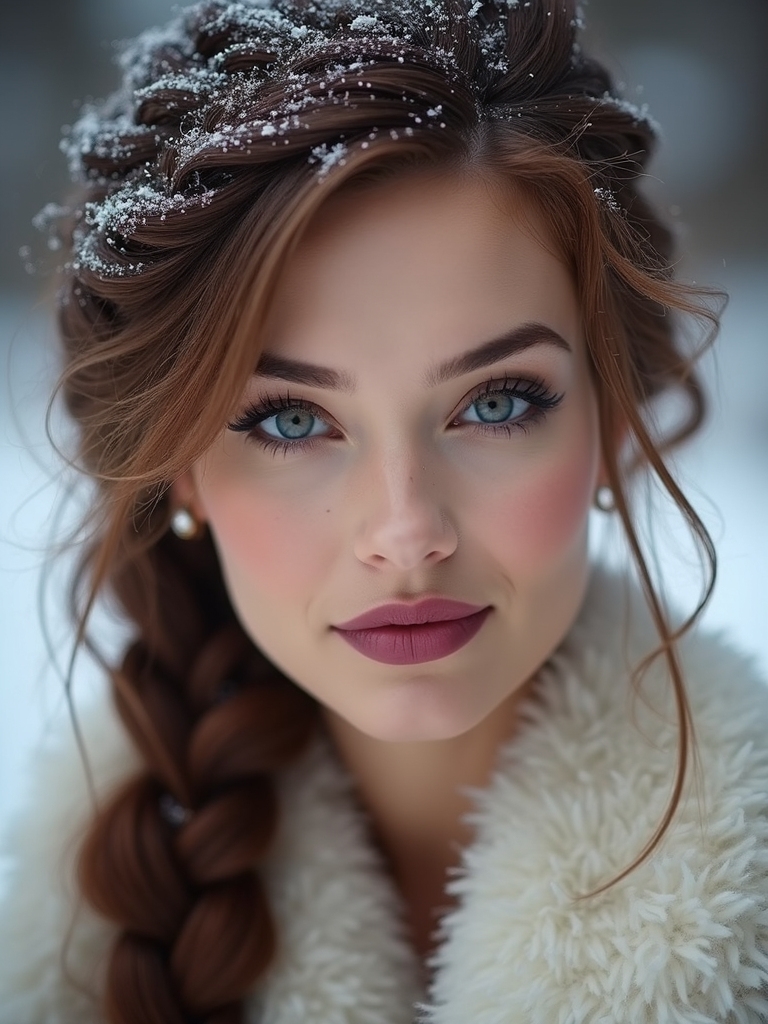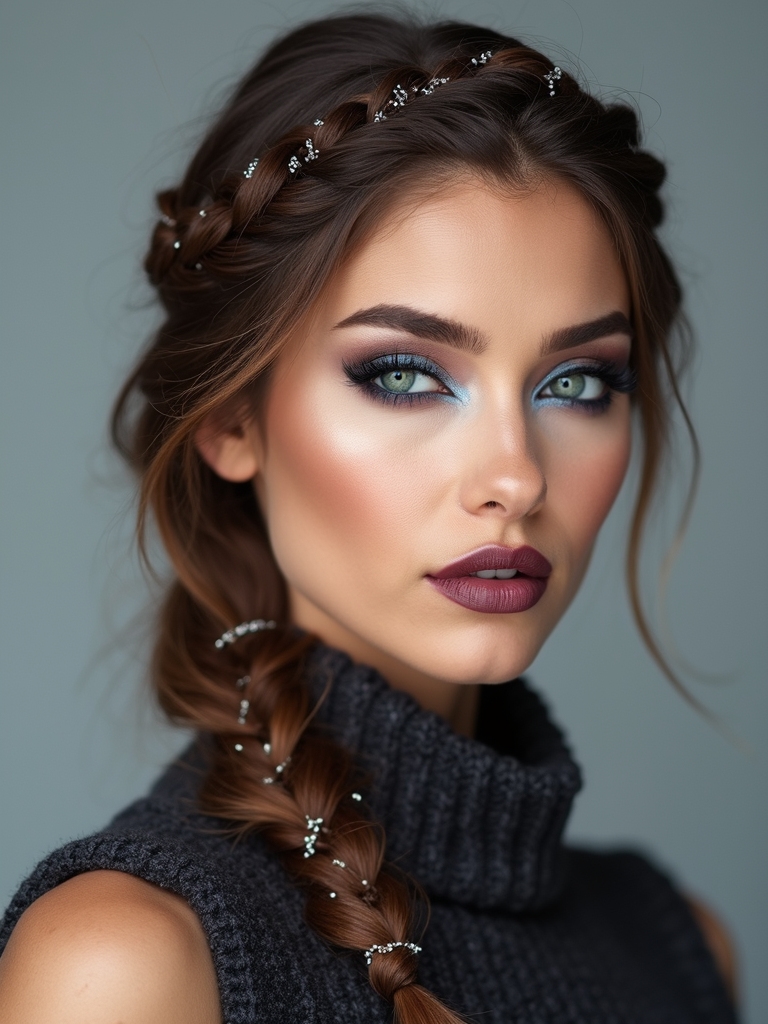
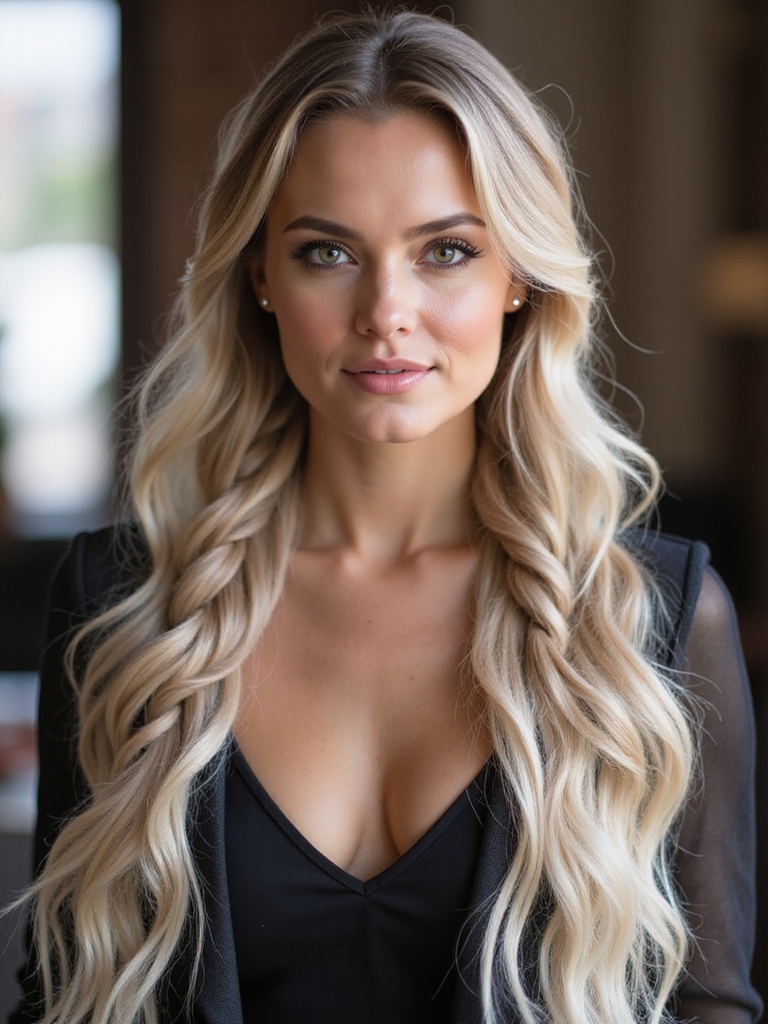
I love how French braids can look both polished and effortlessly cool, and I want to show you easy takes on every vibe—from sleek center parts to messy boho twists—so you can pick one for brunch or a night out.
I’ll walk you through simple tweaks, quick finishes, and cute accessories that make each braid feel fresh, plus dos and don’ts that actually help. Keep going if you want a few favorites to try tonight.
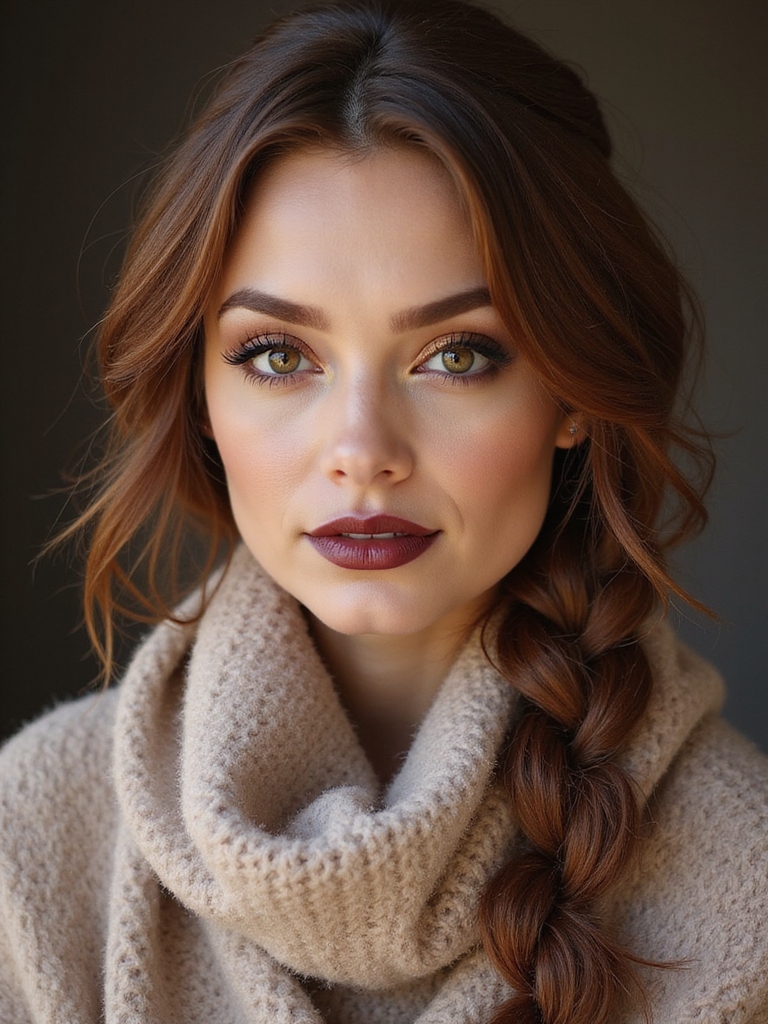
Classic Center-Part French Braid
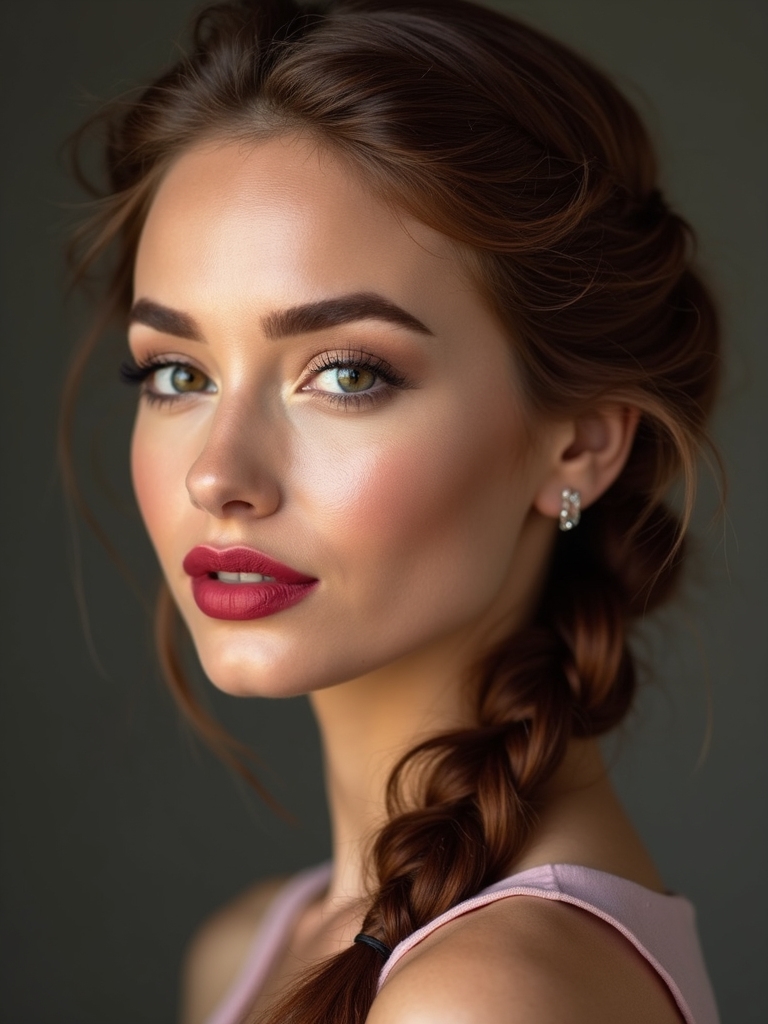
Think of a French braid as a tidy little story that starts at your forehead and winds back — I’ll show you how the classic center-part version keeps things balanced and polished.
I part hair down the middle, pick even sections, and weave close to the scalp. It frames the face, works for any length, and stays neat all day with minimal fuss. For a polished look that suits many events, try pairing it with elegant braided hairstyles to elevate your style.
Side-Swept French Braid

For a chic side-swept French braid, I’ll show you how to prep and part so the hair sits smoothly and stays put.
I’ll walk you through a few braiding technique tips that keep the braid neat as it travels across your head.
Then we’ll finish with my favorite ways to secure and add a polished touch so it lasts all day.
Braids are incredibly versatile, from quick everyday looks to more intricate styles like Simple Braided Hairstyles that can be dressed up or down.
Prep and Parting
With a quick spritz of leave-in conditioner and a detangling brush in hand, I like to get the hair smooth and tangle-free before I start a side-swept French braid.
I part slightly off-center, sweeping hair toward one shoulder, and clip the rest loosely. Section edges cleanly, smooth flyaways, and use a fine-tooth comb for crisp lines—prep that makes the braid effortless and polished.
A great way to achieve tidy, long-lasting results is to begin with the technique used for Dutch braids, which emphasizes raised, inverted sections and controlled tension.
Braiding Technique Tips
Once I’ve got the part and the hair smoothed, I start the French braid by taking a triangular section at the hairline and dividing it into three equal strands—this small, controlled beginning sets the whole look.
I cross sections tightly toward the face for a neat side-swept line, adding hair evenly, keeping tension consistent, and angling the braid to follow the brow for flattering, effortless movement.
For a polished finish, consider incorporating a braided bun to transition the French braid into an updo that suits any occasion.
Securing and Finishing
Finish strong: I like to lock the side-swept braid where it feels most natural—just behind the ear or at the nape—so it frames the face without tugging.
I secure with a small elastic, hide it under a wrapped strand, and pin flyaways with bobby pins. A light mist of flexible hairspray keeps shape but still lets movement and softness shine through.
For a polished look that works for any event, try pairing the braid with braided hairstyle inspirations to suit casual days or formal occasions.
Dutch French Braid (Inverted French Braid)

I like to call the Dutch French braid the braid that flips the rules — it’s basically a standard French braid turned inside out, where each section goes under the middle instead of over, giving you that raised, rope-like look that really pops.
I use it for messy-chic days, to frame my face, or to add texture. It’s sturdy, playful, and surprisingly quick once you get the tuck. I often pair it with cornrow braids to add contrast and extra hold.
French Braid Ponytail

One of my go-to quick styles is the French braid ponytail — it gives the clean, polished look of a braid but keeps your hair off your neck and out of your face.
I sweep hair into a tight French braid down to the nape, secure with an elastic, then wrap a strand around to hide it.
Effortless, chic, and perfect for busy days.
This look pairs perfectly with Two Braided Ponytails when you want a playful twist on a classic.
Messy Boho French Braid

I love how a messy boho French braid gives you a loose textured crown that feels effortless and lived-in.
I’ll pull out a few face-framing tendrils to soften the look and keep it casual.
For the finish, I tease and tug the ends for that perfectly tousled tip without making it look overworked.
Boho braids often embrace a relaxed, natural texture to create effortless boho appeal across many styles.
Loose Textured Crown
With a few loose sections pulled free and texture worked into the strands, I twist a messy boho French braid around the crown for an effortlessly undone look.
I pin it lightly, tugging loops for softness and volume. It feels casual but chic, perfect for weekends or brunch.
You can roughen sections with salt spray and secure ends with discreet pins for easy, wearable style.
Knotless braids can inspire similar natural volume and comfort when adapted into French-braided styles, especially for achieving a boho look.
Face-Framing Tendrils
You can keep that messy crown vibe but let a few soft tendrils escape to frame your face and loosen the look. I gently pull out two or three wisps around my temples, curl them slightly, then scrunch for texture.
They soften angles, add movement, and make the braid feel effortless. It’s an instant, pretty upgrade that keeps things casual and charming. You can also try Soft Side Bangs to similarly soften your features and add movement.
Tousled Finish Tips
Often I finish a messy boho French braid by tugging, teasing, and texturizing until it looks perfectly undone—here’s how I do it without wrecking the braid.
I lightly pancake sections, pull tiny face-framing pieces, and mist with sea-salt spray.
I roughen the tail with my fingers, secure with a soft elastic, then set with flexible hairspray so movement stays airy, not stiff.
French Braid Crown

I love how a French braid crown turns a simple braid into something instantly regal and effortless.
I’ll show you how to braid around your hairline, pinning as you go for a secure halo that stays soft, not stiff.
It’s perfect for weddings, weekends, or when you want an elevated look without fuss — quick, chic, and surprisingly comfy.
Double French Braids (Pigtail Style)

Usually I reach for double French braids when I want something cute, practical, and a little bit sporty—think pigtails with grown-up polish.
I love how they stay neat during workouts or errands and still look chic.
Quick tips:
- Start with a clean center part
- Keep sections even
- Braid tightly near the scalp
- Finish with soft elastics and a spritz of hairspray
French Fishtail Hybrid Braid

If you like the neatness of double French braids but want something more textured and modern, try a French fishtail hybrid braid — it combines the scalp-woven security of a French braid with the intricate, rope-like look of a fishtail.
I braid along the scalp, then switch to a fishtail for length, tugging gently for that lived-in, effortlessly cool finish you’ll actually want to wear every day.
French Braid Updo With Bun

With a few swift passes of the comb and some gentle tugging, I turn a simple French braid into an elegant updo with a bun that’s perfect for work, date night, or anything in between.
I love how neat meets relaxed.
Try these tweaks:
- Loosen strands for softness
- Wrap ends into a low bun
- Secure with bobby pins
- Finish with light hairspray
Rope-Twist French Accent Braid

Okay — let’s play with a Rope-Twist French accent braid: I’ll walk you through how to prep and section for a clean start, the quick twisting steps that build the rope effect, and the simple tricks for securing and finishing so it lasts.
I’ll show exactly where to pick up hair, how tightly to twist, and when to add pieces so the accent braid sits just right.
Stick with me and you’ll have a polished twist that stays put without fuss.
Prep and Sectioning
Before I twist a single strand, I make sure my hair is clean, detangled, and slightly textured so the rope-twist will hold without slipping.
I section neatly, clip extras away, and plan the accent line. Quick checklist to get cozy with the style:
- Wide-tooth comb for detangling
- Light texturizing spray
- Sectioning clips
- Mirror for symmetry
Twisting Technique Steps
Now that my sections are clipped and the hair’s got a bit of grip, I start the rope-twist French accent by taking two equal strands from the front section and giving each a quick clockwise twist; I then cross them over each other, add a small ribbon of hair to each strand from the hairline, re-twist, and continue that twist-and-add rhythm down the head, keeping tension even so the twist sits tight but not pinched.
Securing and Finishing Touches
Usually I finish the twist with a quick check for balance and tension, then secure the braid so it lasts all day without feeling stiff.
I tuck ends, pin stray pieces, and mist lightly. Try these small tricks:
- Wrap elastic with hair for a seamless finish
- Use hidden bobby pins for lift
- Light hairspray for hold, not crunch
- Loosen gently for softness
Waterfall French Braid

Trying a waterfall French braid adds a flirty twist to the classic, and I’ll walk you through how it lets strands cascade while keeping the look neat.
I pick a top section, start a French braid, then drop the outer strand, letting it fall while adding a new piece from above.
It’s playful, effortless, and perfect for casual or dressy days.
French Braid With Face-Framing Pieces
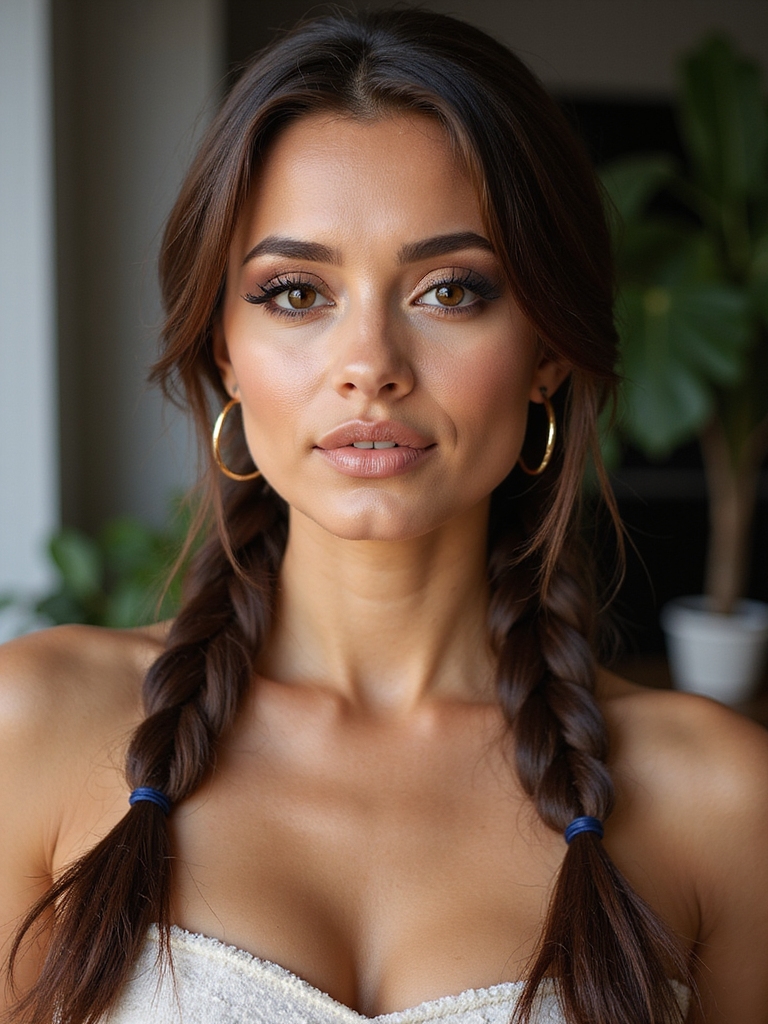
When I weave a French braid and leave a few face-framing pieces out, it softens the whole look and highlights your features without much fuss.
I love how effortless it feels and how those strands flirt with your face.
- Tuck or curl pieces for shape
- Use light-hold spray to keep movement
- Try varied strand thickness
- Great for casual or polished vibes
Half-Up French Braid
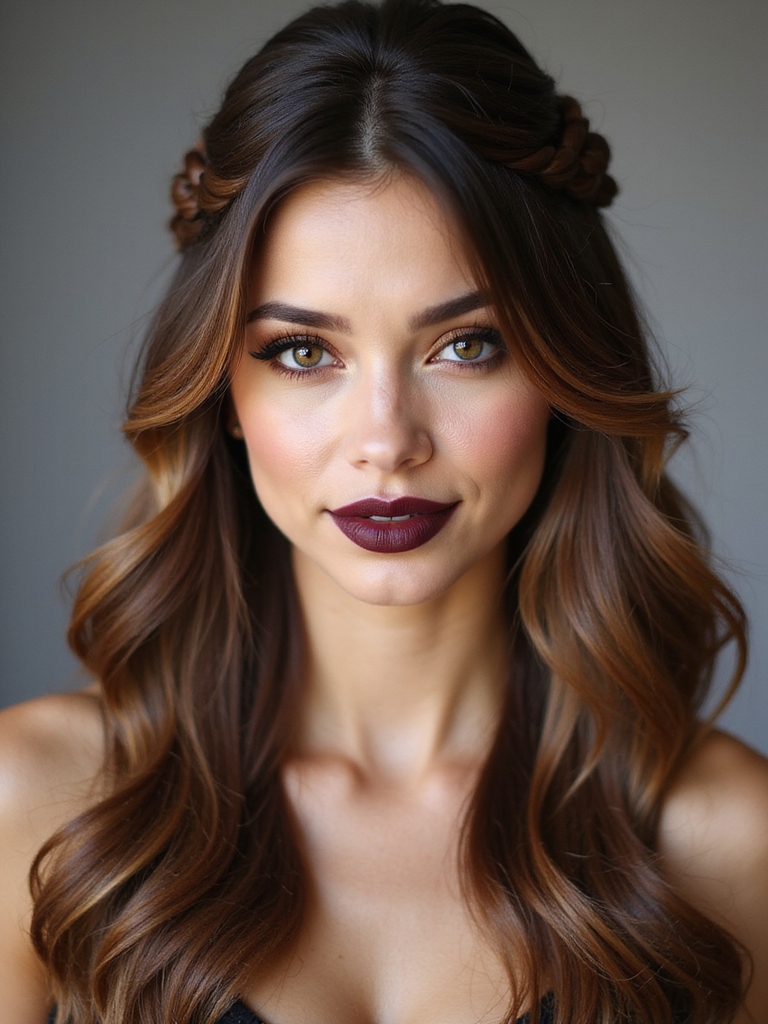
With the top half pulled back into a French braid and the rest left loose, I get a look that’s polished without feeling precious.
I love how it keeps hair out of my face while still showing movement and volume.
It’s quick, works on second-day hair, and dresses up jeans or a sundress.
I braid casually, tug for softness, and go.
French Braid With Ribbon or Scarf

If you want to jazz up a French braid, pick a ribbon or scarf that matches your vibe—think width, texture, and pattern.
I’ll show you how to position it so it feels secure and how to weave it in with each section for a neat, integrated look.
Once you see the simple steps, you’ll be adding ribbons like it’s second nature.
Choosing Ribbon or Scarf
As I pick between a ribbon and a scarf, I think about the look I want to create and how much fuss I’m willing to manage. I prefer simple choices that suit mood and outfit:
- Ribbon for neat, sweet accents
- Scarf for bold, boho vibes
- Thin ribbon for subtlety
- Wide scarf for drama
Both lift a braid—pick what feels fun.
Weaving Ribbon Into Braid
Now that I’ve picked between ribbon and scarf, I start weaving it into the braid itself so it becomes part of the style, not just an accessory. I tuck the ribbon with the left strand, cross it over, then add with the right—keeping tension even.
Small pops of color peek through as I French-braid down, securing the end with a knot for a tidy, playful finish.
Textured French Braid for Short Hair

I often reach for a textured French braid when my short hair needs a bit of attitude and hold; it’s a quick way to make cropped layers look intentional rather than messy.
I tug pieces for volume, mist for grip, and let wisps soften the face. Try these tweaks:
- Backcomb roots lightly
- Use texturizing spray
- Braid loosely, then pancake
- Secure with small elastic
I hope you’ve found a French braid idea that sparks your next hair moment—whether you’re craving sleek polish, boho texture, or a chic half‑up twist. I love how simple tweaks (a ribbon, a bit of pancaking, or pulling out a face‑framing tendril) can totally change the vibe.
Try one, make it yours, and don’t stress perfection—braids look best a little lived‑in and very you. Go braid something beautiful.