
I’ve been tracking the braided looks celebrities keep cycling through, and honestly, they’ve got me bookmarking styles nonstop. From sculpted cornrows and sleek lace‑front braids to bubble, milkmaid, and knotless feed‑ins, there’s a braid for every mood — glam, sporty, or cozy.
I’ll walk you through the trends, how they’re finished for longevity, and the little accessories that make them red‑carpet ready, but first—want the quick wins that actually last?
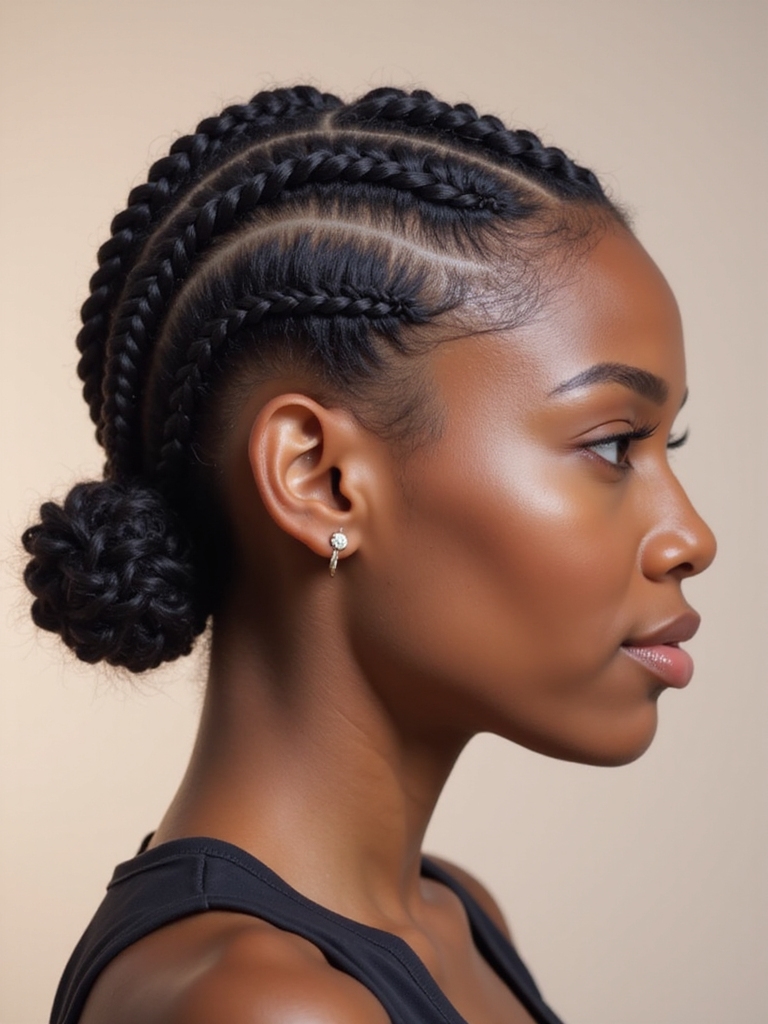
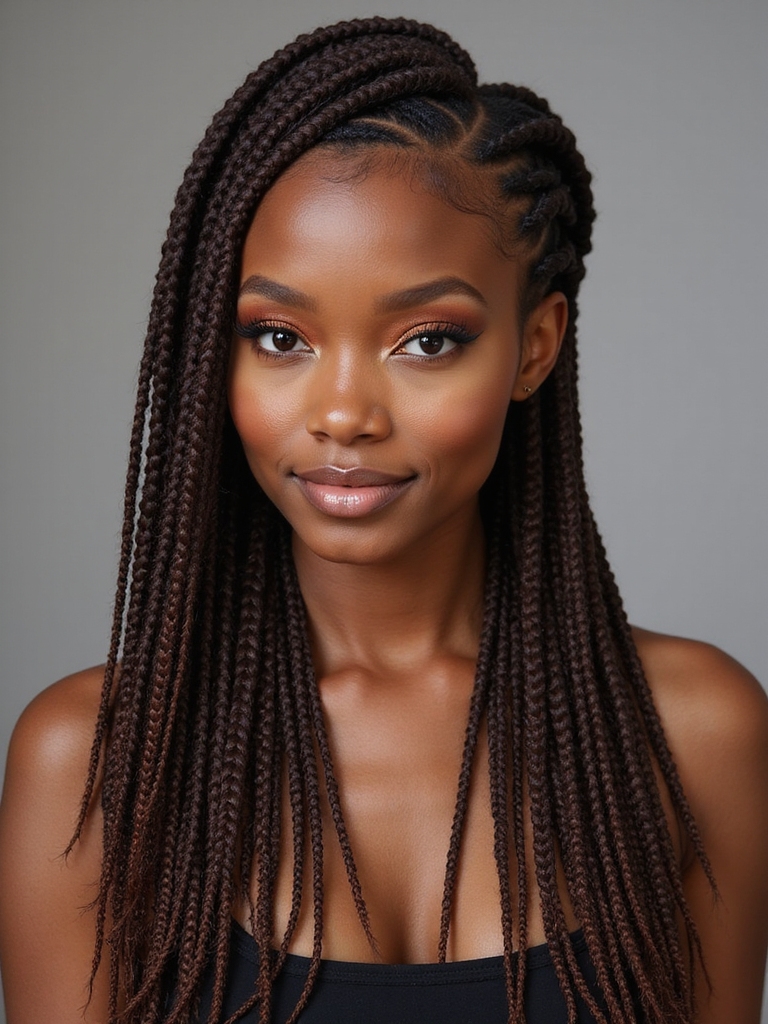
Sculpted Cornrows
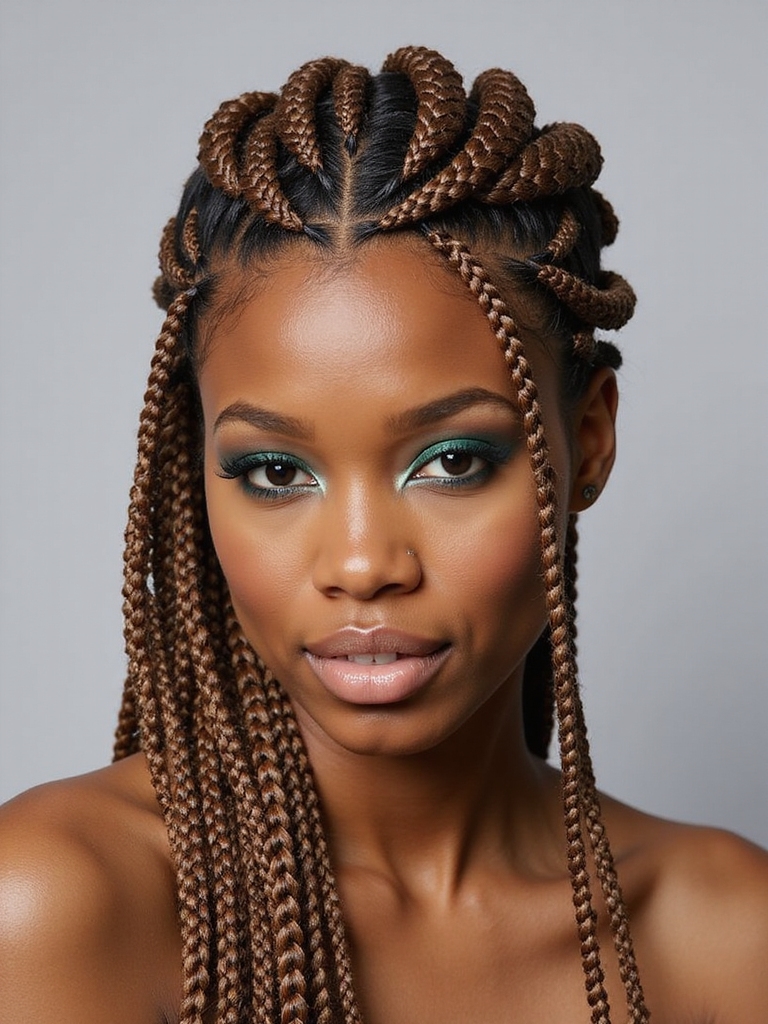
When I want my look to feel sharp but effortless, I reach for sculpted cornrows—they hug the scalp in clean, geometric lines and instantly tidy everything up.
I love how they last, protect hair, and let me switch accessories—metal cuffs or a silk scarf—without fuss. They’re low-maintenance, neat for workouts, and give instant polish if I’m running errands or heading out.
I also appreciate that sculpted cornrows provide protective styling benefits by minimizing daily manipulation and reducing breakage.
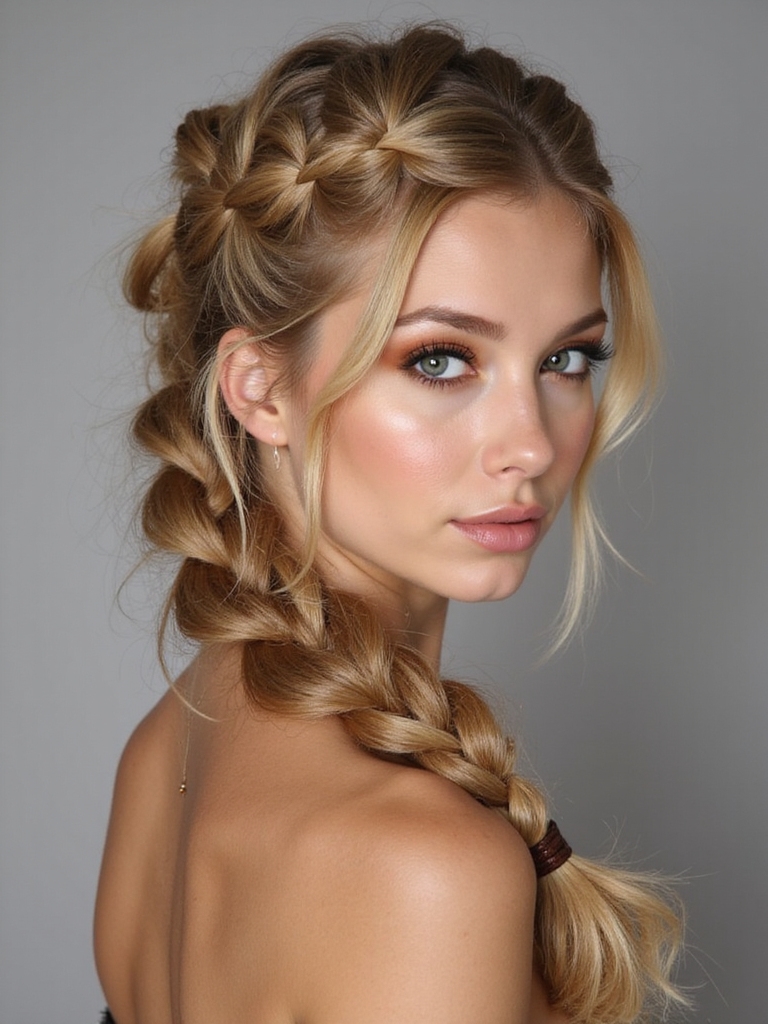
Bubble Braids
I love bubble braids because they look fancy but are actually simple to make—I’ll show you a quick step-by-step for sectioning, securing, and puffing each bubble.
Once you’ve got the technique down, I’ll walk through playful variations like half-up bubbles, stacked ponytails, and accessorized versions for work or weekend.
Tell me which vibe you want and I’ll give the exact tools and timing to get it.
You can also try these styles inspired by new braided hairstyles that are trending this season.
How to Create
Grab a handful of elastic bands and let’s make bubble braids that look fancy but hardly take any time.
I section hair, tie a small ponytail, then add bands every inch or so.
I gently tug each segment to puff it into bubbles, smoothing edges as I go.
Repeat down the length or on multiple strands for a fun, effortless look.
Bubble braids are versatile for all hair types, and they’re especially easy to adapt for different textures by using simple braided hairstyles to guide tension and band placement.
Styling Variations
Although bubble braids already scream effortless, you can tweak a few simple things to make them feel totally different each time.
I love adding texture spray for grit, spacing bubbles closer for a polished vibe, or pulling pieces loose for soft, romantic flair.
Try colorful elastics, metallic cuffs, or a low pony base to switch between sporty, glam, or boho in minutes.
For a quick everyday look, consider starting with an effortless braided ponytail to get a polished, low-maintenance style.
Ribboned Braids
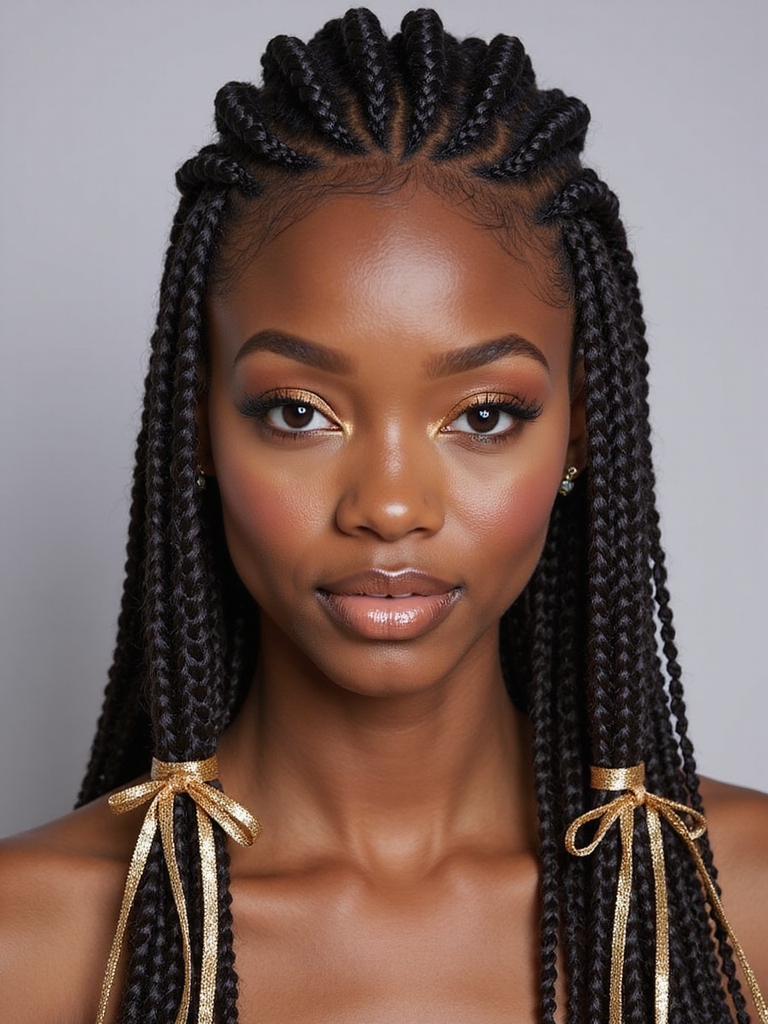
I often reach for a ribbon when I want to give a simple braid an instant personality boost — I’ll weave it through a classic three-strand, wrap it around a French braid, or knot it at the end for a sweet finish.
It’s my go-to for texture, color pops, and quick polish: choose satin for sheen, velvet for grip, or patterned for playful flair.
Braided headbands are a versatile option for framing the face and adding instant style to any look, whether casual or formal, and are especially flattering for different hair lengths braided headband hairstyle.
Milkmaid Braids
I always reach for milkmaid braids when I want a look that’s effortlessly charming but still feels pulled together. They’re great for lazy mornings, hiding unwashed roots, or adding instant romance to a tee.
I braid from each side, pin across the crown, and loosen bits for softness. They hold well, suit parties or errands, and work on most hair lengths.
Dutch Boxer Braids
Okay, let’s talk Dutch boxer braids: I always start with neat prep and precise sectioning so the style looks sharp from the get-go.
Keep the tension firm but comfortable as you braid — that balance gives the sleek shape without scalp pain.
Finish with small elastics, a little texture spray, and a strong-hold mist to keep things in place all day.
Prep and Sectioning
Before we plunge into braiding, I like to prep the hair so the whole process stays smooth and neat.
I’ll section cleanly down the middle, detangle, and work with slightly damp hair.
Here’s my quick checklist to get us ready:
- Spray with light leave-in conditioner
- Brush into smooth sections
- Clip halves apart
- Create a precise center part
- Divide each half into three workable panels
Tightness and Tension
While you might think tighter always equals longer-lasting, I’ll show you how to find the sweet spot for Dutch boxer braids so they look sleek without pulling your scalp raw.
I ease tension near the hairline, tighten only through mid-lengths for neatness, and leave ends slightly looser to prevent breakage.
If your scalp aches, loosen immediately — comfort beats stubborn perfection every time.
Styling Finishes and Hold
Now that you’ve eased tension at the roots and left the ends forgiving, let’s talk about how to finish and keep those Dutch boxer braids looking sharp all day.
I swear by simple tricks that balance hold and movement:
- Smooth with lightweight cream for shine
- Secure ends with snag-free bands
- Mist flexible hairspray
- Tuck flyaways with bobby pins
- Sleep on a silk pillowcase
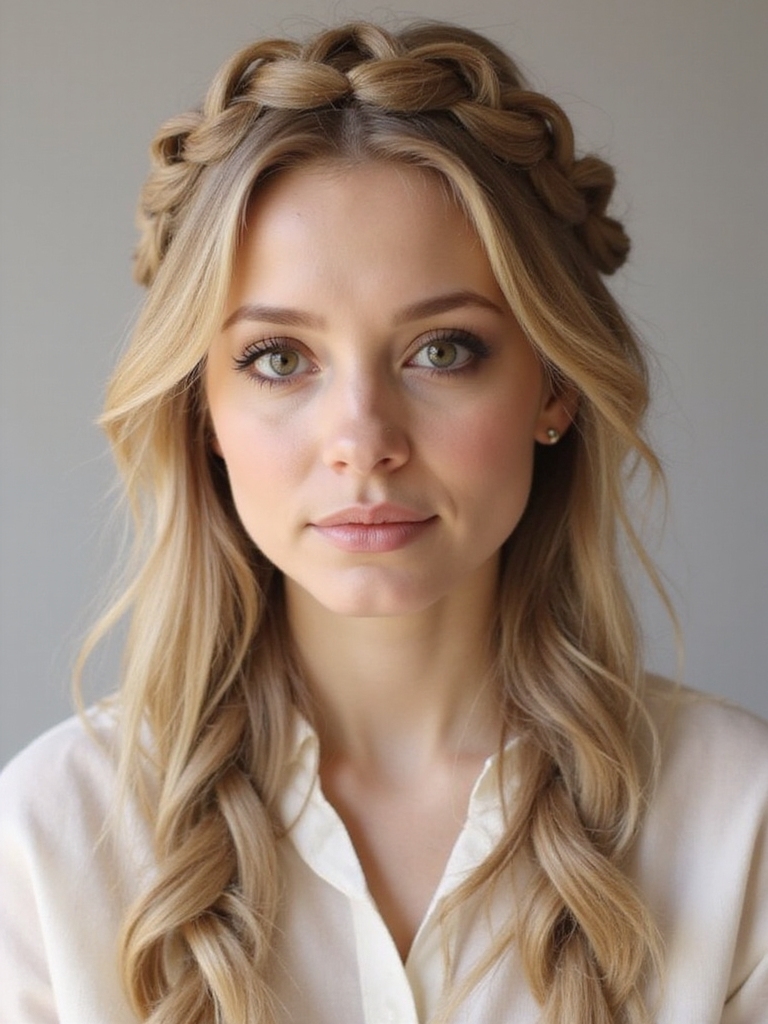
Twisted Halo Braid
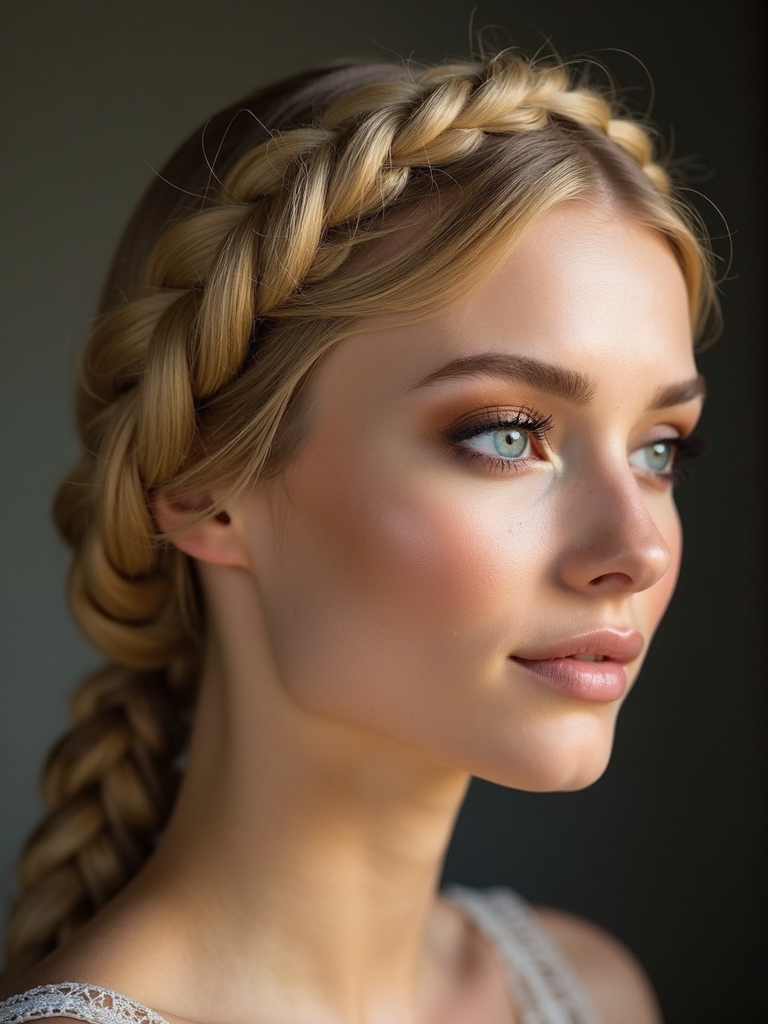
I love how a Twisted Halo Braid instantly dresses up any look without fuss—it’s basically a crown made from simple twists that sit neatly around your head.
I’ll show you quick steps: part hair, twist sections toward the face, pin as you go, and tuck ends.
It works on all lengths, hides flyaways, and lasts all day with a few discreet bobby pins.
Boho Fishtail Braid
Experimenting with a Boho Fishtail Braid gives you that undone, festival-ready vibe without hours of styling—I’ll walk you through the easy parts.
I love this relaxed look because it’s forgiving, textured, and chic.
Quick tips:
- Start with slightly dirty hair
- Loosen sections for volume
- Pull gently for that messy finish
- Add small face-framing pieces
- Secure with a clear elastic
Sleek Low Braided Bun
Okay, let’s talk Sleek Low Braided Bun — I’ll walk you through prepping and protecting your strands, the step-by-step braiding technique, and the quick styling and finishing touches that keep it polished all day.
I’ll show simple protection tips like smoothing with a lightweight oil and securing stray hairs without weighing the braid down.
Stick with me and you’ll have a sleek, long-lasting bun that looks salon-made but only takes minutes.
Prep and Protection
Since we want your sleek low braided bun to last and look polished, I always start by prepping the hair with a lightweight leave-in and a smoothing serum so flyaways behave without getting crunchy.
I also protect strands and the scalp—quick, easy steps I swear by:
- Satin scarf at night
- Lightweight oil on ends
- Heat guard if styling
- Gentle detangle
- Edge control for neatness
Braiding Technique Steps
Now that your hair’s prepped and protected, I’ll walk you through the braiding steps for a sleek low bun so you can get a polished look without fuss.
Gather hair low at nape, smooth with a brush, and create a tight three-strand or Dutch braid down the center.
Secure the end, wrap into a low bun, and pin close to the head for a neat finish.
Styling and Finishing Touches
Finish strong: I like to start by smoothing flyaways and locking the shape so the bun reads polished all day.
I’ll share quick tips I actually use to keep it sleek and comfy:
- Use gel at roots for smoothness
- Tie low with a snag-free band
- Tuck ends neatly under the bun
- Secure with bobby pins hidden
- Mist with flexible-hold spray and go
Braided Ponytail With Extensions
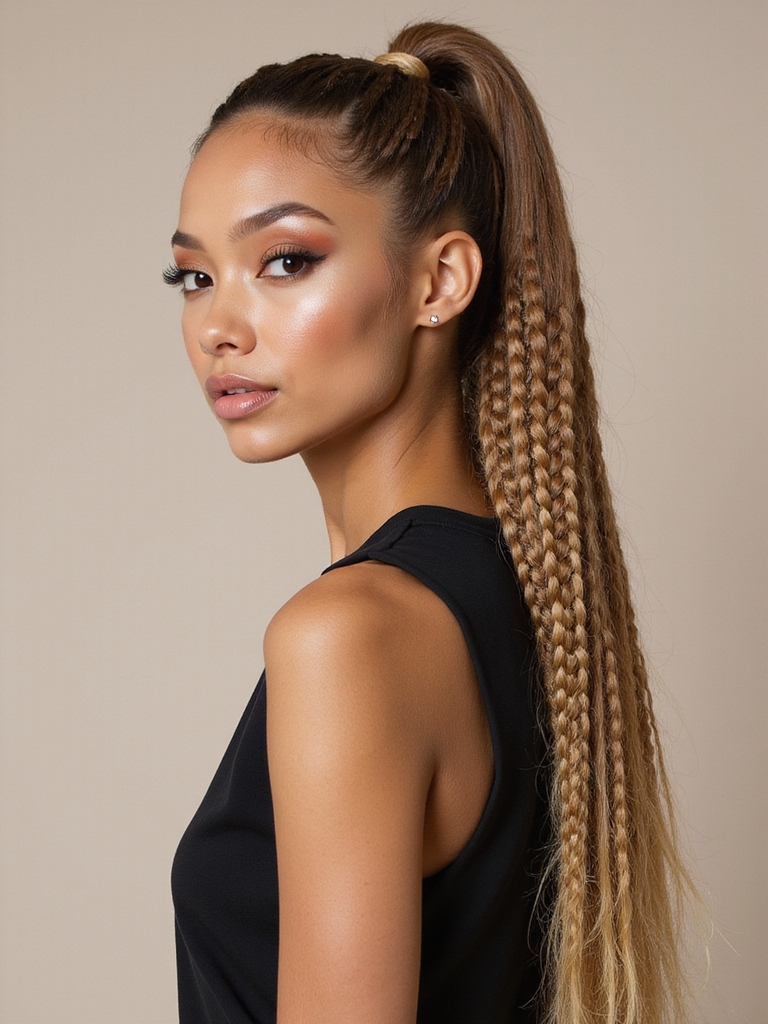
I often grab extensions when I want a quick, dramatic braided ponytail that lasts all day—it’s my go-to for errands, dates, or when I just want my hair to look like I actually tried.
I braid the base tight, wrap a long extension ponytail around, secure with pins, and smooth edges. It’s fast, fuss-free, and instantly elevated.
Lace Front Braids
A lace front braid gives me the sleek, natural hairline I want without the fuss of daily styling, so I reach for it when I want a polished look that still feels effortless.
I love how it frames my face. Quick tips I use:
- Prep scalp for comfort
- Blend edges seamlessly
- Choose lightweight extensions
- Secure but not tight
- Refresh with edge control
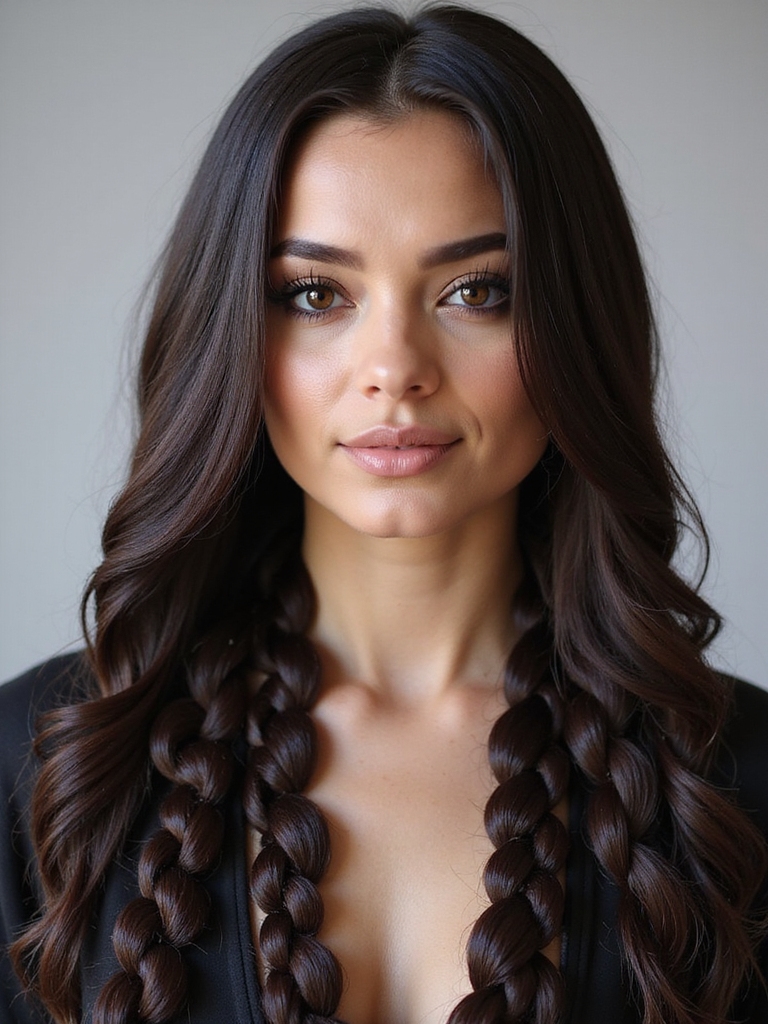
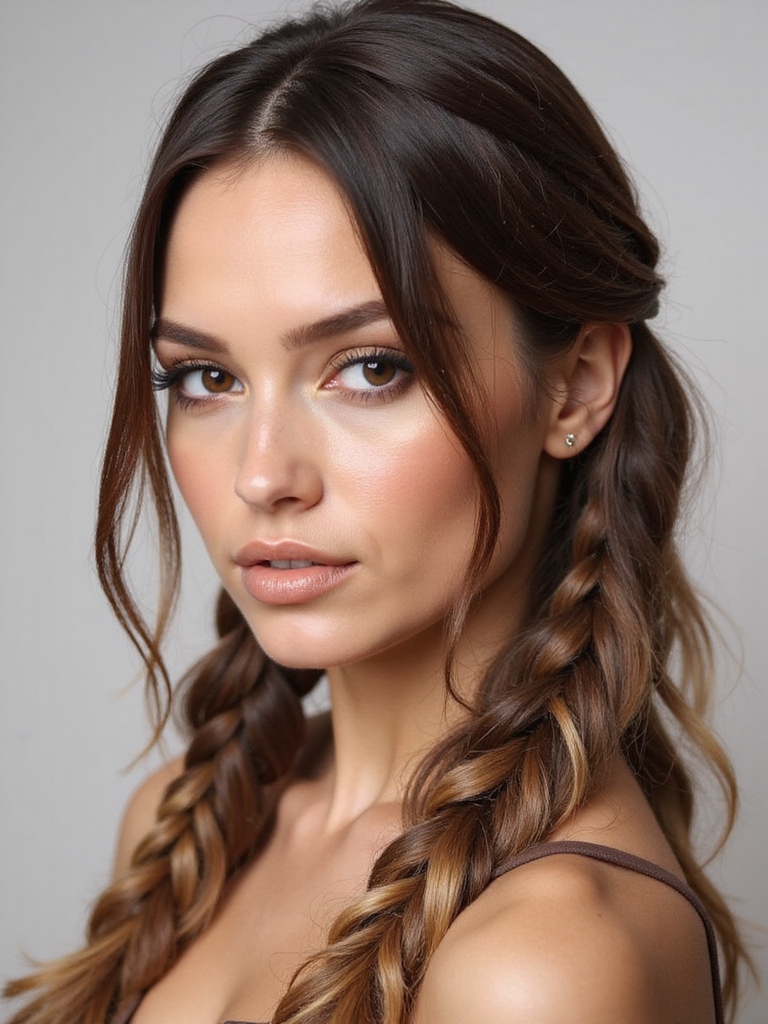
Messy Side Braid
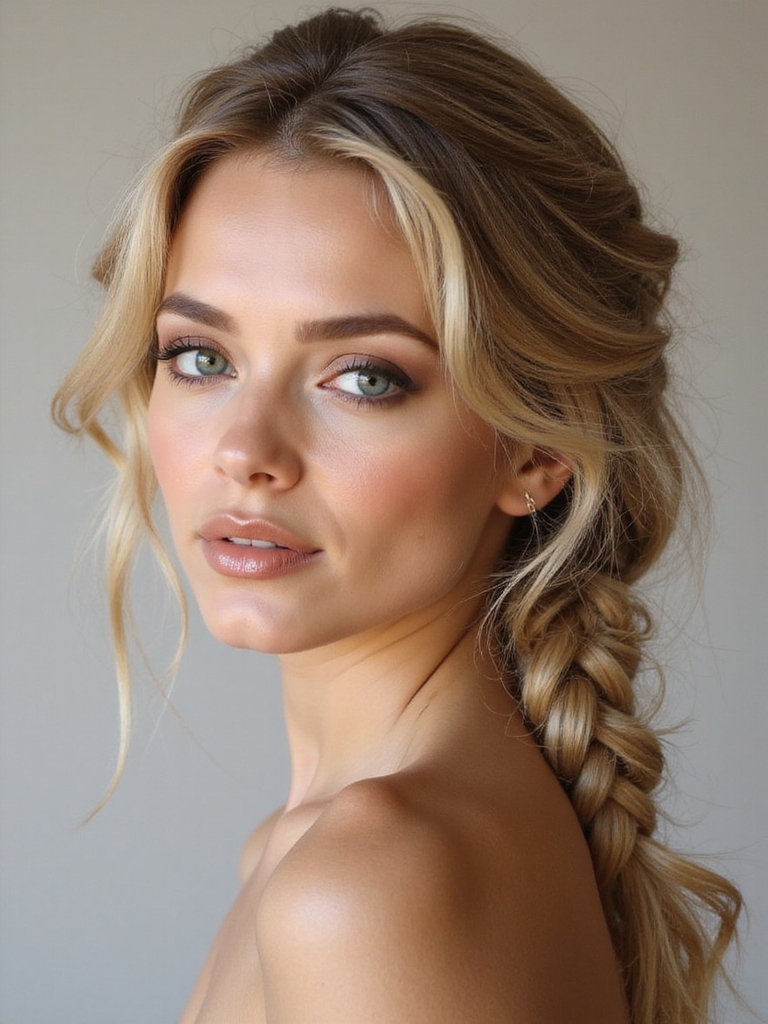
I love how a messy side braid looks effortlessly chic with loose face-framing strands that soften your features.
I’ll show you how to add texture and a few gentle pulls for that undone finish without making it look unkempt. Stick with me and you’ll be able to create a casual, touchable braid in minutes.
Loose Face-Framing Strands
Usually I leave a few loose strands when I pull my hair into a messy side braid because they soften the look and frame the face in the best way. I’ll tweak them for vibe and comfort:
- Pull out two around temples
- Curl lightly for bounce
- Tuck behind ear when windy
- Use a tiny pin if needed
- Add light hairspray for hold
Textured, Undone Finish
Often I rough up the braid as I work so it looks lived-in and effortless—think pulled-apart sections, little flyaways, and uneven texture rather than a neat, polished plait.
I braid loosely to one side, tugging pieces for shape, spritzing texturizer, and securing with a soft elastic.
It’s forgiving, fast, and flattering—perfect for days when chic meets casual chaos.
Crown Braid With Accessories
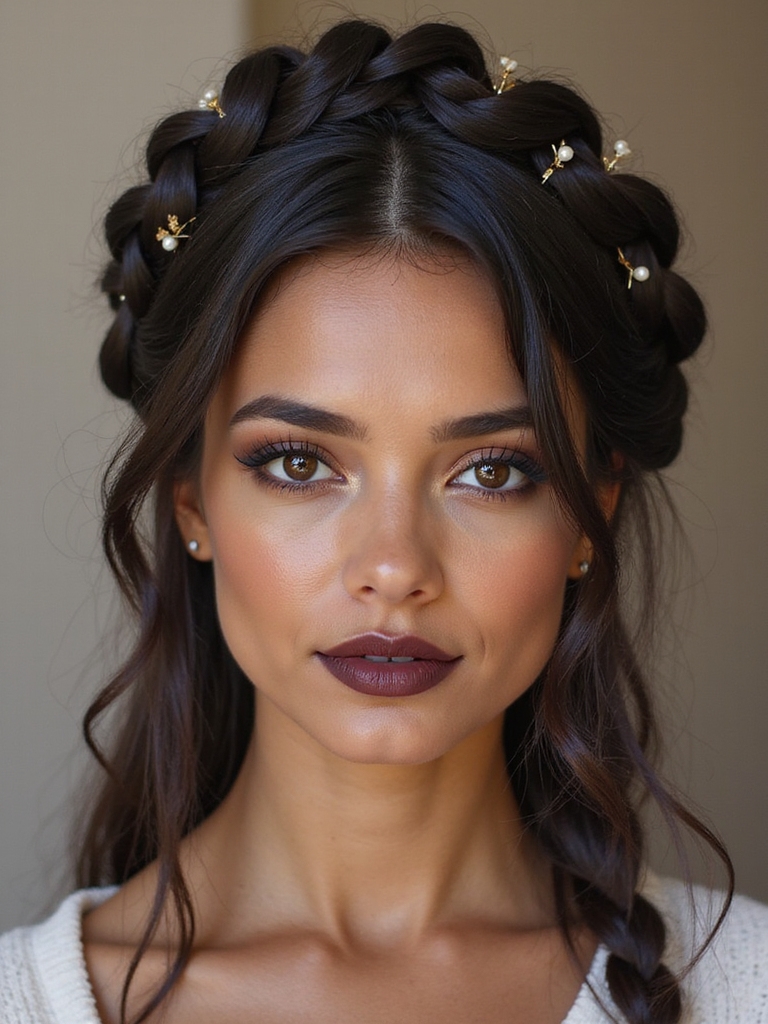
Because a crown braid already feels like a little halo, I love dressing it up with accessories that make it pop without stealing the show.
I’ll keep it simple, fun, and wearable—tiny additions that elevate rather than overwhelm.
- Delicate pearl pins
- Gold leaf clips
- Velvet ribbon weaves
- Sparkle bobby pins
- Mini silk flowers
They finish the look instantly.
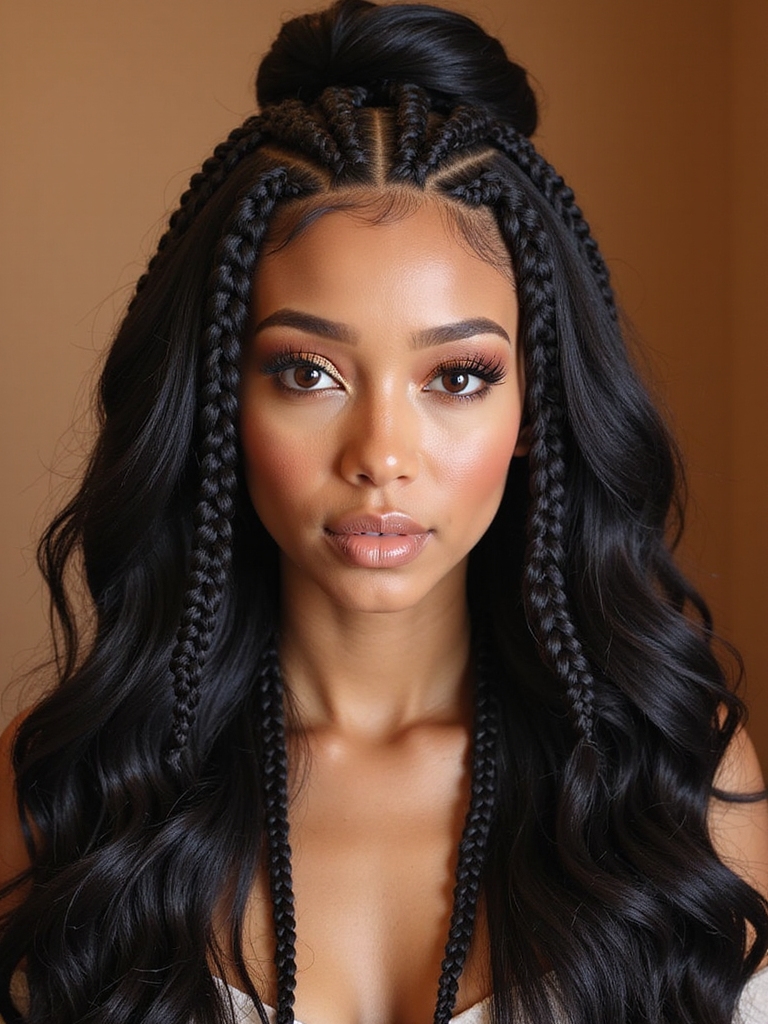
Micro Braids
Tucking tiny plaits close to the scalp, I find micro braids are the secret power move for texture and versatility—think endless styling options from high buns to beachy waves without heavy heat.
I love how they last, protect my strands, and let me experiment with color or accessories.
Maintenance is simple: moisturize, sleep with a silk scarf, and refresh edges when needed.
Braided Space Buns
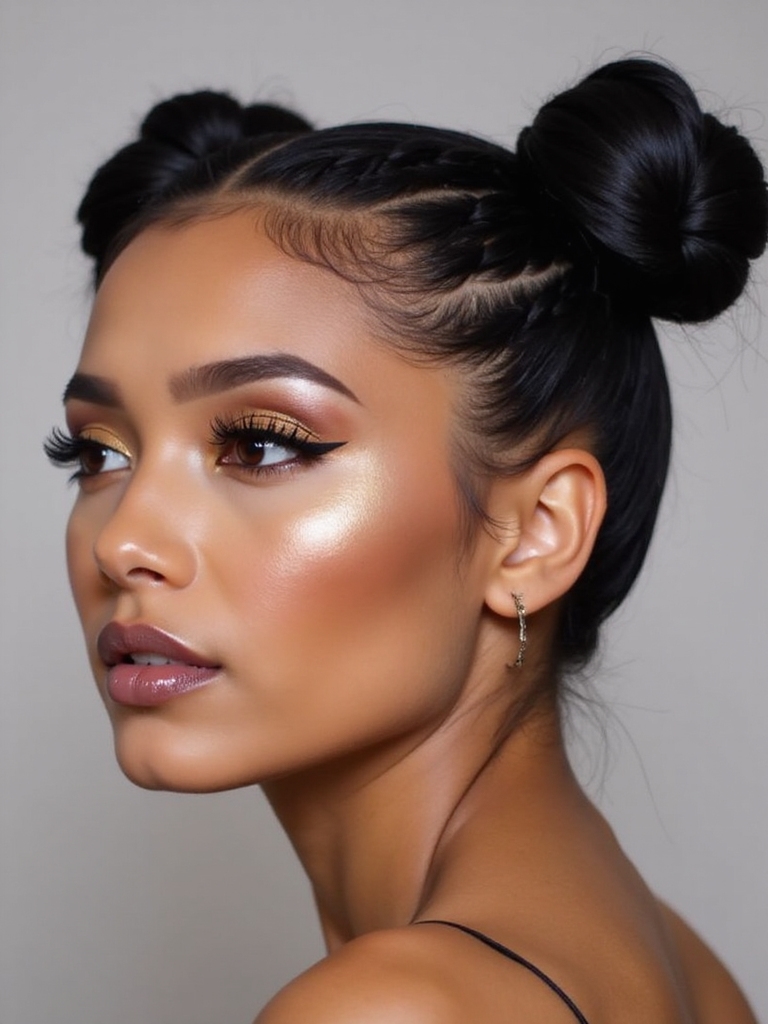
I always reach for braided space buns when I want a look that’s cute, sturdy, and a little futuristic; they give me the fun of double buns plus the neatness and texture of braids.
I tell you how I prep and wear them:
- Section neatly for symmetry
- Choose medium braids for volume
- Secure with strong elastics
- Tuck ends cleanly
- Add edge gel for polish
Knotless Feed-In Braids
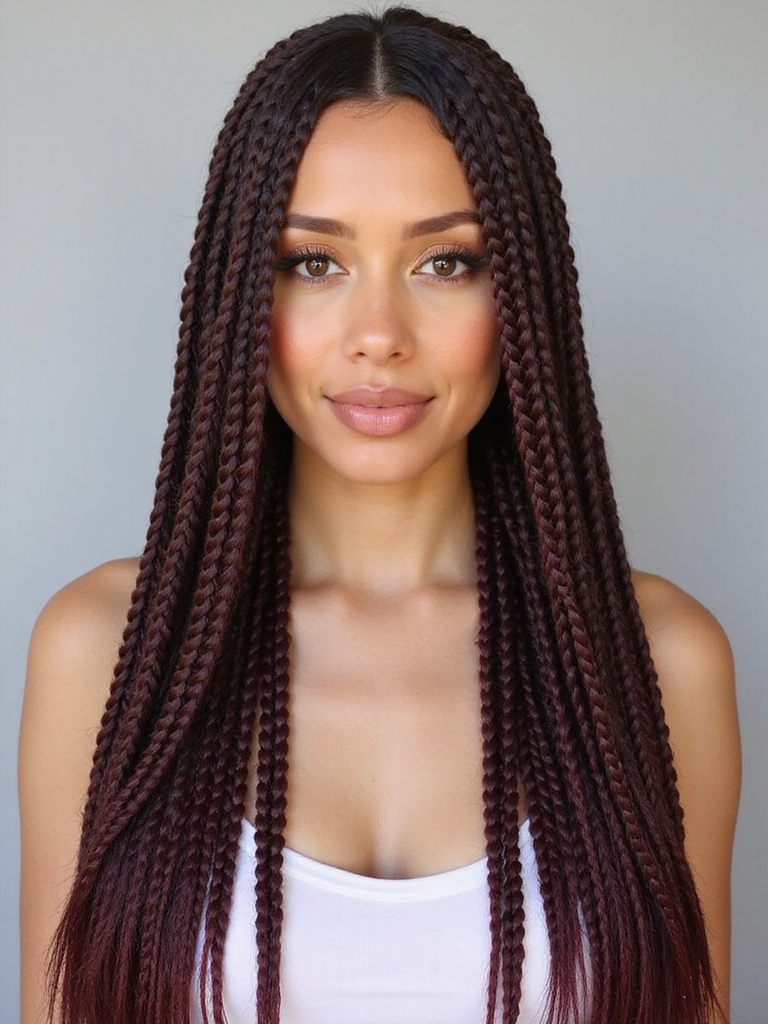
Kently easing into knotless feed-in braids has been my go-to when I want a lightweight, natural-looking style that doesn’t pull at my scalp—so I can actually sleep and workout without wincing.
I love how they start soft at the root, let me customize thickness and length, and blend with my texture.
Quick maintenance, minimal breakage, and chic versatility make them a celeb-approved staple.
So there you have it — my favorite celeb-approved braids that make getting glam feel easy (and kind of fun). If you’re craving sleek cornrows, playful bubble braids, or a pearl-studded crown for date night, these styles are low-maintenance, long-lasting, and totally switchable between sweat session and red carpet.
Grab a satin scarf, some edge control, and a few cute clips — you’ll be rocking runway-level hair in no time.


