

I love swapping up my look with fresh braid ideas that feel modern but still easy to wear, and I think you’ll find something fun here too.
From loose boho plaits with wispy face-framing bits to sleek Dutch cornrows and bubble pony braids that add instant playfulness, these styles mix texture and polish in new ways. Stick around — I’ve got tips to make each braid last and look effortlessly yours.
Boho Loose Three-Strand Braid
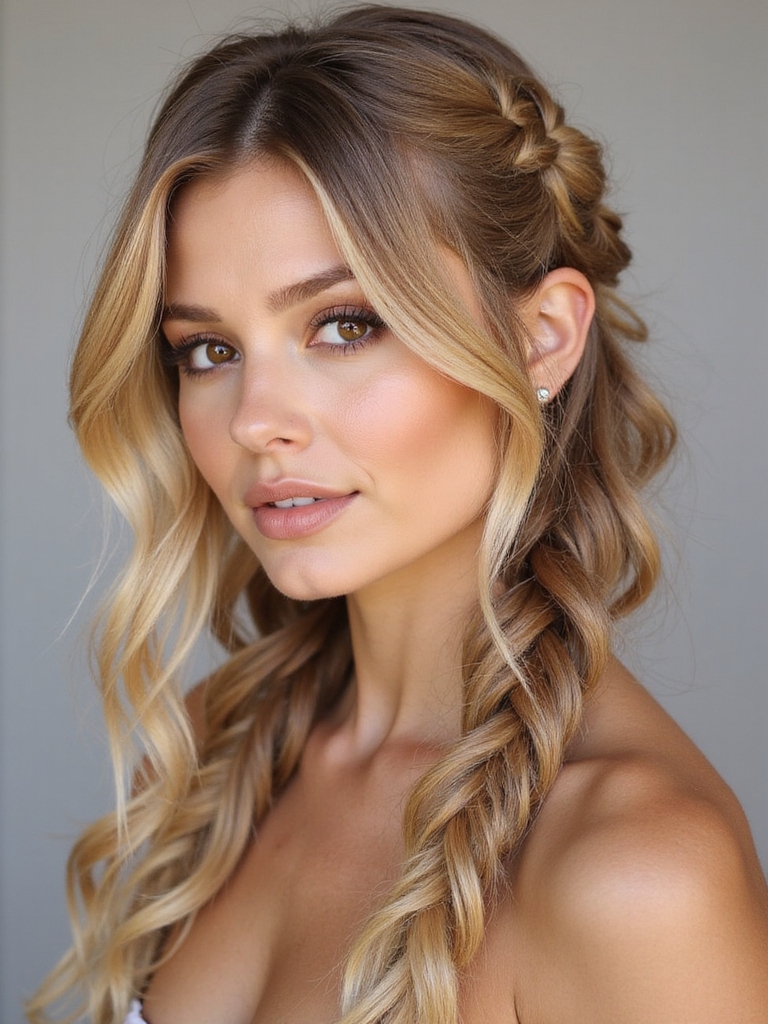
With a few loose pulls and a relaxed attitude, I’ll show you how the Boho Loose Three-Strand Braid gives every outfit an effortless, free-spirited vibe.
I’ll walk you through loosening strands, tugging gently for volume, and letting face-framing wisps fall.
It’s quick, forgiving, and perfect for festivals or errands when you want polished but relaxed hair.
Try adding tiny flowers.
The Boho Loose Three-Strand Braid pairs beautifully with other boho updo styles for a cohesive casual-chic look.
Sleek Dutch Cornrows
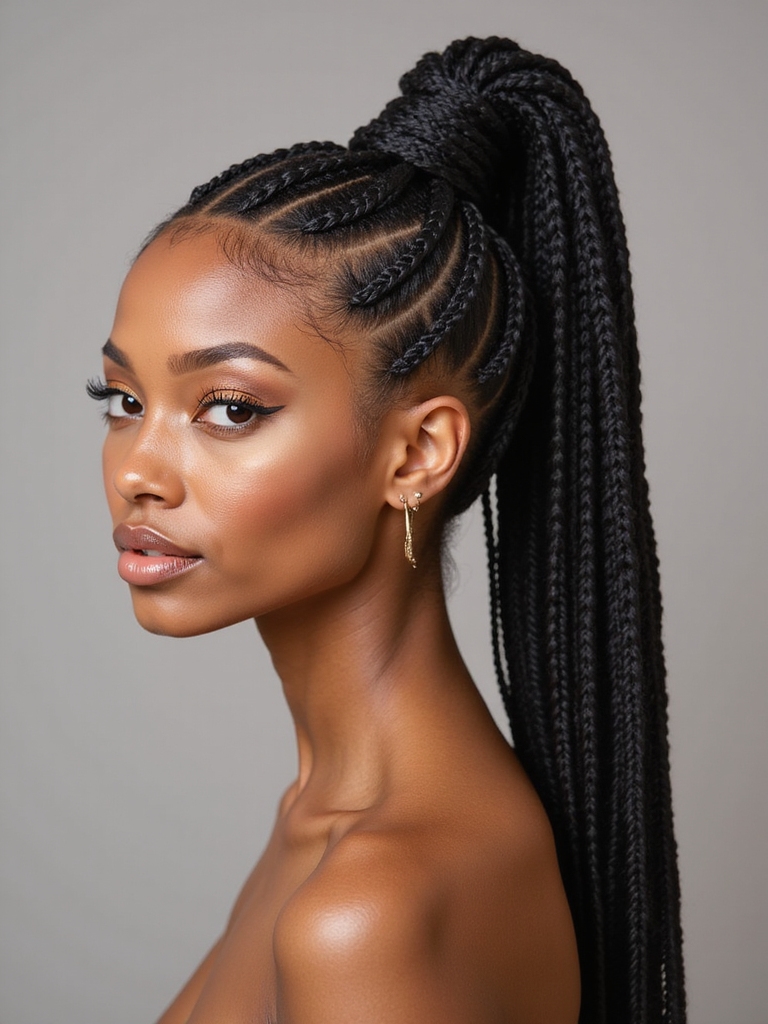
If you want hair that looks sharp and stays put, I’ll show you how Sleek Dutch Cornrows deliver polished, long-lasting style with a modern edge.
I love how they sculpt the face, resist frizz, and switch from casual to chic in minutes.
Try them for low-maintenance flair and bold texture.
- Clean parting for crisp lines
- Firm but gentle tension
- Versatile updo or down options
Braided cornrow hairstyles are adaptable for every occasion, from work to weekend events.
Bubble Ponytail Braid
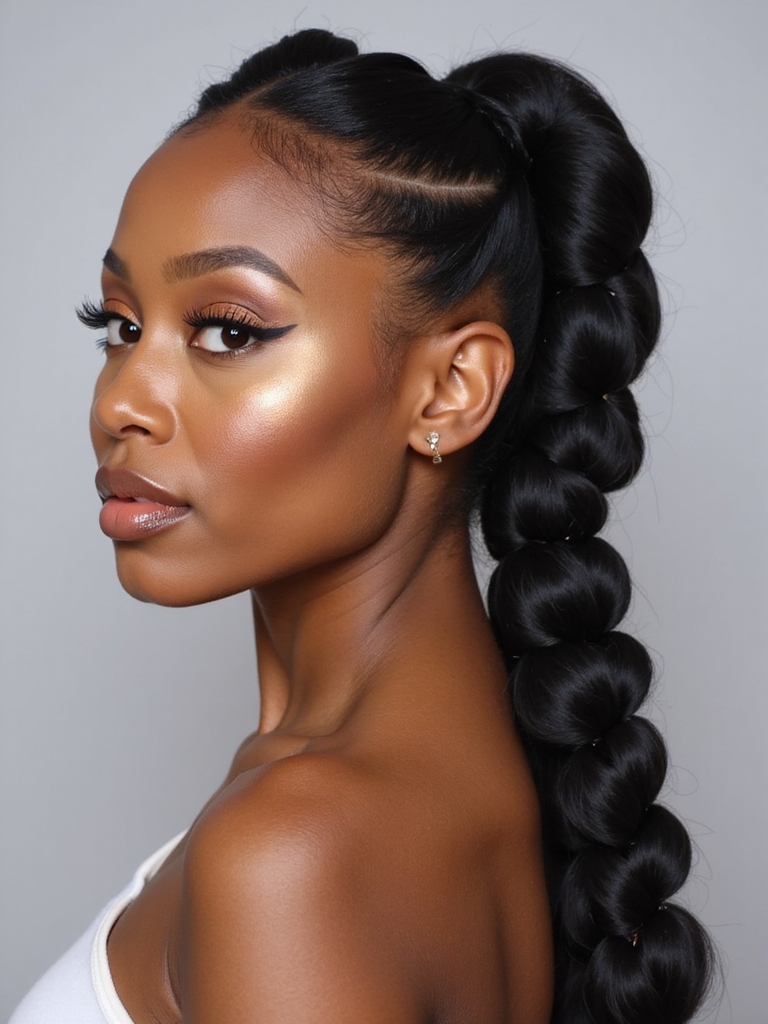
Ready for a fun twist on the classic ponytail? I’ll show you how to create a bubble ponytail braid step-by-step and then toss in a few styling variations for different vibes.
You can keep it sleek for work, messy for weekend plans, or add ribbons and accessories for a party-ready finish.
A bubble ponytail can be dressed up or down and works well on braided ponytail hairstyles to add texture and interest.
How to Create
Let’s jump into making a bubble ponytail braid — I’ll walk you through each quick step so you get that bouncy, eye-catching look without fuss. Gather hair into a high pony, secure with clear ties, then add ties every few inches and gently puff each segment.
Finish by smoothing flyaways and setting with light mist.
- Prep and detangle
- Section and tie
- Puff and smooth
You can also try other quick braided hairstyles like simple three-strand or fishtail braids for a variety of looks and occasions, including easy quick braided hairstyles that work well for day-to-night styles.
Styling Variations
With a few simple swaps, I can turn the classic bubble ponytail into looks that feel funky, polished, or totally glam — whatever the day calls for.
I braid small sections into the bubbles for texture, add ribbon or metallic cuffs for sparkle, or smooth strands for sleekness.
I also loosen segments for volume or tie multiple bubbles for a playful, sculptural statement.
For added flair, try combining braided bubbles with Two Braided Ponytails to create a layered, dimensional effect.
Braided Crown Halo

I love how a braided crown halo instantly turns ordinary hair into something whimsical and polished.
I braid along my hairline, pin the ends discreetly, and shake out a few soft pieces for movement.
It feels regal but easy, perfect for days I want fuss-free glamour.
- Quick to create once you practice
- Dresses up any outfit
- Stays neat all day
Mini Braids With Face-Framing Pieces
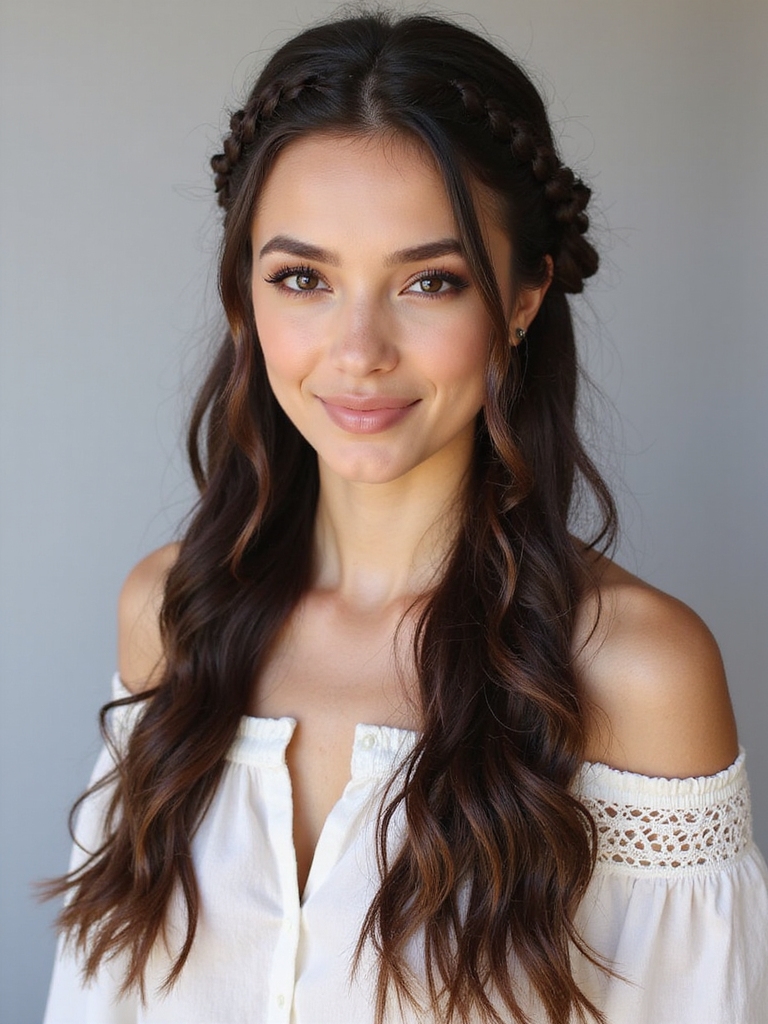
I often tuck tiny braids behind my ears and pull out a few face-framing pieces to soften the look—it’s a quick way to add texture and personality without overdoing it.
I love how those wisps highlight cheekbones and make up-free days feel styled. They’re low-maintenance, playful, and perfect for casual outings or jazzing up a ponytail with minimal effort and maximum charm.
Fishtail Side Braid
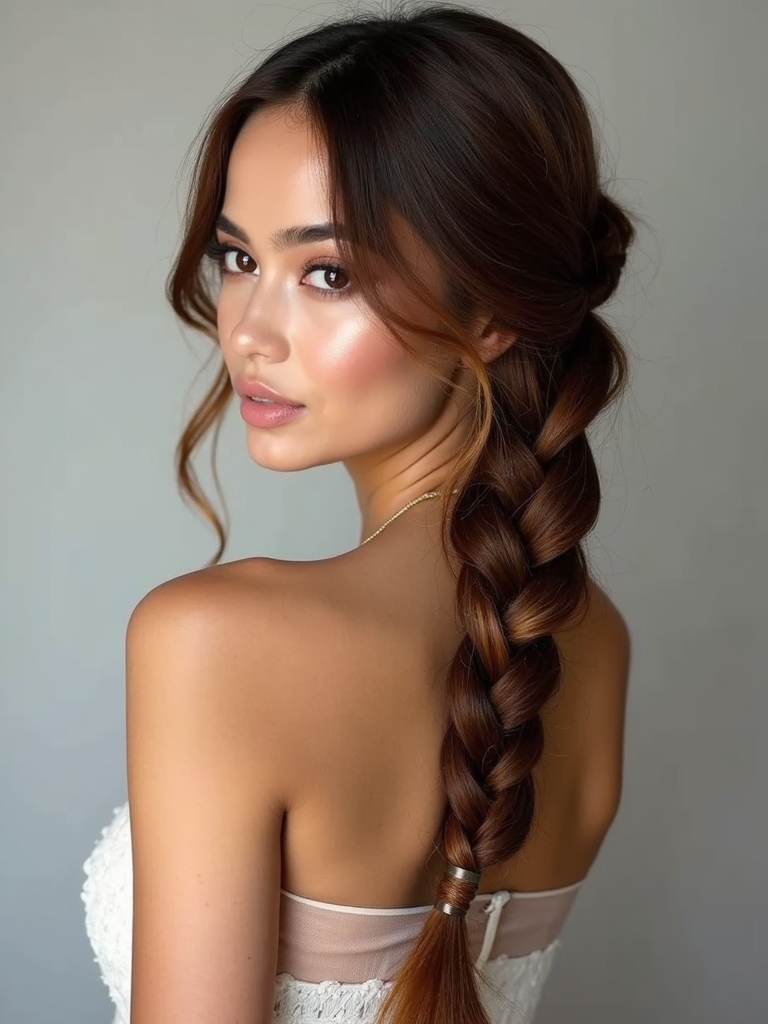
I love how a fishtail side braid can look effortless with the right texture, so I’ll show you how to prep hair for grip and movement.
Then we’ll play with finishing touches—loose tendrils, a little texturizing spray, or tiny accessories—to make it yours. Stick with me and you’ll have a polished, playful braid in no time.
Preparing Hair Texture
Usually I start by prepping the hair so the fishtail side braid holds texture without looking stiff, and I’ll walk you through the quick steps I use.
I love a touch of grit and movement before braiding — nothing crunchy, just grip and softness for a lived-in vibe.
- Spray sea salt mist for grip
- Loosely blow-dry with fingers
- Add light cream to tame frizz
Finishing Touch Options
Once you’ve wrapped the fishtail and tugged it into that perfect, lived-in shape, it’s time to play with the finishing touches that make the braid feel finished—not fussy.
I like to loosen strands, mist with flexible-hold spray, and wrap a ribbon or thin scarf at the base.
Add a few face-framing tendrils and a light shine serum for polished, effortless flair.
Ladder Braids for Volume

Because ladder braids lift and weave hair in a way that creates instant fullness, I love using them when I want volume without teasing or extensions.
They frame my face, add texture, and stay light all day. Try them for busy mornings or special nights — they feel fancy but are easy.
- Quick to build height
- Works on thin hair
- Cute with loose ends
Rope-Twist Half-Up
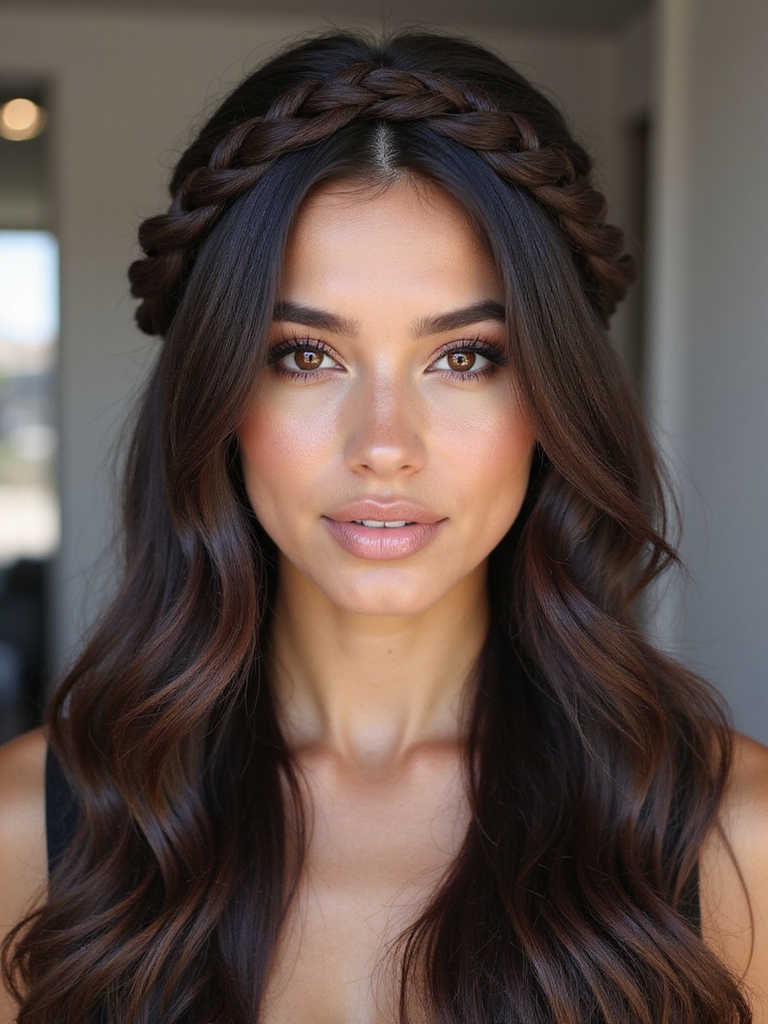
I’m excited to show you a quick rope-twist half-up that starts with smart prep and clean sectioning so the twists sit neat all day.
I’ll walk you through the twisting technique step-by-step—how to cross and tension the strands for a tight, elegant rope.
Then we’ll finish with styling tricks and hold tips, like where to pin and which products to use so your look lasts.
Prep and Sectioning
Before we plunge into the rope-twist half-up, I’ll walk you through the simple prep and sectioning that makes the whole look effortless. I’ll keep it quick: detangle, define parts, and secure. Ready?
- Detangle with a wide-tooth comb for smooth twists.
- Create a clean center or side part, whichever flatters you.
- Clip top section away to work on neat, even pieces.
Twisting Technique Steps
Now that your sections are clipped and smooth, let’s start the rope-twist half-up.
I grab a small front section, split it in two, then twist each piece away from my face. I wrap the two twists around each other, keeping tension, and secure at the back with a pin or elastic.
Repeat on the other side, then join both twists for a neat, playful finish.
Styling and Hold Tips
Because I want your twist to last and look effortless, I’ll share a few go-to tricks for styling and hold. I love quick hacks that keep the rope-twist half-up neat, bouncy, and comfy all day.
Try these simple moves to secure shape, add texture, and refresh without redoing the whole style:
- Use a light mousse and gentle pomade at roots.
- Pin with hidden bobby pins in an X.
- Finish with flexible-hold spray, scrunching for movement.
Invisible Feed-In Braids

Exploring invisible feed-in braids is one of my favorite ways to get a sleek, natural look without stressing your scalp or showing bulky extensions.
I love how they blend added hair gradually, giving soft roots and long-lasting neatness.
They’re lightweight, low-tension, and adaptable—perfect for casual days or polished events.
Try a subtle part and tiny braids for a modern, effortless finish.
Milkmaid Braids With Texture

I love how milkmaid braids get a modern twist when you prep for textured hold, so I’ll show you the products and steps that keep everything grippy without crunch.
I’ll walk you through neat braiding technique tips that make the crown sit just right and resist slipping.
Finally, we’ll finish with quick styling and finishing touches — think soft pull-aparts, secure pins, and a spritz that lasts all day.
Prep for Textured Hold
Let’s get your hair ready to hold that milkmaid braid all day — I start by texturizing the roots and lengths so the style has grip without feeling crunchy.
I use lightweight spray, dry shampoo, and a sea salt mist to build texture without stiffness.
- Spray roots for instant grip
- Dry shampoo to absorb oils
- Sea salt mist for effortless texture
Braiding Technique Tips
Once you’ve got that textured base, I’ll show you how to braid milkmaid braids that stay neat but still feel lived-in — the trick is tension and thoughtful pancakeing.
I keep sections even, braid firmly at the roots, then loosen only mid-lengths for softness.
Pin symmetrically, tuck ends neatly, and test movement so your braids hold up but read effortless and playful all day.
Styling and Finishing Touches
Start by evaluating the braid’s silhouette and I’ll tweak to perfection—pull a few face-framing wisps for softness, smooth flyaways with a dab of lightweight serum, and add a spritz of flexible-hold spray so texture stays but movement remains.
I’ll pancake the plaits gently, tug ends for volume, and finish with playful pins.
- Loosen for lived-in charm
- Add matte powder for grip
- Accent with tiny flowers
Braided Low Bun With Tendrils

Twisting a few braids into a low bun with loose tendrils is my go-to when I want a look that feels polished but still a little flirty.
I braid small sections, wrap them into a soft low knot, and tug tendrils free for face-framing movement.
It’s quick, holds all day with pins and light spray, and always reads effortlessly chic for work or date night.
Zigzag Part Boxer Braids
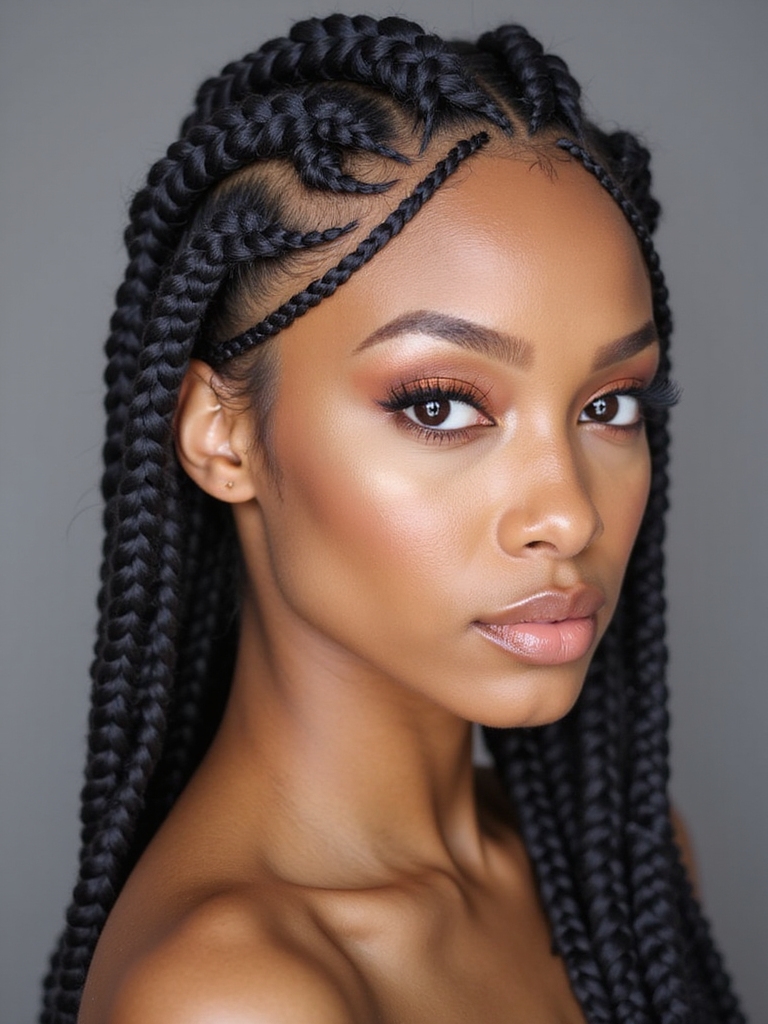
I love how a zigzag part gives boxer braids instant personality — it’s a tiny detail that makes the whole style pop.
I use it to add edge and symmetry, and it’s surprisingly easy to do at home.
Try these playful tweaks to make the look yours:
- Add small ribbon or thread for color
- Keep edges sleek for contrast
- Loosen braids for softness
Knotted Braided Updo

If you liked the sharp vibe a zigzag part gives your boxer braids, you’ll adore how a knotted braided updo adds instant whimsy and polish.
I twist sections into intricate knots, pinning as I go for secure, bouncy texture. It’s elegant but relaxed, perfect for brunch or a night out. Try adding tiny flowers or metallic pins to elevate the look.
Waterfall Braid Accent
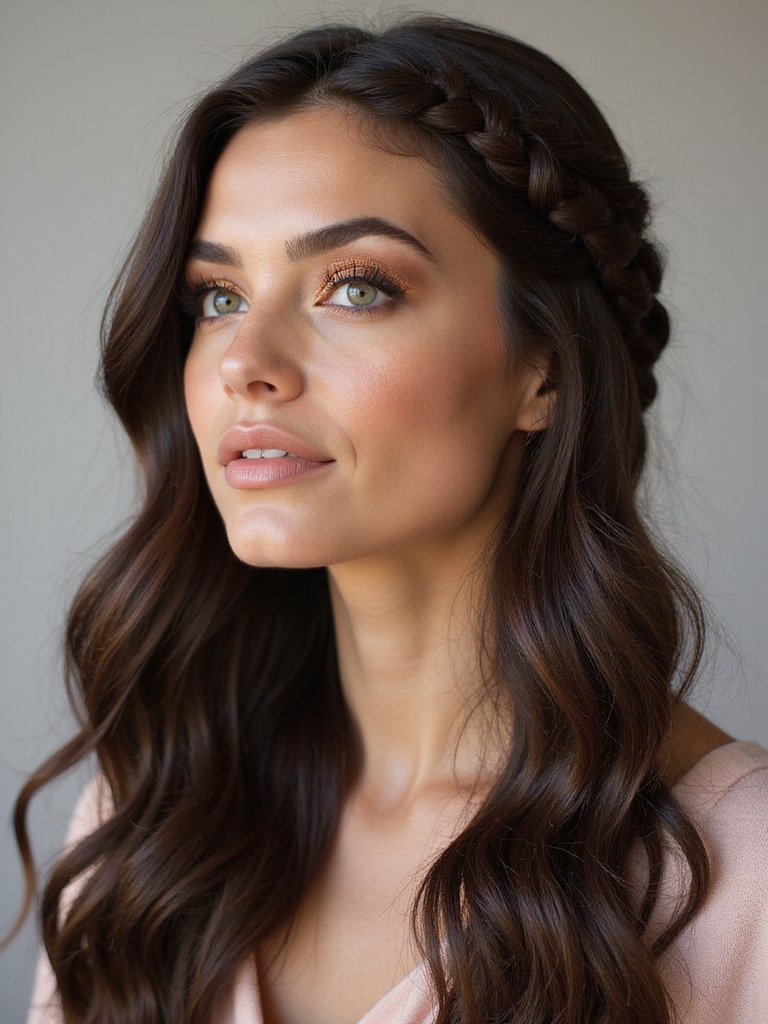
Sink a few strands through a waterfall braid and watch your hair transform into something flirty and effortless.
I love how it frames my face, drops soft ribbons, and stays chic with minimal fuss.
Try it for everyday or date night — it’s playful and polished.
- Easy to learn
- Works on any length
- Holds with a light mist
Statement Oversized Plait
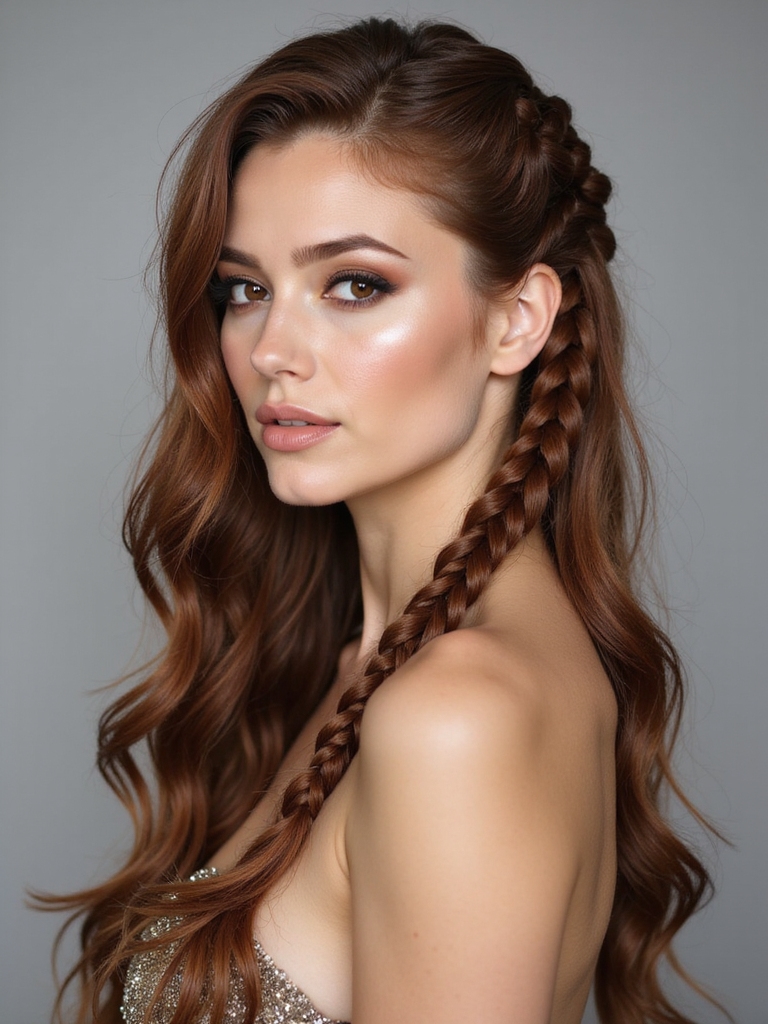
Make a bold entrance with a statement oversized plait — I love the drama it gives without feeling overdone.
I grab thick sections, braid loosely to keep volume, and tug gently for that chic, lived-in look.
It’s perfect for quick glam, hides second-day hair, and pairs with sneakers or stilettos.
Try adding a ribbon or metallic cuff for instant personality.
Okay, you’ve got options — from boho three-strand plaits that feel effortless to bold Dutch cornrows and playful bubble ponytails. I love how a braided crown or tiny face-framing pieces can totally change a vibe, and knotted updos or waterfall accents add surprise.
Try an oversized plait when you want drama. Mix in metallic cuffs or a light serum, and you’re ready to walk out confident, textured, and totally refreshed.


