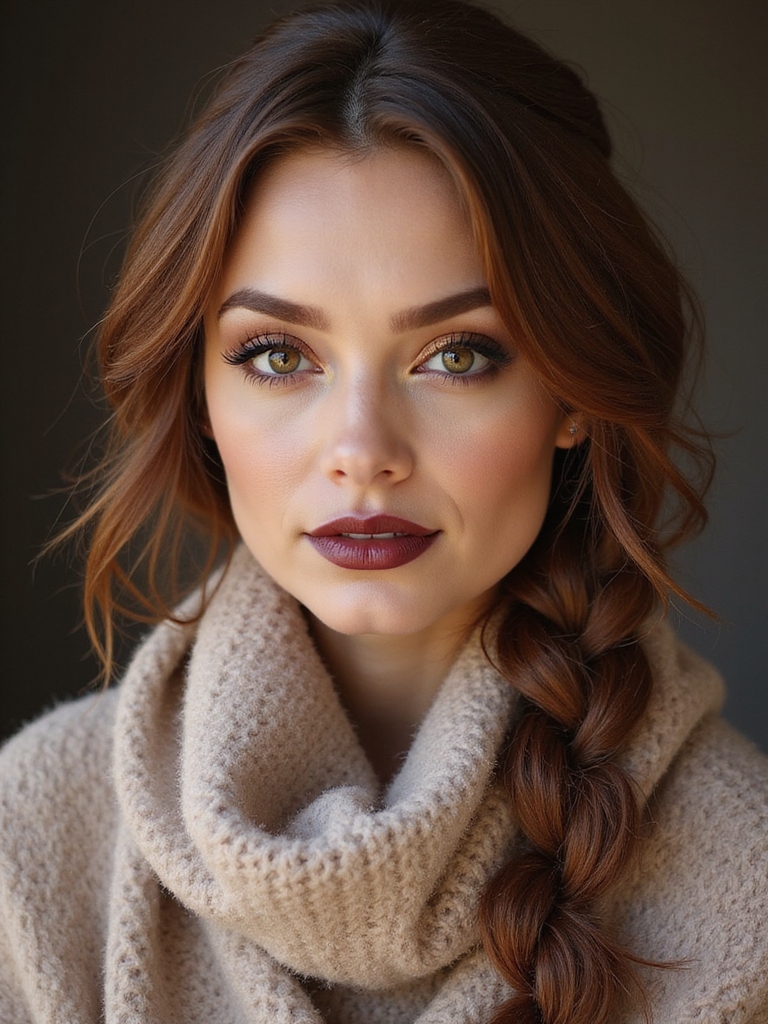
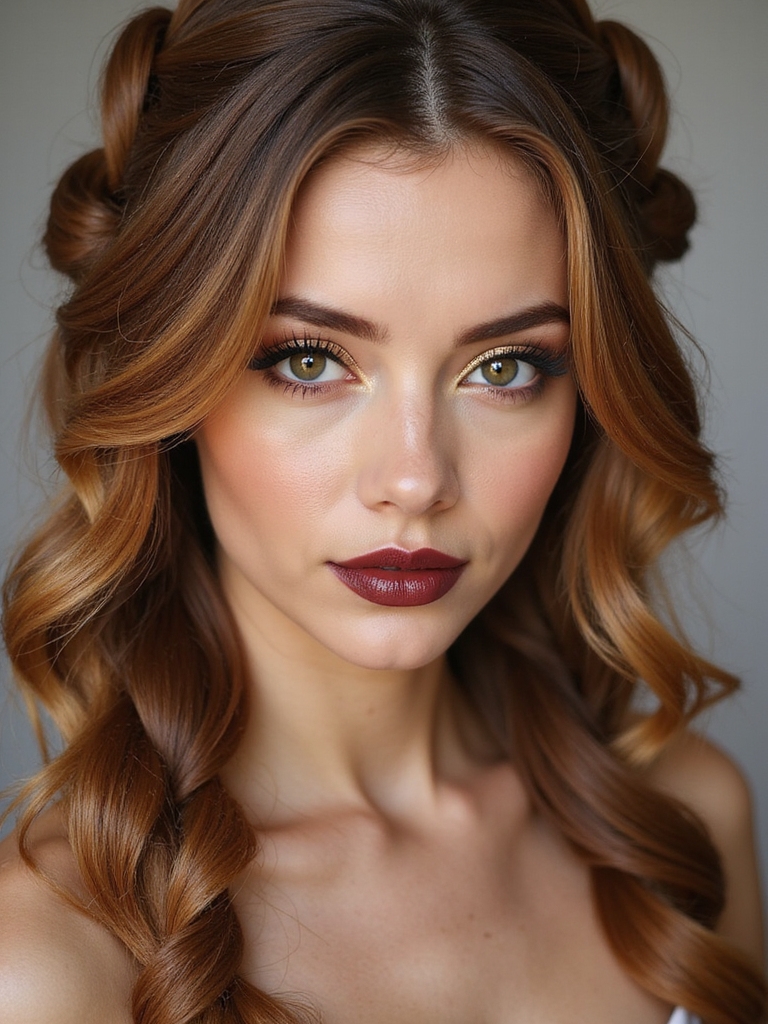
I’m obsessed with dolly braids right now — they give you instant main-character vibes with those chunky, face-framing pieces and soft pancake volume. Think halo crowns, sleek double braids, or a romantic crown that flatters every face when you tweak placement and tendrils.
I’ll show you how to prep, braid like a pro, and add little finishes (ribbons, pearls) that take it from cute to iconic — but first, a quick styling secret…
What Are Dolly Braids and Why They Work
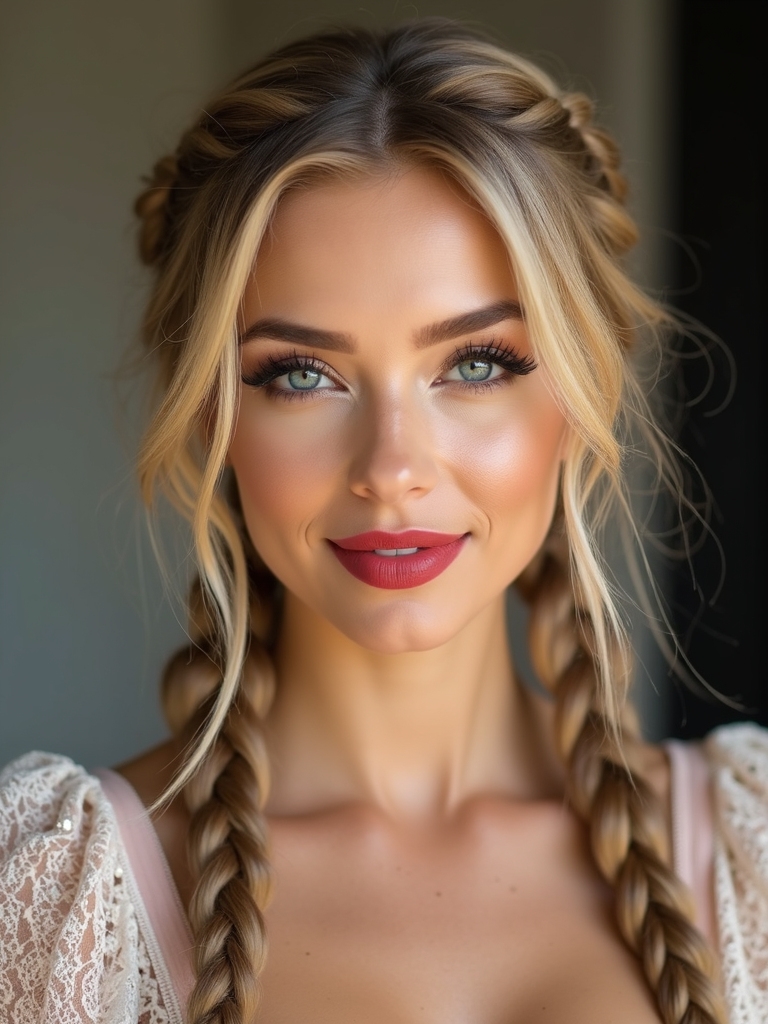
Think of dolly braids as the playful, picture-perfect cousin of classic braids — I love them because they mix chunky, face-framing sections with soft, girly textures that make your whole look pop.
I rave about their bouncy volume, cute baby-hair softening, and effortless vibe. They read youthful but polished, photograph insanely well, and turn a basic outfit into full-on main character energy. They also pair beautifully with Large Knotless braids when you want extra length and reduced scalp tension.
Choosing the Right Dolly Braid for Your Face Shape
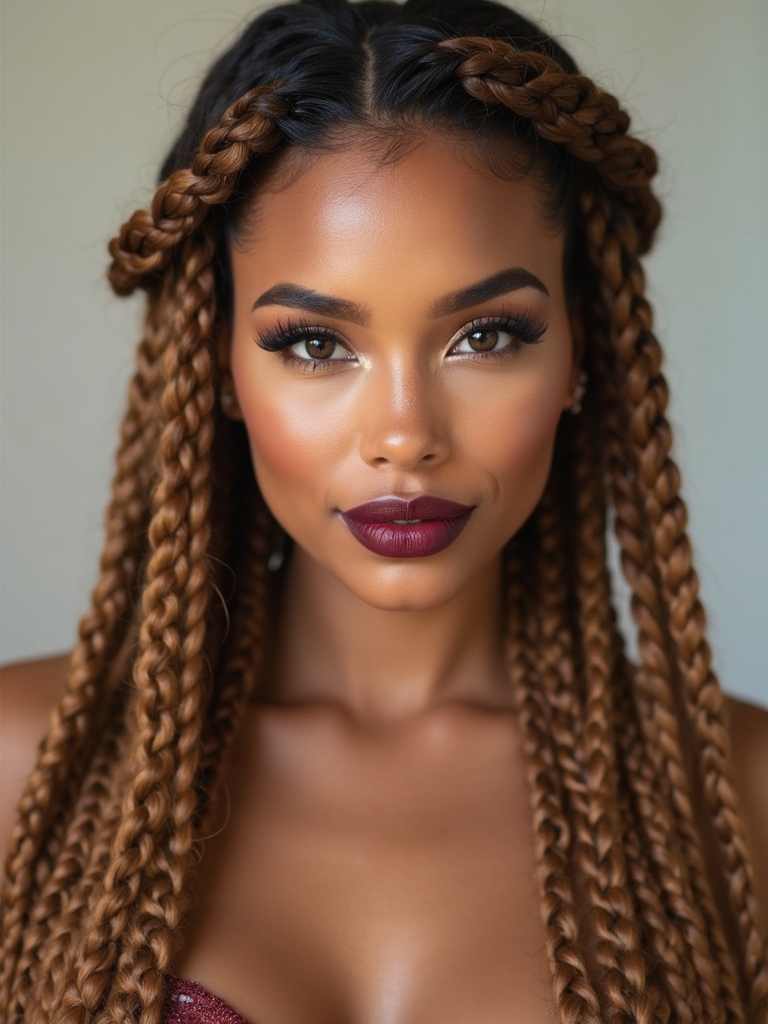
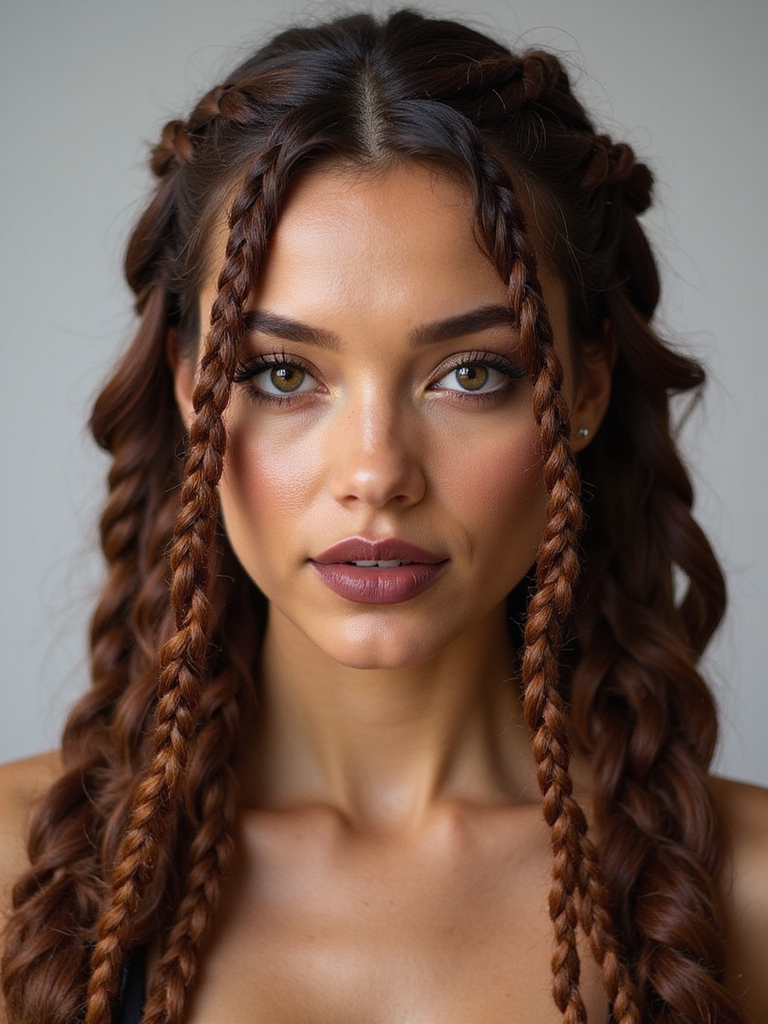
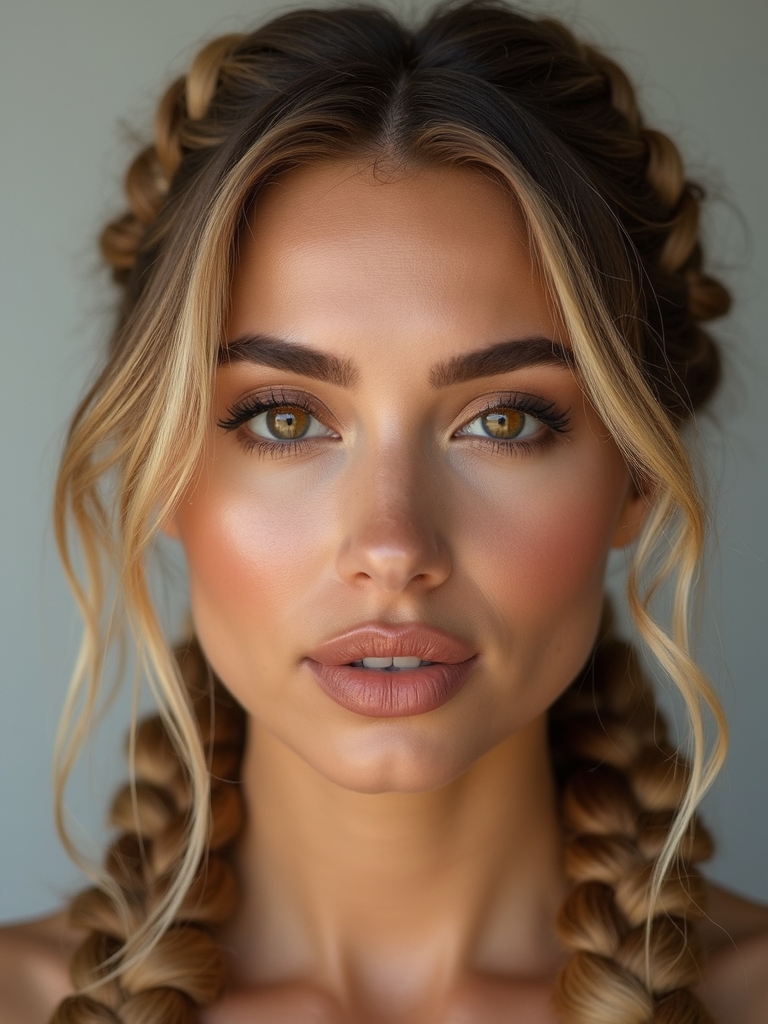
Because your face shape totally changes how a dolly braid sits, I always start by matching braid placement and volume to your features — round faces get longer, face-framing pieces to elongate, heart shapes benefit from softer, chin-length tendrils, and oval faces can basically rock any chunky or delicate braid.
Pick side-swept for square jaws, high crown for long faces, and wispy bangs for balance.
For round faces, consider a medium-length cut with layers that create face-framing volume to help elongate the silhouette.
Hair Prep: Shampoo, Treatments, and Tools You Need
I always start with clean, prepped hair — it makes braids sit neater and last longer — so I shampoo with a lightweight, sulfate-free formula that won’t weigh my strands down.
I deep-condition mid-lengths, spritz a heat protectant, detangle with a wide-tooth comb, and grab clear elastics, bobby pins, a texturizing spray, and a fine-tooth tail comb for crisp parts.
Embrace natural texture by choosing products that enhance your curls and coils for healthier styling, like natural hairstyles that celebrate your hair’s unique pattern.
Step-by-Step: Classic Halo Dolly Braid
Ready to braid? I’ll walk you through a classic halo dolly braid—start by parting hair down the middle, then grab a front section, begin Dutch braiding along the hairline, adding strands as you go, wrap around the crown, secure with pins, tuck ends under, and pancake for softness.
Use light hairspray and cute pins for that main character finish—boom, halo complete.
Braided updos are timeless and versatile, often combining techniques like Dutch braids and wrapping to create an elegant halo effect.
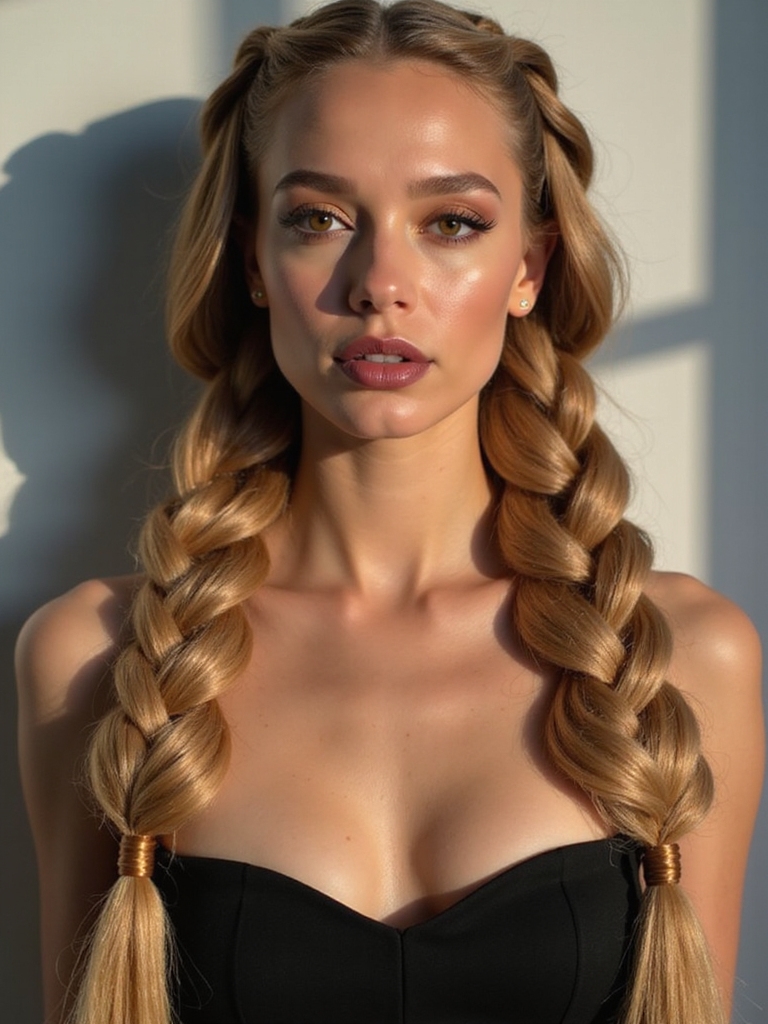
Sleek Double Dolly Braids for Everyday Chic

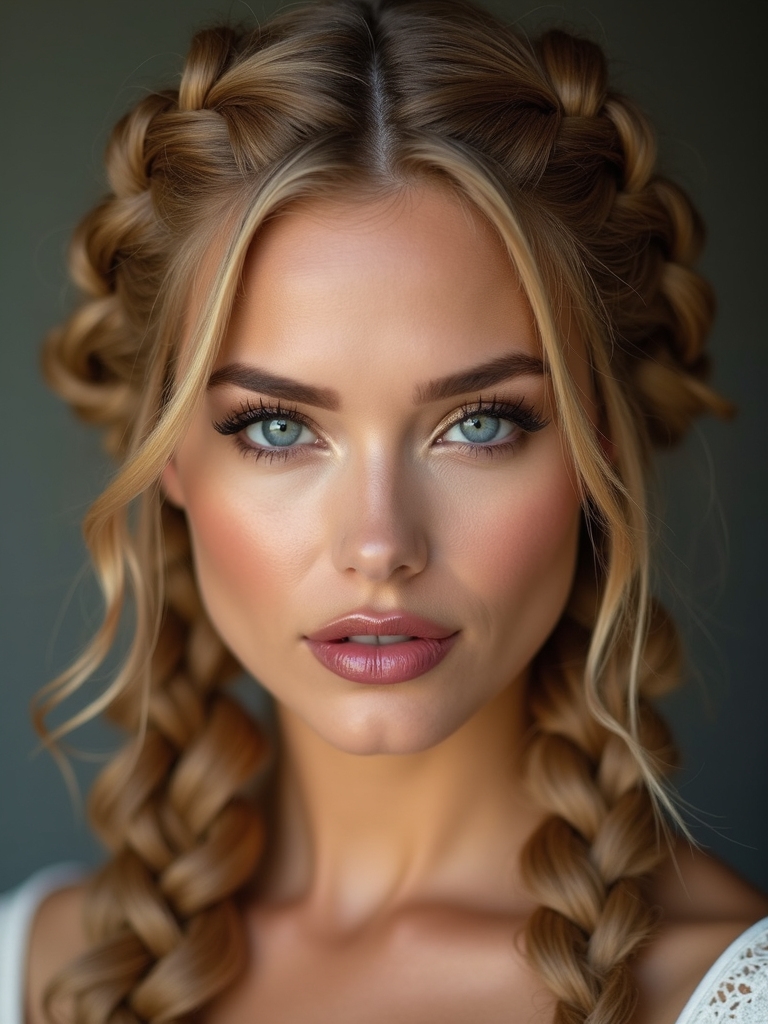
Okay, so for sleek double dolly braids I always start with a razor-sharp middle part — think crisp line down the center that frames your face.
I’ll show you how I smooth each section tight to the scalp so the braids look glossy and uniform.
Final step: seal with a lightweight serum and a quick, cool blast from the blow dryer for that polished, long-lasting finish.
Cornrow braids are traditionally done tight to the scalp for a neat, long-lasting style and to follow the natural hair growth pattern, which helps reduce tension and maintain scalp health.
Sleek Parting Technique
With a tail comb in hand and a mirror angled just right, I make that crisp center part the whole vibe—clean lines, zero flyaways, instant polish.
I trace a perfect line down my scalp, clip one side, slick edges with a tiny dab, then section into two neat halves.
It’s quick, graphic, and instantly main-character — minimal effort, major impact.
I also rely on feed-in braids to blend extensions smoothly for added length and thickness.
Polished Hair Finishing
I smooth each section with a tiny slick of gel, then brush like I’m erasing every stray hair so the braids read polished-not-precious; think glossy, clean lines that survive a subway ride.
I seal ends with a clear elastic, mist a shine spray, and tame flyaways with a toothbrush. Bonus: tuck bits behind ears for that effortlessly curated, main-character vibe. A great option for this look is Knotless Braids when you want reduced scalp tension and more natural-looking roots.
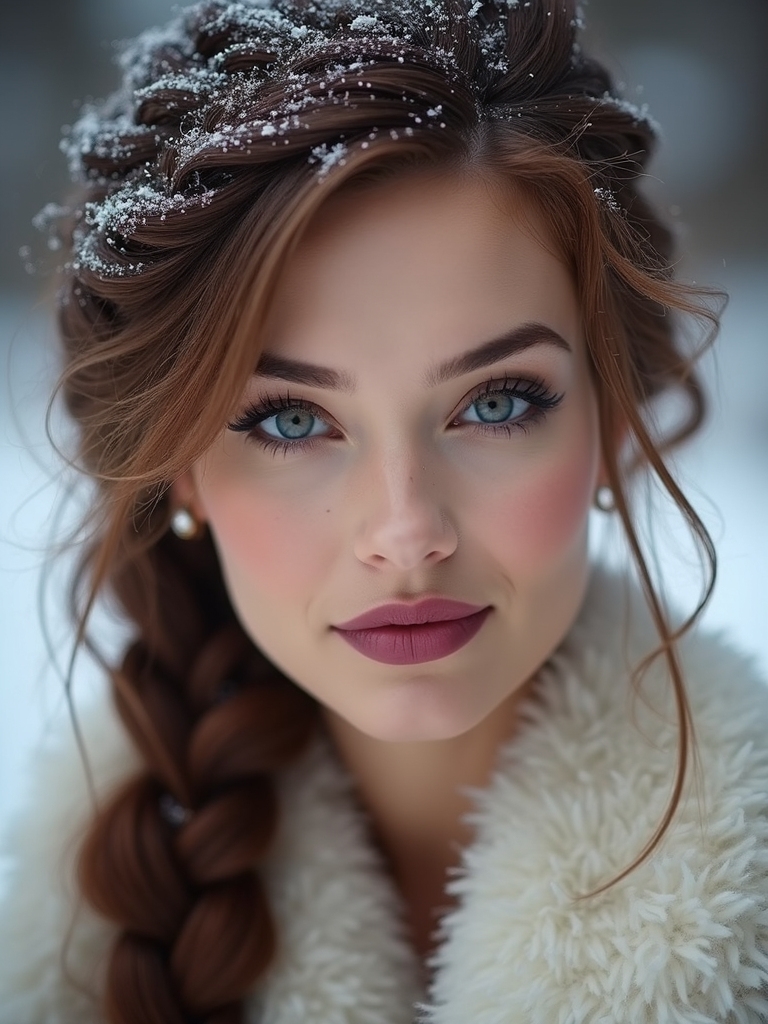
Romantic Crown Braids With Soft Waves
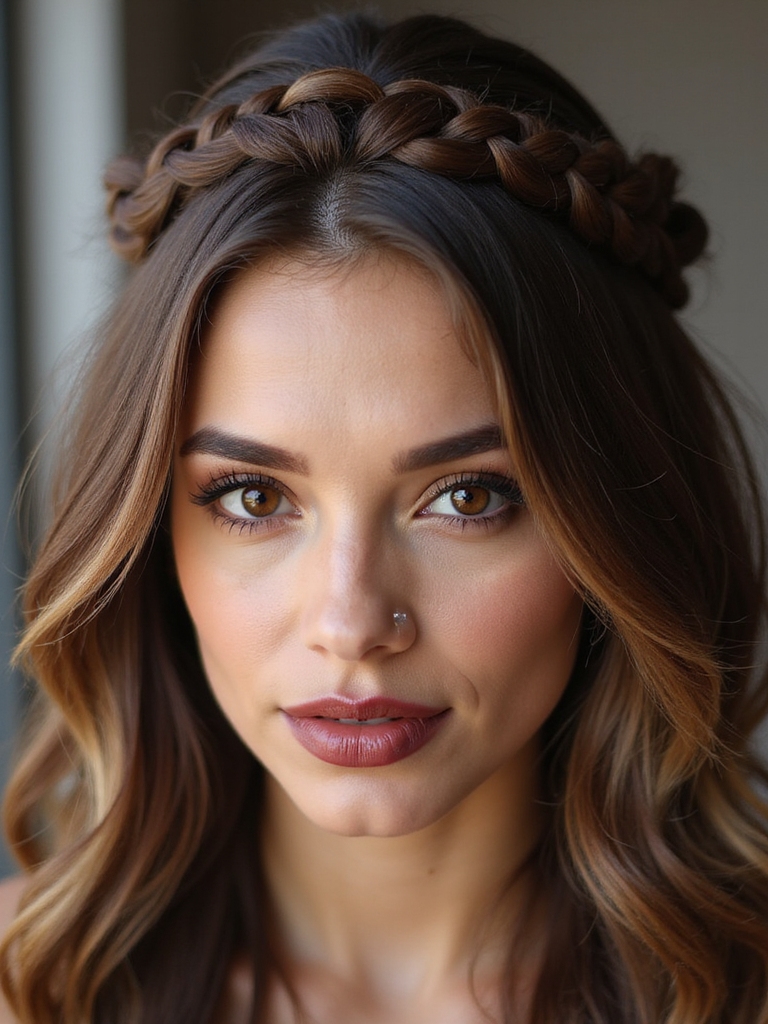
Leaning into that fairytale vibe, I love how crown braids frame your face like a delicate halo while soft waves spill out underneath for that effortless, romantic look.
I’d pair it with dainty pins, wispy baby hairs, and a glossy finish — total soft-girl energy. Try these quick tweaks:
- Tug braid loops for volume
- Curl ends softly
- Add floral pins
- Mist with light hairspray
Braided styles like crown braids are a classic choice for weddings because of their timeless elegance and versatility, making them perfect for creating braided wedding hairstyles that suit many hair types.
Bubble Dolly Braids: Playful Volume Tricks
I always get obsessed with bubble dolly braids because they crank up playful volume without looking try-hard — think evenly spaced poufs down the braid that read like candy-colored beads.
I love popping sections gently, tugging each bubble for roundness, and adding tiny ribbons or glitter clips at intervals. It’s cute, bouncy, and totally photo-ready — major main character vibes, no effort.
And for a variation that keeps the look neat while adding texture, try combining a classic French braid into the top section before creating the bubbles.
Braiding Tips for Fine or Thin Hair
Bubble dolly braids bring the fun, but when your hair’s fine or thin you’ve gotta work smarter to get that same wow without flattening out. I’ll show quick tricks I use to fake volume, protect strands, and keep braids full all day.
- Tease gently at roots for lift.
- Use texturizing spray, not heavy paste.
- Loosen braid loops with fingertips.
- Add tiny clear elastics for grip.
Braided ponytail styles can be adapted for any event by varying braid tightness and accessories, especially when you use protective techniques to prevent breakage.
Techniques for Thick, Textured, or Curly Hair

I love working with thick, textured, or curly hair because a little moisture goes a long way—start with a hydrating cream or leave-in so strands are soft and manageable.
I section generously to build epic volume and keep each part tidy as I braid.
I finish by securing ends with soft elastics so the style holds without tugging or frizz.
Prep With Moisturizing Products
Starting with rich moisture is non-negotiable for thick, textured, or curly hair—trust me, it makes the whole Dolly braids vibe actually work.
I slick in cream, seal with oil, and diffuse gently so strands are soft, defined, and frizz-free.
Quick routine, big payoff:
- Hydrating leave-in
- Creamy curl custard
- Lightweight oil seal
- Microfiber towel/diffuse
Sectioning for Volume
Because volume lives in the parting, I map out big, strategic sections that lift at the roots and keep your texture popping—think stacked triangles at the crown, chunky side panels, and a looser nape so the braid reads full without feeling heavy.
I tease slightly, pick into curls for oomph, and clip pieces to shape silhouette—visual, sculpted, playful, zero flatness.
Secure With Soft Elastics
Usually one or two soft elastics will make the whole look hold without that crunchy, ponytail-y vibe—so I reach for snag-free, fabric-covered bands that glide on curly or thick strands.
I loop gently, tuck ends, and fluff for instant va-va-voom. Try these moves:
- Wrap twice for grip.
- Tuck tail under braid.
- Use mini elastics for sections.
- Conceal with ribbon.
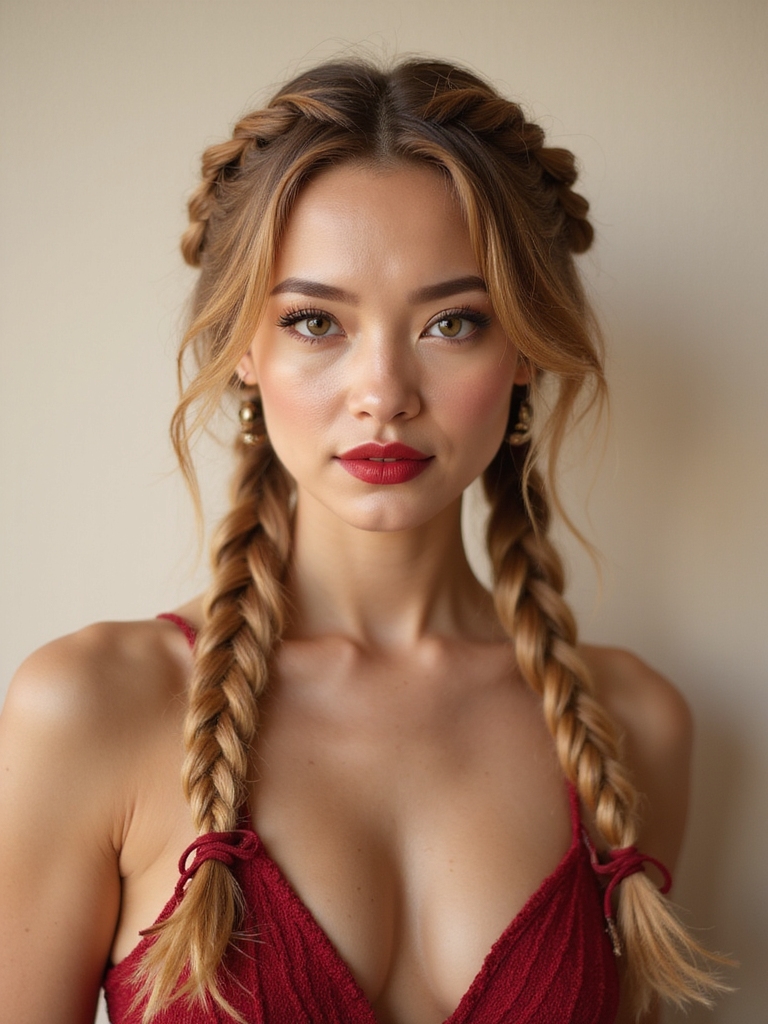
Fast Dolly Braids for Busy Mornings
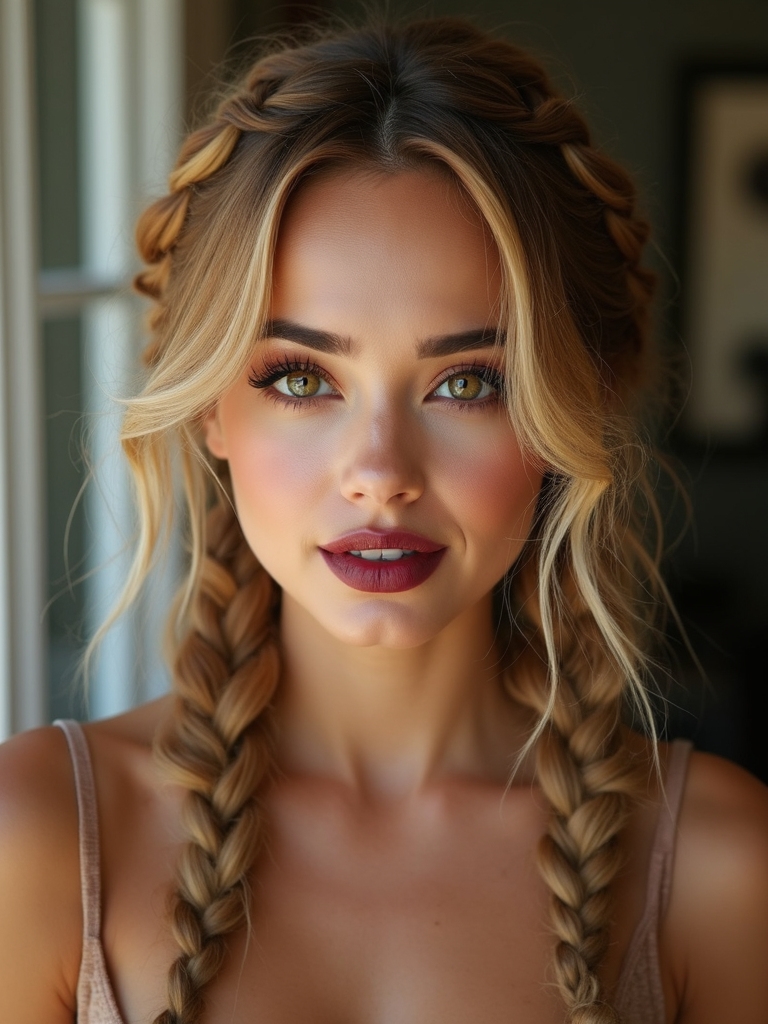
I always reach for Dolly braids when mornings are chaos—they’re fast, cute, and actually doable before my coffee kicks in.
I tease roots, part hair into quick low pigtails, braid loosely, and tug for that soft, lived-in vibe.
Five minutes, zero panic.
Toss on a messy bun or let braids swing—instant main character energy, no fuss, vibes secured.
Adding Accessories: Ribbons, Pearls, and Clips
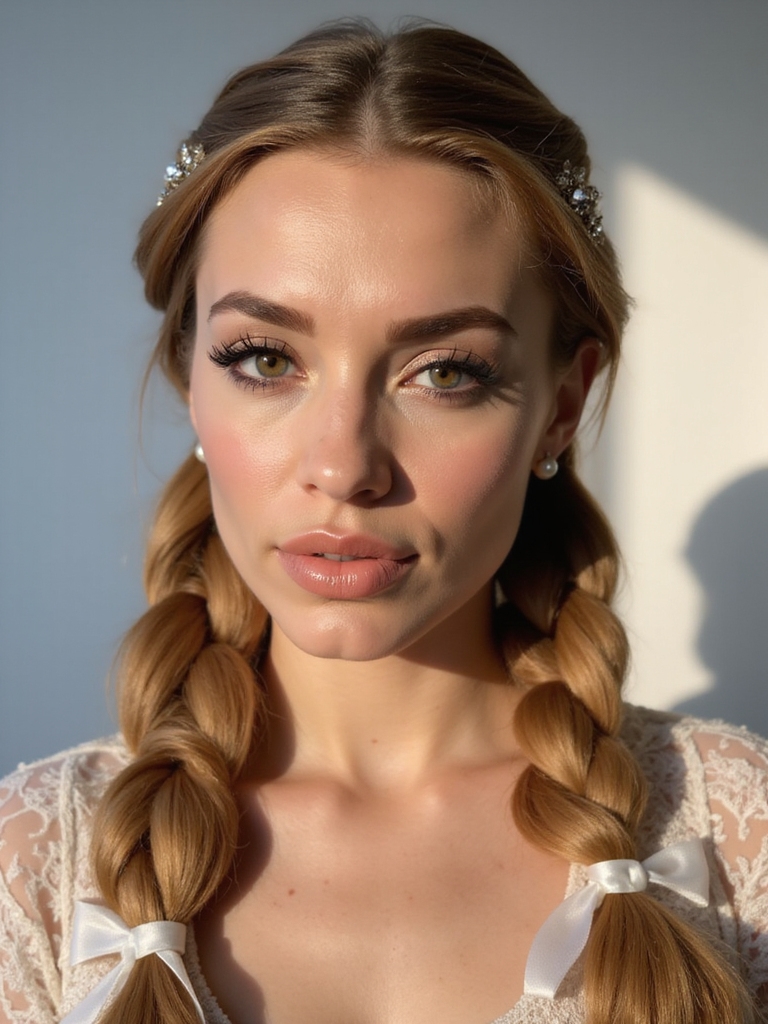
I love jazzing up Dolly braids with ribbons, pearls, and cute clips — they instantly turn a lazy five‑minute look into something iconic.
I’ll show playful combos that pop on camera and IRL:
- Satin ribbons woven through for soft bows.
- Scattered pearl pins for vintage sparkle.
- Tiny colorful clips for fun pops.
- A statement barrette to anchor the vibe.
How to Make Dolly Braids Last All Day (and Night)
Those ribbons and pearls look cute, but if you want that Dolly vibe to survive a full day (and a night out), you’ve gotta lock things down right.
I prep with texture spray, braid snugly, and secure ends with clear elastics. I tuck stray hairs with bobby pins, mist with flexible-hold hairspray, and stash a mini kit for touch-ups — instant main-character, zero fuss.
Styling Variations: Half-Up, Low Pony, and Updo

Alright, let’s play with the vibes: I love how a half-up dolly braid keeps face-framing pieces while still looking flirty and cute.
For a sleek low pony I braid the crown and gather it smooth for that polished main-character energy, and an updo twists those braids into a romantic, tucked-away look.
Stick with me and I’ll show quick tips for each so you can pick your fave mood.
Half-Up Dolly Details
Want to keep that dolly vibe but mix it up? I love the half-up dolly — it’s face-framing, flirty, and low-effort glam. Pull top sections into soft braids, leave wispy tendrils, and add tiny bows or barrettes for sparkle.
Try these playful tweaks:
- Teased crown for volume
- Mini bubble braid accents
- Soft curled ends
- Sparkly clip cluster
Low Pony & Updo
Tying a low pony or twisting an updo keeps that dolly energy chill and chic — I love how just a few tweaks turn it from school-girl sweet to vintage-glam.
I snag soft face-framing tendrils, braid tiny accents, then secure low and loose for effortless vibes.
For updos, I twist sections, pin with cute clips, loosen pieces for that lived-in, camera-ready look.
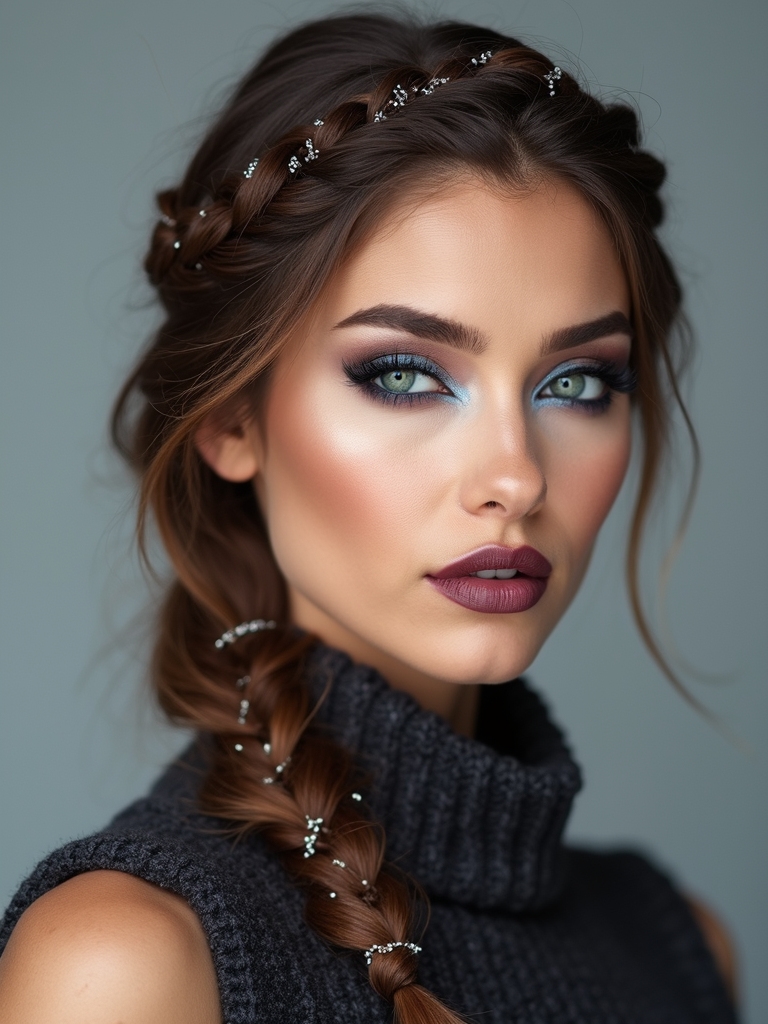
Color and Highlight Placement to Enhance Braids
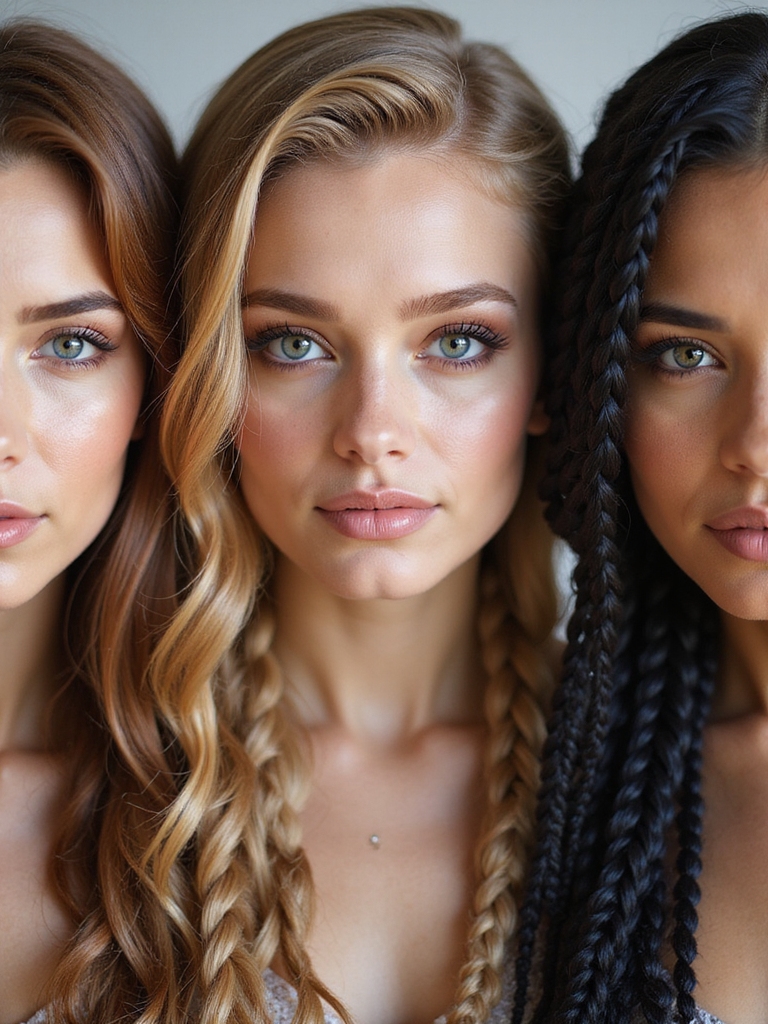
Playing with color and highlight placement can totally level up your dolly braids, so I’ll show you where to add pops for max dimension. I love cheeky face-framing pieces, sun-kissed streaks through crown braids, and pastel tips for whimsical vibes.
Quick cheat: place contrast near braid intersections for depth.
- Face-framing highlights
- Crown streaks
- Contrasting underlayers
- Pastel tips
Transitioning Dolly Braids From Day to Night
Those cheeky face-framing highlights and pastel tips work killer for daytime, but when the sun goes down I’ll switch up the vibe so your dolly braids read more glam than cute.
I loosen a few strands, mist with glossy spray, add a sparkly clip at the crown, and tighten shine-enhancing edges. Dimmer makeup, bold lip — instant night-ready, main-character energy.
Okay, you’ve got this — dolly braids are the instant main-character glow-up you didn’t know you needed. Play with chunky face-framing pieces, pancake for mega volume, and cute baby hairs for that soft, lived-in look.
Prep with moisture, add light texturizer for grip, and finish with ribbons or pearls to make it pop. Switch up placements, try a halo or sleek doubles, and you’ll slay day-to-night looks effortlessly. Go flaunt it!