


I love how curtain fringe bangs frame the eyes—soft, unfussy, and surprisingly flattering on almost everyone. I’ll walk you through picking the right length, adapting the cut to your texture, and quick styling tricks that keep the sweep natural.
Stick with me and you’ll see how small tweaks prevent that awkward grow-out and keep your look fresh—plus a few pro tips I swear by.
What Are Curtain Fringe Bangs and Who Do They Suit?
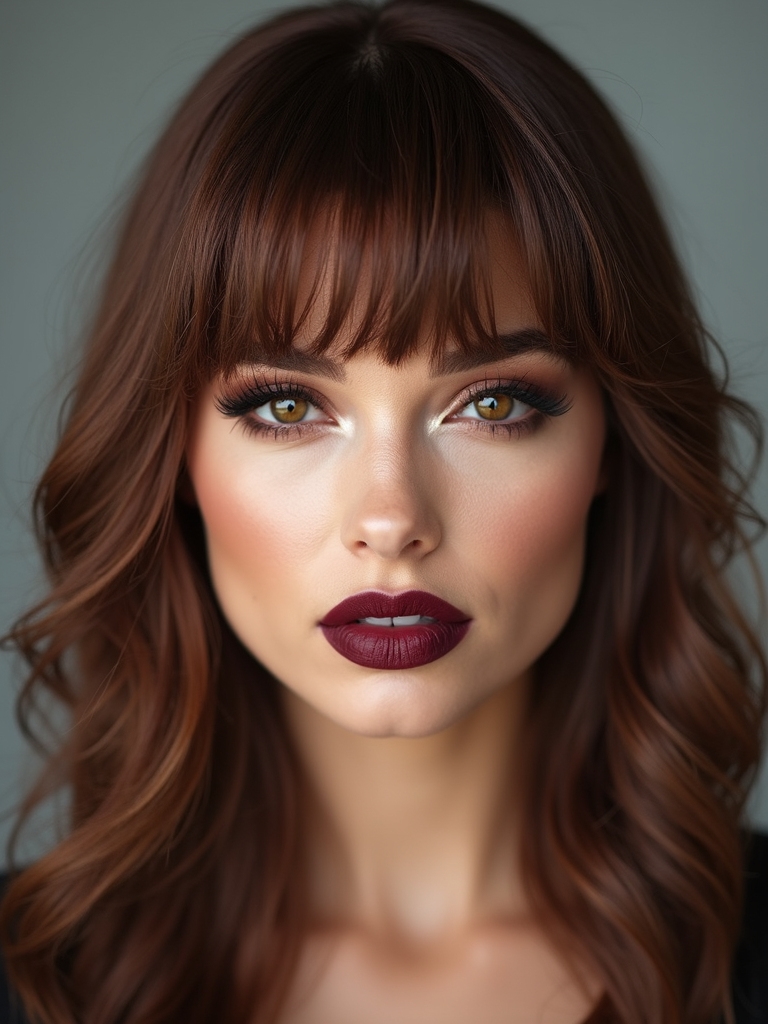
Think of curtain fringe bangs as a relaxed, face-framing curtain for your forehead—I love them because they split down the middle (or off-center) and sweep to either side, softening your features without demanding constant upkeep.
I find they suit many hair textures and most face shapes, especially if you want a gentle, low-maintenance frame that brightens the eyes and balances proportions with effortless charm.
They’re a versatile take on classic Hair Curtain Bangs that works with different lengths and textures.
Choosing the Right Length for Your Face Shape
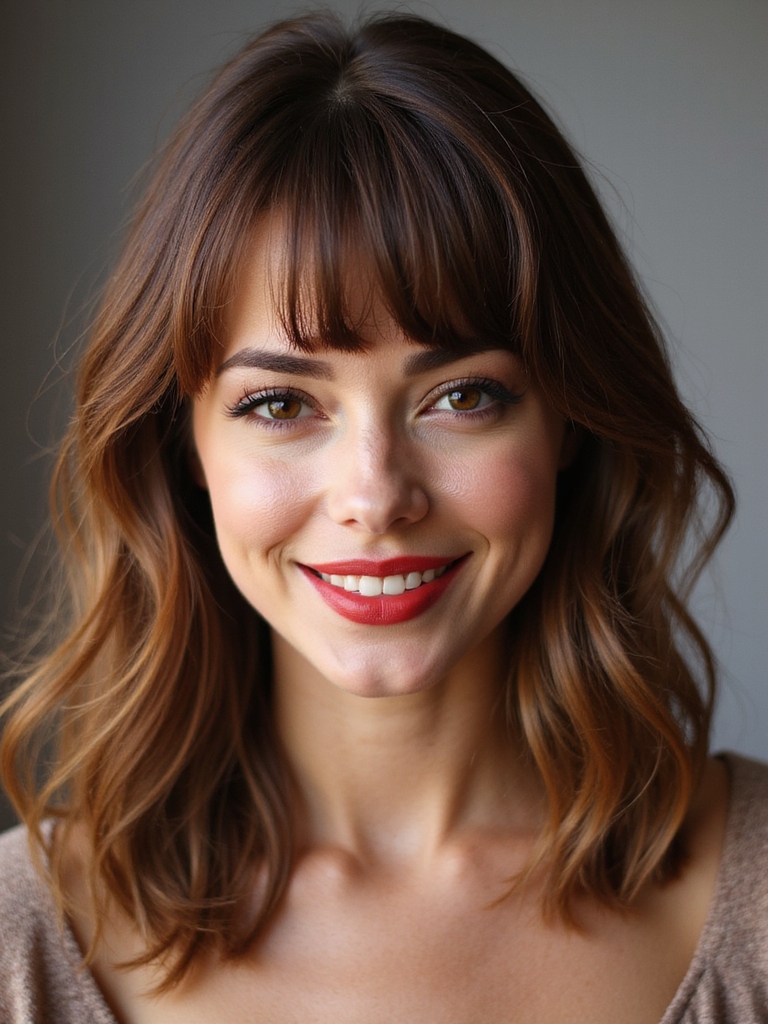
I like to match curtain fringe length to your face shape so it actually flatters, not fights, your features.
For round faces I usually suggest a shorter fringe to add structure, an oval face can wear a mid-length with ease, and a longer curtain works wonders on a strong square jaw.
Tell me which shape sounds like yours and we’ll fine-tune the perfect length.
Long curtain bangs can be adjusted to create flattering long curtain bangs for round faces by adding soft layers and face-framing angles.
Short for Round Faces
Balance matters when you’re choosing curtain fringe bangs for a round face, and I’ll walk you through the lengths that flatter your features.
I love short curtain bangs that hit just below the brow to open the eyes and add verticality. Keep sides slightly longer to elongate the face, and ask for soft, wispy edges so it feels light, not heavy.
Layered medium hair can complement curtain bangs by adding movement and framing the face medium length hair.
Mid-Length for Oval
If you’ve got an oval face, mid-length curtain fringe is a real sweet spot—hitting around the cheekbones or just below keeps your proportions graceful without hiding your bone structure.
I love how it softly frames eyes, adds movement, and stays fuss-free.
It’s flattering regardless of your hair’s straight or wavy, and it lets you play with parting and volume without overwhelming that lovely oval shape.
Long hair with layers can enhance curtain bangs by adding lightweight movement and reducing bulk, creating an effortless finish with effortless long layers.
Long for Square Jaw
When your jawline is more angular, I usually recommend going longer with curtain fringe to soften those edges and add a touch of movement that feels effortless.
I love how a longer sweep creates balance and frames your eyes without harsh lines. Try these playful tweaks:
- Sweep past cheekbones for softness
- Side part for asymmetry
- Layered ends for movement
- Light texturing to reduce weight
Longer curtain bangs work especially well on medium lengths, as they blend into the rest of the hair and create effortless curtain bangs that suit many styles.
Styling Curtain Fringe for Different Hair Textures
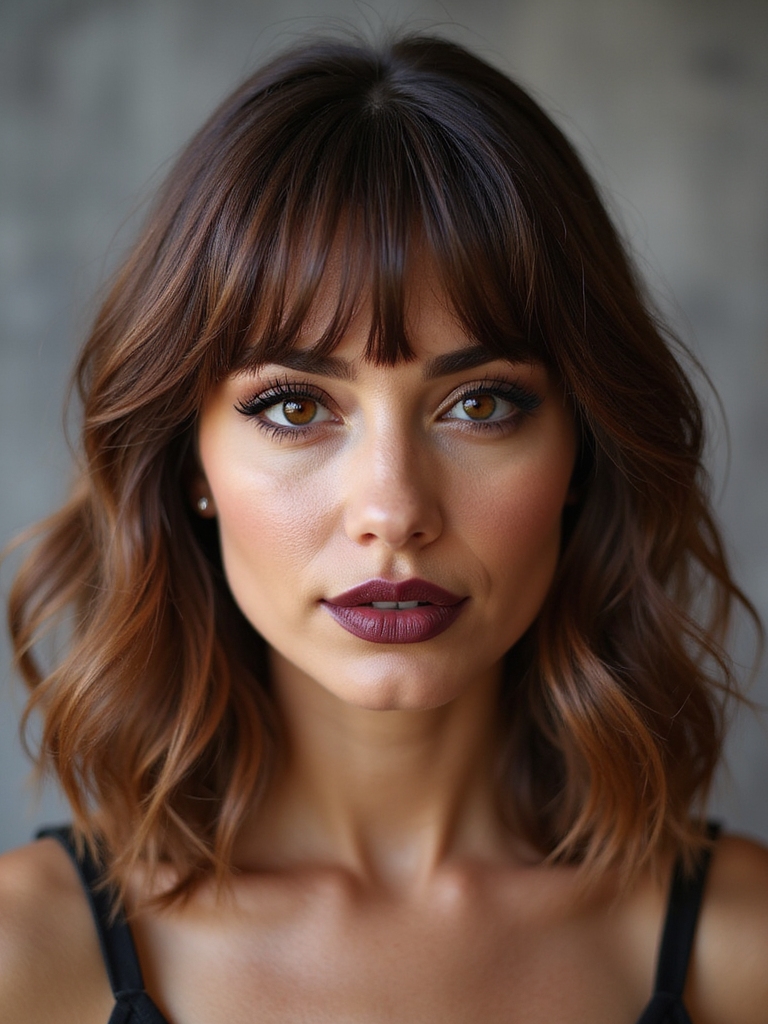
I’ll share quick, practical styling tips for curtain fringe if your hair’s fine or full of curls.
For fine hair, I’ll show you how to add lift and texture without weighing the fringe down.
For curly hair, I’ll walk you through gentle shaping and product choices that keep the fringe defined and frizz-free.
Fine Hair Tips
I usually start by reminding you that fine hair loves lightness, so I cut and style curtain fringe to create movement without sacrificing volume. I use texturizing, root lift, and gentle drying to keep things airy and framed.
- Point-cut ends for natural swing
- Mousse at roots for lift
- Low-heat round brush finish
- Feathered layers, not heavy blocks
Curly Hair Care
Usually I start by listening to how your curls behave — are they springy ringlets, loose waves, or a mix of textures — so I can tailor a curtain fringe that works with the pattern, not against it.
I shape length to let curls fall naturally, use lightweight products for bounce, and teach simple diffusing and refresh tricks so your fringe frames eyes without frizz or fuss.
Cutting Techniques to Achieve the Perfect Split
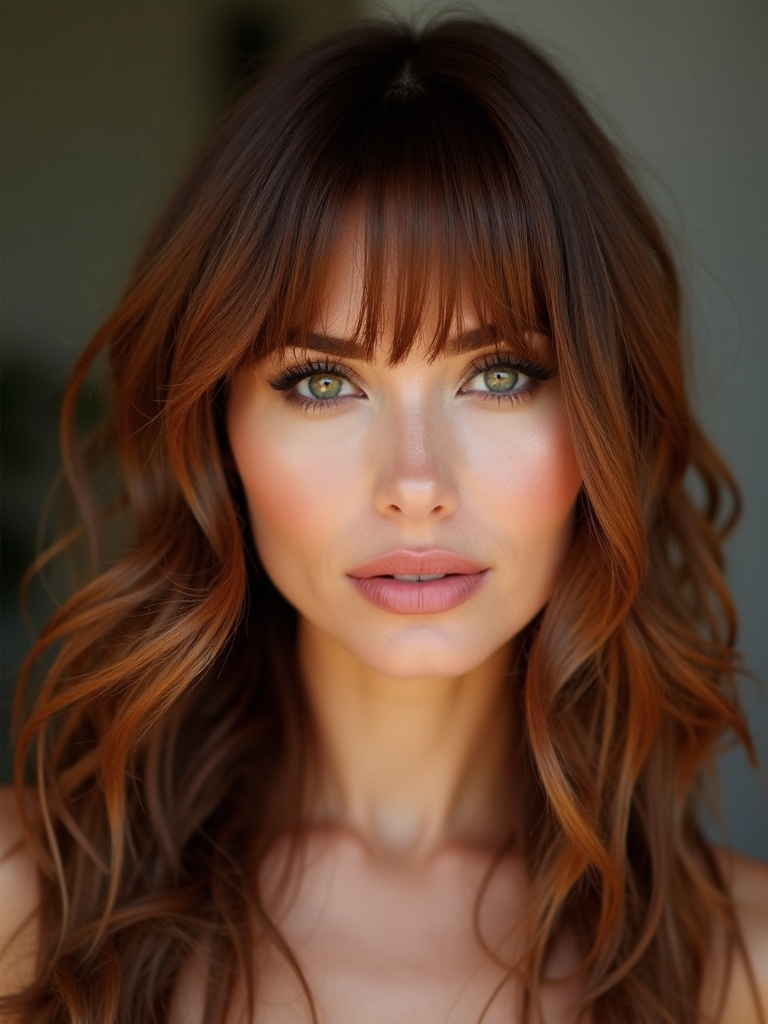
When you’re ready to get that perfect center split, I start by sectioning and point-cutting with small, deliberate snips so the fringe falls naturally on either side of the face.
I guide you through simple steps, keeping it soft and flattering.
- Trim dry for control
- Use thinning shears sparingly
- Check symmetry with a loose part
- Snip vertically for softness
Products That Help Define and Hold the Fringe
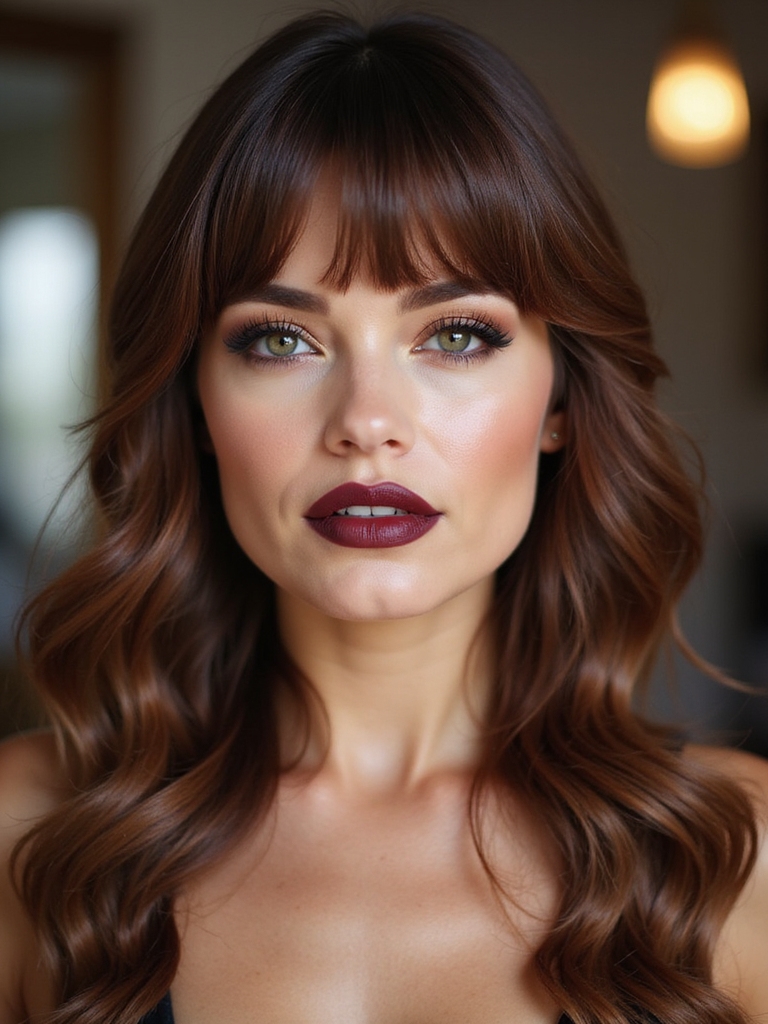
Although a great cut sets the stage, I rely on a few key products to make curtain fringe actually behave—think lightweight cream or mousse for shape, a bit of texturizing spray for movement, and a soft-hold hairspray to lock it without crunch.
I dab, scrunch, and comb through gently, adjusting product amounts to avoid weigh-down, keeping the fringe airy, separated, and flattering all day.
Blowout and Heat Tools for a Polished Look
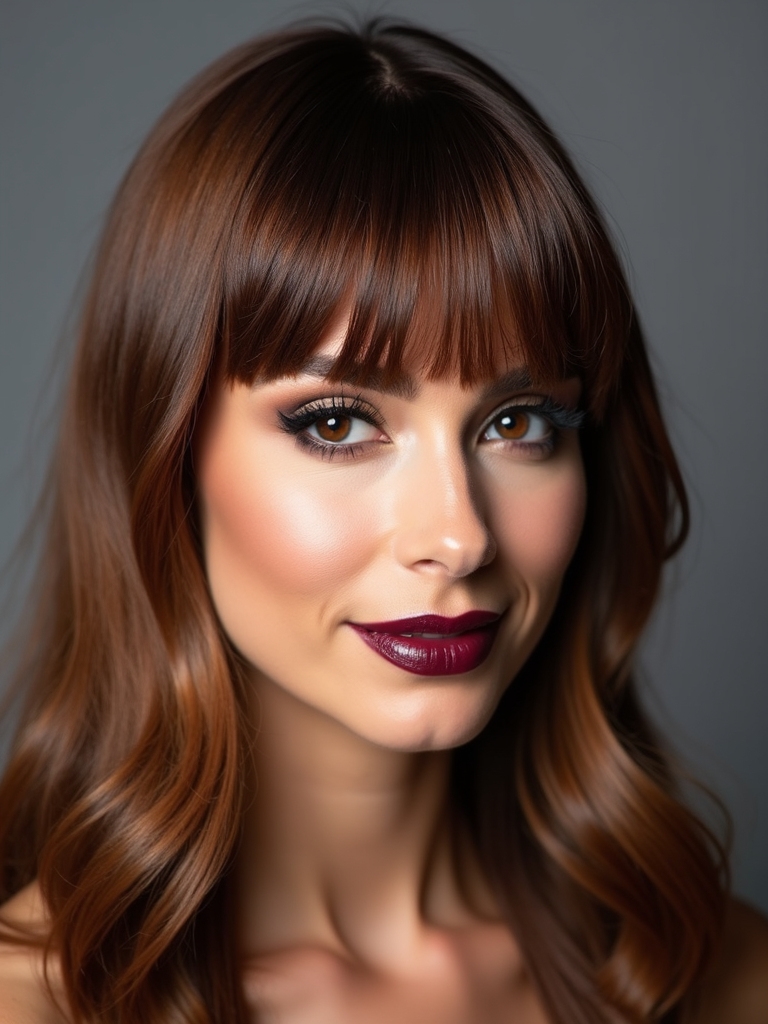
I’m excited to show you how the right heat settings, a trusty round brush, and a few finishing products can turn your curtain fringe into a salon-worthy statement.
I’ll walk you through choosing a temperature that’s safe for your hair, mastering a round‑brush blowout for that soft, face-framing curve, and sealing everything with lightweight serums or hairspray.
Stick with me and you’ll get a polished look without frying your ends.
Proper Heat Settings
Because heat is the secret handshake of a sleek curtain-fringe blowout, I always start by matching my tool’s temperature to the hair I’m working with — low and gentle for fine or color-treated strands, medium for normal hair, and higher only for thick or coarse textures.
I dial temps carefully, protect with mist, and test a strand.
- Start low
- Use heat protectant
- Work in sections
- Cool set for hold
Round-Brush Technique
Usually I start my round-brush routine by sectioning the hair so I can focus on the fringe without chaos; I grab a medium-size round brush, heat the tool to the right temp for the hair, and work from roots to ends with gentle tension to sculpt that signature curtain sweep.
I roll, pause to cool, then release—soft volume, natural bend, effortless frame for the eyes.
Finishing Products Use
Often I reach for a couple of key finishing products to lock in that curtain fringe after the round-brush step, and I’ll walk you through which ones actually help rather than weigh things down.
I use light-hold spray, heat-protectant mist, a tiny dab of styling cream, and a shine serum to keep shape, movement, and soft texture without stiffness.
- Light-hold hairspray
- Heat-protectant mist
- Tiny styling cream
- Lightweight shine serum
How to Create a Soft, Feathered Finish
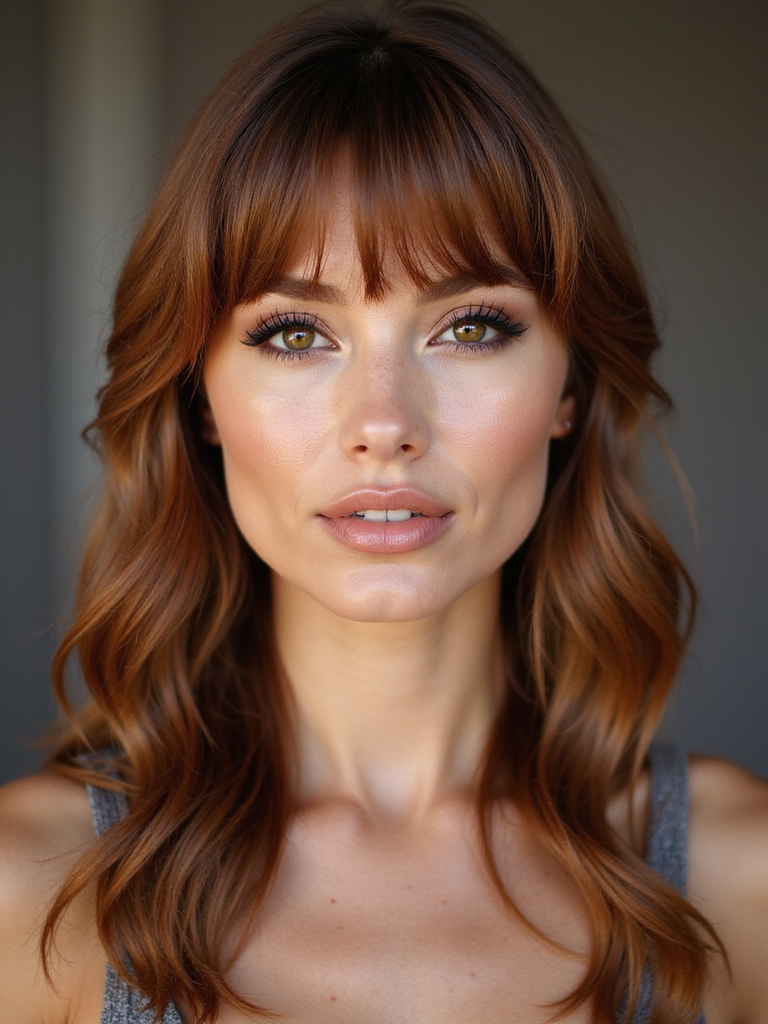
When I want my curtain fringe bangs to look soft and feathered, I start by working with dry hair so I can see the natural fall and weight; damp hair hides those little wisps.
I lightly point-cut ends with sharp scissors, twist tiny sections and snip vertically for texture, then finish by sweeping with a round brush and cool blast to set the airy, face-framing shape.
Transitioning From Full Bangs to a Curtain Fringe
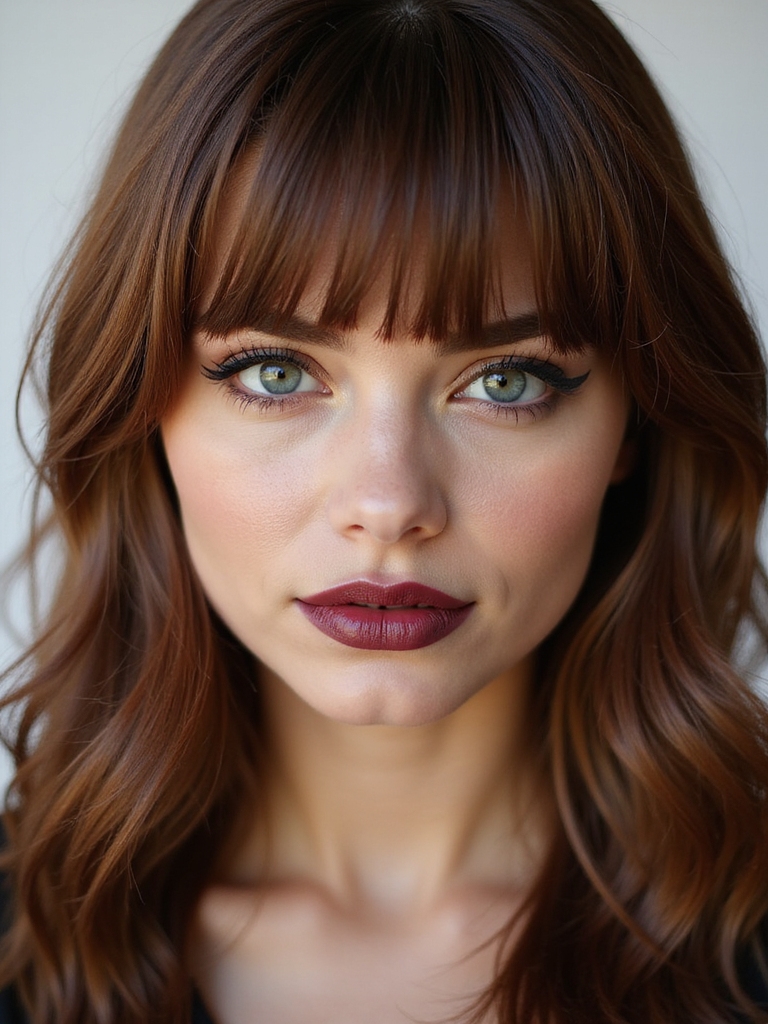
If you love that soft, feathered finish but are ready to loosen up a heavy fringe, I’ll walk you through reshaping full bangs into curtain-style pieces that frame your face.
I’ll show how to part, trim diagonally, and soften density for effortless movement—gentle steps, no drama.
- Find your natural center part
- Trim in small vertical snips
- Soften with thinning shears
- Check length by face-frame pieces
Low-Maintenance Styling Tricks for Busy Mornings
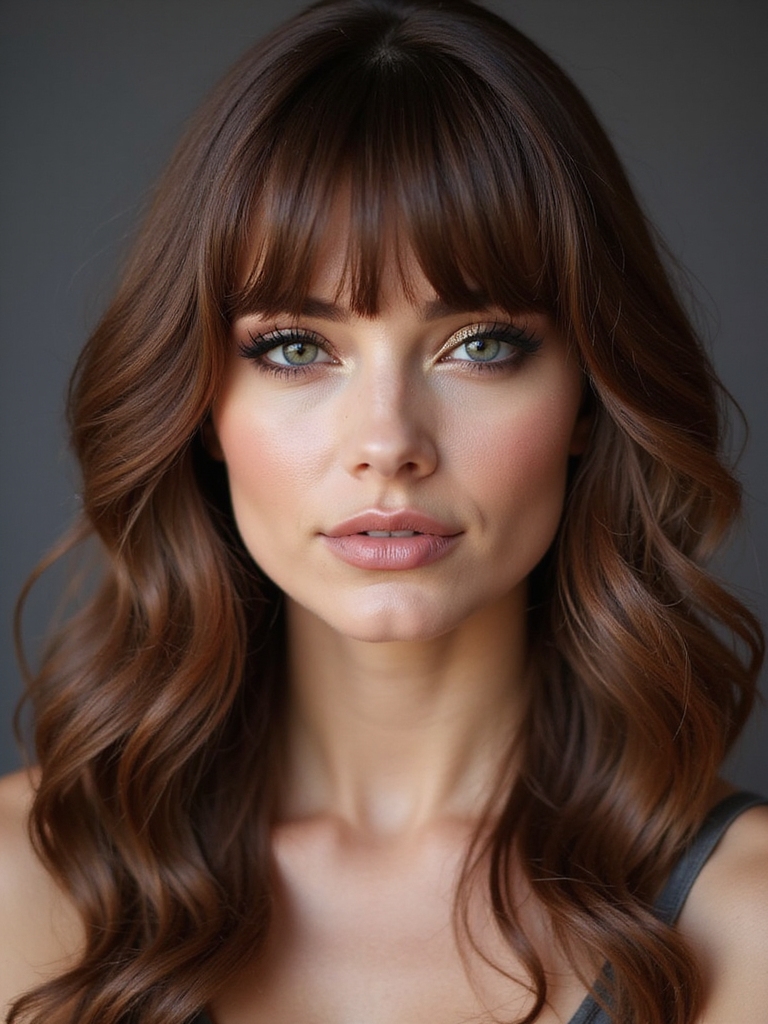
Usually I reach for the quickest moves that make my curtain fringe look intentional without a lot of fuss—simple twists, a quick blast with the dryer, and a touch of product are my morning trio.
I’ll finger-comb, clip roots if needed, and let gravity do the rest.
Ten minutes, minimal tools, and I’m out the door with face-framing bangs that feel effortless.
Color Ideas to Enhance Your Curtain Fringe
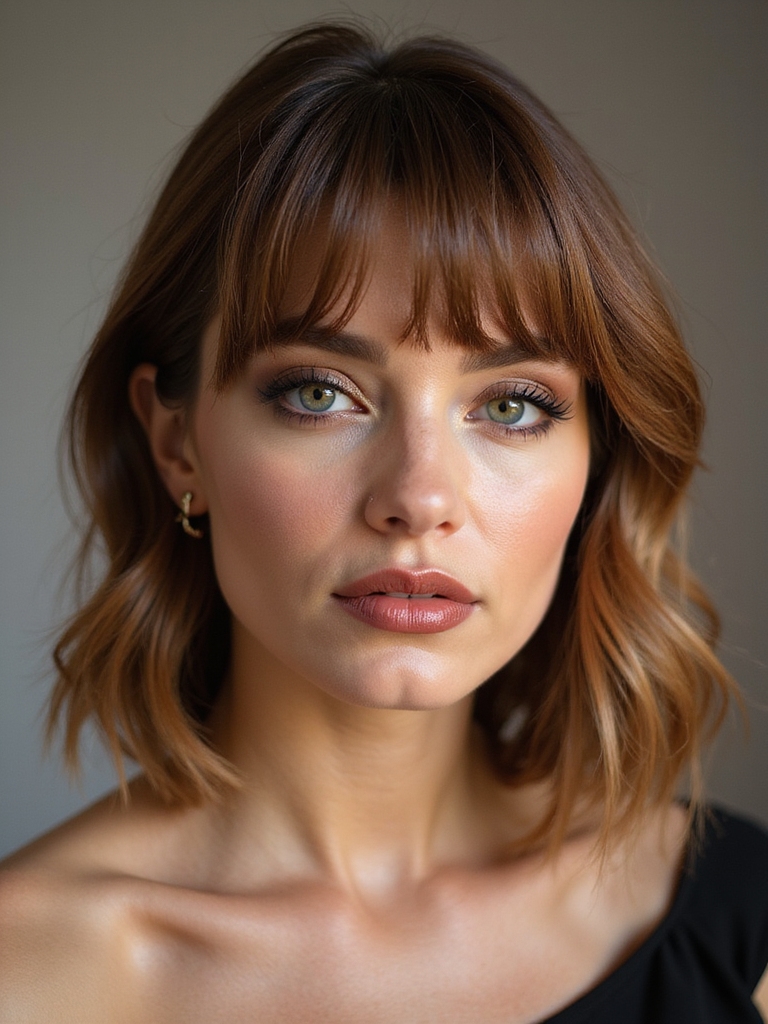
Leaning into color can make your curtain fringe sing, and I love how a small tweak—like soft balayage pieces or a face-framing babylight—gives instant dimension without stealing the effortless vibe.
I’ll keep it simple: subtle contrasts brighten eyes and grow-out looks kinder.
- Soft balayage for movement
- Warm caramel babylights
- Cool ash for contrast
- Sun-kissed highlights for glow
Accessorizing and Updo Options With a Fringe
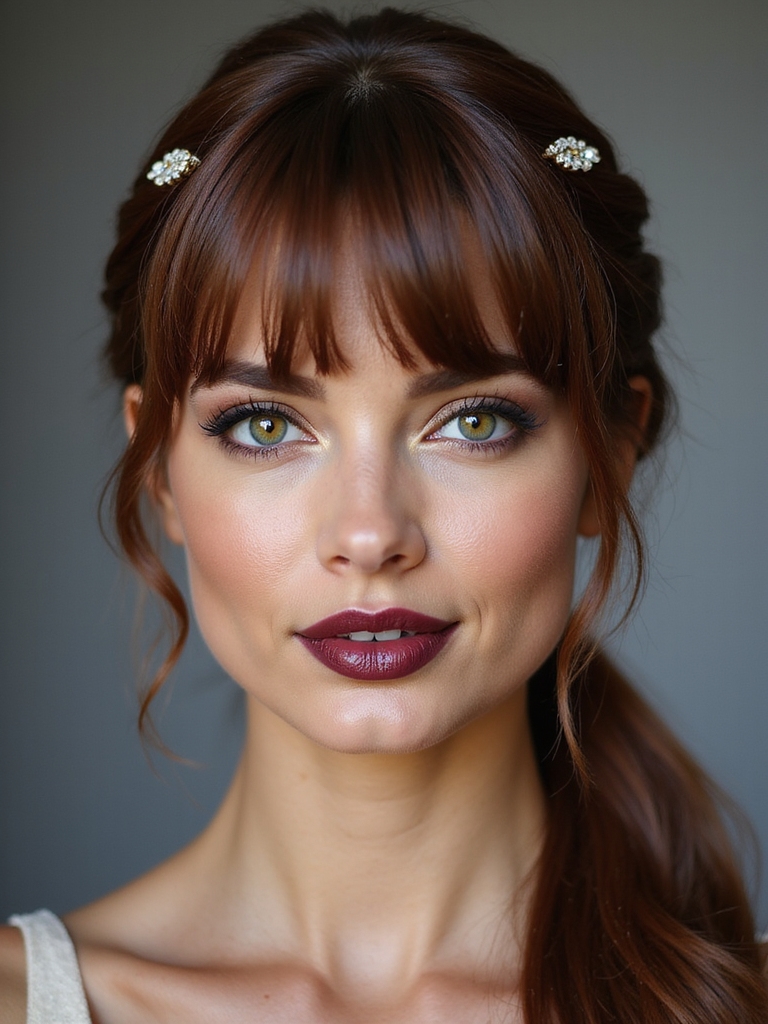
I’ll show you how the right accessories and updo choices can turn curtain fringe from casual to enthralling in seconds.
I love tucking fringe behind a jeweled clip for sparkle, or braiding tiny pieces to blend into a messy bun.
Soft headbands, silk scarves, and low chignons keep face-framing strands lively.
Try playful pins for instant polish without losing that flirty vibe.
Growing Out Curtain Fringe Without Awkward Stages
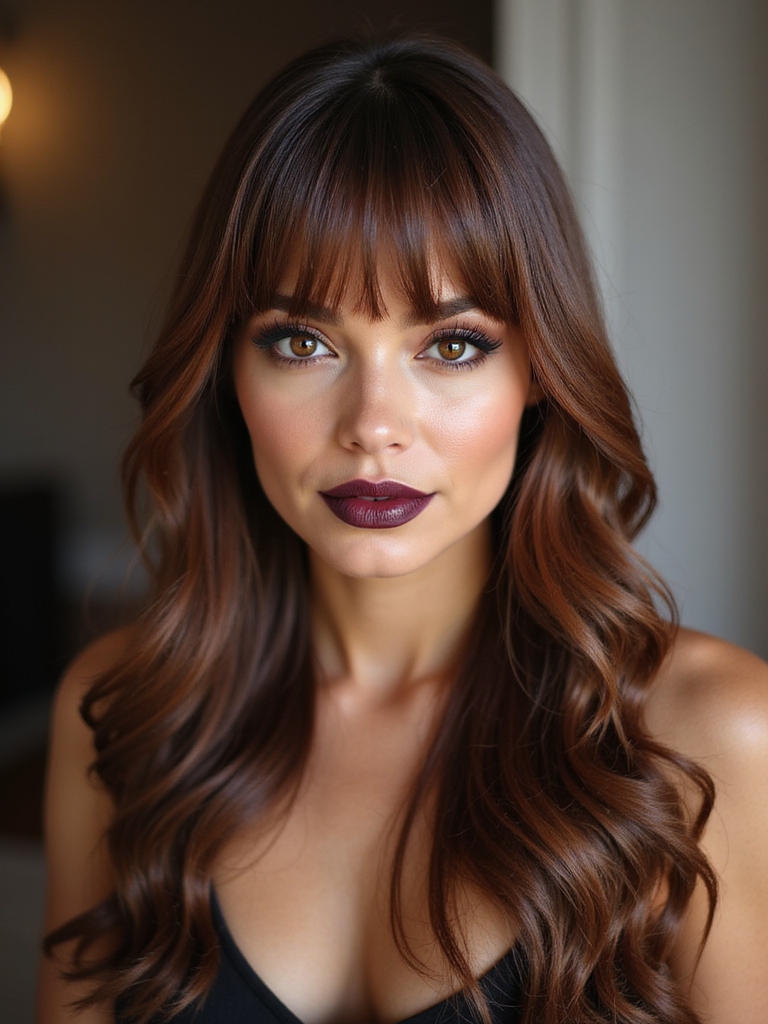
I’ve learned that the easiest way to grow out curtain fringe without those cringe-y awkward stages is to blend the ends into face‑framing layers so everything moves together.
When pieces are a bit too long, I’ll show you simple pinning tricks—think soft twists and hidden bobby pins—to keep hair off your face while it lengthens.
Stick with a couple of tidy styling moves and you’ll avoid the messy in-between phase altogether.
Blend With Face-Framing Layers
When you’re ready to grow out your curtain fringe, I blend it into face-framing layers so you skip the awkward in-between phases; think soft, intentional pieces that keep your face lit and your hair moving.
I snip subtle angles, keep weight light, and encourage movement so bangs become part of the haircut—no harsh lines, just gentle shifts.
- Soft angled layers
- Lightness at the ends
- Movement-focused cuts
- Grow-out-friendly shaping
Use Strategic Pinning Techniques
Now that we’ve blended your fringe into face‑framing layers, pinning becomes your best friend for keeping things polished as they grow.
I love using discreet bobby pins or cute clips to sweep stubborn pieces back, crossing pins for hold or twisting sections for texture.
Try soft, low pins near the temple to avoid bumps — playful, practical, and totally foolproof for awkward stages.
Common Mistakes to Avoid When Cutting or Styling
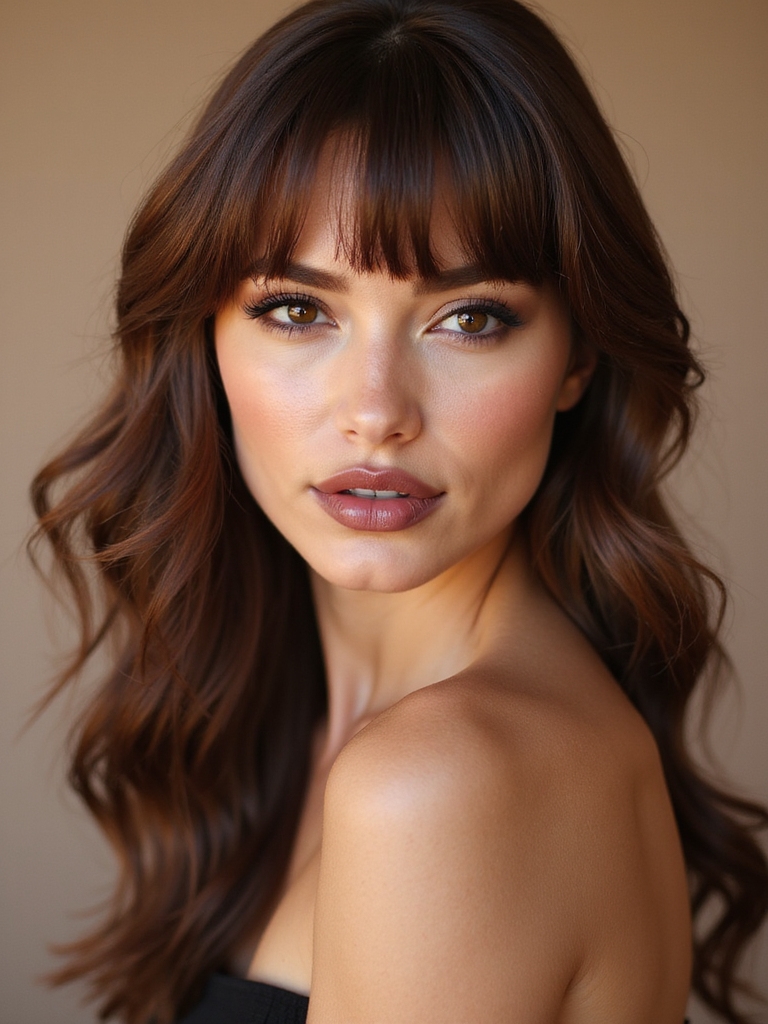
Even though fringe bangs are forgiving, I’ve seen— and made— a few rookie moves that turn them from chic to awkward fast.
I’ll point out quick fixes so you don’t panic with scissors or a bad blowout.
Little habits matter.
- Cutting too much at once
- Ignoring face shape
- Overdrying for volume
- Skipping regular trims
Celebrity Inspirations and Trend Variations
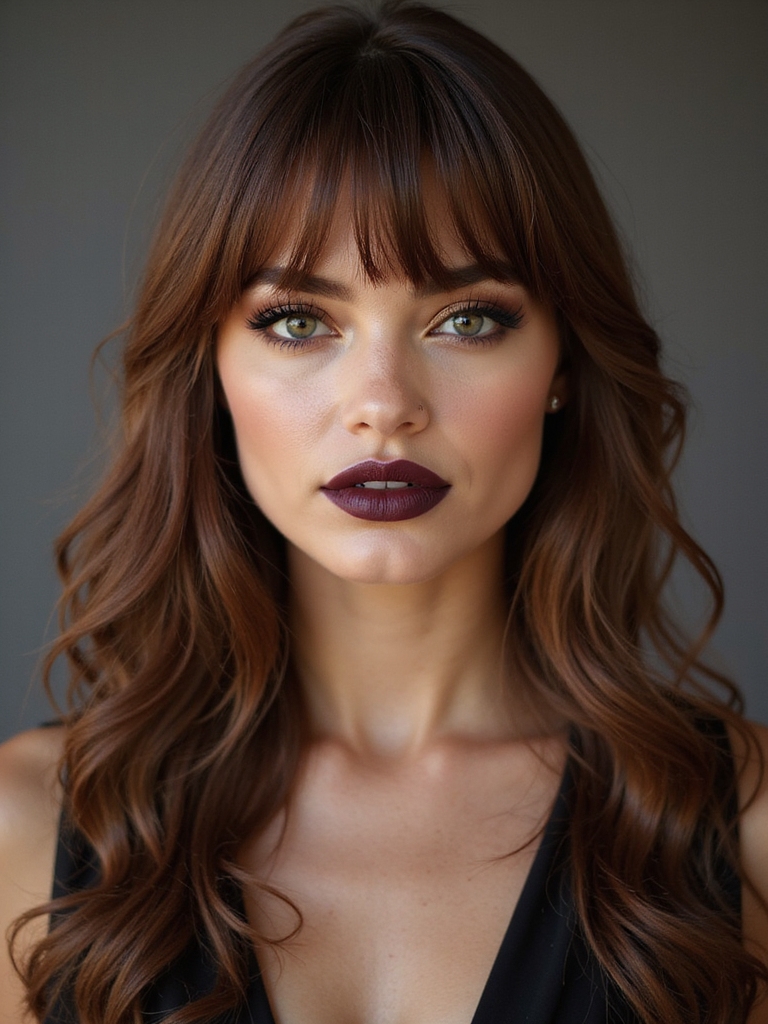
Because I love seeing how celebs make fringe bangs their own, I keep a running mental gallery of looks to borrow from — think soft, face-framing wisps on Zendaya, 70s curtain vibes on Timothée Chalamet, or the full-on feathered drama of Emma Stone — and I’ll show you which versions suit different hair textures and lifestyles.
I’ll point out tweaks for thickness, curl, and low-maintenance days.
Maintaining Healthy Hair While Wearing Fringe
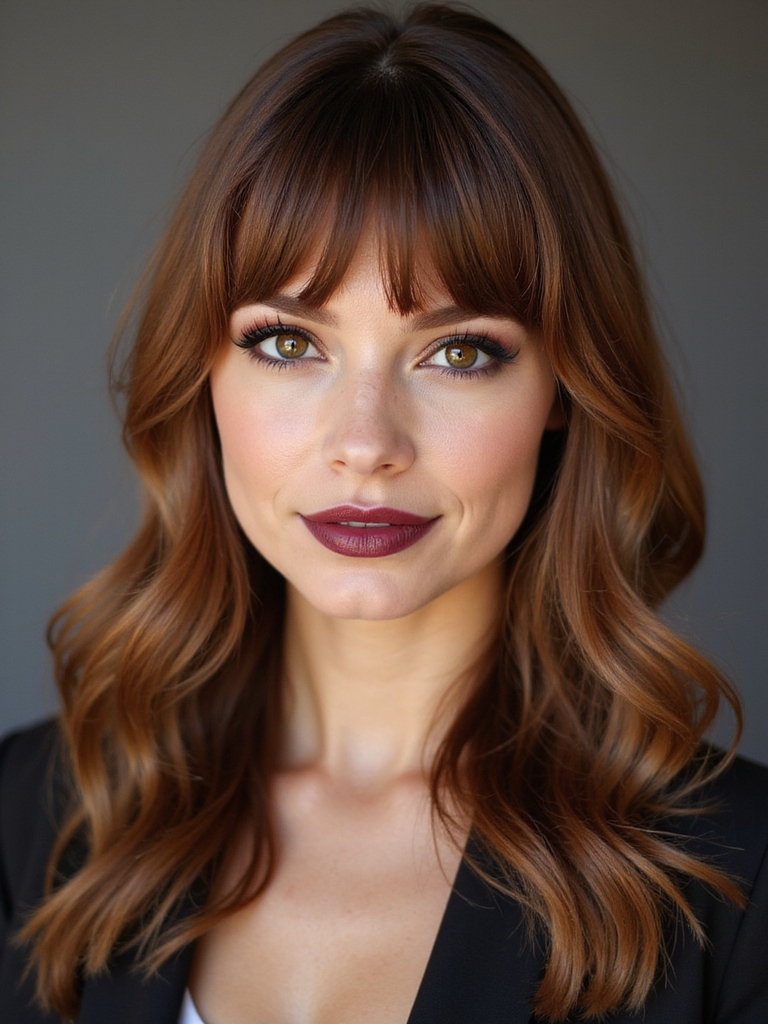
Keeping your fringe looking fresh and healthy is totally doable without turning your bathroom into a salon — I’ll walk you through the small habits that make a big difference.
I trim gently, hydrate selectively, and avoid overwashing so my curtain fringe stays soft and bouncy. Try these quick tips:
- Use lightweight conditioner on ends
- Dry with cool air
- Refresh with dry shampoo
- Trim every 6–8 weeks
I hope this gives you the nudge to try curtain fringe—it’s one of those small tweaks that instantly brightens your face and feels totally effortless. If you want a soft sweep, a bold shorter cut, or a textured, lived-in look, there’s a version that’ll work for you.
Play with length, product, and heat, and don’t be afraid to tweak it as you go—your perfect fringe is waiting to frame your eyes.


