
I love helping people make curly wigs look completely real, and I’ll show you the exact choices and tweaks that make the difference. From picking the curl pattern that flatters your face to taming frizz without killing bounce, small details like density at the hairline and a tiny oil on the ends change everything.
Stick with me and I’ll walk you through the foolproof steps that make a wig pass for natural—starting with the one move most folks skip.
Choosing the Right Curl Pattern for Your Face Shape
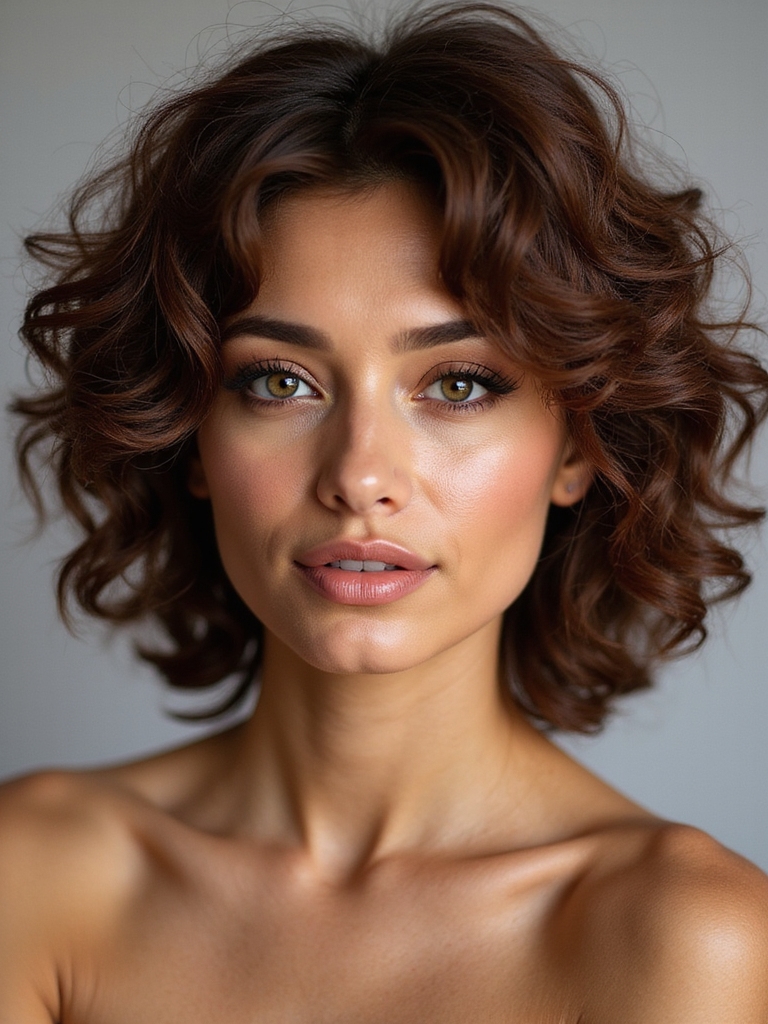
When I help friends pick a curly wig, I start with their face shape—because the right curl pattern can highlight your best features and actually make styling easier.
For round faces I suggest defined, voluminous curls that add height; for oval, most patterns flatter; for square, softer spirals soften angles; for heart shapes, medium curls balance a narrower chin.
Practical, fun, and simple.
I also recommend considering shoulder-length curly hair for versatility and natural movement, especially when choosing a wig with shoulder-length curls.
Picking Between Human Hair and High-Quality Synthetic Curly Wigs

Because I want you to love how your curls move, I always start by weighing human hair against high-quality synthetics—each has its own perks and compromises. I’ll be frank: pick human for styling freedom, synthetic for low fuss. Consider cost, maintenance, and realism.
- Human: versatile, durable, higher cost
- Synthetic: consistent curl, easy care
- Hybrid: best of both worlds
Effortless frontal wigs also offer natural-looking parting and easy blending with your hairline, making them ideal for realistic curly styles.
Understanding Cap Constructions for Natural Movement

Now let’s talk caps: I’ll walk you through lace fronts versus full lace so you can see which gives the most natural hairline and parting for your curls.
We’ll also cover fit and breathability—because a wig that moves like real hair but cooks your scalp isn’t worth it.
Stick with me and I’ll help you pick a construction that looks great and feels good all day.
Also, I’ll show elegant wig updo ideas for black women and how cap construction affects those styles with natural movement.
Lace Fronts vs. Full Lace
Although cap construction might seem like hair-nerd territory, I’ve learned that choosing between lace fronts and full lace wigs makes a huge difference in how natural your curls move and part.
I’ll keep it simple:
- Lace front: great hairline, easy side parts.
- Full lace: versatile parting, updos glow.
- Choice: balance styling needs and budget.
Chic headbands for curly hair can enhance both styles while protecting your edges and adding flair, especially when paired with headband hairstyles.
Cap Fit and Breathability
When I try on a wig, the fit and airflow tell me more about how my curls will behave than the curl pattern itself; a snug, well-shaped cap keeps curls sitting close to the scalp while breathable panels stop frizz and scalp sweat from sabotaging the look.
I prefer adjustable straps, soft elastic, and mesh panels — they let movement feel natural, prevent slipping, and keep roots fresh all day.
Effortless Natural Hair Updo ideas often inspire how I position and style the wig for a realistic finish, especially when I account for natural movement in the cap construction.
Lace Types and How They Affect Realism
Because lace is the invisible stage where your wig performs, I always start by checking which type I’m dealing with—Swiss, HD, or regular lace—since each one changes how natural the hairline looks, how fragile it feels, and how you’ll need to blend it.
I test translucency, tweak adhesives, and protect edges.
- HD: ultra-sheer, delicate
- Swiss: balanced, forgiving
- Regular: sturdy, needs more blending
Matching Density and Length to Avoid a Wiggy Look

Match the wig’s density and length to your natural hairline and head shape, and you’ll skip the “wiggy” vibes entirely.
I pick densities that mirror my edges—lighter at the front, fuller underneath—so curls sit naturally. I trim or layer length to avoid triangular bulk and weigh hair down. Simple tweaks make the wig read like my own hair, not a costume.
Prepping Your Scalp and Natural Hair for a Seamless Fit
Prepping my scalp and natural hair is the quiet magic that makes a wig feel like it was always mine—so I start with clean, detangled hair and a gentle scalp massage to boost circulation and soothe any flakes.
I tuck edges, moisturize lightly, and use a breathable cap for grip.
- Cleanse gently
- Moisturize sparingly
- Secure with a wig cap
Customizing the Hairline and Part for Undetectable Edges

If I want my wig to read as my own, I start by customizing the hairline and part so they mimic natural growth—tweaking baby hairs, plucking a few knots, and placing the part where my scalp would naturally show.
I blend edges with thin concealer, soften the line with a toothbrush, and secure with light adhesive.
Tiny adjustments make it invisible and effortlessly believable.
Cutting and Layering Curly Wigs to Mimic Natural Growth

Once I’ve settled on the right density and length, I cut and layer the curly wig to mimic how my natural hair falls—snipping in soft, strategic layers that let curls spring and frame my face instead of sitting flat or looking uniform.
I trim cautiously, check shape, and tweak until it breathes naturally.
- Remove bulk at the crown
- Create face-framing pieces
- Blend ends for movement
Styling Techniques for Defined, Frizz-Free Curls

I always start with a moisture-first prep — a lightweight leave-in or mist so the curls get hydrated without getting heavy.
Then I define each curl with a gel or cream, working from roots to ends so the pattern sets.
Finally I seal with a touch of oil or a lightweight serum to lock in shine and banish frizz.
Moisture-first Prep
I usually start every styling session with moisture, because dry curls mean frizz and fight for definition later on. I spritz, gently detangle, and layer lightweight hydrating cream so strands feel soft but not heavy. Quick, fun, and intentional.
- Spritz with water + leave‑in
- Finger‑detangle with wide teeth
- Apply lightweight cream evenly
Define and Seal
Now that the curls are happily hydrated, it’s time to lock in shape and keep frizz at bay. I rake a curl cream through sections, twirl each strand around my finger for definition, then smooth a lightweight oil over ends to seal.
I diffuse on low or air-dry; no touching until fully set. Tiny tweaks later, and the wig looks naturally flawless.
Refreshing Curls Between Washes Without Losing Shape

Want to wake up your curls without wrecking their shape? I spritz a mix of water and leave-in, scrunch gently, and air-dry a bit—magic.
Quick fixes I actually use:
- Light water + leave-in spritz and scrunch
- Finger-twist frizzed pieces and diffuse on low
- Apply tiny oil to ends for shine
Works fast, keeps bounce, no heavy buildup.
Protective Styling Options to Vary Your Look
I love switching things up with simple protective options that keep my curls safe and cute.
A low-manipulation wash-and-go or a braided wig base gives me styling freedom without daily fuss, and scarves plus edge control let me polish the look or hide the hairline on busy days.
Stick with these tricks and you’ll get variety without sacrificing curl health.
Low-manipulation Wash-and-go
I usually reach for a low-manipulation wash-and-go when I want great curls with minimal fuss, and it’s one of the best protective styling options for mixing up your look without committing to hours of maintenance.
I cleanse, detangle gently, apply leave-in, then air-dry or diffuse—easy, protective, and real-looking.
- Gentle detangle
- Lightweight product
- Air-dry or diffuse
Braided Wig Base
Think of a braided wig base as your shortcut to consistent parting and instant style—it’s the low-drama foundation I reach for when I want crisp part lines without daily braiding.
I use it to protect my edges, switch densities, and swap curly wigs quickly.
It’s tidy, low-maintenance, and perfect when I want variety without committing to new braids each time.
Scarves and Edge Control
Braided bases give me neat parting and structure, but scarves and edge control let me play with the mood without touching the wig itself.
I wrap silk for color pops, slick a few baby hairs for polish, or tie a bold knot for instant flair.
These tricks protect seams and keep edges tidy while switching vibes fast.
- Color pop
- Sleek edges
- Bold knot
Choosing Products That Keep Curls Soft and Bouncy

Usually I reach for lightweight, hydrating products first, because they keep curls soft without weighing them down.
I love a curl cream plus a sprayable leave-in for daily bounce, and a tiny oil to tame frizz at the ends.
Avoid heavy butters and silicone overload; they mattify texture. Test patch and adjust dilution so your wig stays lively and natural.
Maintaining Color and Preventing Brassiness in Curly Wigs

Okay, let’s keep your curls vivid: I reach for color-safe shampoos and conditioners to protect dyed fibers every wash.
If I spot a yellowy cast, I use a purple-toned product to neutralize those brassy tones fast.
And I try to limit sun exposure with hats or UV spray so the color doesn’t fade into sad, warm hues.
Use Color-Safe Products
I always reach for color-safe products first when I’m caring for a curly wig because they lock in tone and stop brassiness before it starts.
I trust gentle sulfate-free shampoo, UV-protectant spray, and occasional color-refreshing conditioners to keep curls lively without dulling them.
- Sulfate-free shampoo
- UV-protectant spray
- Color-refreshing conditioner
Neutralize Yellow Tones
When yellowing shows up in a curly wig, I tackle it fast so the color stays fresh and true; a little purple or blue goes a long way to cancel brassiness without stripping your curls.
I use a diluted purple shampoo or a blue toning spray, spot-treating ends and letting it sit briefly. Rinse gently, condition, and style—brassy gone, bounce preserved.
Limit Sun Exposure
Since sunlight can sneakily fade and yellow your curls, I keep my wig shaded whenever I’m out—hats, scarves, or a UV-protective spray are my go-tos.
I check sun risk, protect proactively, and refresh tone when needed.
- Wide-brim hat for full coverage
- UV spray between wears
- Cool-toned gloss to neutralize fade
Repairing and Replacing Wefts, Lace, and Hardware

Although a few loose threads or a cracked comb might look harmless, I’ll show you how to fix the little things that keep your curly wig looking fresh and wearable.
I replace torn wefts with needle-and-thread, swap damaged lace panels, and tighten or change clips and combs.
I keep spare hardware and a mini repair kit so small fixes don’t turn into panic moments.
Travel and Daily Care Tips to Keep Wigs Looking Real

Fixing a snag or swapping out a cracked comb is great, but keeping a curly wig looking real day after day means thinking smaller—what you pack, how you sleep, and the quick touch-ups you do in the morning.
I swear by compact tools and habits that preserve shape. Try these:
- Silk scarf + loose bun for sleep.
- Travel spray, light mist only.
- Mini wide-tooth comb for morning reshapes.
Alright—make choices that flatter your face, invest in quality hair and lace, and treat your wig like the star it is: light products, strategic density, a soft part, and nightly silk love.
Trim face-framing layers, refresh curls with gentle creams and tiny oils, and check caps, wefts, and color regularly. Do that, and your curly wig will move, shine, and fool everyone — including you — into thinking it grew right out of your scalp.


