
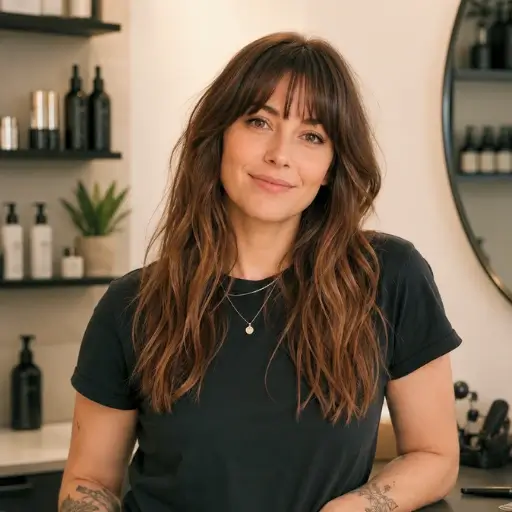

I’ve gathered nine bridesmaid updos that always get compliments: a soft romantic twisted low bun with face-framing tendrils, a sleek side-part chignon, a textured messy top knot, braided crown with loose tendrils, modern French twist, side-swept rope braid, sleek braided halo, tousled pixie-up for short cuts, and a draped ribbon-and-braid fusion.
I’ll walk you through section widths, pin angles, ribbon wraps, and where to mist for hold so your squad looks polished and comfortable — keep going for the how-to details.
Soft Romantic Twisted Low Bun
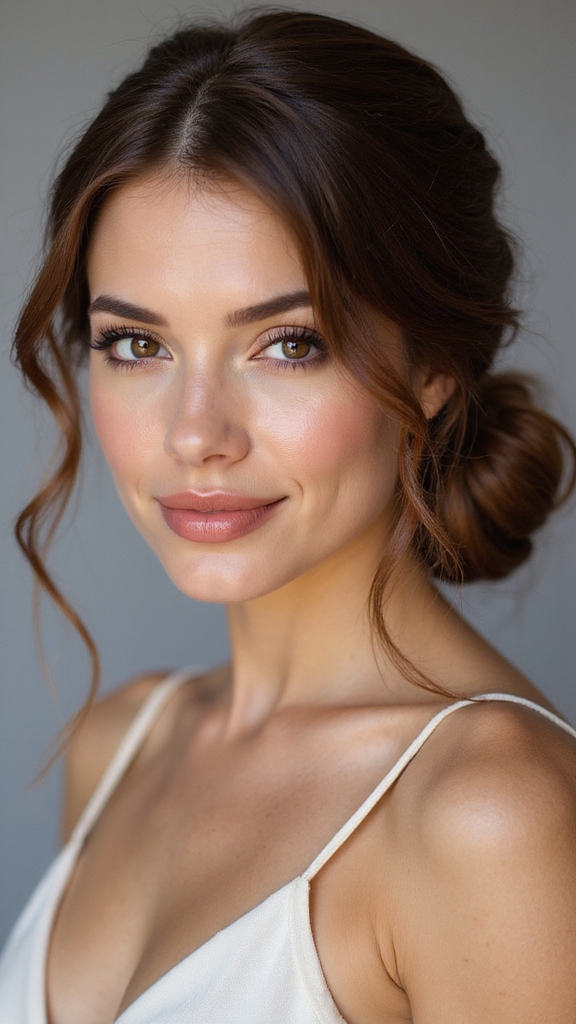
Drawing a soft, romantic twisted low bun is my go-to when I want bridesmaids to look effortlessly elegant without fuss.
I twist two loose sections from temples, secure with discreet pins at nape, then coil remaining hair into a slightly uneven bun.
I pull tiny face-framing tendrils, mist with flexible-hold spray, and tuck a single small pearl comb above the twist for polish.
This style works beautifully for long hair because it showcases the length while keeping hair neatly styled.
Sleek Low Chignon With Side Part
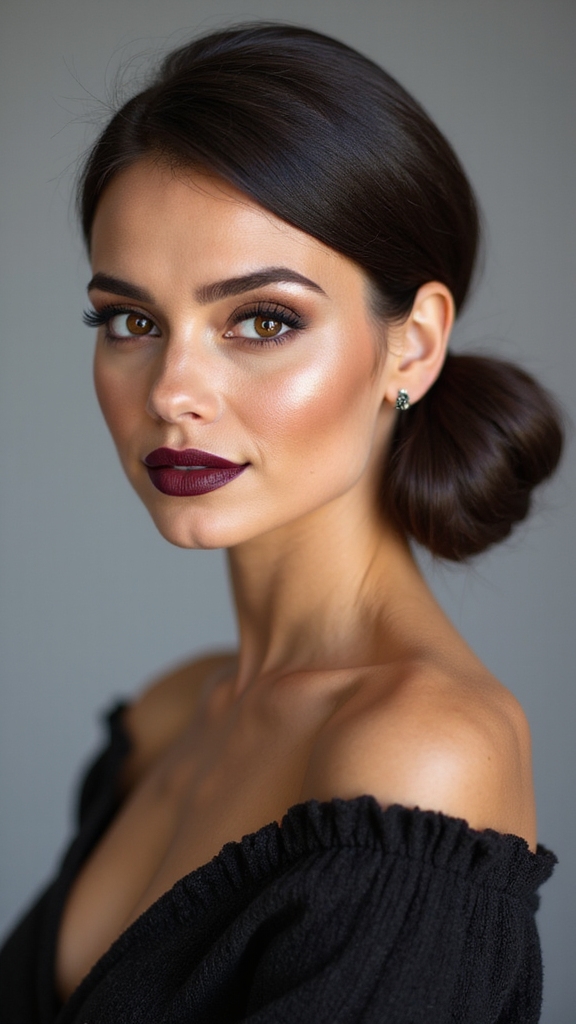
When I want a bridesmaid look that reads modern and polished, I part the hair deeply to one side and smooth each section with a medium-bristle brush before gathering everything low at the nape; this creates the clean, architectural base a sleek chignon needs.
I then:
- Use 2-inch-section smoothing
- Pin vertically with 1½-inch bobby pins
- Coil hair into a 2.5-inch knot
- Spray 10 cm away
- Tuck stray hairs under silicone insert
Textured Messy Top Knot
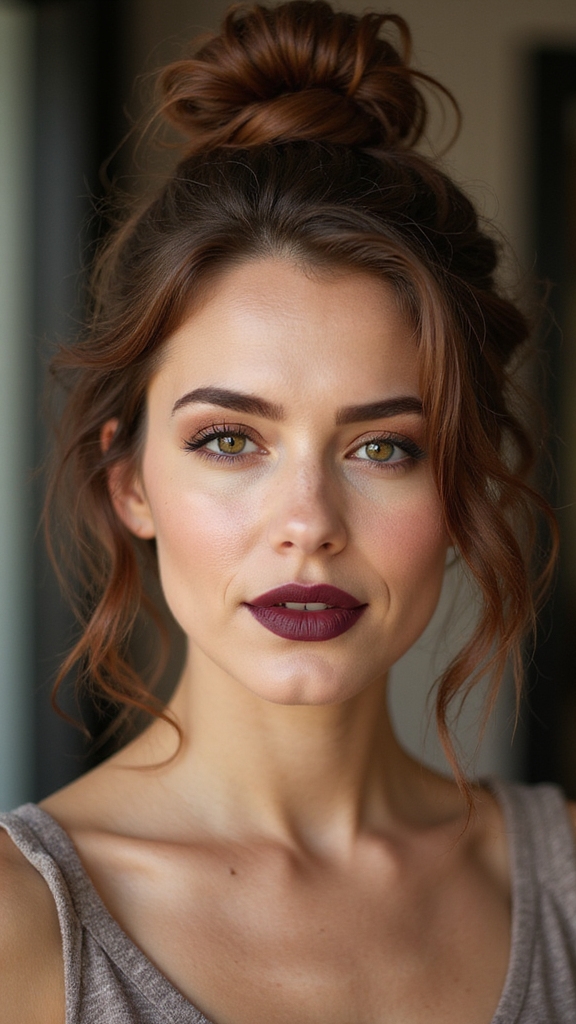
Embracing a lived-in vibe, I pile hair high and work in texture with a salt spray and a 1-inch curling iron, twisting random 2–3-inch sections away from the face so the knot reads intentionally undone rather than sloppy.
I secure with a snag-free elastic, pin two opposing loops with angled bobby pins, tug specific pieces at the crown, and mist with flexible-hold spray for seven seconds.
This approach mirrors techniques used for bridesmaid messy updos to make casual styles look purposefully polished.
Braided Crown With Loose Tendrils
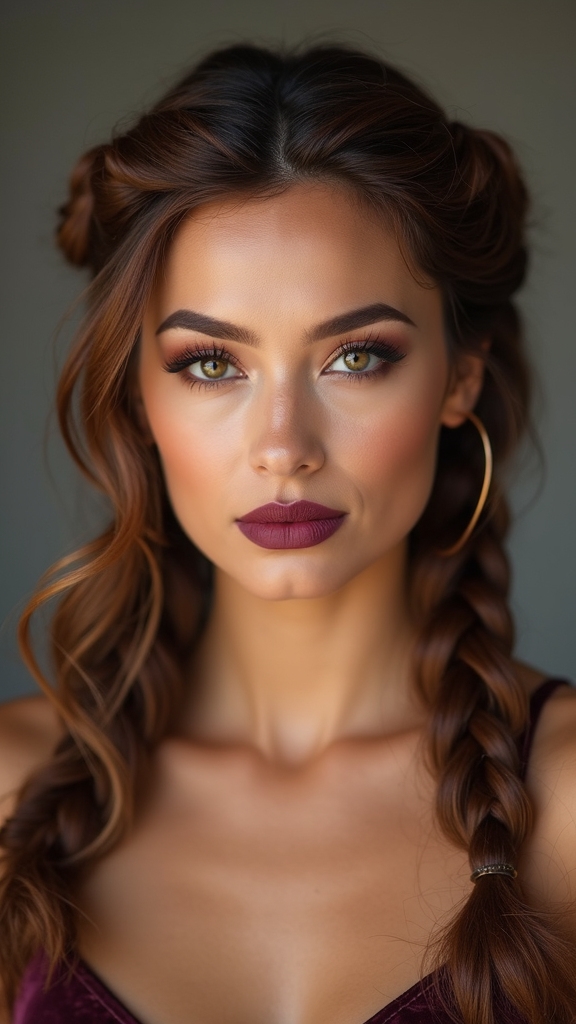
I braid a soft crown around the hairline, leaving four to six face-framing tendrils loose to soften the look and move with you; I secure ends with hidden pins and spray the crown with flexible-hold mist.
I check symmetry by measuring from ear to center twice.
- three-strand crown
- four-to-six tendrils
- hidden pins only
- flexible-hold spray
- soft finger-tugging
Braided crowns create an elegant, structured look that pairs well with other formal braided hairstyles.
Classic French Twist With Modern Finish
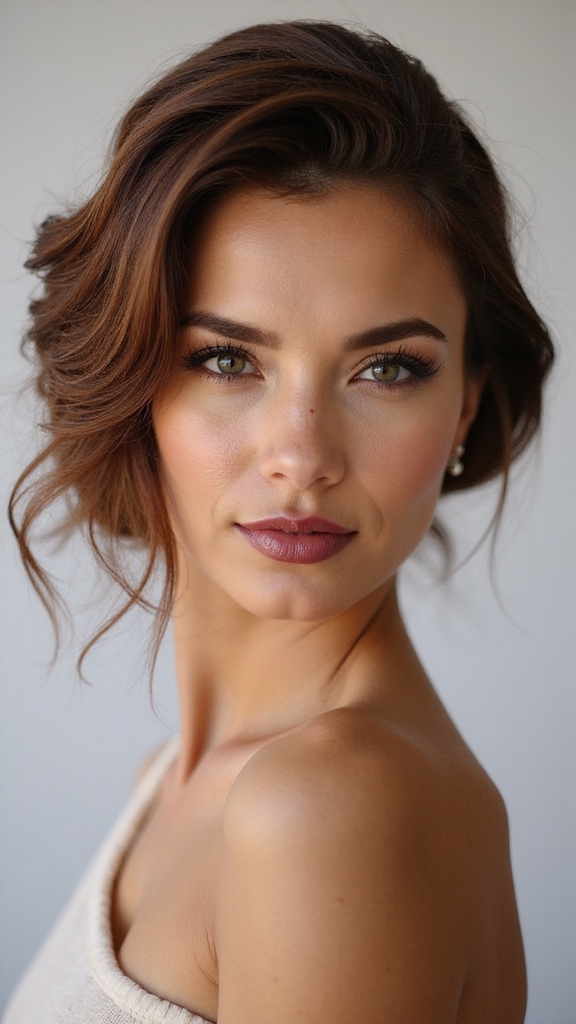
Although rooted in tradition, I give the French twist a modern finish by adding a slightly undone texture, sweeping hair up tightly at the nape but leaving a few softened pieces to frame the face; I secure the roll with hidden combs and one or two discreet pins, then mist with a medium-hold spray so the shape stays crisp but still moves.
I finish by teasing a 1-inch section at the crown, smoothing the outer layer with a boar-bristle brush, and tucking the tail so the lower edge sits exactly at the hairline, creating a clean, elongated silhouette.
For added versatility, this low updo can be adapted into several elegant variations to suit different dress styles and event formality, including a more relaxed look with loose tendrils or a polished version with low updo placement and sleek finishes.
Boho Loose Fishtail Updo
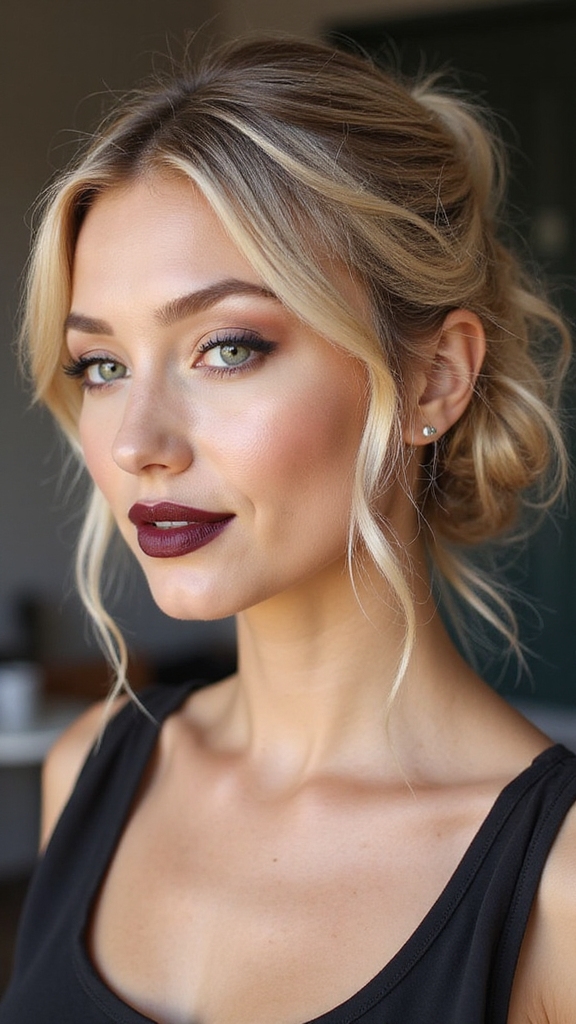
I start by prepping a textured base—salt spray at the roots, a 1-inch curling iron for loose waves, and targeted backcombing at the crown so the fishtail has grip.
Then I braid a loose fishtail from one side, pulling individual strands to widen the braid and tucking ends under as I shape the updo.
Finally I secure everything with hidden pins and a few flexible hairsprays, leaving face-framing tendrils for a romantic finish.
For added versatility, you can transform the style into a statement look by incorporating a braided bun as a polished finishing touch.
Textured Base Prep
Starting with a textured base gives the boho loose fishtail updo its undone, romantic look, so I’ll show you how to create grit and movement without making the hair feel crunchy.
I prep by sectioning, misting, towel-drying, applying product sparingly, and diffuse-drying to 80% dry.
- Section into three horizontal layers
- Spray sea-salt at roots
- Palm-rake through mid-lengths
- Rough-dry with fingers
- Pin tiny anchor clips
Curtain bangs can be easily incorporated into this look for a soft, face-framing finish by styling them into the ponytail base with a light tease and bend to blend seamlessly with the fishtail Curtain Bangs Ponytail.
Loose Fishtail Technique
With the textured base in place, I’ll bring the top section forward and begin creating a loose fishtail that keeps the boho feel without getting fussy.
I split a 3-inch-wide section, take 1/4-inch strands, cross them over twice, slide fingers down 1.5 inches each pass, pull slightly for gapty texture, repeat until nape, secure lightly with a small clear elastic. A relaxed finish works well for trending braided hairstyles to keep the look modern and wearable.
Secure Romantic Finish
Usually I gather the fishtail at the nape and coax it into a low, loose bun that keeps the boho texture intact.
I pin strategically: three U-pins beneath the overlap, one hidden loop pin at 2 o’clock, one bobby at the root to secure flyaways. I spray once. I check balance and softness, then tuck stray ends for a secure romantic finish.
- three U-pins
- one loop pin
- one bobby
- light spray
- tuck ends
Long hair often benefits from show-stopping updos that emphasize texture and volume.
Vintage-Inspired Finger Wave Updo
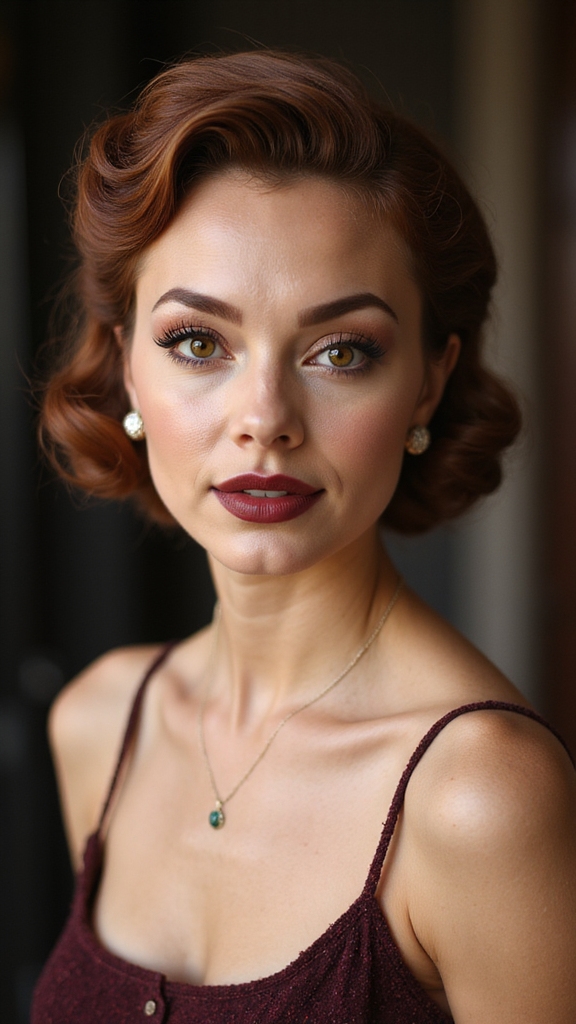
I love recreating the classic finger wave technique, starting with a deep side part, sculpting S-shaped ridges with gel and a fine-tooth comb, and setting each wave with clips so the pattern stays crisp.
For a bridesmaid updo I’ll pin those waves into a low chignon, leaving the front ridges exposed to keep that 1920s silhouette. I’ll also swap in softer gels and strategically loosen a few waves for a more modern, wearable finish.
This approach adapts timeless updo principles with contemporary touches for bride updo hairstyles that flatter a range of face shapes and dress styles.
Classic Finger Wave Technique
Although finger waves look intricate, I can teach you a repeatable routine to create a polished vintage-inspired updo.
I position a 1-inch barrel comb, apply pea-sized gel sections, and sculpt three S-shaped waves per side, pinning each wave apex with U-pins.
Key steps:
- Section hair into 3 equal panels
- Apply medium-hold gel
- Sculpt waves with comb
- Pin apexes snugly
- Finish with misting hairspray
This technique draws on classic finger wave methods that were popular in early 20th-century styling.
Modern Updo Adaptations
When you want a vintage finger wave to feel fresh on a modern bride, I adapt the classic pattern into a low, textured updo that still shows three sculpted S-waves per side but sits softer around the face.
I pin each wave with two hidden U-pins, backcomb the crown one inch for lift, and finish with medium-hold spray and a single pearl comb placed at 2 o’clock.
Half-Up Braided Chignon
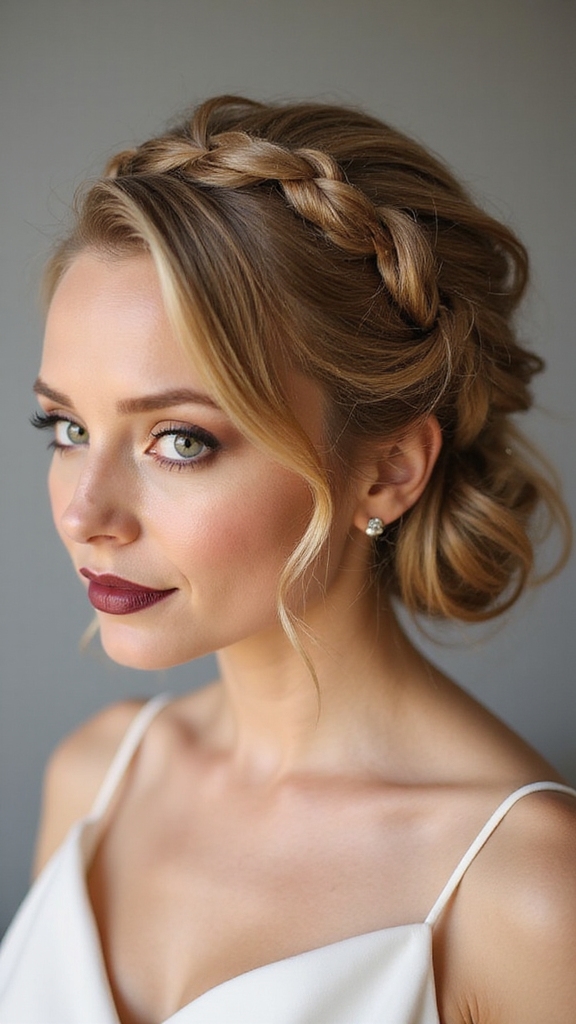
Because I love styles that feel both romantic and tidy, I reach for the half-up braided chignon whenever a bridesmaid needs a look that stays put without seeming stiff.
I braid two ¾-inch sections, pin them above the nape, twist remaining mid-lengths into a low chignon, and secure with bobby pins placed at 10° increments.
- section hair
- braid tightly
- cross pins
- tuck ends
- mist lightly
Knotted Low Pony With Elegant Wrap
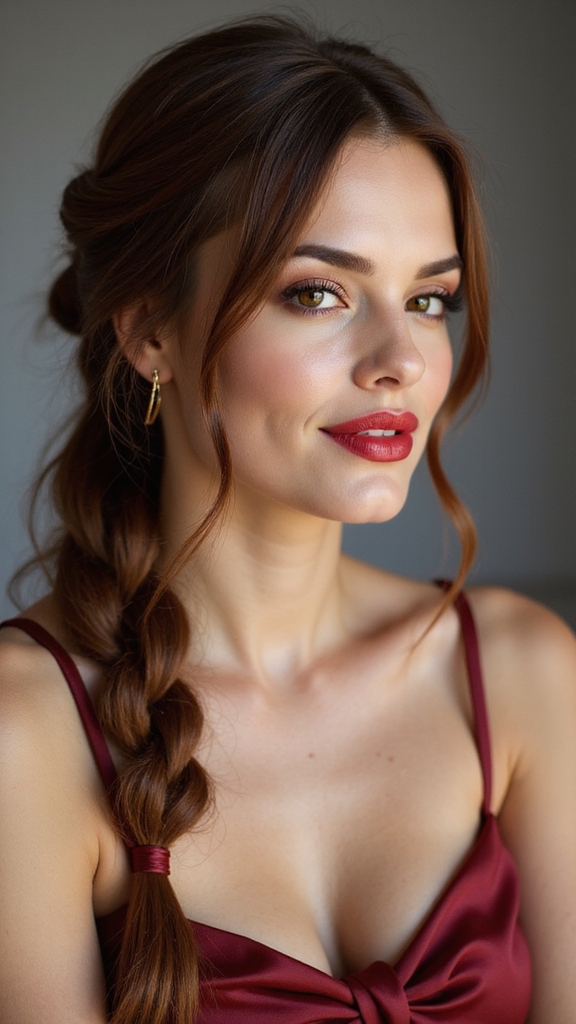
I pull hair into a low, neat pony, then create a single loose knot above the elastic to give the style a soft, modern twist.
I wrap a 1-inch satin ribbon twice around the base, tucking the end under the knot at 7 o’clock.
I smooth stray flyaways with two drops of serum and secure invisible pins opposite the knot for balance.
Voluminous Curled High Bun
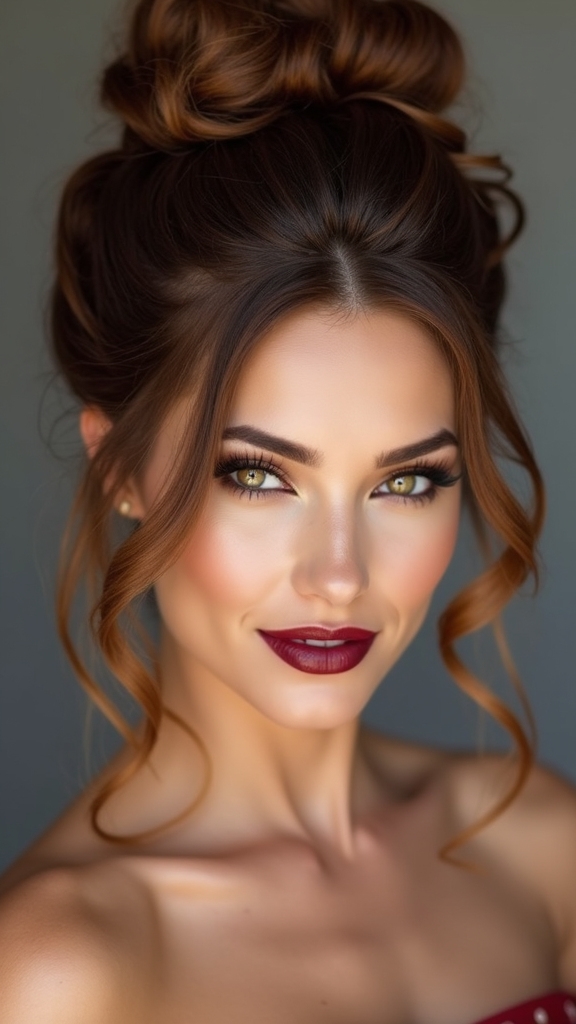
Before I pile hair into a high bun, I prep with a root-lifting spray and a quick backcomb at the crown so the volume holds from ceremony to cake.
I curl 1–1.5 inch sections away from the face, let them cool clipped to preserve spring, then arrange the curls into a loose donut shape. I secure each curl with U-pins and a few strategically placed bobby pins, finishing with a flexible-hold spray to keep movement without stiffness.
Prep for Long-Lasting Volume
Let’s lock in the shape and lift: I start by prepping hair at the roots with a lightweight texturizing spray, focusing on the crown and the underside where support matters most.
I then section, backcomb specific 2-inch strips, and set spray points precisely:
- crown center: three short mists
- nape underside: one mist
- sides behind ears: one mist each
- part line: light tease
- finish: cool blast
Curling and Pinning Technique
Start by curling in uniform 1–1.25-inch sections so each piece has the same bounce and fall. I wrap hair clockwise on the left, counter on the right, holding for eight seconds with a 1-inch barrel.
I tease the crown in three 1-inch horizontal rows, smooth the top, gather curls at 4 inches above nape, pin each curl with U-pins crossing at 45° for secure shape.
Flower-Embellished Low Twist
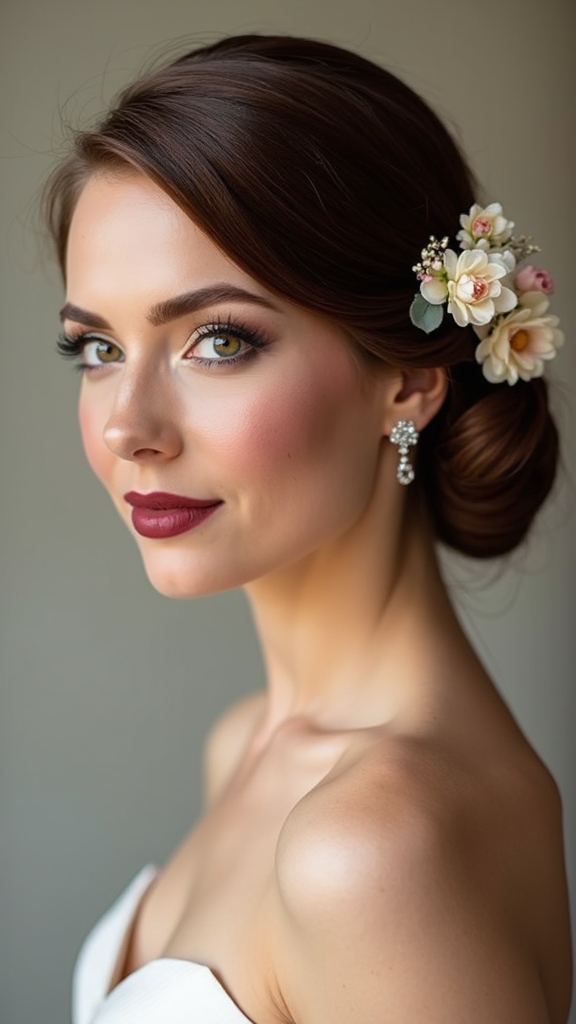
A low twist finished with a scattering of fresh blooms gives your bridesmaids a polished, romantic look that stays comfortable through toasts and dancing.
I secure a 3-inch section at nape, twist clockwise, pin every 1.5 inches, then nestle 3-5 small blooms asymmetrically. My priorities:
- flower spacing
- stem trimming
- pin concealment
- humidity resistance
- comfort testing
Side-Swept Rope Braid Updo
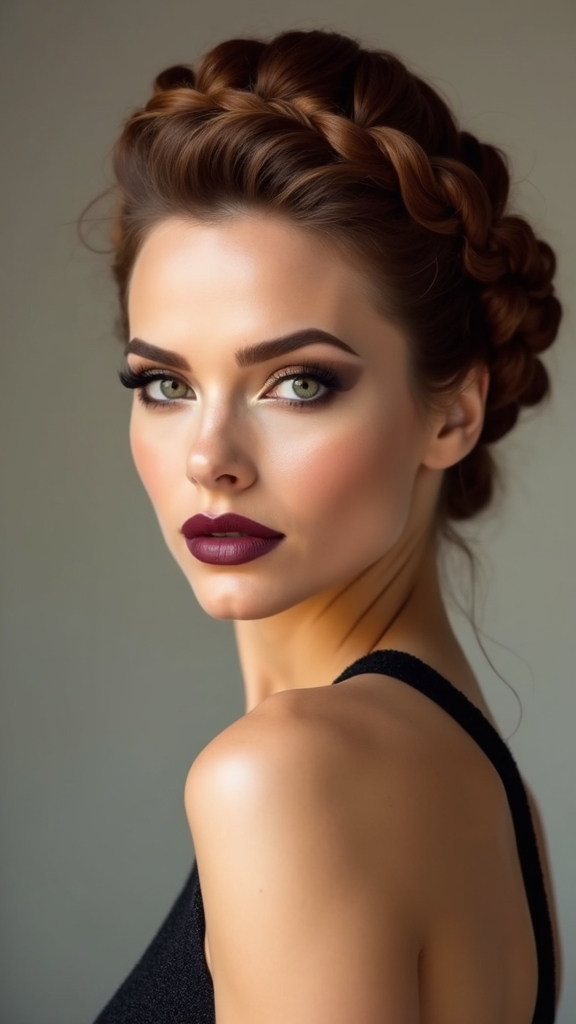
Sweeping hair to one side and twisting it into a rope braid keeps the look elegant without weighing down your bridesmaid’s shoulders, so I secure even tension by splitting a 2-inch front section, twisting both strands away from the face, and crossing them together every 2–3 inches until the braid reaches the nape.
I anchor with a clear elastic, coil the braid into a low side bun at 7 o’clock, and pin three 1-inch U-pins perpendicular to the coil for secure hold.
Sleek Braided Halo
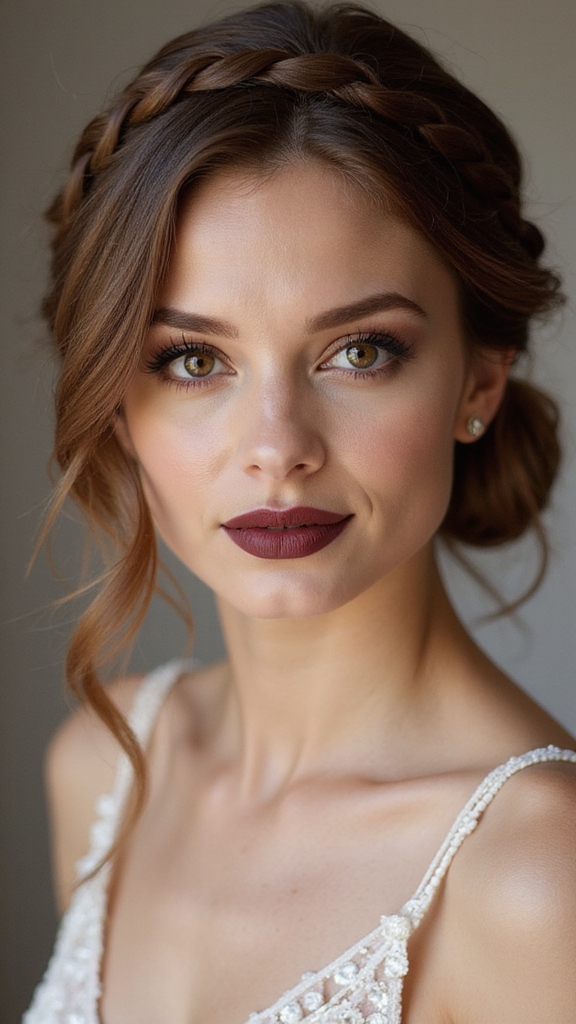
I’ll start by prepping hair with a smoothing serum and light-hold texturizing spray so strands stay sleek without slipping.
Then I’ll show the exact three-strand Dutch braid placement and tension I use to create a true halo that sits flush at the hairline.
Finally I’ll lock the look with discreet bobby pins, a spritz of flexible hairspray, and a small dab of shine oil on flyaways.
Prep and Texture
Start by dampening the hair slightly and working a pea-sized amount of smoothing cream through the lengths so flyaways lie flat and braids read clean.
I then mist roots with a matte texturizer, rough-dry five seconds per section, and clip cooled sections. Focus on strand alignment and weight distribution:
- Matte texturizer at roots
- Pea-sized cream mid-shaft
- Five-second rough-dry
- Cool-clip sets
- Light oil on ends
Braiding Technique
I’ll section a clean horseshoe part from ear to ear, clip the back down, and work with the front panels so each braid sits flush against the scalp.
I Dutch three-strand braid each panel, keeping 1 cm tension increments, tucking outer strands under, feeding in 0.5 cm sections.
I anchor braids at nape with a tiny clear elastic before wrapping into a precise halo.
Finishing Touches
Now that the halo is anchored at the nape, I smooth each braid and tidy stray hairs so the braided crown reads as one continuous band.
I mist light-hold spray, tuck flyaways under the plait, and pin at invisible angles.
Small adjustments matter:
- Use a 1.5mm pin for tight hold
- Cross pins in “X” under braid
- Apply serum to ends
- Check symmetry at 30cm
- Finish with flexible spray
Tousled Pixie-Up Styling for Short Hair
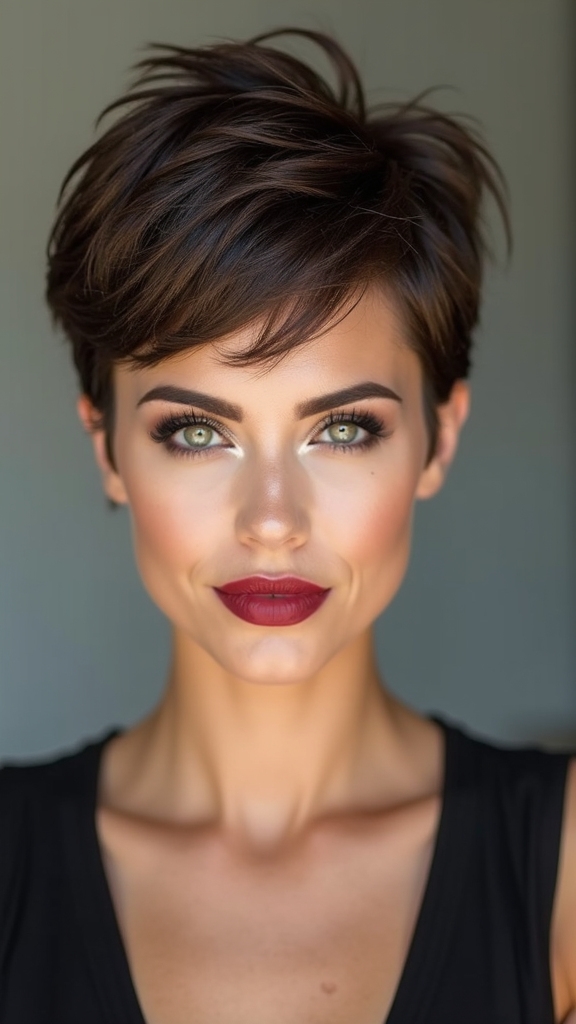
Tucking and teasing, I transform a short pixie into a romantic, tousled updo that holds through dancing and photos.
I pin back left-side fringe with two discreet bobby pins at 45°, twist crown hair into three soft vertical rolls, and mist with medium-hold spray.
I loosen ends with a wide-tooth comb, secure stray pieces with micro-pins, and check symmetry under warm light.
Draped Ribbon and Braid Fusion
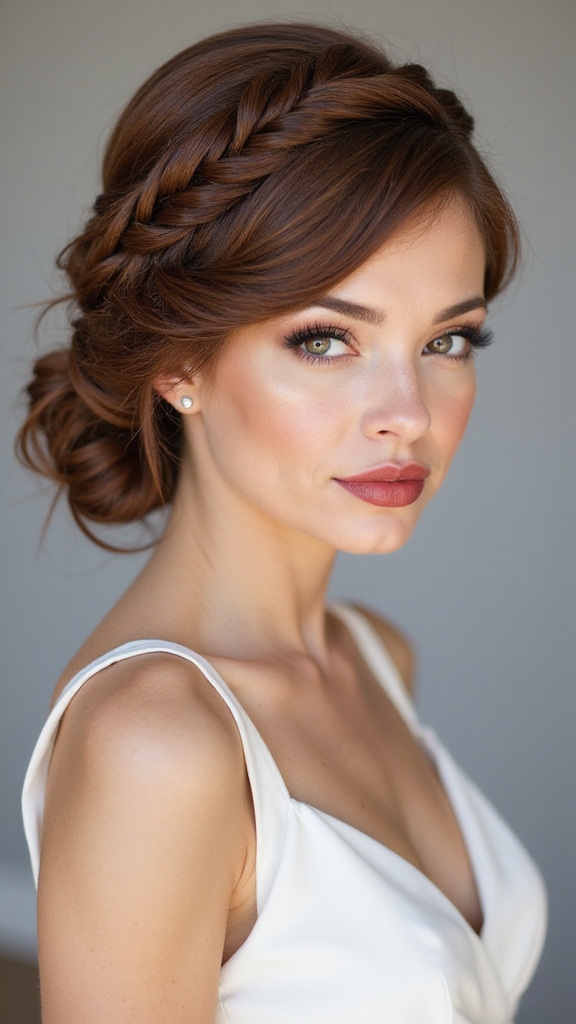
I weave a narrow silk ribbon through a three-strand Dutch braid along the crown, letting it drape over the shoulder so the ribbon’s tail echoes the gown’s silhouette.
I pin the braid at nape with three discreet bobby pins, then smooth flyaways with two drops serum.
Tips I follow:
- 5mm ribbon width
- 4cm spacing between stitches
- tension: medium
- pin angle: 45°
- finish: flexible hairspray
I’ve walked you through the nine updos I swear every bridesmaid secretly wants, and I hope you’ve found the one that fits your vibe. Remember, “dress for the job you want” — except here it’s “style for the photo you’ll keep.”
Pick the twist, braid, or chignon that flatters your face, practice once with pins and hairspray, and you’ll show up polished, comfortable, and camera-ready all night long.


