
I love how slicked-back curly styles mix polish with personality, and I’ll show you how to get that crisp shape without flattening your bounce.
I’ll walk you through the prep, the products that actually work, and easy looks for short, medium, and long hair—plus tricks to keep moisture and avoid flakes—so you can step out sleek and still feel like yourself.
Why Choose a Slick Back Curly Hairstyle

Even if you’ve always thought slicked-back looks were only for straight hair, I’ll show you why a slick back curly hairstyle is worth trying — it gives you a clean, polished silhouette while keeping your curls’ natural bounce, so you get structure without losing personality.
I love it for commute-friendly mornings, instant sophistication for events, and the confidence boost when my curls feel controlled yet lively.
Effortless styling tips can help you achieve a true slicked back ponytail that balances hold with curl definition.
Prep Steps for Sleek, Defined Curls
If you want your slick-back curls to look polished instead of puffy, start with a smart prep routine I actually follow myself.
I cleanse gently, detangle with a wide-tooth comb, and apply a lightweight leave-in. Then I smooth a gel through roots to ends, rake for even distribution, and diffuse low and slow. Finish by gently setting and scrunching to lock definition.
Low-tension techniques, like embracing low tension styling, help maintain curl shape and reduce breakage.
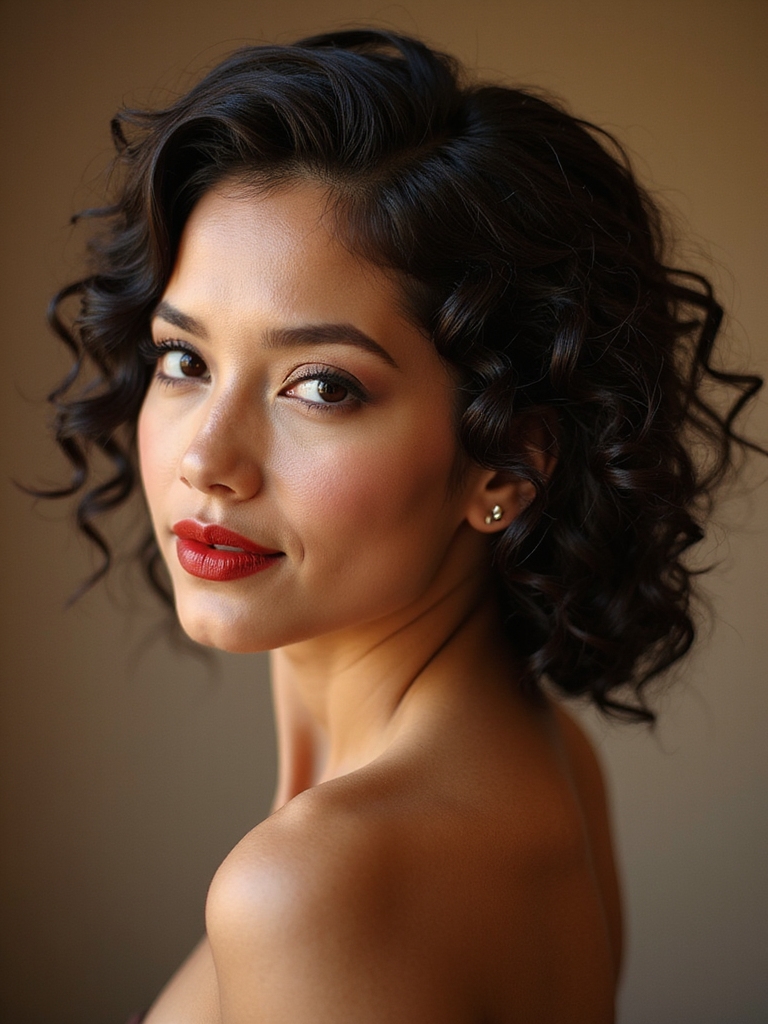
Slick Back Short Curly Cuts

When I want a low-maintenance look that still reads polished, I reach for a slick-back short curly cut because it gives me structure without weighing down my curls.
I style quickly with a light gel, scrunch to keep bounce, and tame edges with a soft brush.
It’s ideal for busy days, frames my face, and keeps things neat without losing personality.
Curly bobs can be customized for different curl patterns and face shapes, making them a versatile option for many wearers curly bob hairstyles.
Medium-Length Slicked Curly Styles
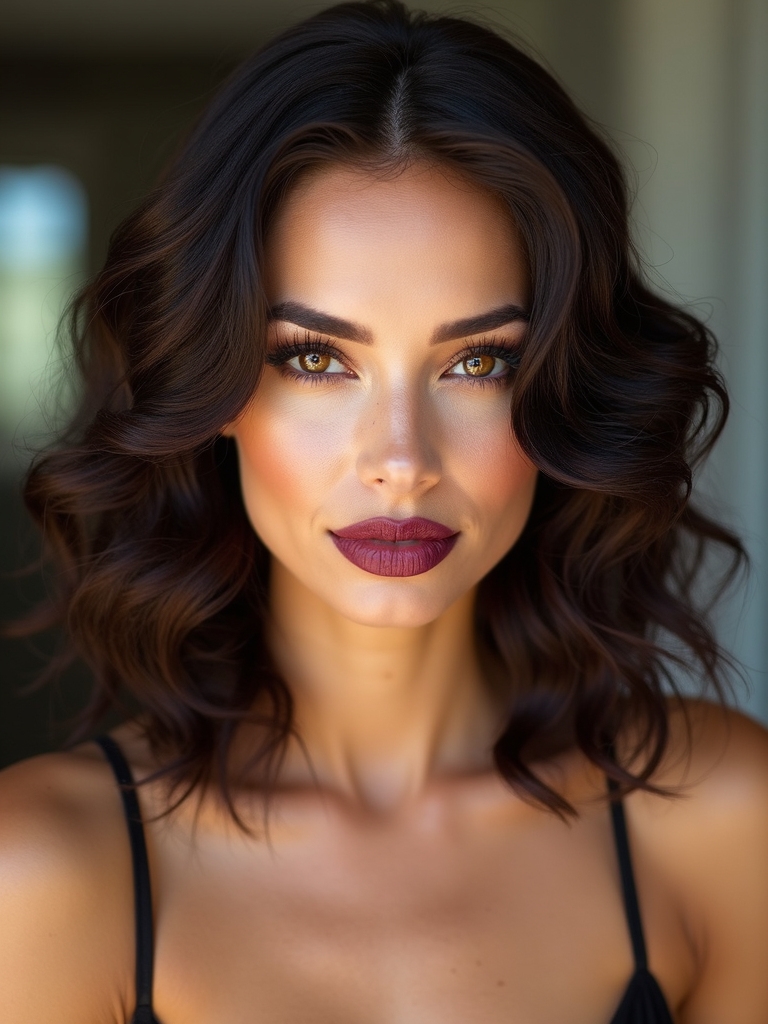
Now that we’ve warmed up with short cuts, I’ll show you how medium-length slicked curls let you play with a crisp part, glassy gel hold, and tapered sides for contrast.
I love using a combed-in part for polish, a light-gel method to keep curls defined without crunch, and a subtle taper to frame the look.
Stick with me and I’ll walk you through simple steps to get each element working together.
For extra manageability and shine, consider incorporating a leave-in conditioner for hydration and definition.
Defined Part Polish
I like to think of the Defined Part Polish as the sharp-dressed cousin of casual curls—it’s all about carving a clean part, slicking the sides, and letting medium-length curls sit sculpted on top.
I guide you through crisp parting, light pomade for control, and targeted drying to keep volume where it counts.
It’s neat, wearable, and surprisingly low-maintenance.
For more inspiration, explore Curly Hairstyle Ideas to see variations and styling tips.
Gelled Curl Control
Think of gelled curl control as the sleek cousin of tousled curls—I use a clear-hold gel to sculpt medium-length ringlets so they sit defined and shiny without feeling crunchy.
I comb through, scrunch gently, then air-dry or diffuse for control.
My go-to steps:
- Apply small amount evenly
- Finger-twist stubborn curls
- Smooth edges with a brush
- Finish with light shine spray
Tapered Side Contrast
Contrast grabs attention: I pair tight, tapered sides with medium-length slicked curls on top to keep the profile clean while letting texture do the talking.
I’ll comb the sides short, leave length above, and use a light pomade to define curls without weight.
It’s low-maintenance, sharp, and versatile—great for work or weekend, giving shape and personality with minimal fuss.
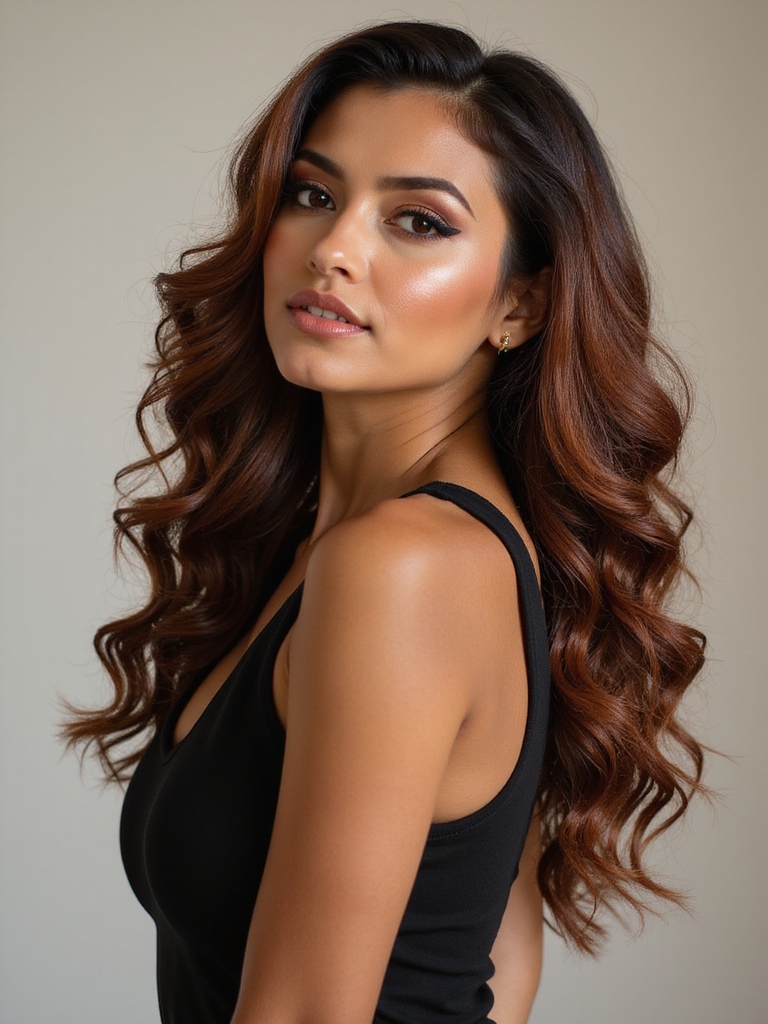
Long Curly Hair Pulled Back With Shine

When I pull my long curls back and add a glossing serum, they instantly look polished without losing bounce.
I love the mix of shine and movement — effortless glam with low fuss. Try these quick tips:
- Smooth roots with a light gel
- Apply serum mid-length to ends
- Use wide-tooth comb for gentle shaping
- Pin loosely for soft lift
Slick Back Curly Ponytail Variations

If you want a hairstyle that feels both sleek and fun, I love switching up my slicked-back curly ponytail with a few simple tweaks — high and tight for drama, low and looped for elegance, or side-swept for a flirty twist.
I slick edges, secure with a strong elastic, and tease the crown or define curls for texture. Quick, polished, and versatile.
Low Bun and Chignon Options for Curly Hair
I love how a sleek low bun can feel polished without killing my curls, so I’ll show a few tidy variations that keep frizz at bay.
I’ll also share textured chignon techniques that let your natural pattern peek through for dimension and movement.
Finally, I’ll cover practical tricks to secure curly updos so they stay put without pins chewing your hair.
Sleek Low Bun Variations
With a few smart moves and the right products, I can show you how sleek low buns and chignons make curly hair look polished without losing personality.
I’ll walk you through simple variations that tame frizz, highlight coils, and stay put all day.
- Smooth low bun with edge control
- Twisted chignon for volume
- Sleek wrapped bun
- Low knot with gel accents
Textured Chignon Techniques
Experimenting with textured chignons lets me turn curly hair’s natural bounce into chic, low-maintenance styles that feel polished without erasing personality.
I twist sections loosely, tuck ends into a soft low bun, and let tendrils peek for movement.
I’ll use minimal product to define texture and smooth flyaways, creating a relaxed, wearable chignon perfect for daytime or dressier moments.
Securing Curly Updos
Let’s talk about how I actually keep curly updos in place without turning them into a stiff helmet: it’s all about balancing grip, gentle tension, and strategic pin placement.
I favor low buns and chignons that feel soft but secure. Quick tips:
- Use a wide elastic to anchor
- Pin in an X for hold
- Tuck ends loosely
- Finish with light mist of spray
Half-Slicked Back Looks for Volume Balance
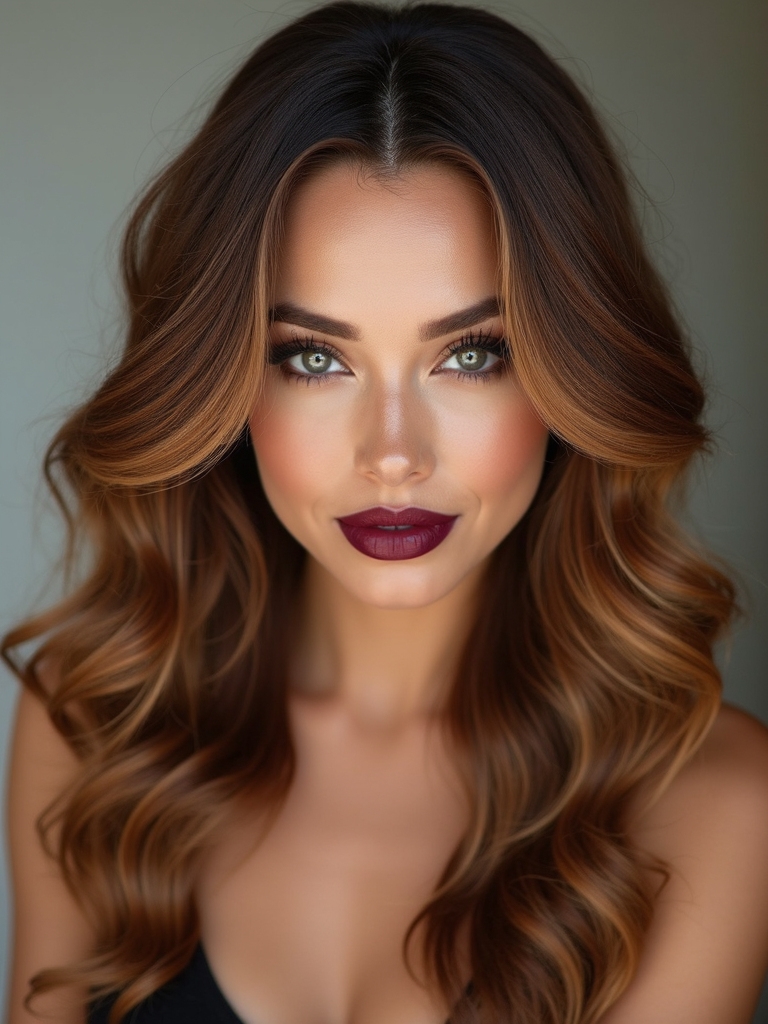
I like to half-slick my curls when I want the drama of a slicked-back look but still need height and bounce up top—think polished at the sides, lively on the crown.
I brush sides smooth with gel, clip or pin mid-back, then fluff the crown for volume.
It’s quick, keeps curls defined, and balances sleekness with playful lift for everyday wear.
Slick Back Curly Updos for Formal Events

When I need to make curls feel tuxedo-ready, I slick the sides back and turn the crown into an elegant updo that still shows off texture and bounce.
I walk you through quick steps and playful tips so you look polished without losing movement.
- Smooth sides with gel or cream
- Loosely gather crown into a soft bun
- Pin for shape, not stiffness
- Add shine spray for polish
Edges and Hairline Styling for Slick Back Curls
After slicking the sides and shaping the crown, I pay careful attention to the edges and hairline—those small details make a slick-back curl look finished instead of just pushed back.
I gently smooth baby hairs with a tiny brush, sculpt subtle swoops, and clean stray hairs at the temples.
It’s about crisp lines and soft shifts so the style reads polished, not overdone.
Product Guide: Pomades, Creams, and Gels for Curly Hair
I’m going to help you pick between pomades, creams, and gels so your slick back curls have the right hold and shine without looking greasy.
I’ll point out which formulas lock shape versus which boost moisture, and what ingredients to watch for if your curls need hydration or frizz control.
Stick with me and you’ll learn quick swaps for shine, slip, and lasting hold.
Hold vs. Shine
I usually tell people that hold and shine are like the backbone and the finishing touch of any slick-back curly look, and choosing the right product makes all the difference.
I pick products based on desired control and gloss. Quick tips:
- Pomade: strong hold, high shine
- Gel: firm hold, varying shine
- Cream: light hold, low shine
- Blend for balance and texture
Moisture and Ingredients
Balancing moisture and ingredients is where your slick-back curly routine wins or loses, so I look for products that hydrate without weighing curls down.
I prioritize lightweight humectants like glycerin, emollients such as jojoba or squalane, and avoid heavy mineral oils.
For hold, I choose water-based gels or light pomades with nourishing extracts—less crunch, more soft control and shine that lasts.
Tools and Techniques: Combs, Brushes, and Fingers

Although it might seem simple, choosing between a comb, brush, or your fingers changes everything when I slick back curls—so I’ll walk you through when and how to use each tool.
- Wide-tooth comb: detangle gently, keep shape.
- Boar brush: smooth edges, distribute product.
- Fingers: sculpt and preserve texture.
- Fine-tooth tail comb: define hairline and precision.
Maintaining Moisture and Avoiding Flaking
Usually I keep a small arsenal of leave-in products handy so my curls stay hydrated without turning my scalp into a chalkboard; here’s how I do it.
I mist damp hair, rake in a lightweight cream, and seal ends with oil.
I use minimal gel near the roots, diffuse gently, and refresh with a spritz—no powdery flakes, just glossy, defined slick-back curls.
Transitioning Between Sleek and Natural Texture
When I want to shift from a sleek, sculpted look back to my natural curl pattern, I take a few deliberate steps so the change doesn’t look like a styling afterthought.
I loosen product, revive texture, and let bounce return.
- Finger-detangle gently
- Spritz with water or leave-in
- Scrunch to reactivate curls
- Diffuse on low for shape
Styling Tips for Different Curl Types

I know one product won’t work for every curl, so I’ll help you pick gels, creams, or oils based on your curl pattern.
I’ll also show simple techniques—like raking, scrunching, or finger-twisting—that actually bring out definition without frizz.
Stick with me and we’ll match the right product and method to your specific curls.
Choose Products by Curl
Curly hair isn’t one-size-fits-all, so I pick products based on the curl pattern I’m working with—loose waves, springy S-curls, or tight coils each need different hold, moisture, and definition.
I guide you simply:
- Waves: lightweight cream or salt spray
- S-curls: curl-enhancing mousse
- Coils: rich leave-in cream
- Frizz control: light oil or gel blend
Techniques for Curl Definition
Let’s plunge into defining those curls so they actually behave—whether you’re working with loose waves, S-curls, or tight coils, each pattern needs a different touch to pop.
I recommend finger-twisting coils, scrunching with a gel for S-patterns, and rake-and-set for waves.
Diffuse low and finish with oil on ends.
Sleep on silk, refresh with a mist in mornings.
I hope this guide got you excited to slick back those curls—with control but without sacrificing bounce. Try the prep tips, pick a style that fits your length, and experiment with gels, serums, and low-tension drying to keep shine and movement.
Don’t be afraid to mix finger-styling with a wide-tooth comb, and adjust products for your curl type. Have fun, play around, and rock that polished-yet-playful look every day.


