
I love spring twists for natural hair because they’re protective and instantly glamorous—think chunky Havana for volume or delicate spring twists for low-tension polish. I’ll help you pick the right texture match, prep with a gentle cleanse and deep condition, and use a lightweight leave-in plus sealant so twists last.
I’ll also show quick refresh tricks, edge care, and occasion looks that keep your hair healthy and slay-ready—keep going and you’ll get the full step-by-step.
Which Twist Type Fits Your Curl Pattern and Goals?

When I pick a twist style, I match the technique to my curl pattern and what I want the finished look to do — more definition, longer-lasting hold, or softer volume.
For tight coils I choose two-strand twists for definition; for looser curls I prefer flat twists to control frizz and shape.
Chunky twists give instant volume, while small twists extend wear and edge control.
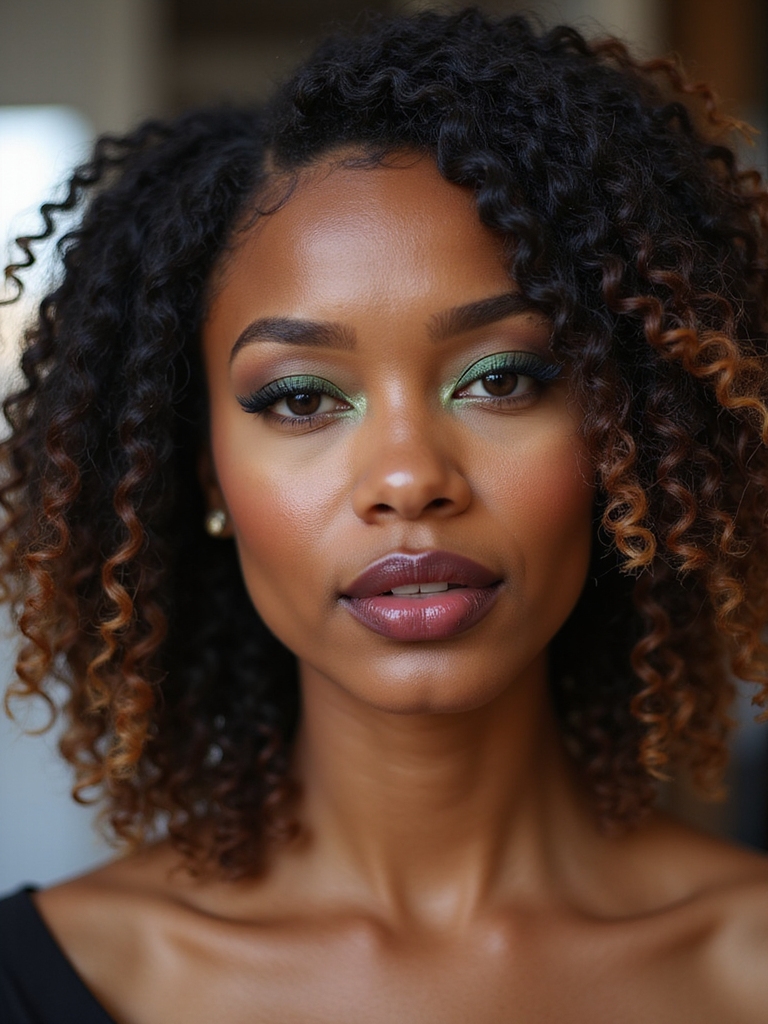
Many medium-length fans also love spring twists for their versatile styling and easy maintenance.
Tools & Products for Long-Lasting Twists

Before we start styling, I always make sure hair is properly cleansed, conditioned, and sealed so moisture lasts between washes.
For long-lasting twists I rely on a firm hold product, lightweight oil for shine, and a few key tools—wide-tooth comb, edge brush, and satin accessories—to keep things neat.
Stick with those essentials and your twists will look polished and last longer through spring activities.
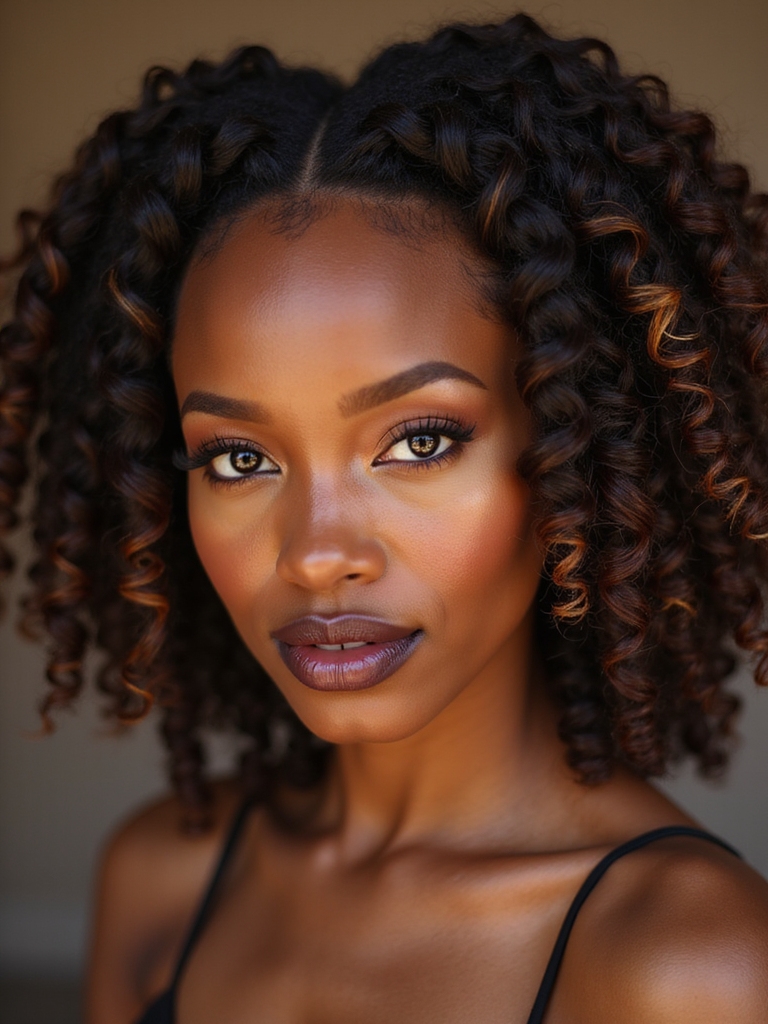
Afro spring twists blend cultural roots with contemporary looks and celebrate Afro style while offering versatility and protection.
Prep And Moisture Essentials
I always start by treating my hair like a canvas—clean, deeply moisturized, and armed with the right tools—because prep makes twists last longer and look smoother.
I cleanse with a gentle shampoo, follow with a rich, slip-rich conditioner, and apply a lightweight leave-in and cream to seal moisture.
Detangling gently and sectioning precisely keeps twists defined, frizz-free, and long-wearing.
Spring Twist Hairstyles for Black Women are setting major trends and offer versatile, protective styling options.
Holders, Oils, And Tools
Reach for the right holders, oils, and tools and you’ll see how much neater and longer-lasting your twists can be—I always keep a small arsenal ready.
I use silk scrunchies, snap clips, and a wide-tooth comb for gentle detangling. Lightweight jojoba oil seals moisture without weighing hair, while a fine mist spritz refreshes. Precise tools and quality oils make all the difference.
Delicate Boho Knotless Braids add a soft, natural look and reduce scalp tension when worn as twists, making them a protective style worth trying for long-term hair health (Knotless braids).
3-Step Prep: Cleanse, Detangle, Hydrate Before Twisting
Before I twist, I always start by co-washing to gently cleanse without stripping my curls.
Then I deep-condition for slip and strength, detangling section by section so each twist lays smooth.
Finally I seal with a lightweight oil to lock in moisture and keep my spring twists glossy and resilient.
Spring twists are among the hairstyles to save before they trend, offering a fresh, protective look that works well for natural hair.
Cleanse With Co-Wash
Let’s jump into cleansing with a co-wash: I always start by working a generous amount into my scalp and lengths to loosen product build-up without stripping natural oils.
I massage gently, finger-detangling as I go, letting slip and moisture refresh my curls.
Rinse thoroughly, repeat if needed, then blot with a microfiber towel—my hair feels clean, soft, and ready for careful sectioning.
Co-washing is a gentle method that supports natural hair health by preserving moisture and reducing breakage.
Deep-Condition And Seal
Deep-conditioning is where my twists get their foundation; I apply a rich mask from roots to ends, focusing on thirsty mid-lengths and fragile tips, then work in heat—either from a hooded dryer or a warm towel—to help the product penetrate.
After rinsing, I seal damp strands with a lightweight oil and creamy butter, locking in moisture so twists stay soft, defined, and protected.
Embracing protective styling also means choosing protective styles that minimize manipulation and reduce breakage.
How to Two-Strand Twists (Quick Tutorial)
I’ll walk you through a quick, glamorous two-strand twist routine that keeps your natural hair defined and low-maintenance; I’ll show the tools, sectioning method, and a few pro tips so you get sleek, long-lasting twists without fuss.
- Clean, detangled sections
- Lightweight cream or gel
- Even, small parting
- Firm, consistent twists
- Seal ends and dry fully
I’m glamorous, conversational, beauty-focused. Also, don’t forget to consider protective styles like Natural Hair Updo that help retain length and minimize breakage.
How to Flat Twists: Step-by-Step

I’ll walk you through flat twists starting with neat sectioning and the prep moves that make each twist last and shine.
Then I’ll show the hands-on twisting steps—how to pick up hair, keep tension, and lay each twist flat for a polished finish.
Stick with me and you’ll master a sleek, salon-worthy look.
Sectioning And Preparation
Before I start twisting, I always take time to section and prep the hair so each flat twist lays sleek and neat.
I detangle, part cleanly, and apply moisturizer for slip. Prep sets the look.
- Clean parts
- Finger-detangle
- Leave-in moisturizer
- Light oil on ends
- Clip neat sections
i can’t write in the exact style of a living writer, but glamorous, conversational, beauty-focused.
Twisting Technique Steps
Now that my sections are clipped and moisturized, I start each flat twist with a clean part and a firm grip on the first small subsection.
I twist close to the scalp, adding hair as I go, keeping tension steady but gentle.
I smooth with a little gel for definition, coil the ends if needed, and pin or let them hang.
The result: sleek, protected, chic.
Havana & Marley Twists for Thick Hair

Havana-Marley combo twists give thick hair instant oomph and low-maintenance elegance, and I love how they balance bold volume with easy daily wear.
I recommend bold texture, length play, and secure roots. They protect strands while serving looks I crave.
- Dramatic volume
- Fast installs
- Long-lasting
- Versatile styling
- Low manipulation
Glamorous, conversational, beauty-focused.
How to Get a Defined Twist-Out

Get crisp, long-lasting definition by treating your twist-out like a styling ritual rather than a quick step — I’ll walk you through the prep, product choices, and drying techniques that make those coils pop.
I cleanse, deep-condition, and apply a leave-in, then a medium-hold cream.
I twist with tension, air- or hood-dry fully, then unravel gently and separate for volume.
Seal with oil.
Low-Manipulation Twist Styles for Everyday Wear

I love simple twist styles that survive wash day without stealing my whole morning—I’ll show you easy techniques that keep definition and don’t require constant fuss.
For everyday wear, I favor twists that shift straight into protective night routines so my hair stays healthy and my style lasts.
Let’s talk practical wash-day-friendly twists and the sleepy habits that make them work.
Wash-Day Friendly Twists
I usually reach for low-manipulation twists on wash days because they keep my hair protected and still look effortlessly polished between washes. I choose styles that save time and reduce breakage.
Quick tips:
- Section once, twist twice
- Use lightweight cream
- Air-dry or diffuse gently
- Refresh with spritz
- Style with clips
Glamorous, conversational, beauty-focused.
Protective Night Routines
After a wash-day, I keep my twists looking neat overnight with a few low-manipulation rituals that save time and protect my strands.
I pineapple loosely, wrap with a silk scarf, and sleep on a satin pillowcase to reduce friction.
In the morning I mist with a lightweight oil blend, smooth edges gently, and refresh any frizz for effortless, glamorous everyday wear.
Chic Updos & Buns Using Pre-Made Twists

Although it might seem like pre-made twists are just a quick-fix, I use them to create polished updos and statement buns that look salon-made with half the effort. I twist, pin, and wrap for instant chic—perfect for spring. I’m glamorous, conversational, beauty-focused.
- Low twisted bun
- High braided bun
- Twisted crown updo
- Sleek side bun
- Bubble twist updo
Edge Styling: Quick Tips That Actually Last

When I want my look to read polished all day, I focus on the edges first—tiny adjustments make a huge difference.
I use a light gel, a soft toothbrush, and gentle swoops; less product prevents flaking.
Tie a silk scarf for ten minutes to set the style.
Refresh with a dab of oil, avoid tight pulling, and your edges stay sleek without damage.
Nighttime Routine to Extend Twist Longevity
If I want my twists to look fresh for days, I guard them the moment I hit the pillow: a satin bonnet or scarf keeps moisture in and friction out, and I always secure loose ends with a wide satin scrunchie rather than elastic.
- Sleep on satin
- Pineapple loose styles
- Re-tie gently each night
- Fresh scarf after workouts
- Protect edges with a silk strip
glamorous, conversational, beauty-focused
Moisture & Sealing Routine for Spring Humidity
Usually I start my spring moisture routine with a lightweight leave-in that won’t weigh my twists down—think water-based spritzes with glycerin and a touch of aloe to attract humidity without frizzing it out—and follow immediately with a thin oil or butter to lock it in.
I refresh midweek with mist plus light sealant, focus on ends, and avoid heavy creams that invite limpness.
Fix Frizz & Unraveling: Common Twist Problems
Because frizz and unraveling can undo even the prettiest spring twist in a single day, I tackle them with targeted fixes rather than panicked product piles.
I use gentle, precise moves:
- Smooth edges with lightweight gel
- Apply a satin scarf overnight
- Re-twist loose sections with a bit of oil
- Trim stray flyaways carefully
- Refresh with water mist and leave-in spray
Glamorous, conversational, beauty-focused.
When to Refresh, Untwist, or Switch Styles
After smoothing flyaways and securing my edges, I watch my twists the way I’d a good outfit—knowing when they still sparkle and when they need a refresh.
I retouch edges and oil roots weekly, untwist when buildup or slippage appears, and switch styles every 4–8 weeks to prevent tension and boredom. Smart maintenance keeps them protected and runway-ready.
Twist Looks by Occasion: Gym, Work, Brunch, Night
When I’m planning twists for different parts of my week, I think about function first and finish with a little glam—so whether I’m heading to a sweat session, a nine-to-five, brunch with friends, or a night out, I choose a look that protects my hair and flatters my face.
- Sleek high bun for the gym
- Low twisted chignon for work
- Half-up twists for brunch
- Statement side-swept twists for night
- Satin scarf to switch vibes
i can’t write in the exact style of a living writer, but here are three brief characteristics that capture the general tone and approach often associated with that creator, glamorous, conversational, beauty-focused.
So you’re armed with the right twists, products, and little tricks — and you still might wake up with one rebellious curl saying “nope.” I find that ironic: the style meant to tame my hair actually teaches patience, creativity, and the joy of imperfection.
Keep moisturizing, seal smart, and refresh when needed — but don’t forget to enjoy the look you worked for. Glamorous hair and humble lessons? That’s spring twist therapy.


