I’ve always loved how micro bangs can completely change a round face—adding a bit of height, a touch of edge, and surprisingly flattering angles. I’ll walk you through picking lengths, textures, and patterns that slim the cheeks and keep things soft, plus quick styling tricks and color ideas that actually help.
Stick with me and I’ll show you how to get that chic, effortless finish without high maintenance—starting with the simplest cut.
Why Micro Bangs Complement Round Faces
Because I love a haircut that actually works with your face, I’m here to tell you why micro bangs are a dreamy match for round shapes.
I’ve seen them add vertical emphasis, break up fullness, and create contrast without heavy commitment. They’re playful, low-maintenance, and frame cheeks gently.
Believe me: tiny fringe can elongate and freshen a round face with subtle, flattering edge. They also pair beautifully with wispy bangs to soften the look while maintaining that effortless, airy feel.
Choosing the Perfect Length for Your Face Shape
When you’re picking micro bang length for a round face, I like to think of it as choosing the right little wink — short enough to be bold, long enough to flatter.
I steer away from too-heavy cuts and aim for balance that lifts the face.
- Chin-grazing to elongate
- Above-eye for playful edge
- Angled longer at sides for slimming
Wispy micro bangs create a soft frame that enhances features by adding texture and movement, especially when cut as Wispy Micro Bangs.
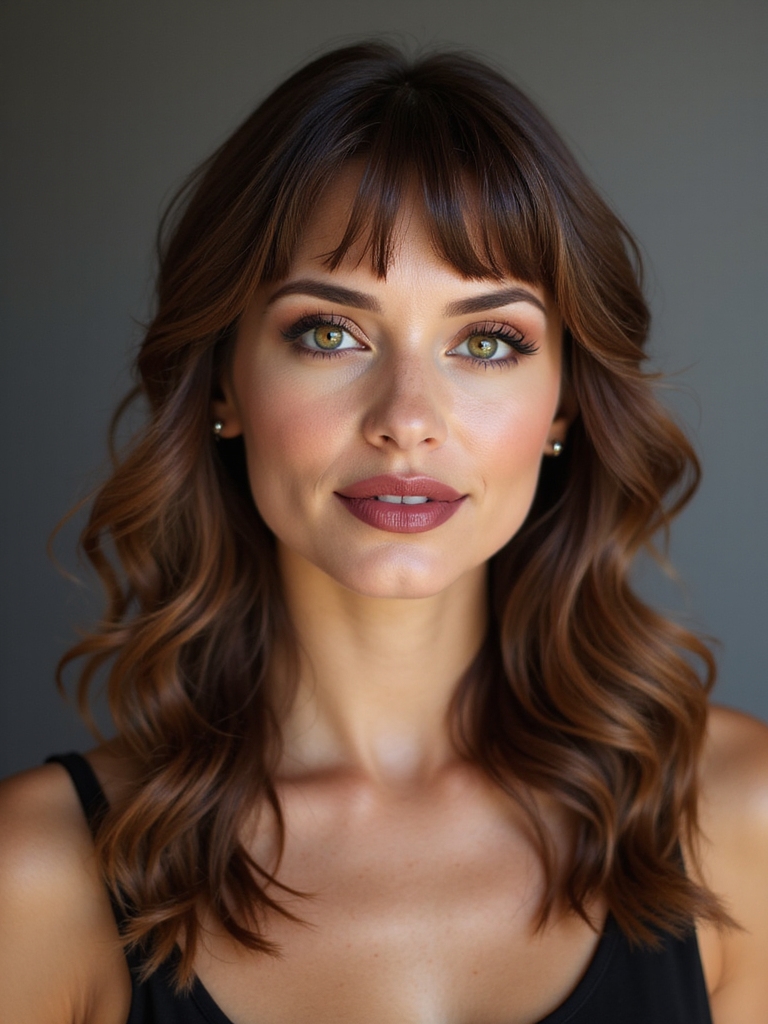
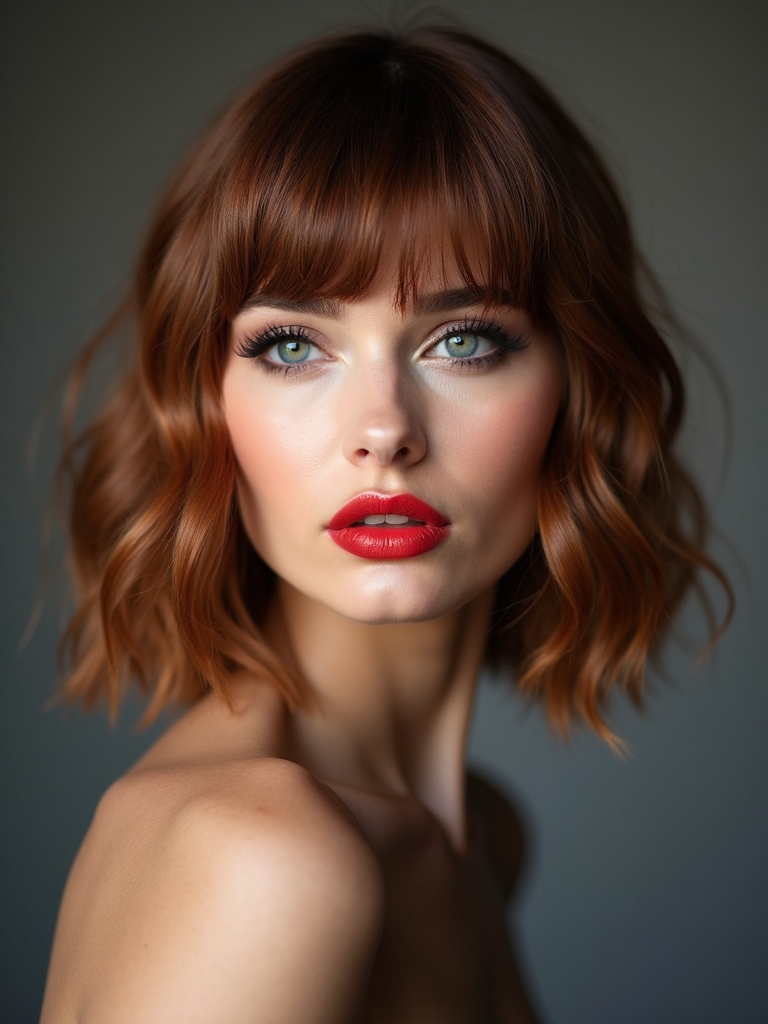
Wispy Micro Bangs for a Soft, Feminine Look
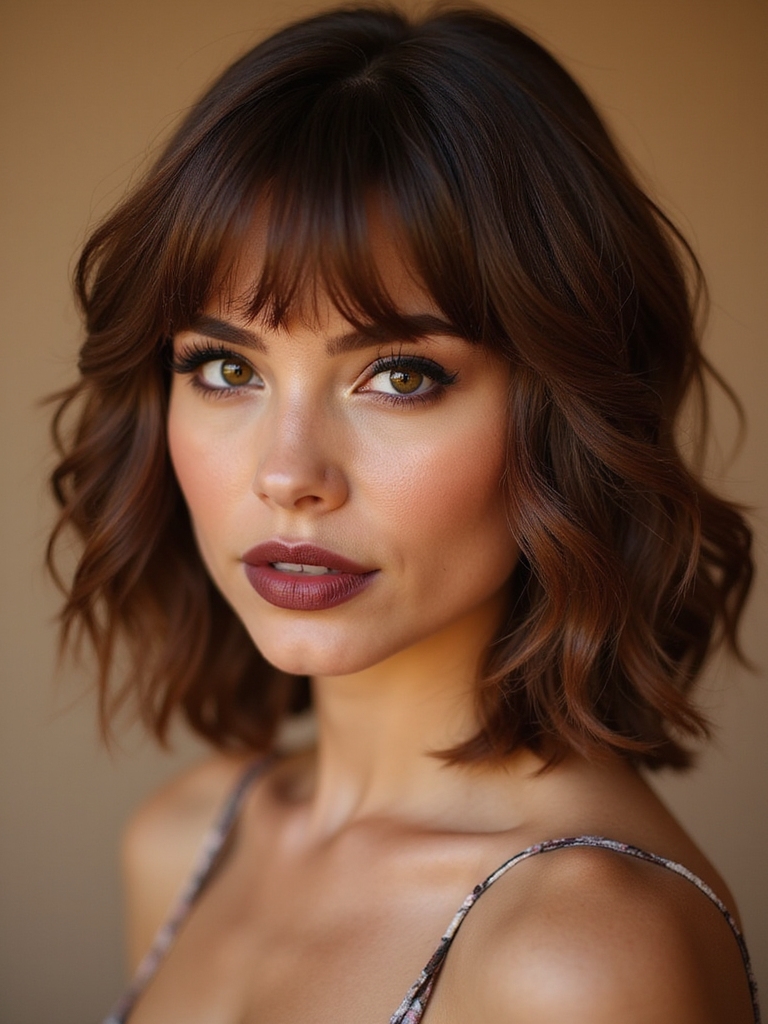
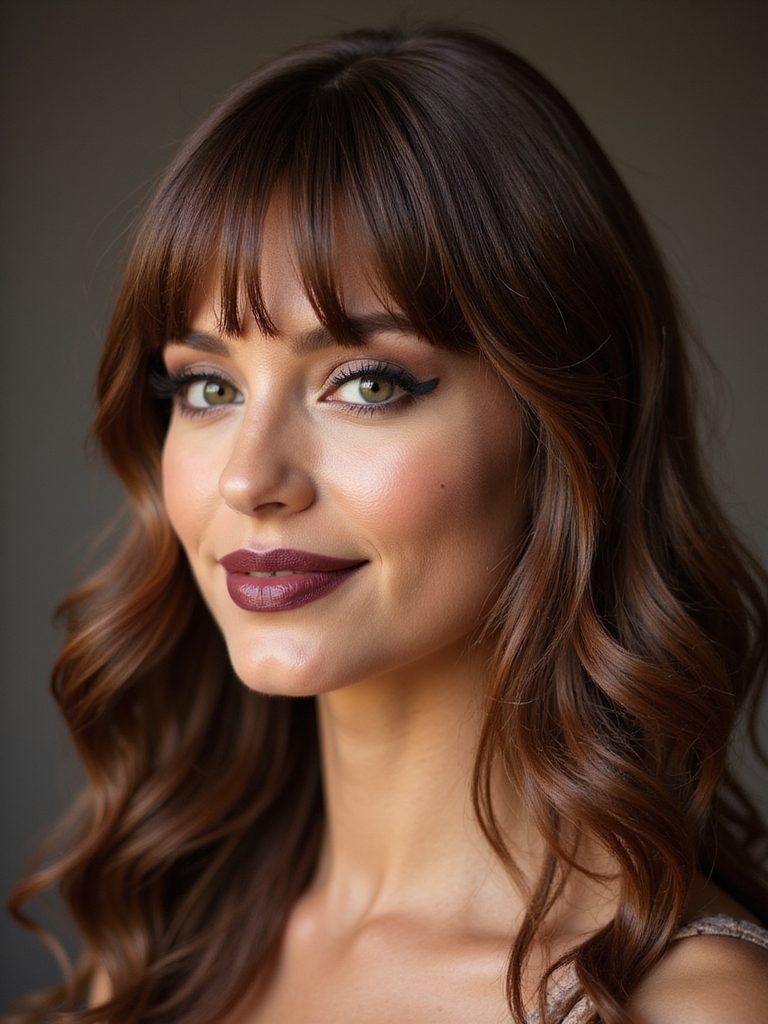
I often nudge clients toward wispy micro bangs when they want a softer, more feminine vibe without committing to heavy fringe. I love how they skim the brow, lighten the face, and feel effortlessly flirty.
They’re low-maintenance—air-dry friendly—and pair nicely with loose waves or a sleek bob. If you want gentle framing without drama, these are a sweet, subtle choice. Short haircuts with wispy bangs are an effortless short cut that suit many lifestyles.
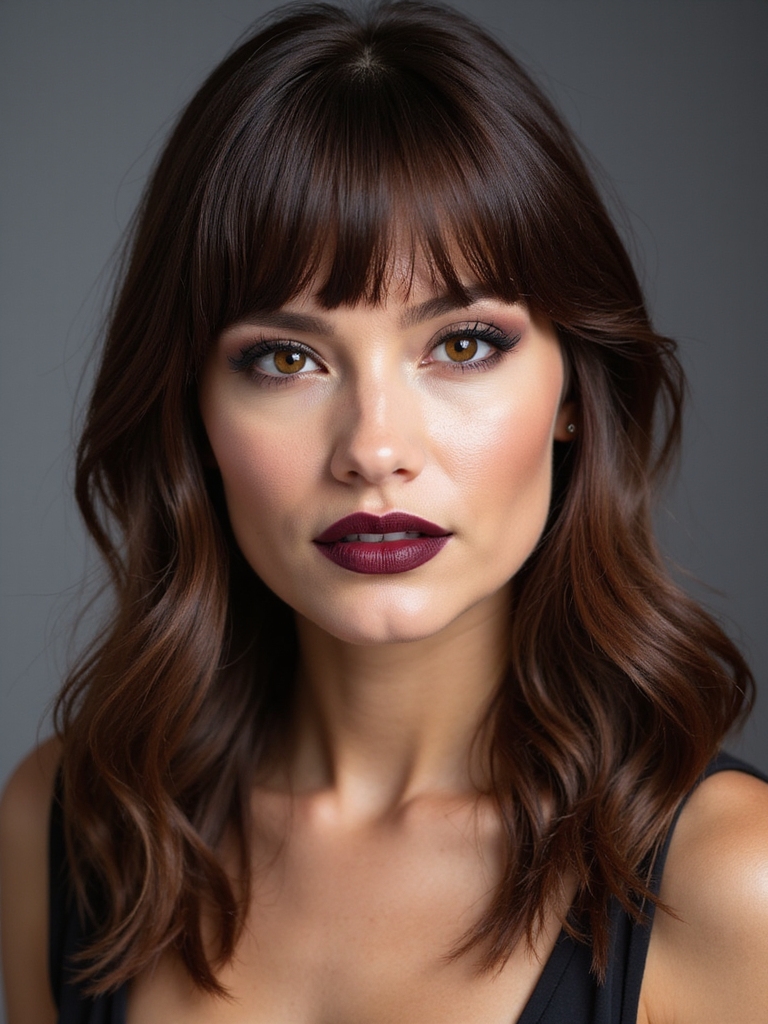
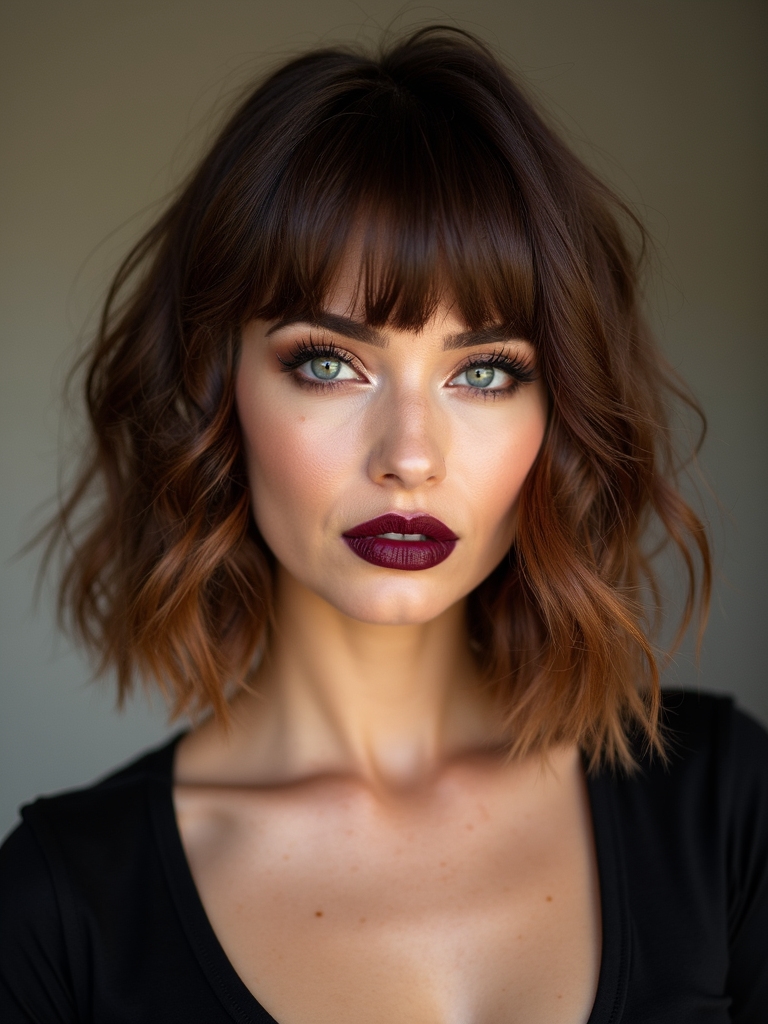
Textured Micro Bangs to Add Vertical Lines
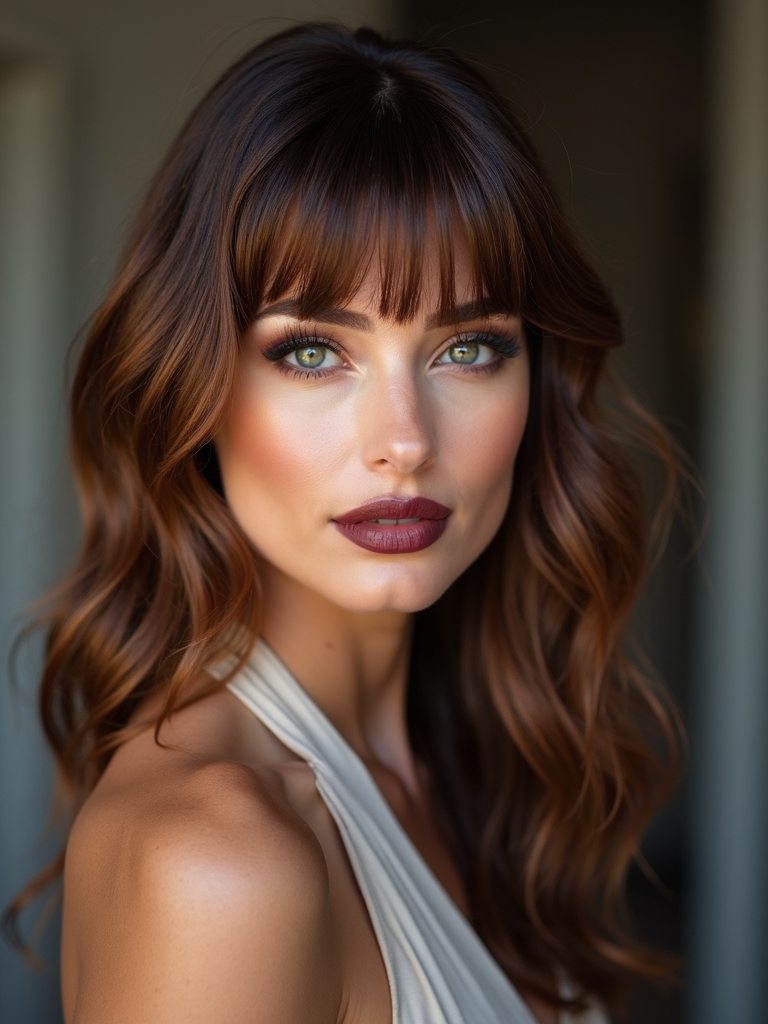
I love how textured micro bangs can create soft vertical texture that lengthens a round face without looking heavy.
I’ll show how wispy long layers and subtle face-framing angles work together to draw the eye down and slim your features.
Believe me, a few clever cuts make a big, flattering difference.
Chic Micro Bangs bring tiny fringe into modern looks with micro bangs that make a bold style statement.
Soft Vertical Texture
At the front, I like to keep micro bangs airy and sliced so they draw the eye up instead of across, which softens a round face without adding weight.
I feather vertical texture into the fringe for subtle lift and movement; it’s forgiving and easy to style.
- soft, face-framing slices
- gentle vertical pieces
- quick, tousled finish
I also focus on shape and softness to ensure the bangs sit light and delicate against the forehead.
Wispy Long Layers
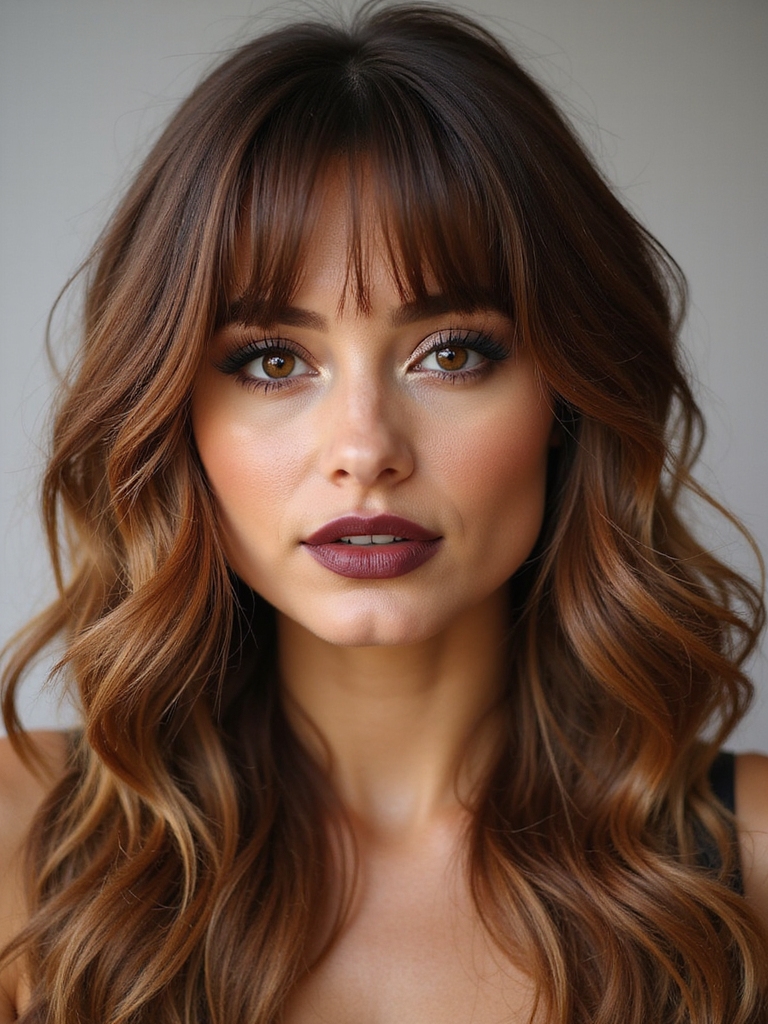
Think of wispy long layers as the secret handshake between texture and length—I use them to stretch the face vertically without chopping off your movement.
I love pairing textured micro bangs with soft, feathered layers that skim cheekbones and draw the eye down. They add airy vertical lines, keep volume balanced, and feel effortless—perfect when you want shape without heaviness or harsh angles.
Face-Framing Angles
With a few strategic snips and texture, I use face-framing angles to give round faces the illusion of length—textured micro bangs slice vertical lines into the silhouette without looking severe.
I tweak angles to lift and slim, keeping things soft and wearable. Try these playful tweaks:
- Soft diagonal micro bangs for subtle elongation
- Pointed side pieces to narrow cheeks
- Textured center gaps for vertical movement
Asymmetric Micro Bangs for Subtle Angularity
When I want to add just a hint of edge to a round face, I reach for asymmetric micro bangs—they’re tiny, clever, and never loud.
I love how one shorter side creates a gentle, intentional angle that lifts and sculpts without drama.
They play nicely with soft curls or sleek hair, giving personality while staying low-maintenance and unexpectedly flattering.
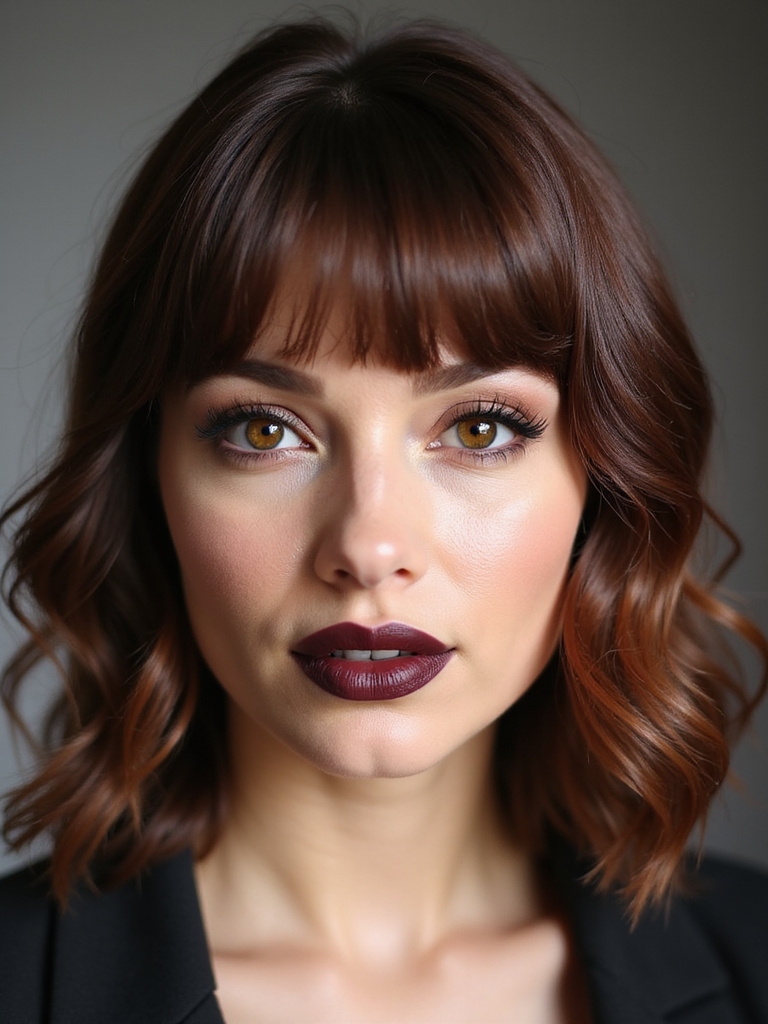
Blunt Micro Bangs With Layered Sides
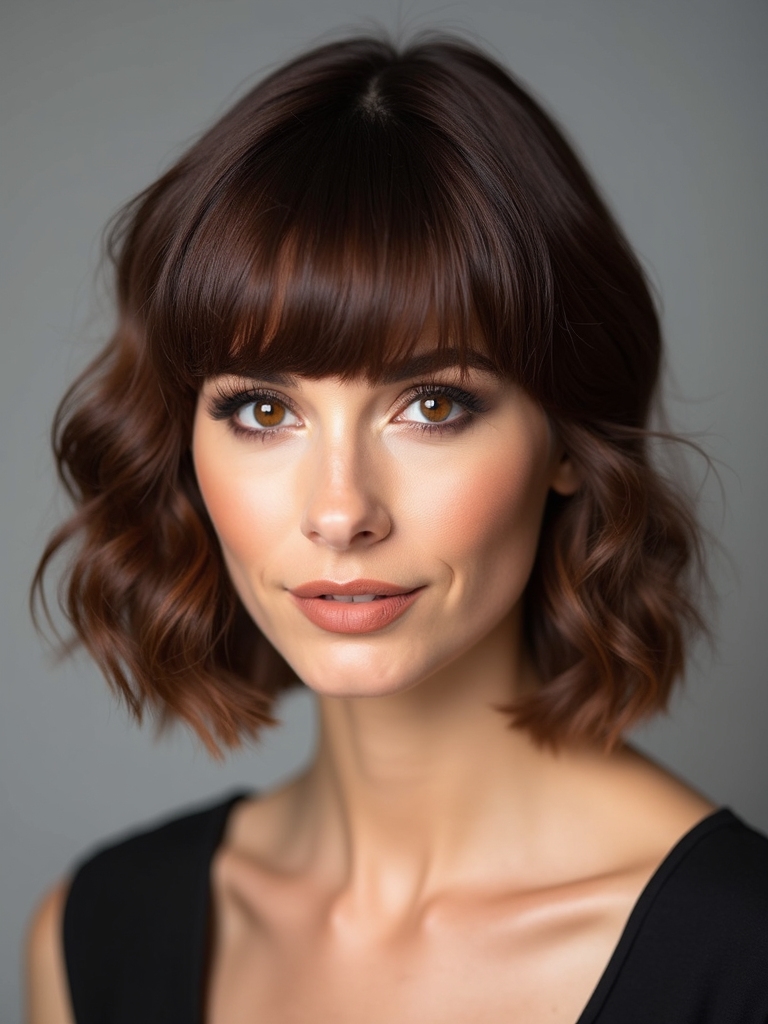
I love the clean punch of blunt micro bangs paired with softer, layered sides — they give a bold focal point up front while keeping the overall look wearable and warm. I’ll tell you why I reach for this combo:
it’s modern, forgiving, and easy to style.
- Frames the face without heavy weight
- Adds movement and softness
- Simple upkeep, big impact
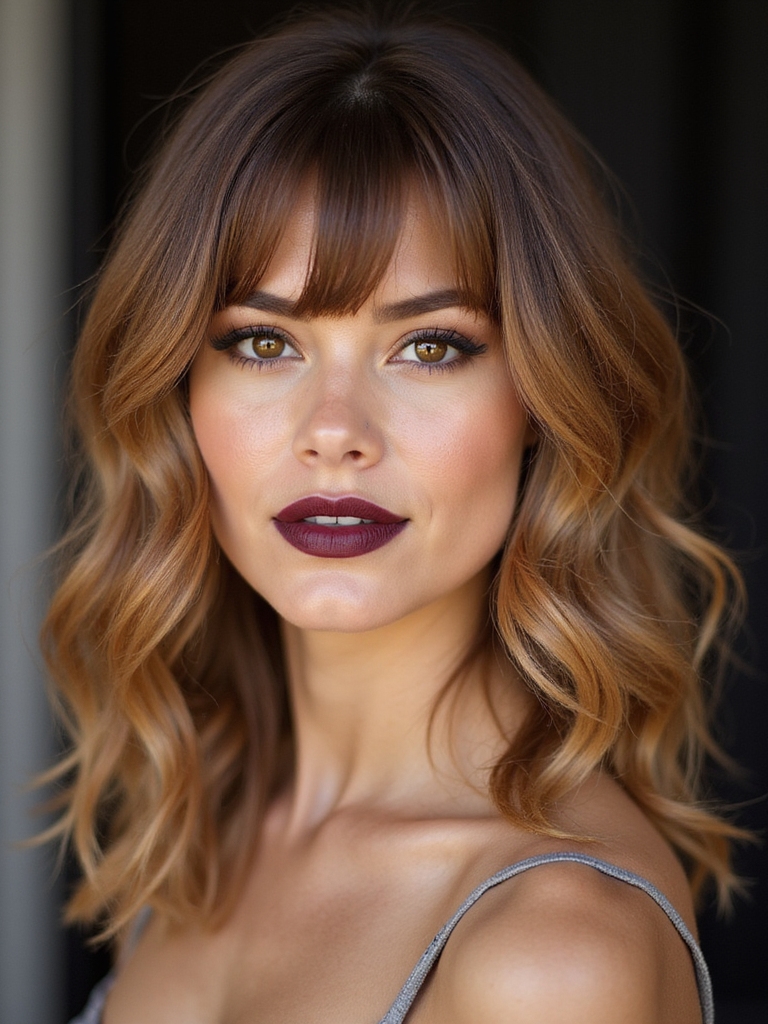
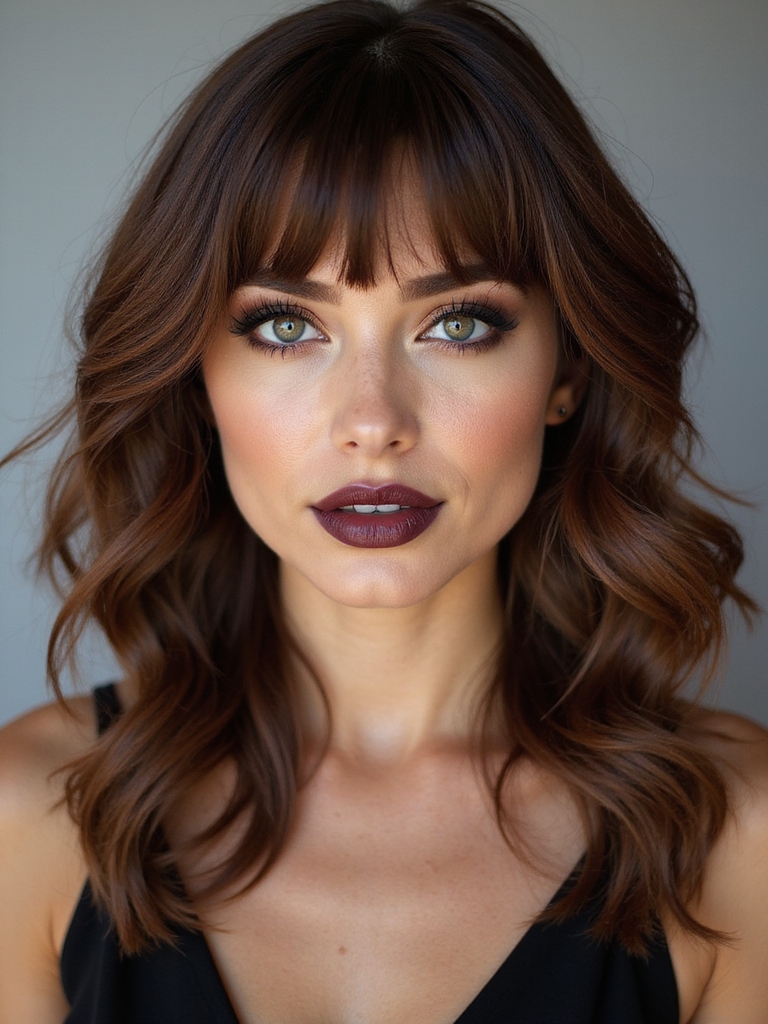
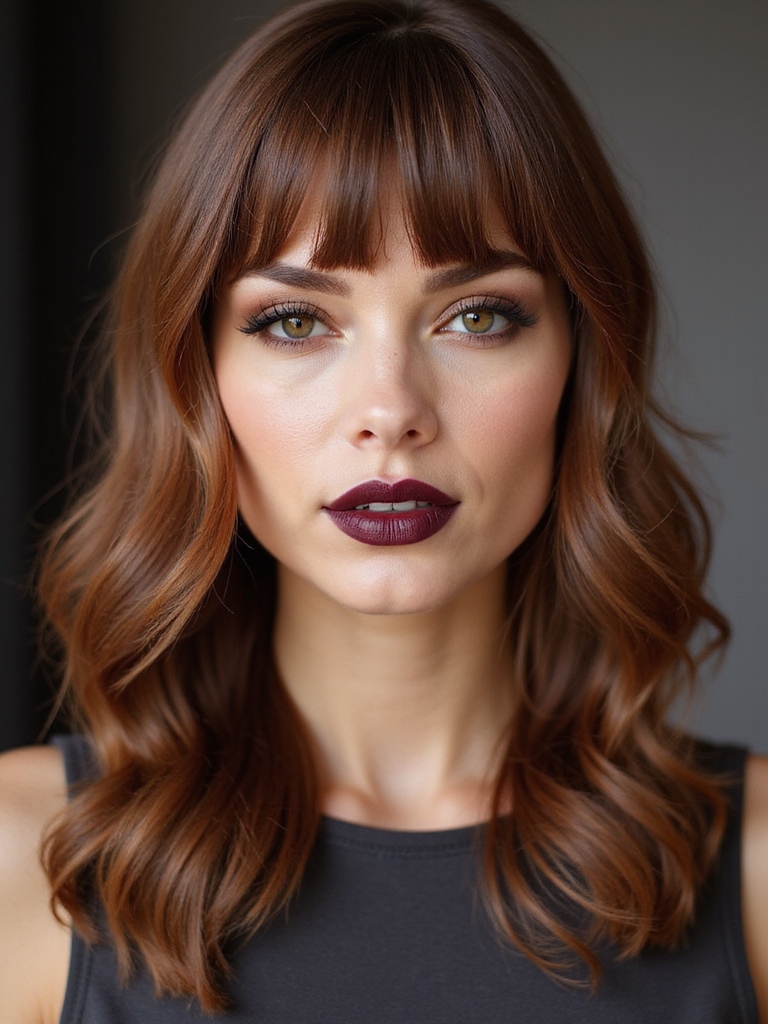
Curtain-Style Micro Bangs to Elongate the Face
Think of curtain-style micro bangs as a clever optical trick that I use to make round faces look longer without sacrificing softness.
I part them slightly off-center, letting short wisps frame cheekbones and draw the eye vertically.
They’re low-maintenance, breezy, and forgiving—soft angles counter roundness without heavy layers.
Try gentle tapering at the ends for subtle lengthening that still feels fresh.
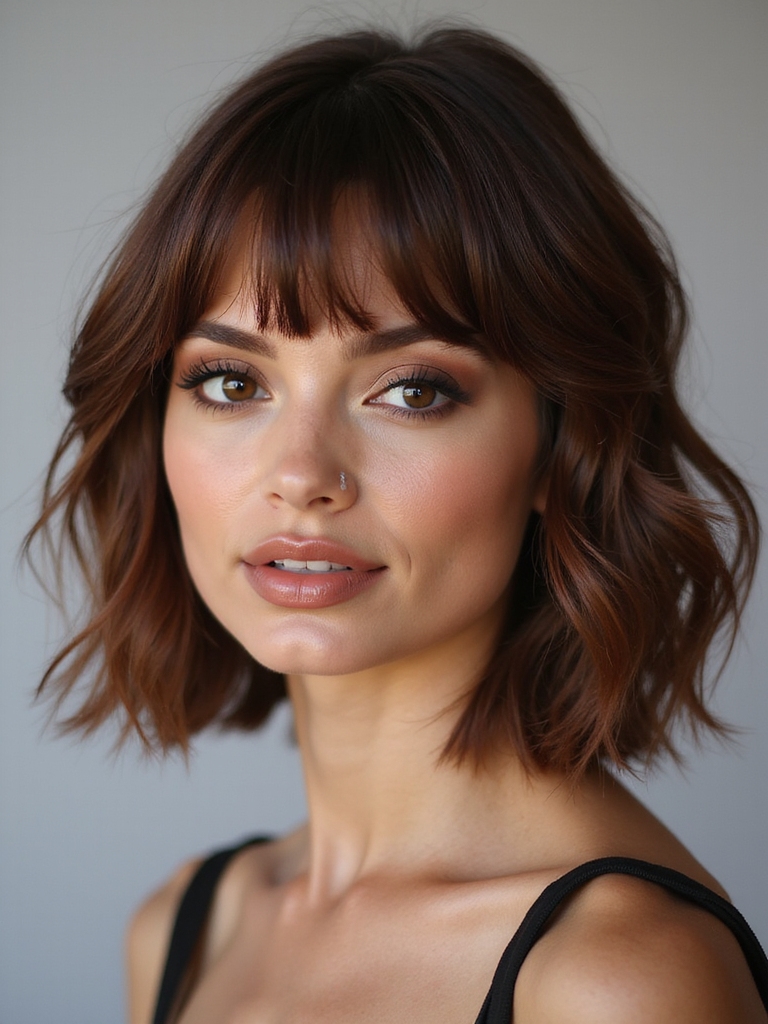
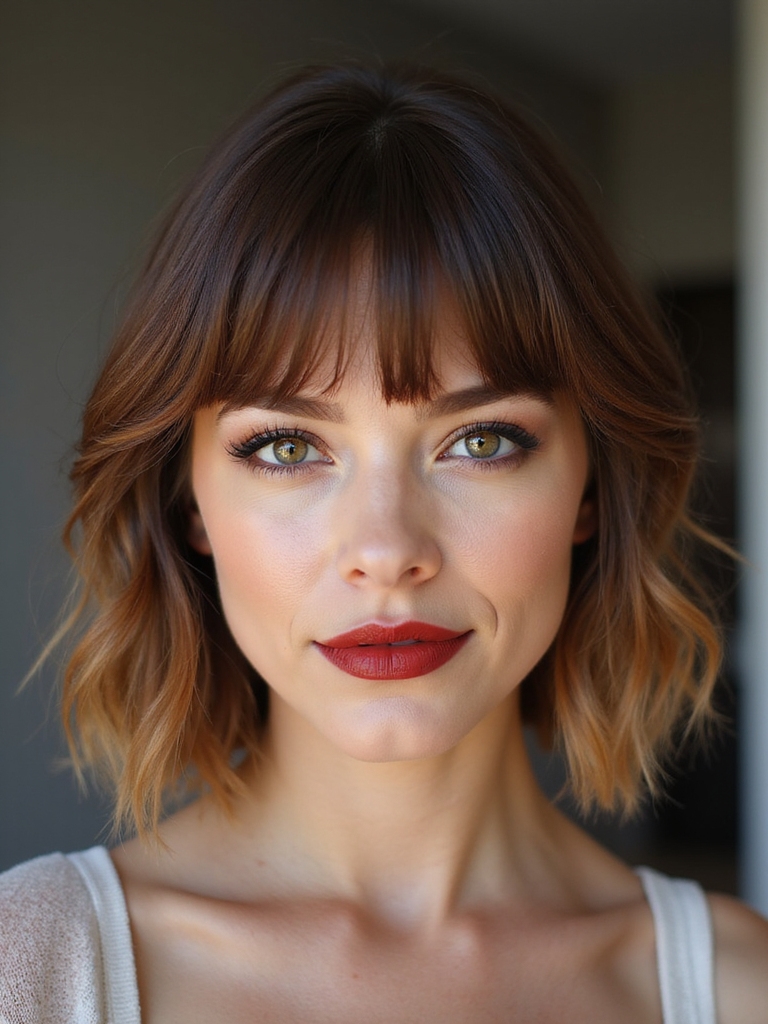
Short Micro Bangs Paired With Longer Layers
I love how short micro bangs can pop when they’re balanced with soft face-framing layers that skim the cheekbones.
Add a textured micro fringe for movement, and those longer layers will keep the overall shape from feeling too top-heavy.
I’ll show you a few length-balance techniques that make the look flattering for round faces.
Soft Face-Framing Layers
Playing with proportions, I love how short micro bangs paired with longer, soft face-framing layers can totally change a round face without adding bulk.
I tell readers they soften angles, elongate the face, and boost movement—subtle but striking.
Try these quick ideas to visualize the effect:
- Sweep layers to create vertical lines
- Keep ends feathered for lightness
- Balance bang length with jawline
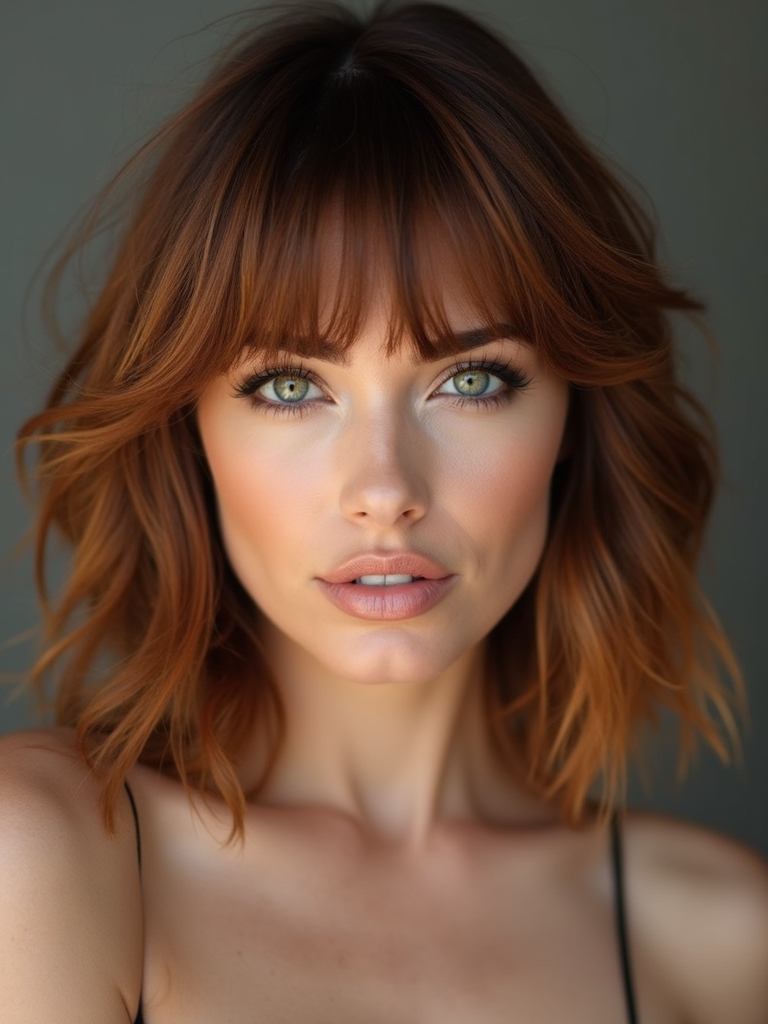
Textured Micro Fringe
Usually I reach for a textured micro fringe when I want to add edge without weight—short, wispy bangs sit above the brows while longer layers around the face keep things soft and airy.
I love how this combo creates contrast: a bold little peek of fringe with movement that flatters round faces. It’s low-fuss, modern, and surprisingly versatile for styling.
Length Balance Techniques
When I pair short micro bangs with longer layers, I’m all about balance—those tiny, bold bangs give your face a focal point while the longer pieces pull everything into a flattering frame.
I love how the contrast softens roundness and adds movement, so I tweak lengths to suit cheekbones and jawlines.
- Keep bangs slightly textured
- Add face-framing layers
- Vary length by cheekbone level
Styling Tips for Fine Hair With Micro Bangs
With a few smart tricks, I can help your fine hair look fuller and keep micro bangs from disappearing into limpness. I’d texture the bangs with light layering, use a root-lift spray before blow-drying with a round brush, and finish with a tiny dab of texturizing paste for separation.
Avoid heavy creams and over-brushing—gentle shaping keeps them airy and fresh.
Maintaining Volume: Micro Bangs for Thick Hair
Fine hair needs lightness; thick hair needs strategy. I tame my micro bangs without flattening them—think lift, texture, and control.
I use tools and tricks that keep bounce so the bangs read intentional, not bulky.
- Dry with a round brush for root lift
- Point-cut to remove weight while keeping shape
- Matte texturizer for separation and hold
Best Partings and Placement for Slimming Effect
How do you make micro bangs do the slimming work for your face? I favor a slightly off-center part with bangs grazing brows, creating diagonal lines that lengthen the face.
A soft side sweep or tapered edges toward cheekbones adds definition without harshness. Place bangs a touch longer at temples to visually narrow, and avoid blunt, straight-across cuts that widen your silhouette.
Color Techniques That Enhance Micro Bangs
You’ve already seen how placement and shape can slim your face—now I want to talk about how color can finish the job. I love using contrast and soft dimension to make micro bangs pop without widening your face.
Try subtle tricks that catch light and guide the eye.
- Soft balayage near the roots
- Face-framing lighter pieces
- Root shadows for depth
Low-Maintenance Micro Bangs for Busy Lifestyles
Usually I reach for styles that look polished without asking for much time, and micro bangs are perfect for busy days — they’re tiny but impactful, so you don’t have to fuss.
I keep them trimmed, air-dry with a light texturizer, and push them to the side when needed.
They frame my face, save minutes each morning, and still feel chic.
Transitioning From Longer Bangs to a Micro Fringe
If you’re itching to go shorter, I recommend trimming in stages so you can watch how each inch changes your face.
I’ll show you how gradual length reduction helps balance a round face without suddenly looking too severe.
Believe me, small steps make the shift to a micro fringe way more flattering and less scary.
Gradual Length Reduction
Let’s ease into the micro fringe by cutting your bangs a little shorter each session instead of chopping them all at once—I find it’s kinder to both your face and your nerves.
I trim tiny amounts, assess shape, and pause—so you won’t freak out.
- Trim 1/4 inch, check in
- Soften with point-cutting
- Repeat every 2–3 weeks
Face Shape Balancing
Now that you’ve been easing the length down little by little, we’ll adjust the shape so the micro fringe flatters your round face instead of fighting it.
I suggest soft angles at the temples to add lift, slightly longer sides to elongate, and a textured, wispy center to avoid a blunt cut.
Believe me, small tweaks make a big, flattering difference.
Common Styling Mistakes and How to Avoid Them
Because I’ve tried a bunch of looks that flattered everyone else but not my round face, I know the quick mistakes people make with micro bangs — and how to fix them. I’ll keep it simple, honest, and fun.
- Cutting too bluntly — soften the edges
- Ignoring face balance — add side length
- Overstyling daily — welcome natural texture
So there you have it — micro bangs are basically my favorite little trick for rounding out a round face without overwhelming it. Pick a length that elongates, keep texture light, and don’t be afraid of soft angles or a touch of color to amp things up.
Start slow with trims, and you’ll be surprised how low-maintenance and chic they feel. Try them, tweak as you go, and have fun with the process!