

I’ve spent years figuring out how to make curls look camera-ready under a mortarboard, and I’ll tell you the tricks I actually use — from the cut that gives your coils bounce to the quick morning refresh that wards off flatness.
I’m all about fuss-free moves that still look intentional, and I’ll show you easy styles and cap-ready tweaks so you walk across stage feeling like you, only sharper and photo-proof…
Choosing the Right Cut for Your Curl Type
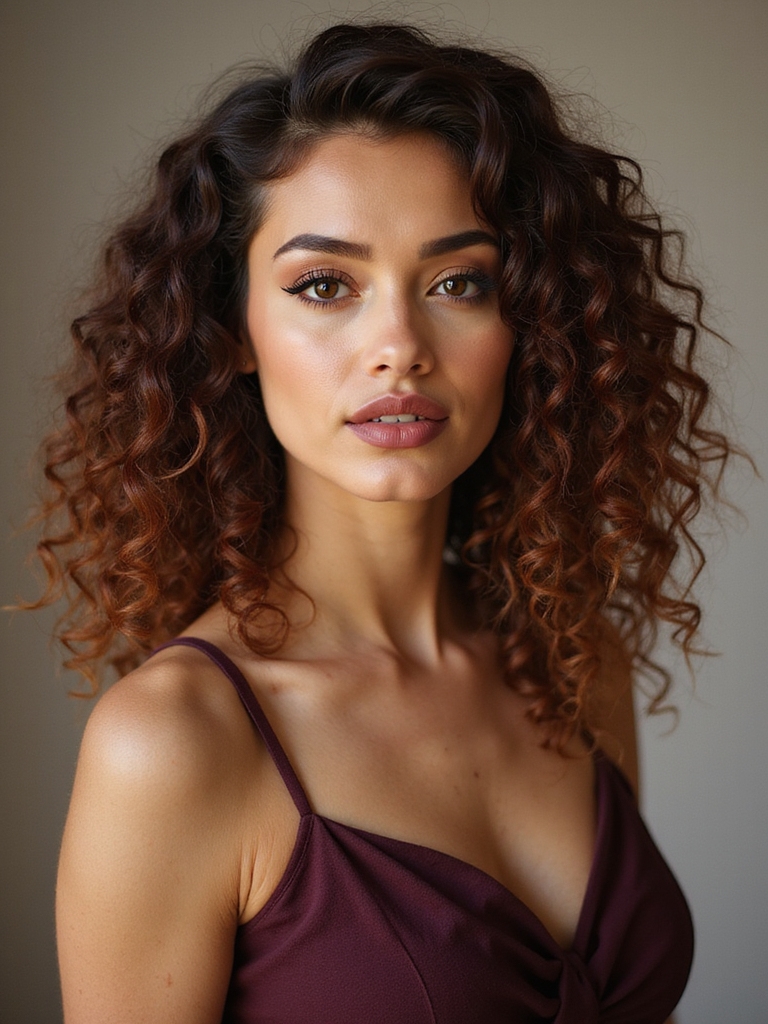
Because curls are wildly different, I always start by asking what your natural pattern actually does—does it spring into tight spirals, loosen into waves, or sit somewhere wonderfully in between?
I’ll recommend cuts that celebrate that shape: layers for bounce, a blunt line to weigh out frizz, or a tapered pixie for definition. We’ll pick length and texture that photograph beautifully and feel like you.
A great cut can instantly transform your look and highlight the beauty of curly haircuts in every shot.
Preparing Curls the Night Before Graduation

Now that we’ve picked the cut that flatters your curl pattern, let’s talk about how to make those coils behave overnight so you wake up camera-ready.
I’ll pineapple loosely, spritz a lightweight leave-in, and scrunch with a tiny bit of cream.
Satin bonnet or pillowcase is non-negotiable.
Sleep gently, avoid tight ties, and believe me—morning curls will be bouncy, defined, and ready.
Effortless Curly Afro Styles for Everyday Glam highlights techniques for maintaining shape and shine with satin protection.
Morning Routine: Refresh and Define Curls Quickly
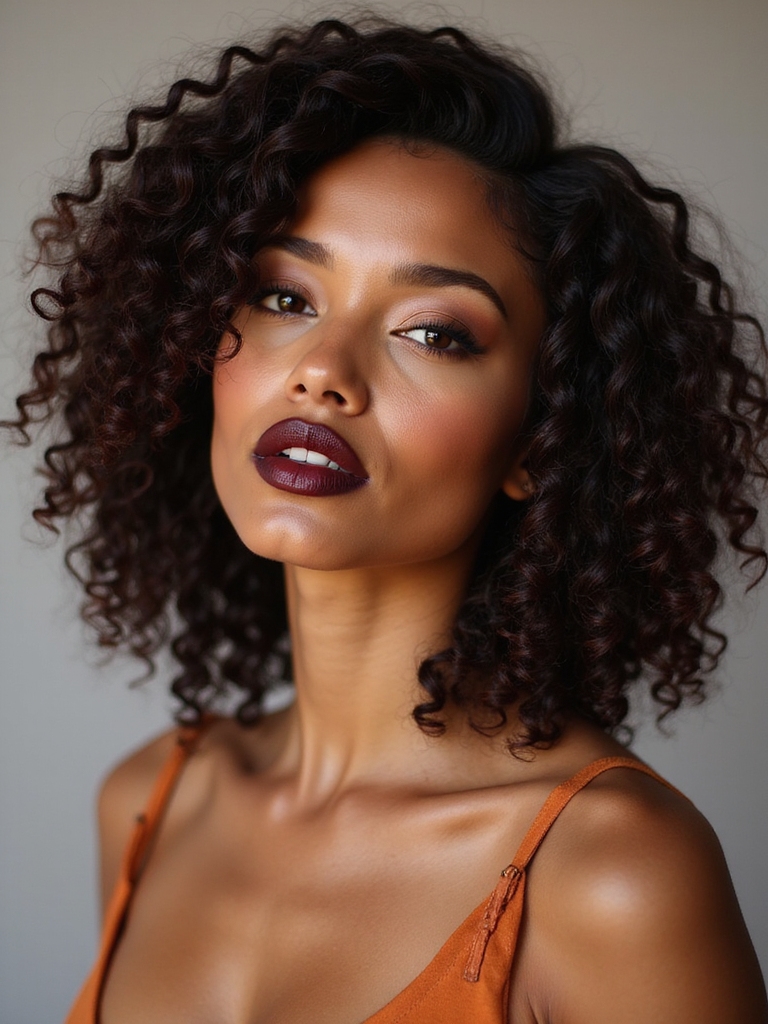
When I wake up on graduation morning, I give my curls a quick hydration boost with a light mist so they don’t look thirsty.
I refresh any flattened sections by scrunching in a bit of conditioner or curl spray, then use a diffuser or my fingers to speed up definition. Believe me, a few targeted tools and moves and you’re ceremony-ready in minutes.
I also like to try simple, effortless curly hairstyles that enhance my natural texture, such as Curly Hairstyle Ideas to keep things quick and photo-ready.
Wake-Up Hydration Boost
I usually start my grad-day mornings with a quick wake-up hydration boost that brings my curls back to life in under five minutes. I spritz water mixed with a bit of leave-in, scrunch gently, and let definition pop—no stress, just bounce.
- Light mist with leave-in
- Scrunch from ends to roots
- Finger-twist stubborn coils
Curly hair benefits from simple techniques that enhance natural texture and reduce frizz, like using minimal product and gentle handling to preserve curl definition.
Quick Curl Refreshing
Usually I hit snooze once, then give my curls a quick refresh that takes less than five minutes—because you don’t want a marathon on graduation morning.
I spritz dampening mist, scrunch with fingertips, revive a few flattened curls, and tame frizz with a tiny bit of cream. Quick, effective, and camera-ready—no fuss, just bounce and confidence as you head out the door.
I also use simple tools like rubber bands to create effortless curly styles without disrupting curl pattern.
Fast Definition Tools
Because graduation mornings are chaos, I’ve got a few go-to tools that turn bedhead into defined curls in under five minutes.
I zap frizz, boost shape, and feel ready to smile for photos—fast and fuss-free.
- Microfiber towel for gentle scrunching and reduced frizz
- Lightweight curl cream to define without weighing down
- Diffuser on low heat for quick, bouncy finish
Heat Styling Options That Respect Curl Health
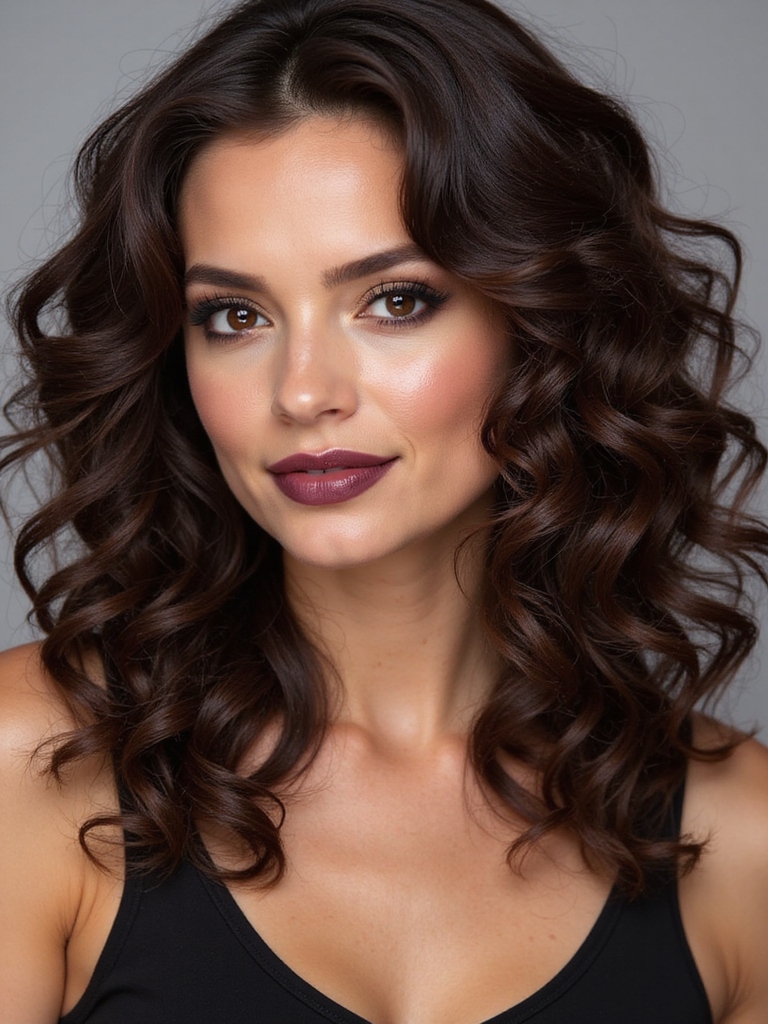
When I want to add a little polish to my curls without torching them, I stick to heat-smart moves that actually honor my pattern. I use low-temp settings, a diffuser on cool or warm, and always a thermal protectant.
Quick touch-ups with a small-barrel wand smooth frizz without reshaping curls. Less is more—short bursts, patience, and hydration keep my graduation photos popping.
Protective Styles That Still Look Graduation-Ready
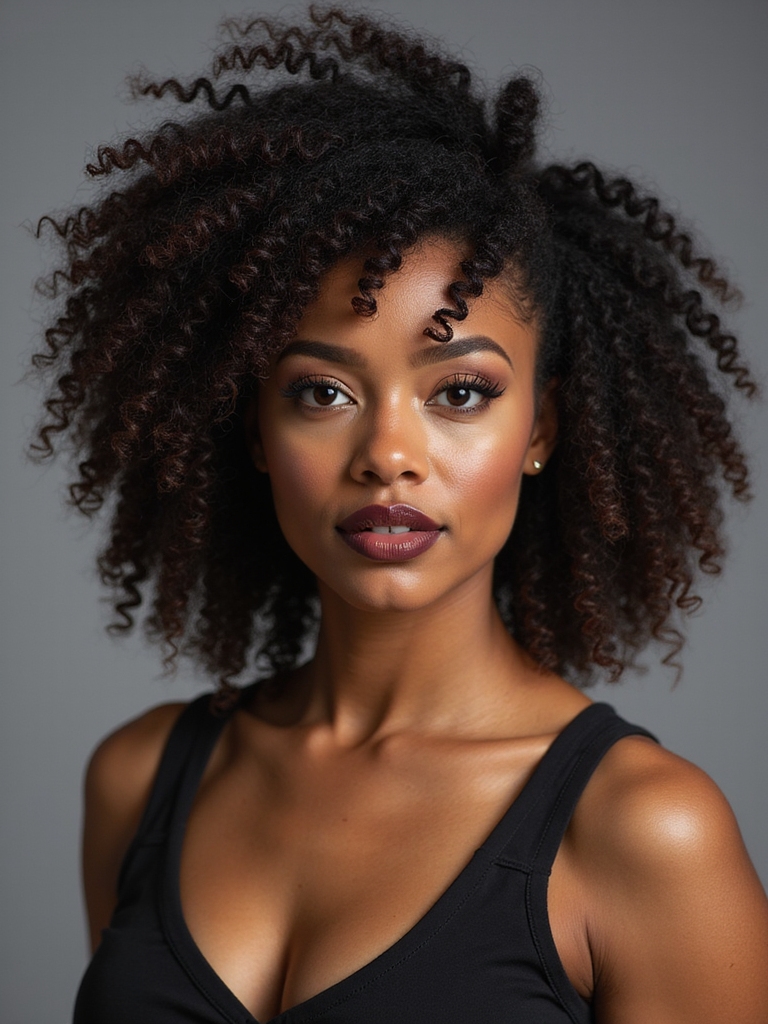
I love protective styles that look like I actually tried—without wrecking my curls—because they keep my hair healthy through photos, caps, and all-day celebrating.
I pick looks that stay put but still read fresh and bouncy. Try these playful, graduation-ready options:
- Loose braided crown for face-framing curls
- Low puff with sleek edges
- Twisted halo with defined tendrils
Elegant Updos for Wearing a Cap
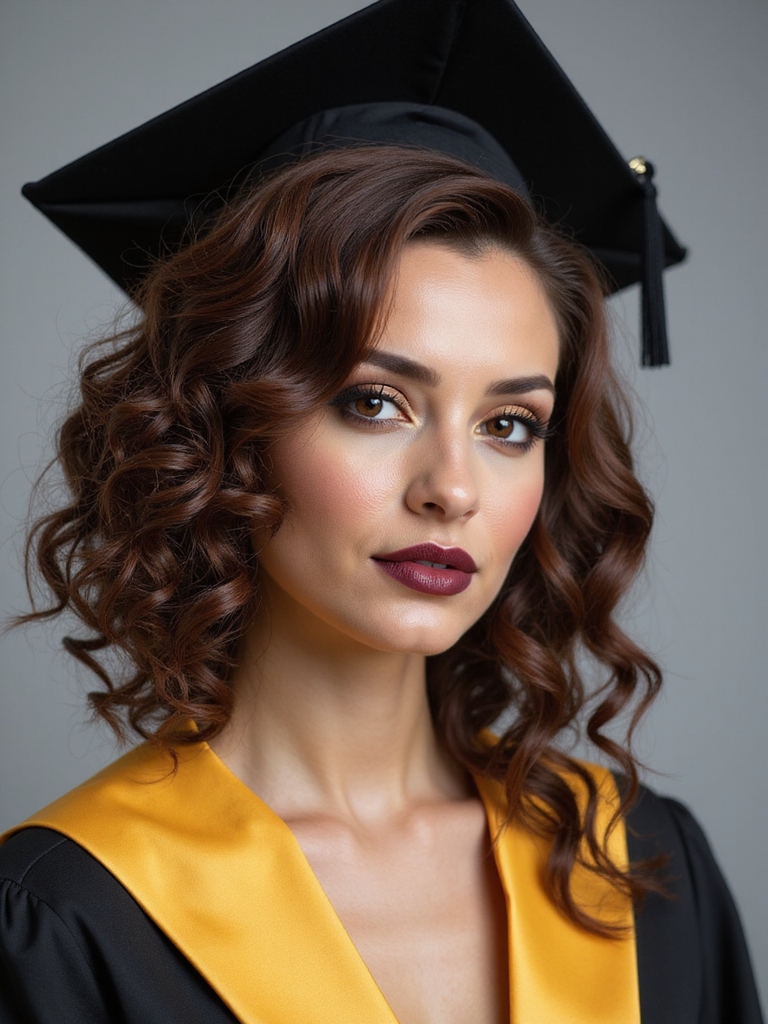
I love a secure low bun for graduation caps because it keeps my curls tucked without feeling flat. I’ll show you how a few bobby pins and a slicked base can hold everything all day.
Then we’ll tease out a defined curl or two at the face so your natural texture still gets to shine.
Secure Low Bun
Picture me tucking curls into a neat, low bun that stays put under a mortarboard—this is the go-to move when you want polish without fuss.
I twist, pin, and mist for hold, loving how it flatters my neck and keeps stray frizz contained.
Easy, elegant, reliable.
- pins tucked snugly
- lightweight gel for grip
- cap-friendly height
Defined Curl Peek
Keep a few well-defined curls popping out from an otherwise sleek updo so your cap doesn’t hide all the personality—I’ve learned that a little peek of curl makes the whole look feel effortlessly edited.
I twist and pin a few face-framing spirals, mist them for shine, and tuck the rest neat under the mortarboard. It’s cute, practical, and photo-ready without fuss.
Half-Up, Half-Down Looks That Stay Put
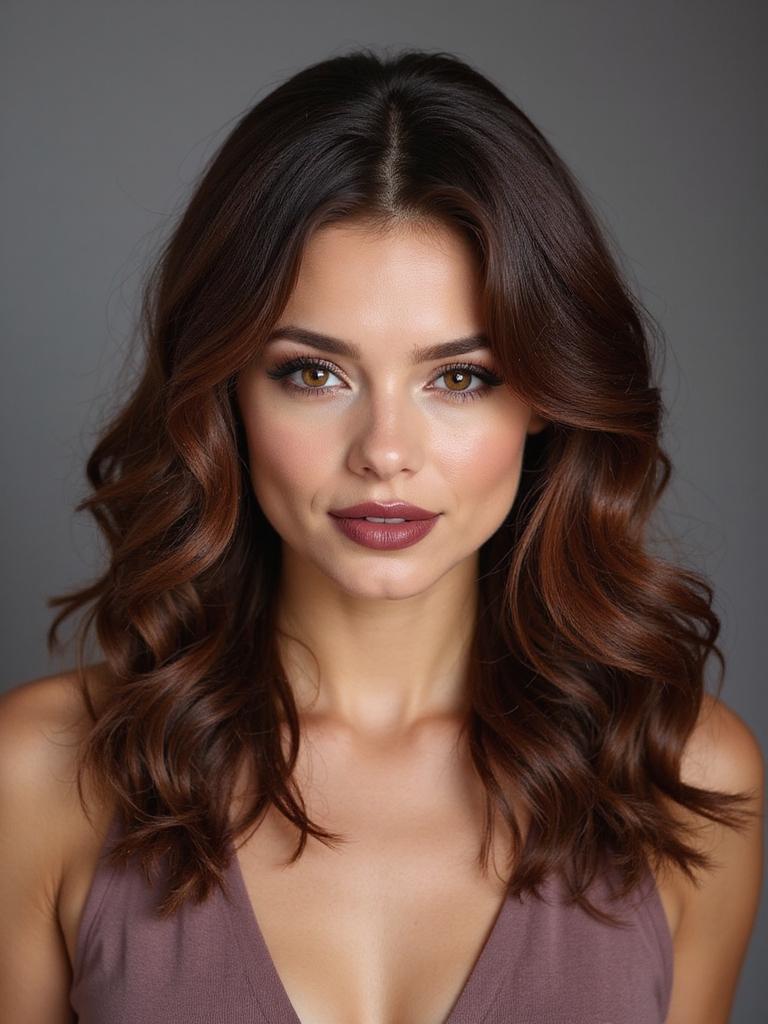
Often I reach for a half-up, half-down when I want my curls to look polished without feeling overdone, and it’s perfect for graduation because it stays put through photos, hugs, and that walk across the stage.
I twist or braid the top, secure gently, and let curls bounce.
- Twist the crown for lift
- Use tiny elastics for grip
- Finish with light hold spray
Accessorizing Curls: Pins, Combs, and Headbands
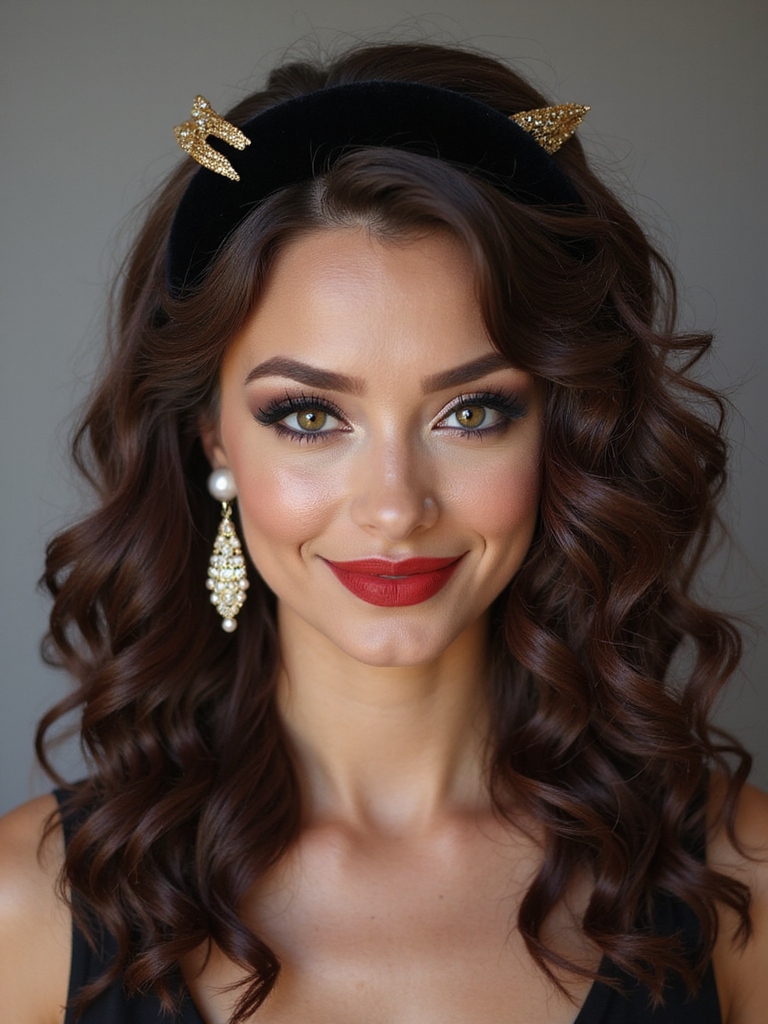
Want to jazz up your curls without hiding them under a cap of accessories? I love slipping in decorative pins for sparkle, using small combs to sweep hair off my face, or popping a thin headband to keep flyaways playful.
I pick lightweight pieces so my curls bounce naturally, placing them strategically for balance and photos—cute, secure, and totally graduation-ready.
Products to Beat Frizz and Boost Definition
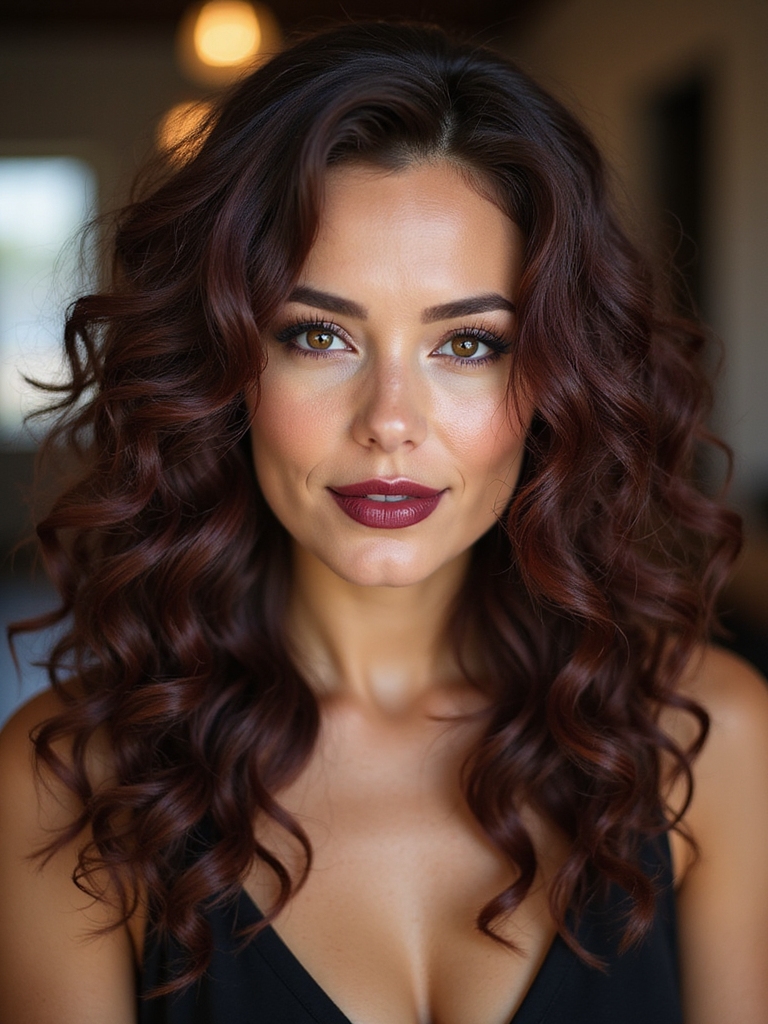
Those little pins and headbands look great, but you’re still going to want a few go-to products to keep your curls poppin’ all day.
I swear by lightweight gel for hold, a creamy leave-in for softness, and a frizz-fighting oil for shine.
Try mixing sparingly so curls stay defined, bouncy, and natural.
- Lightweight gel
- Creamy leave-in
- Frizz-fighting oil
Managing Humidity and Long Ceremony Wear
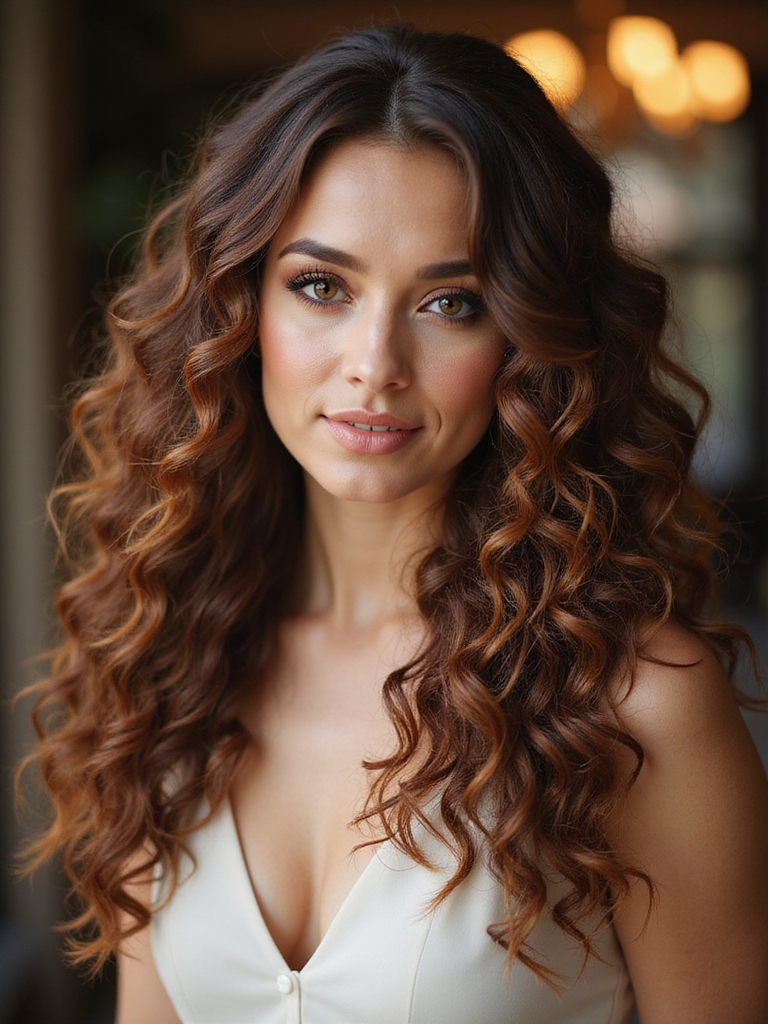
Since graduation ceremonies can stretch on and the weather might do whatever it wants, I plan my curly hair like it’s going on a long road trip: stash travel-size products, pick a style that survives humidity, and secure key points with discreet pins so nothing unravels.
I choose breathable updos, use humidity-resistant spray, and avoid heavy oils—keeping bounce without weighing curls down.
Quick Touch-Up Techniques Between Events
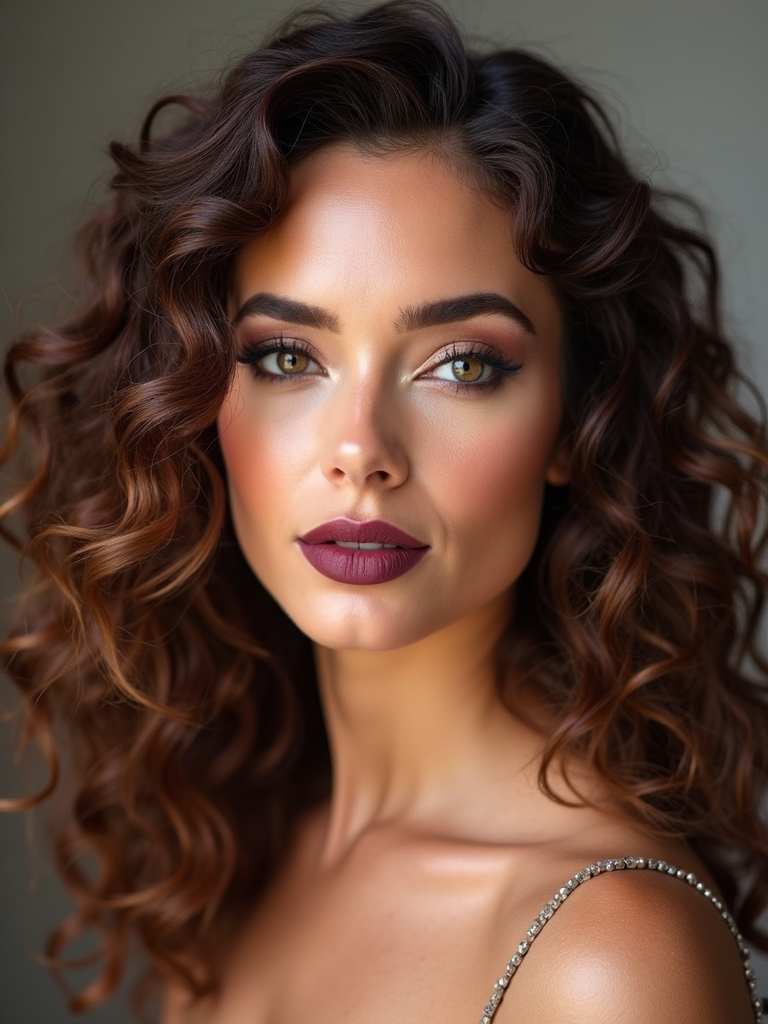
After packing my humidity-fighting minis and pin stash, I like to plan a few lightning-fast touch-ups so my curls stay camera-ready between events. I slick stray frizz, revive definition, and reset volume in seconds — no drama.
Quick kit essentials:
- Spritz with diluted leave-in for bounce
- Coil stray pieces with a tiny curling wand
- Tuck and pin loose sections, then mist
Styling for Different Cap Shapes and Fits
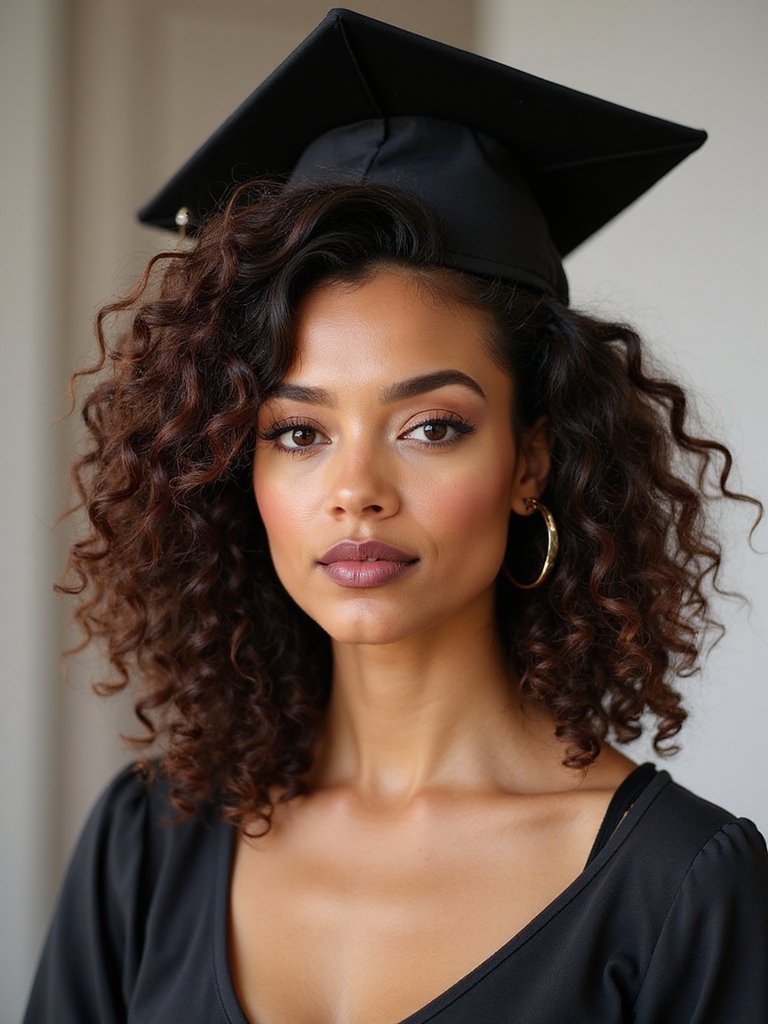
If your cap sits snug on your head, I lean into low, defined shapes that tuck my curls close so the mortarboard doesn’t squash them flat. For taller or roomy caps I add height with a loose puff or pineapple, securing gently.
For rounded beret-style caps I soften edges, letting tendrils peek out. Quick pins and texture spray keep everything fuss-free and comfy.
Photogenic Angles and Face-Framing Tips
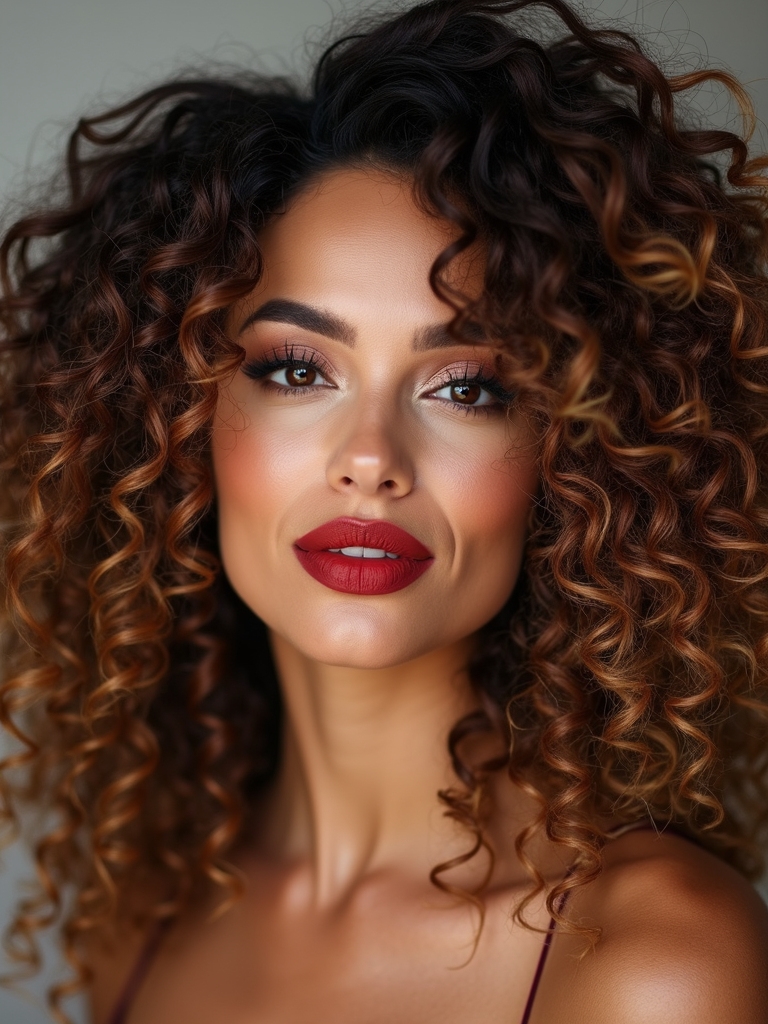
When I’m framing my face for graduation photos, I think about angles that flatter my features and let my curls shine without stealing the spotlight. I tilt my chin slightly, find the light, and tuck or release curls to balance my face.
Small tweaks make big differences.
- Tilt chin down a touch for softer jawlines
- Shift part to highlight cheekbones
- Tuck curls behind one ear for asymmetry
Working With Color-Treated and Chemically-Processed Curls
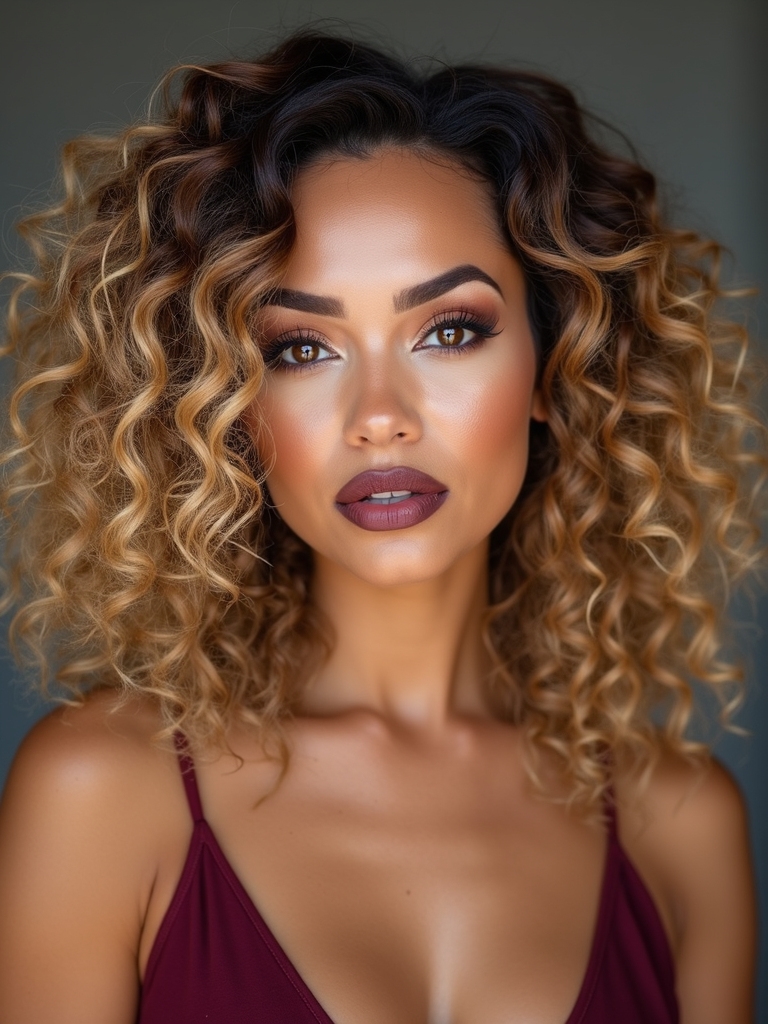
Since color and chemical treatments change how my curls behave, I tweak my routine to keep them happy and camera-ready—think richer moisture, gentler styling, and protective choices that still let my curl pattern pop.
I rely on sulfate-free cleansers, weekly protein-moisture balance, heat shields, and satin accessories.
For photos, I refresh with lightweight oil and scrunch to revive definition without frizz.
Post-Graduation Care to Maintain Healthy Curls
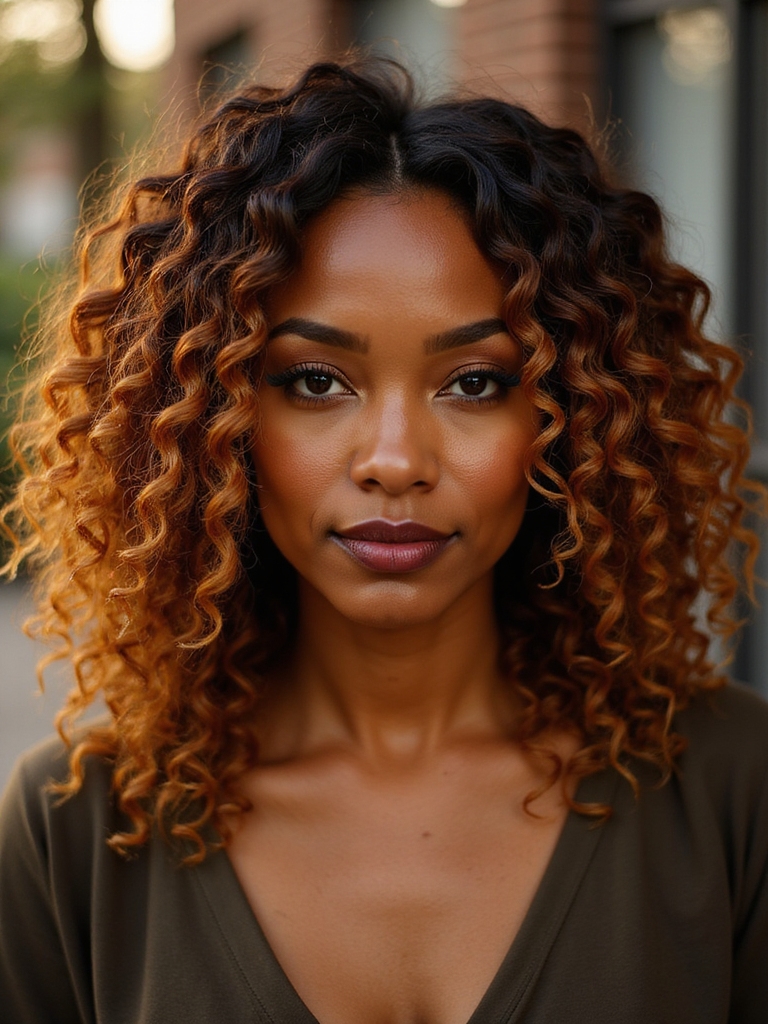
I usually breathe a huge sigh of relief after graduation day, but my curls don’t get a vacation — they need consistent TLC to stay healthy and photo-ready.
I keep routines simple, gentle, and fun so my curls reward me with bounce and shine.
- Deep-condition weekly for moisture
- Satin pillowcase and loose pineapple nights
- Trim split ends every 8–12 weeks
So there you have it — easy, camera-ready curl ideas that actually survive a mortarboard and look fabulous in photos. Pick a cut that loves your curl, protect and pineapple overnight, refresh with a mist and tiny gel dab, and choose a low bun, half-up twist, or face-framing tendrils for flattering angles.
Keep color and processing gentle, use pins discreetly, and enjoy your day knowing your curls will pop in every shot.


